Vogue 1467 — Pockets, HongKong Seams, and $100 Mood Fabric Winner!
Hey y’all! I’m back!
Before we get to talks the Vogue 1467 Coat SewAlong, Pockets, Hong Kong Seams,and the winner of the $100 Mood Fabric Winner. I just want to mention yesterday was a hot trip for me I got some kind of bug and it seems to have carried over to today yes today Friday.. I have barely eaten anything! I didn’t go to work on Thursday but I did manage to do a bit of work on Butterick 6255.
[spacer height=”20px”]
I got the binding on the first part created the sleeves and inserted the zipper.. then I got tired..
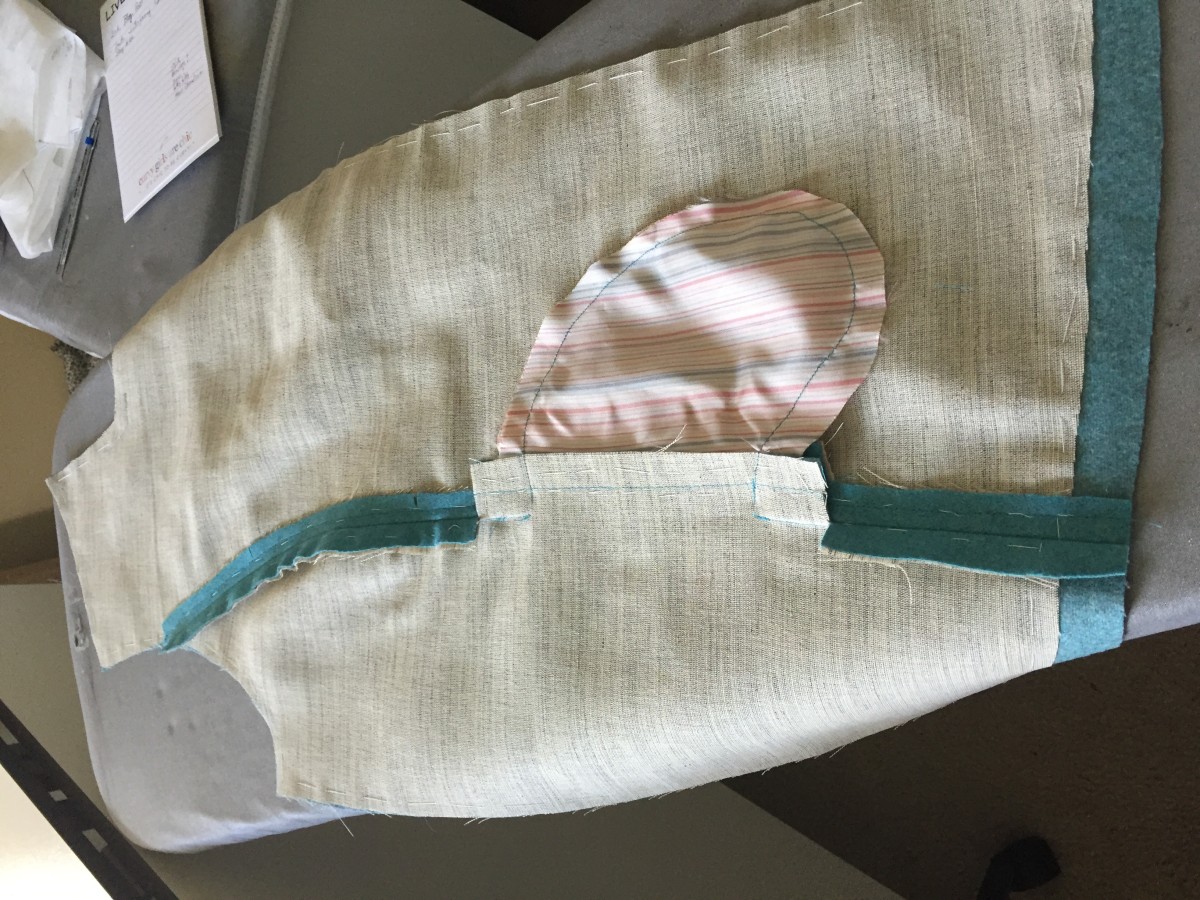
Pockets
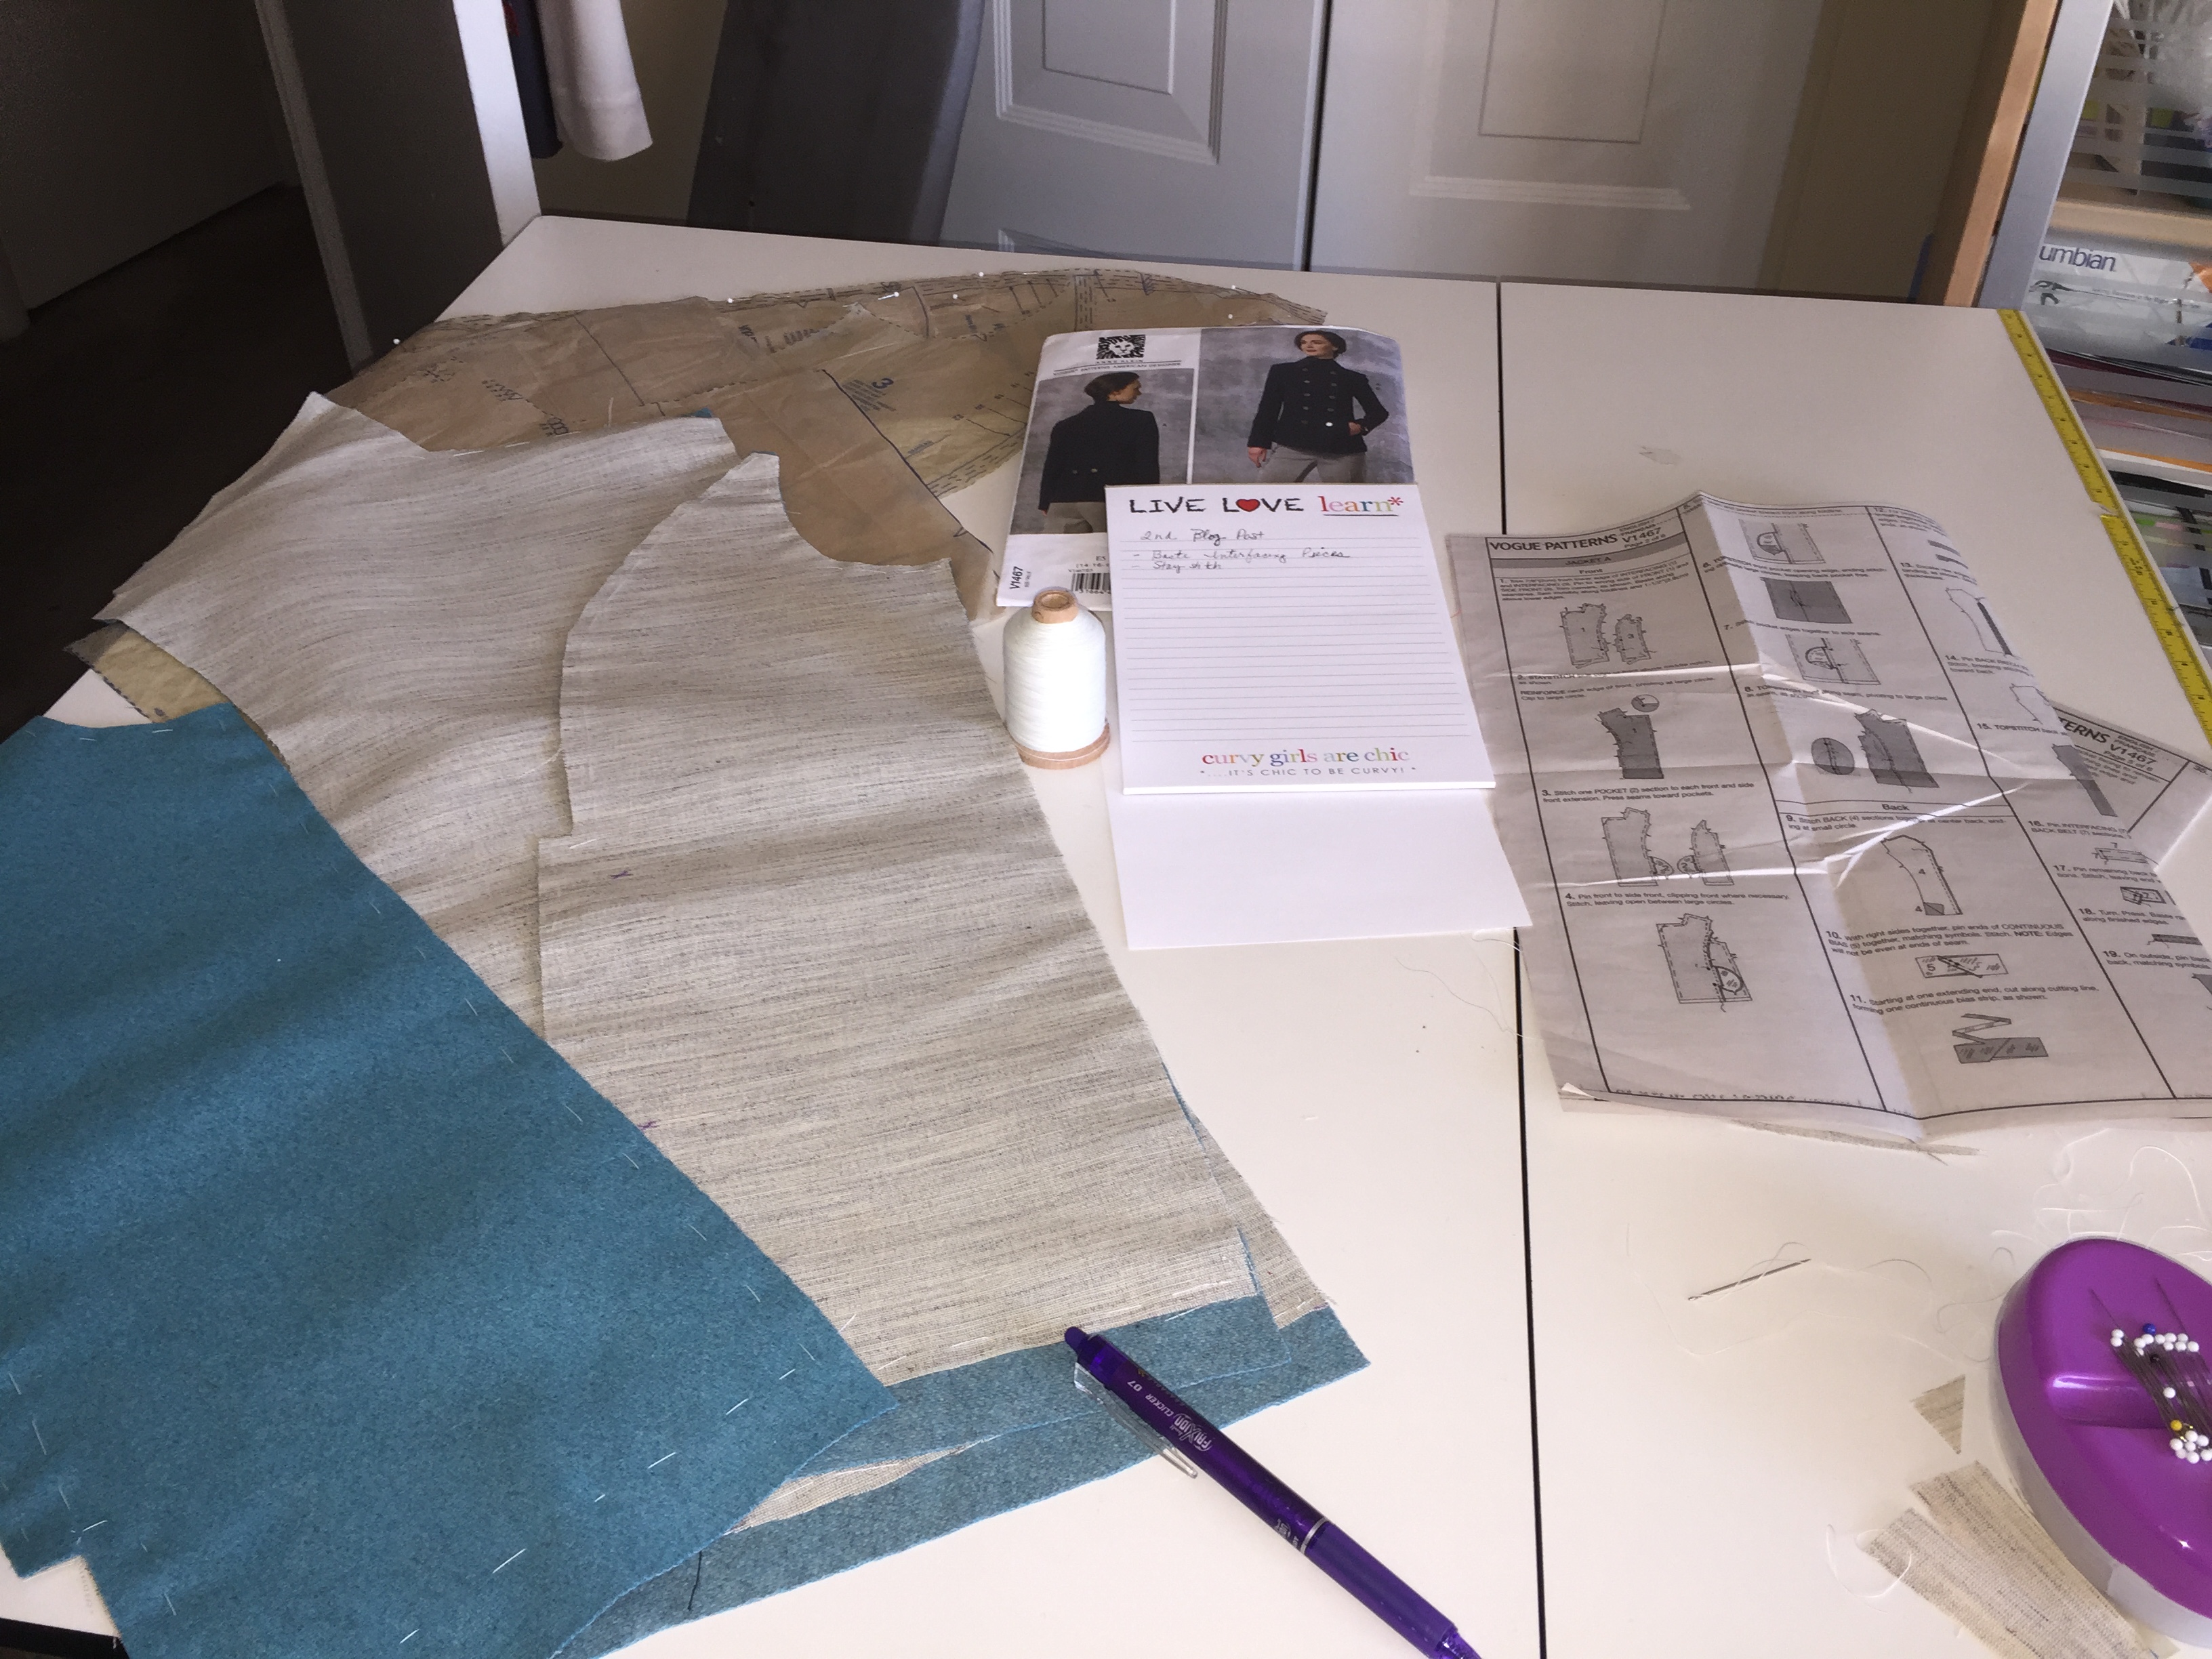
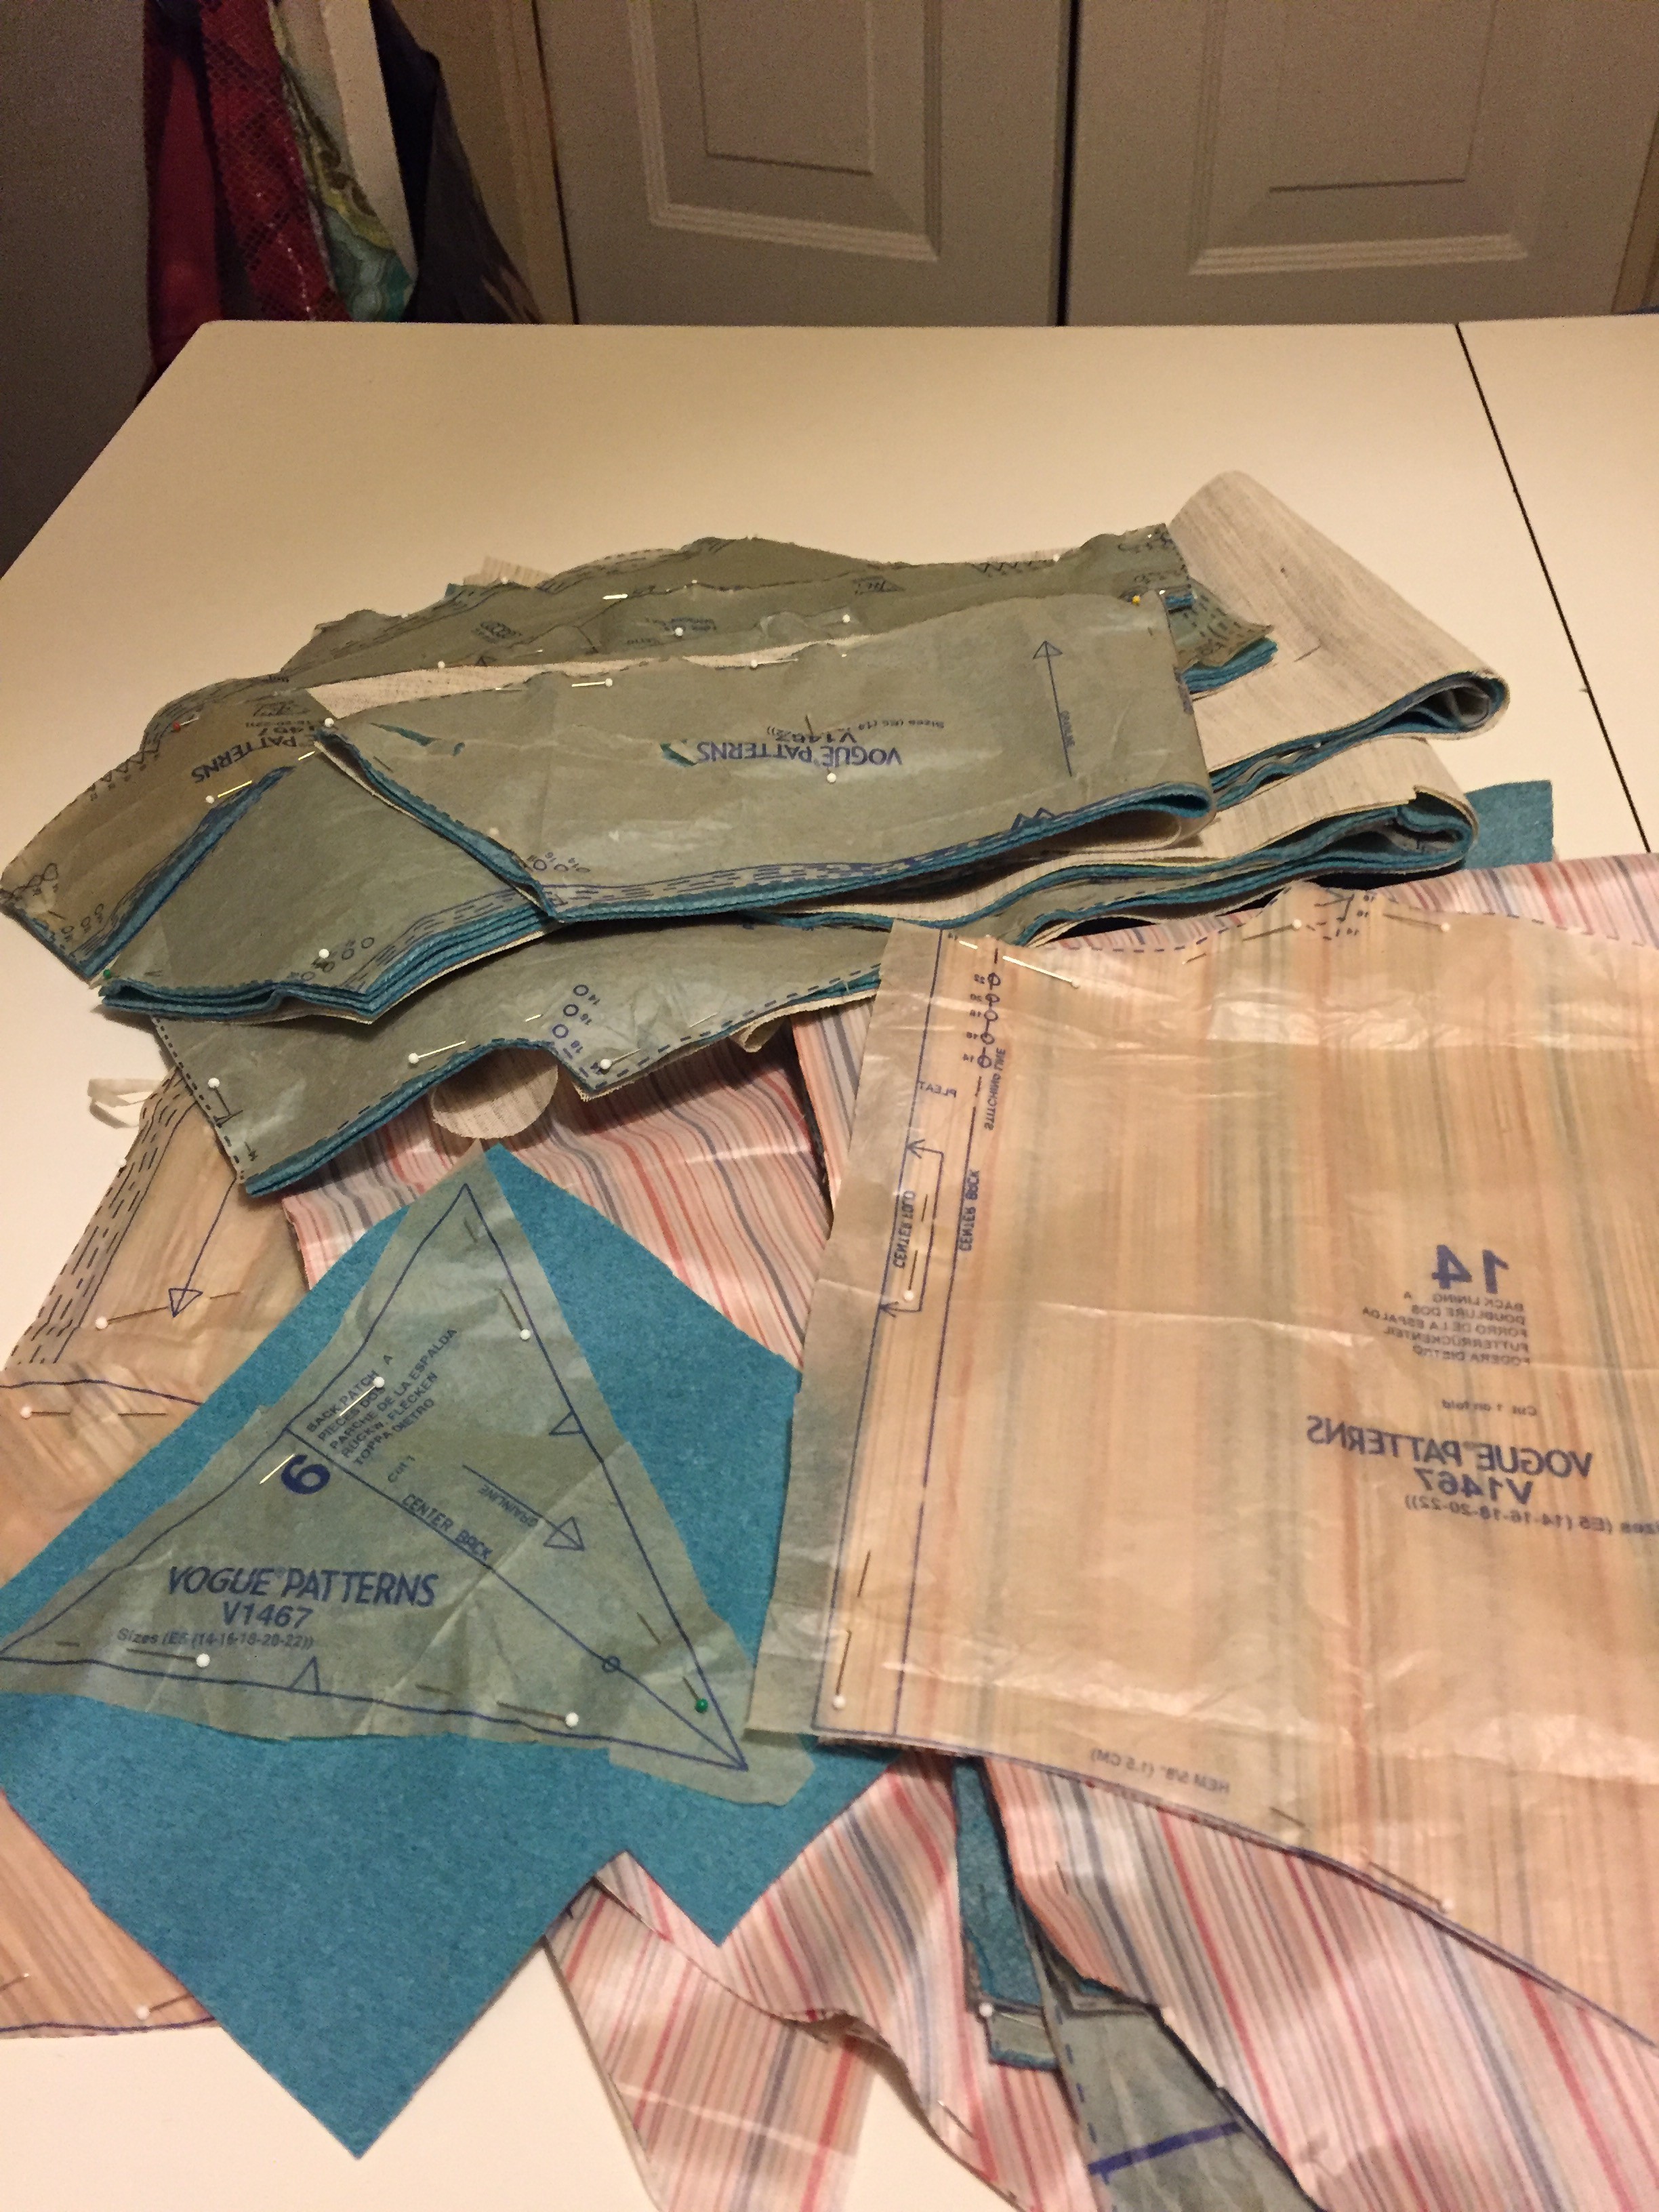
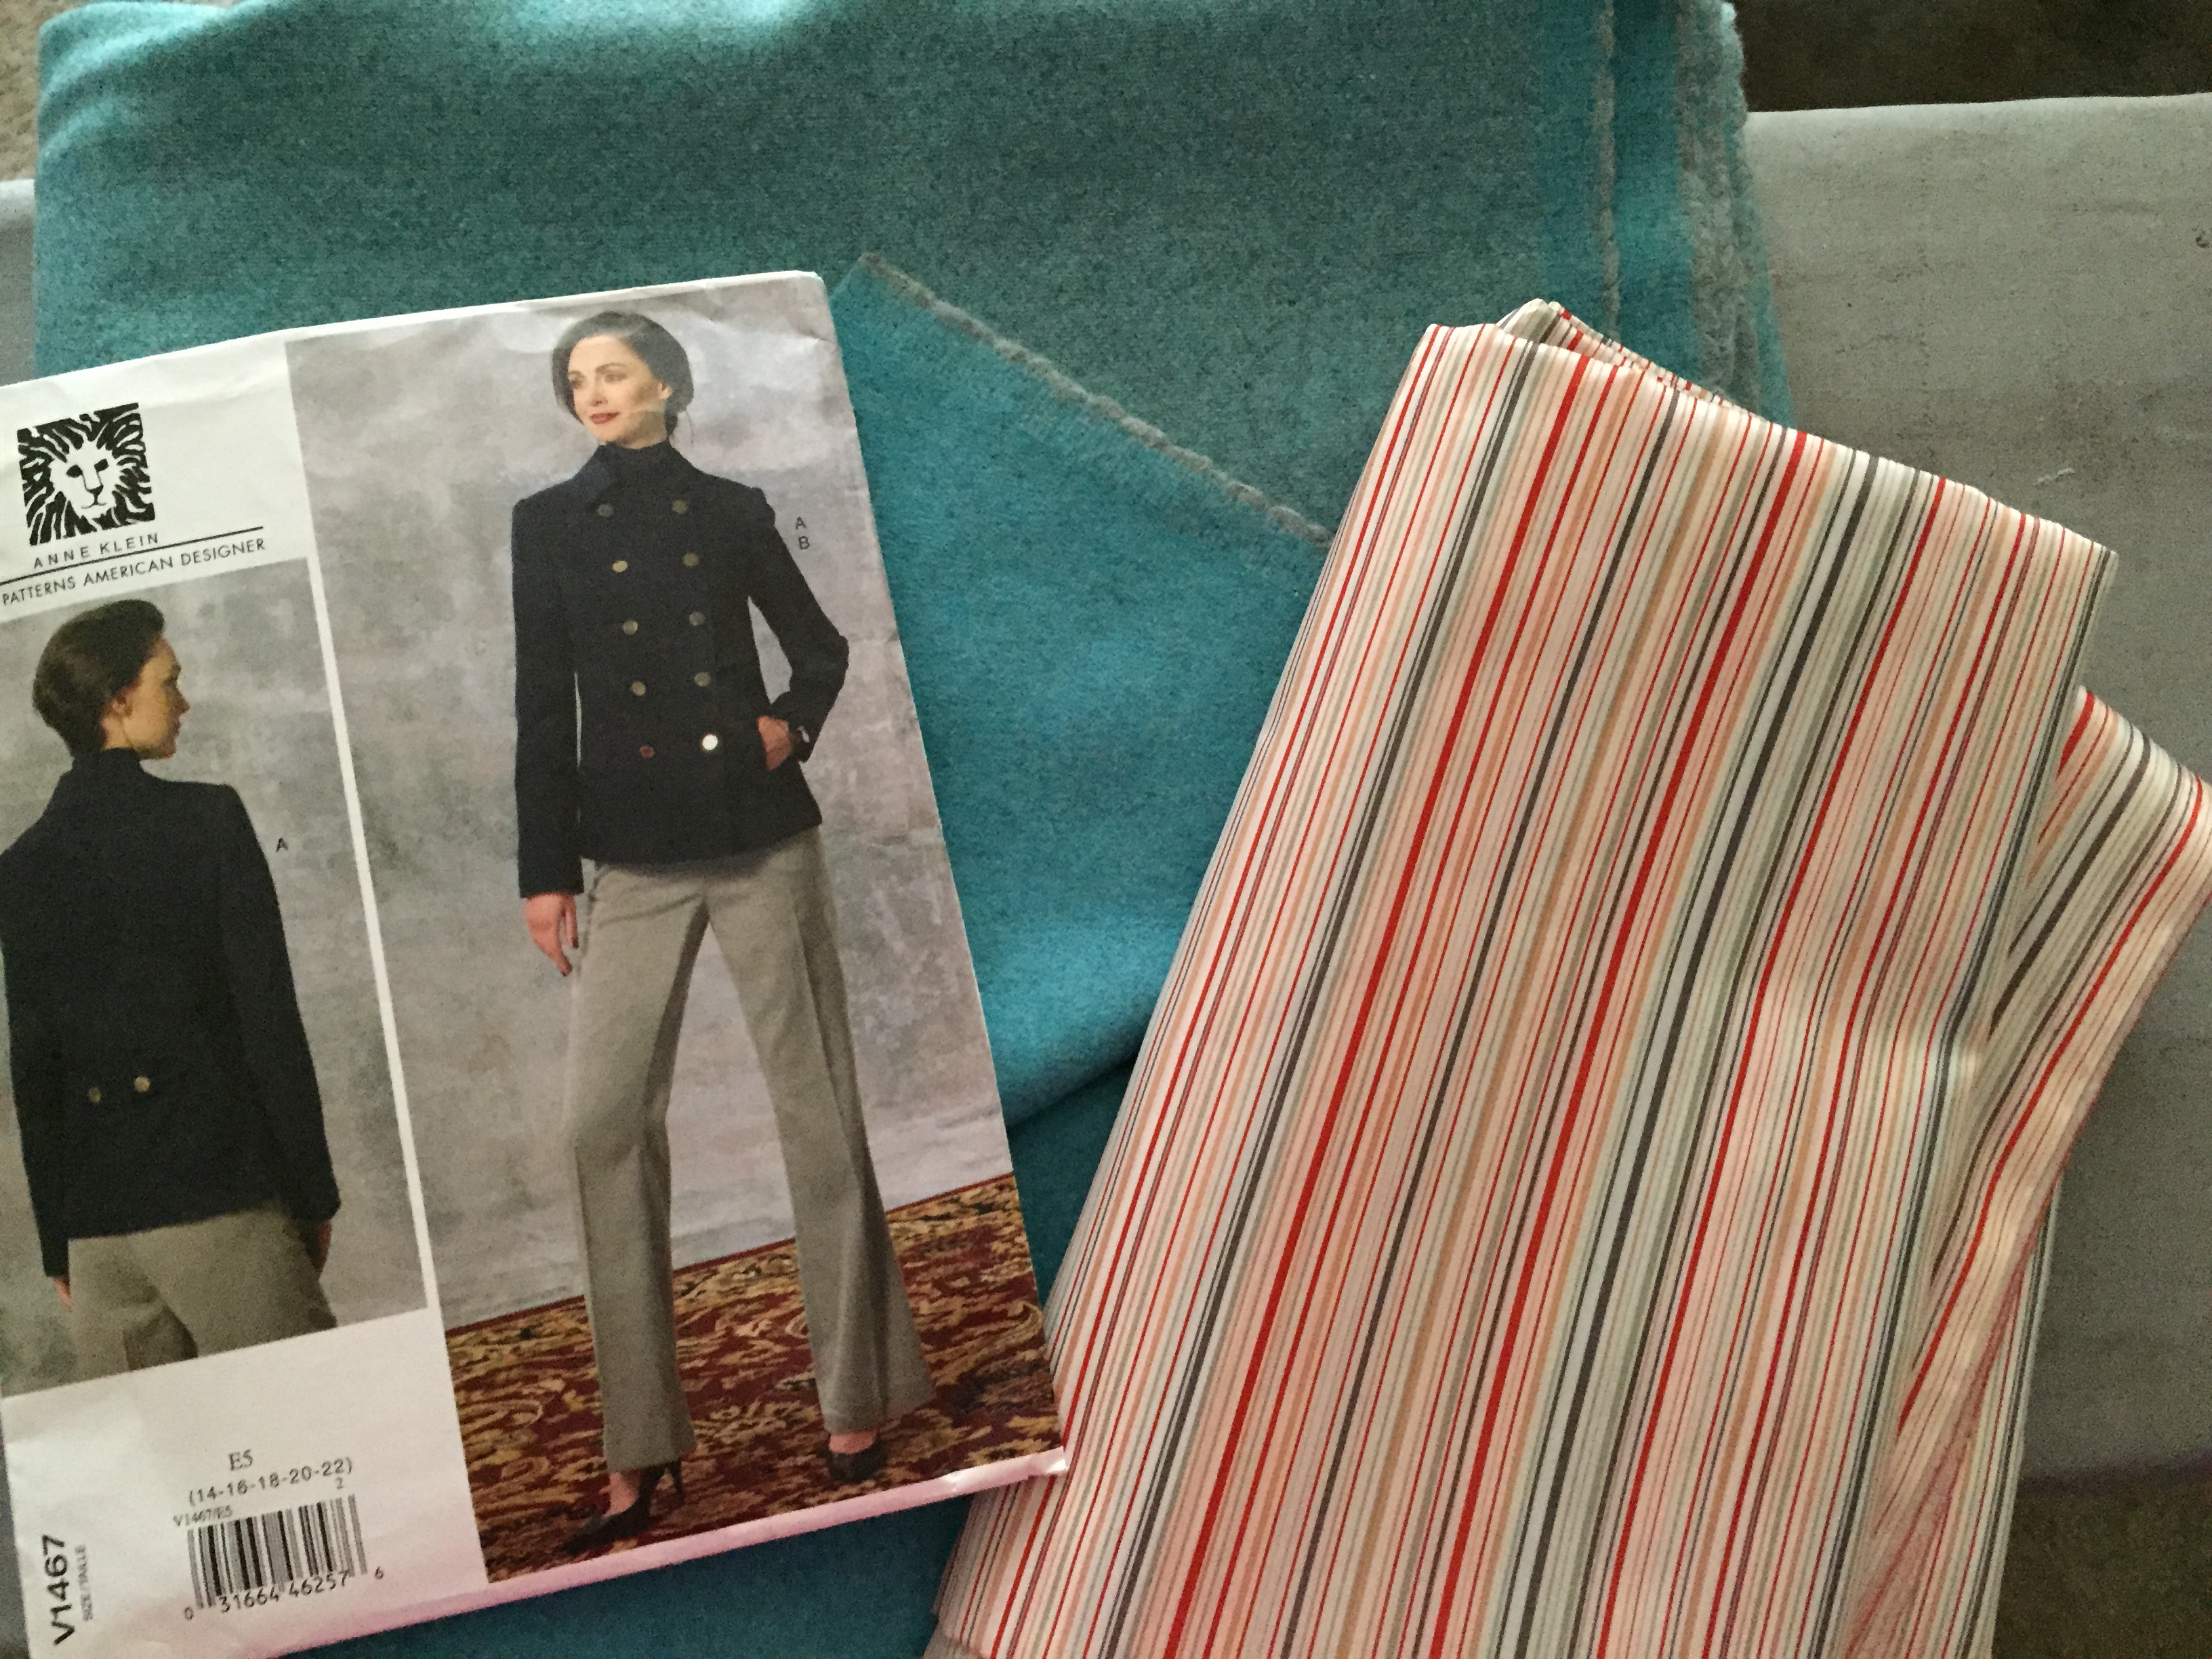
Anyway lets talk about Vogue 1467 this coat came out amazing and the fabric is amazing it is very forgiving as I took the top-stitch out a few times because I wanted it perfect. After a while I said it will be what it is… any way I completed the pockets and the Hong Kong Seam Binding …
[spacer height=”20px”]
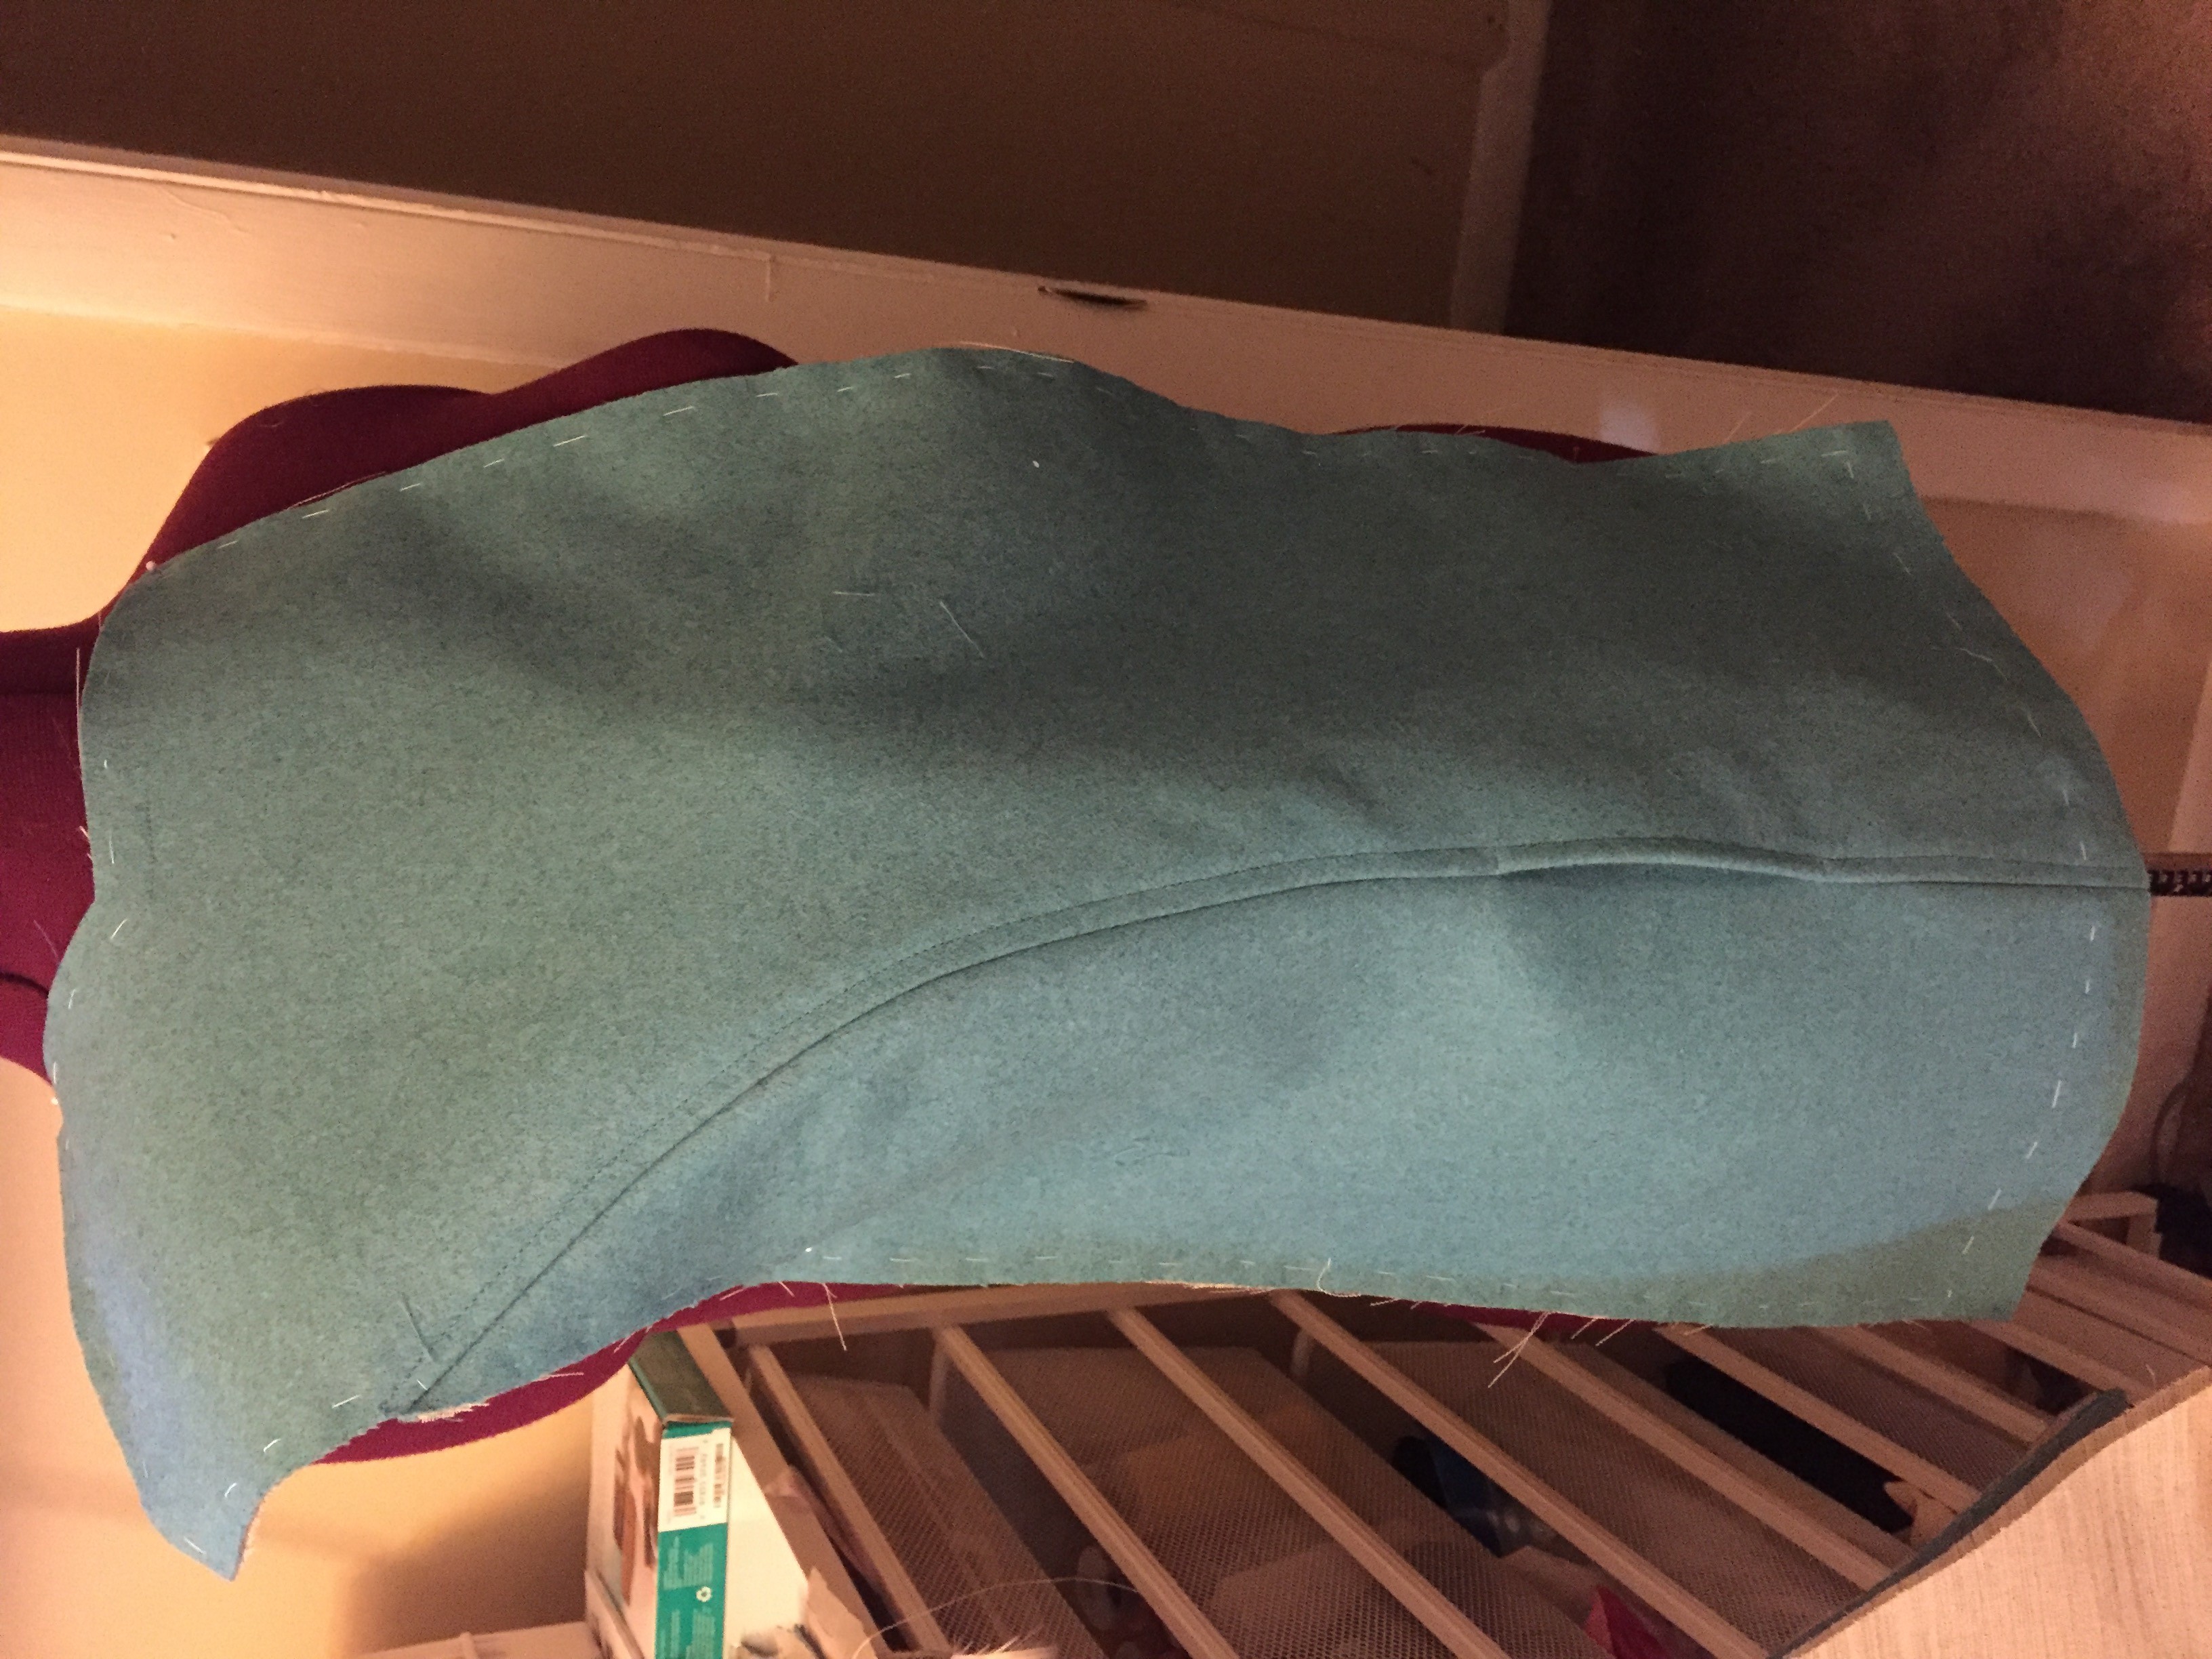
After I stitched the seams I tacked them down to the canvas hair.
[spacer height=”20px”]
[spacer height=”20px”]
Front Left side .. the white threads are the basting stitched used with baste stitch thread
[spacer height=”20px”]
[spacer height=”20px”]
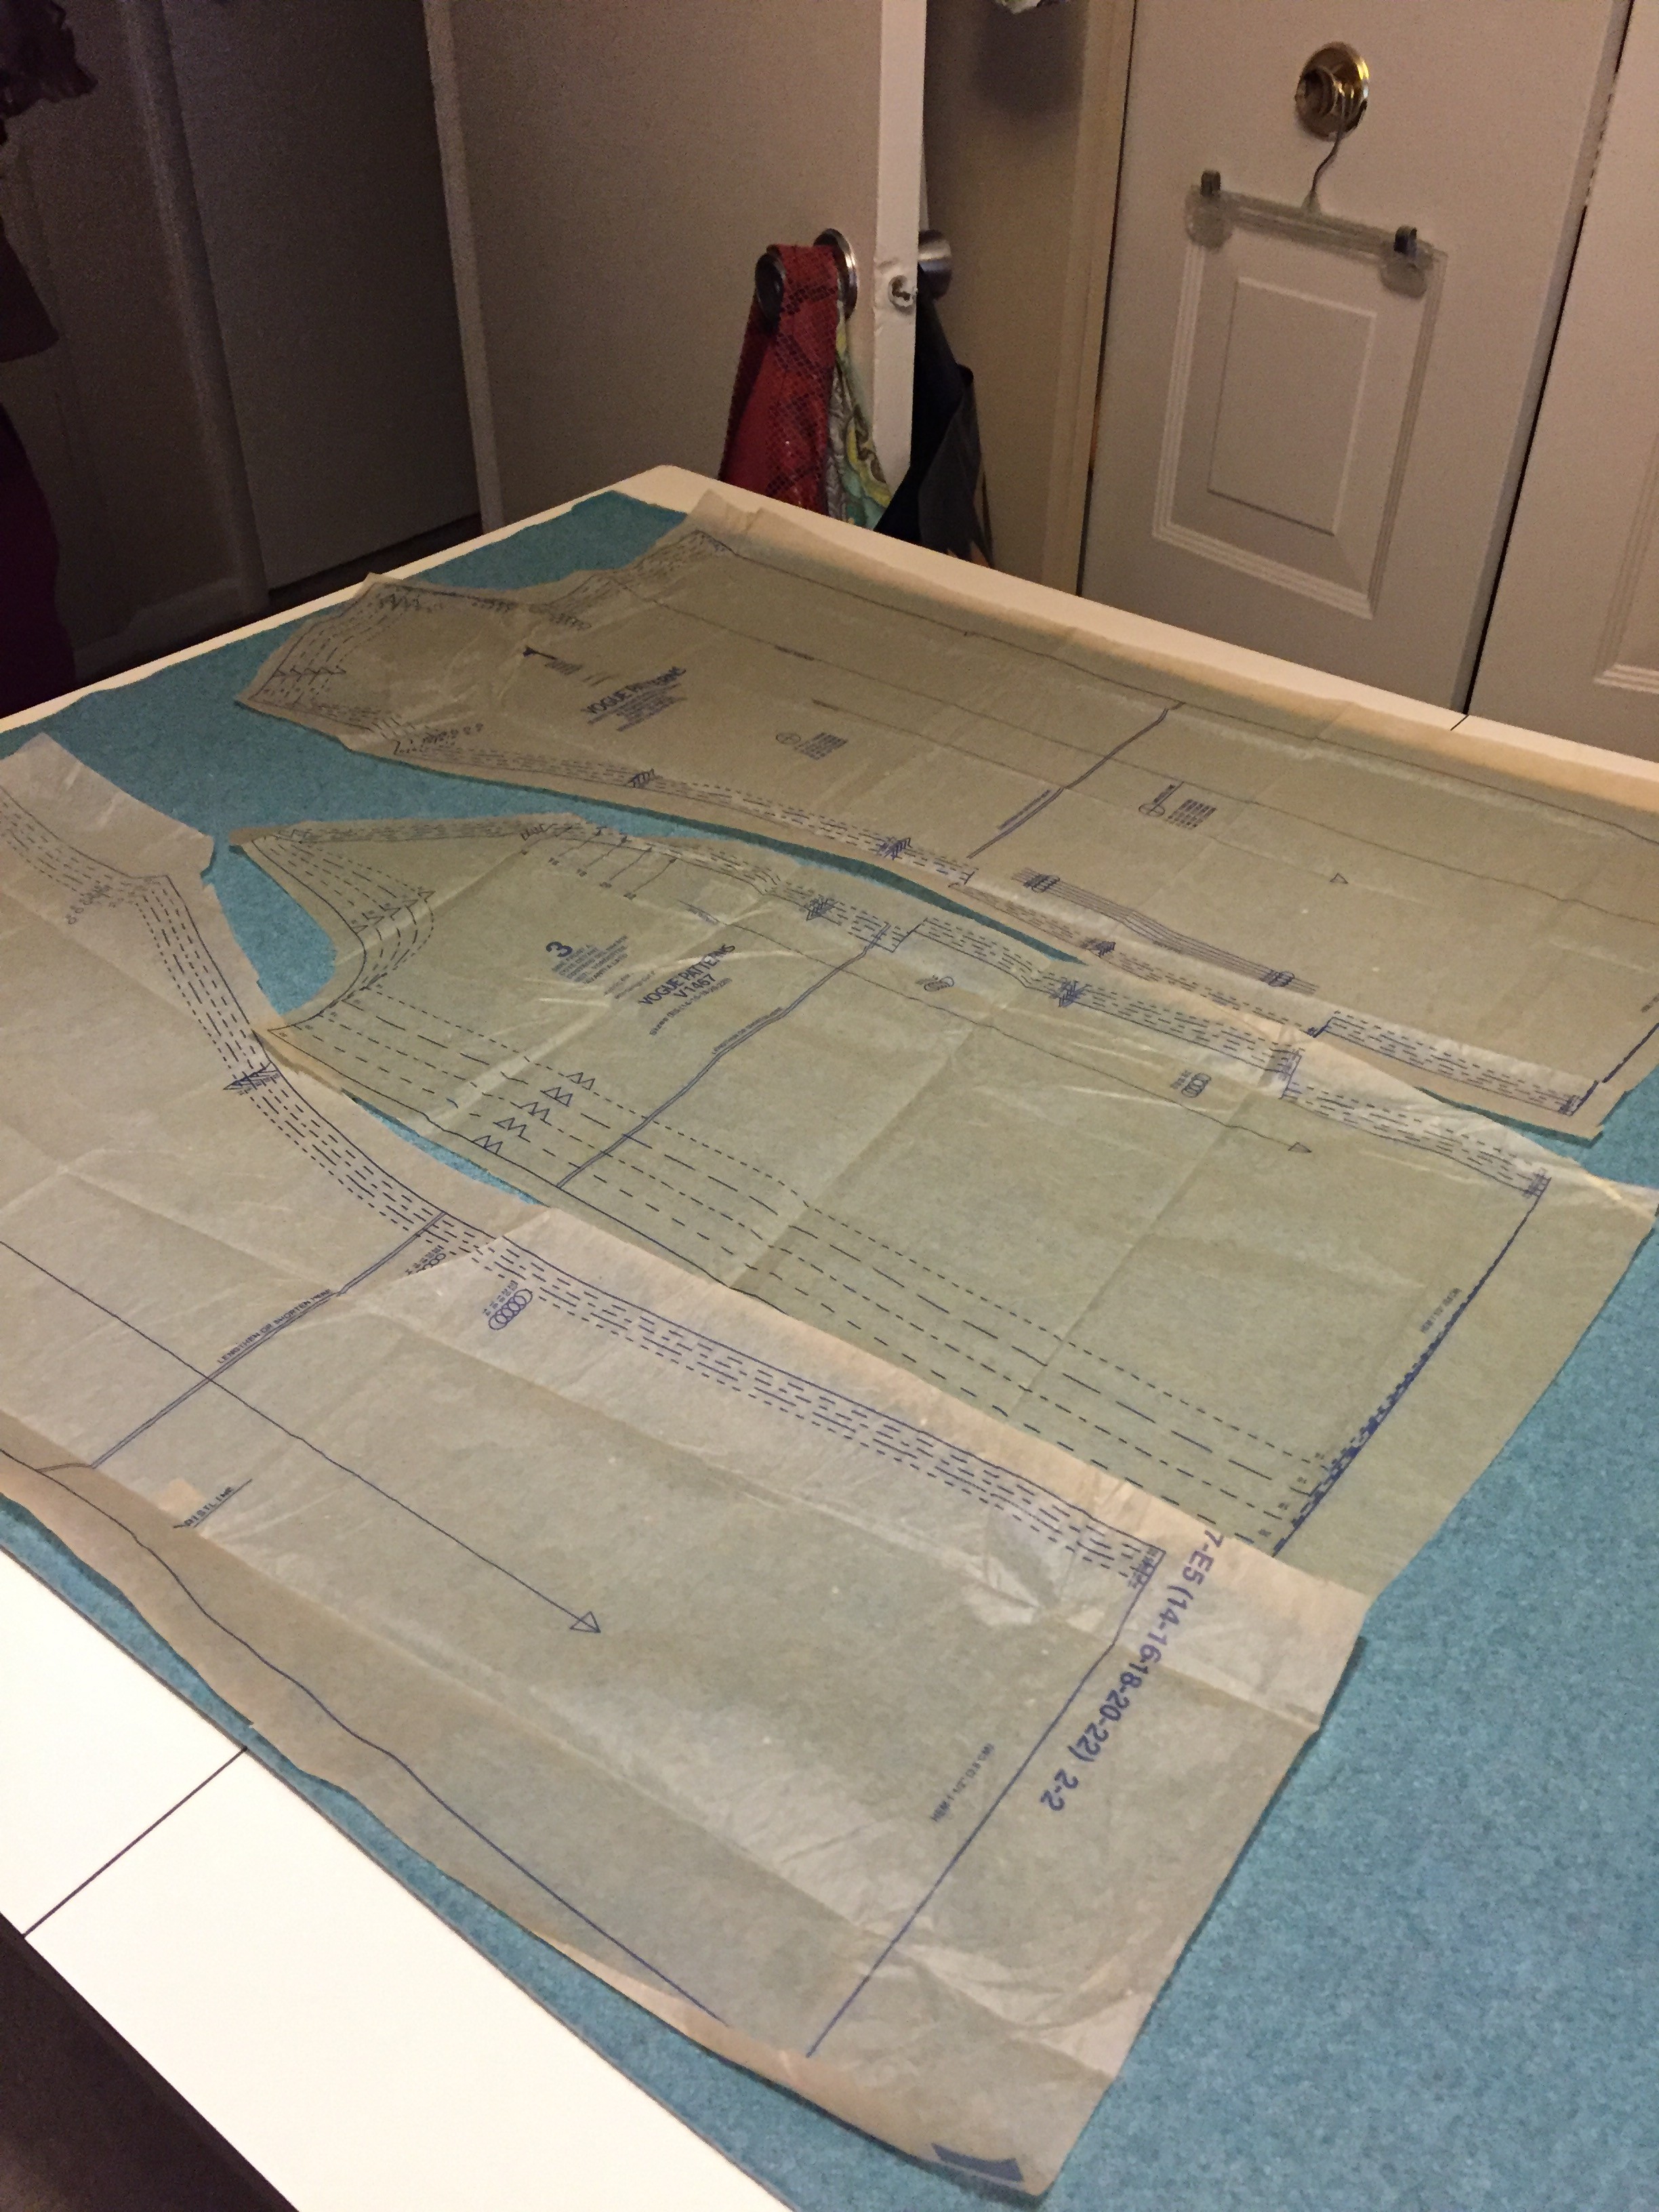
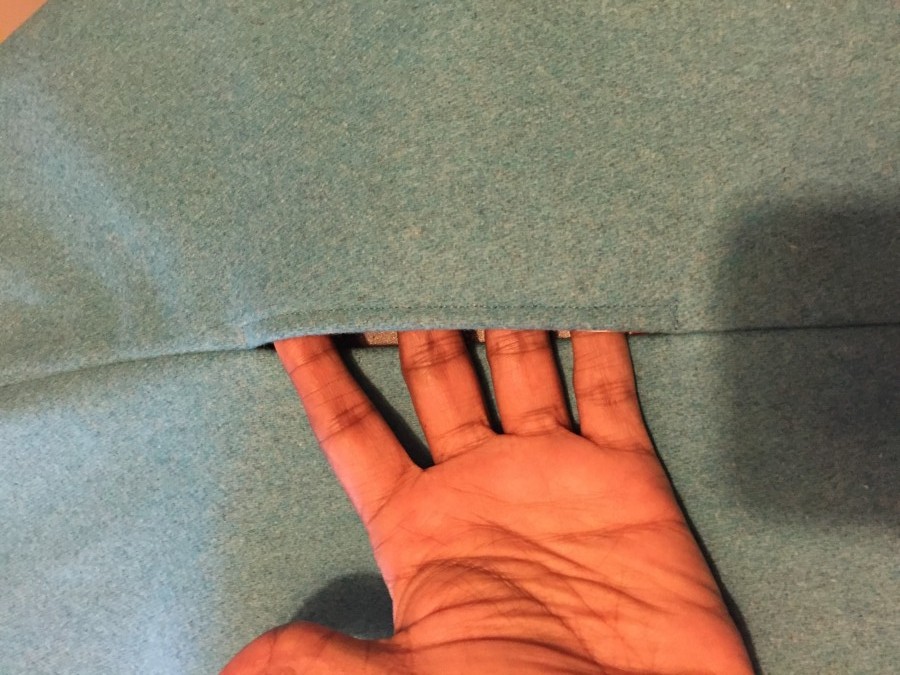
Side Pocket after topstiching
[spacer height=”20px”]
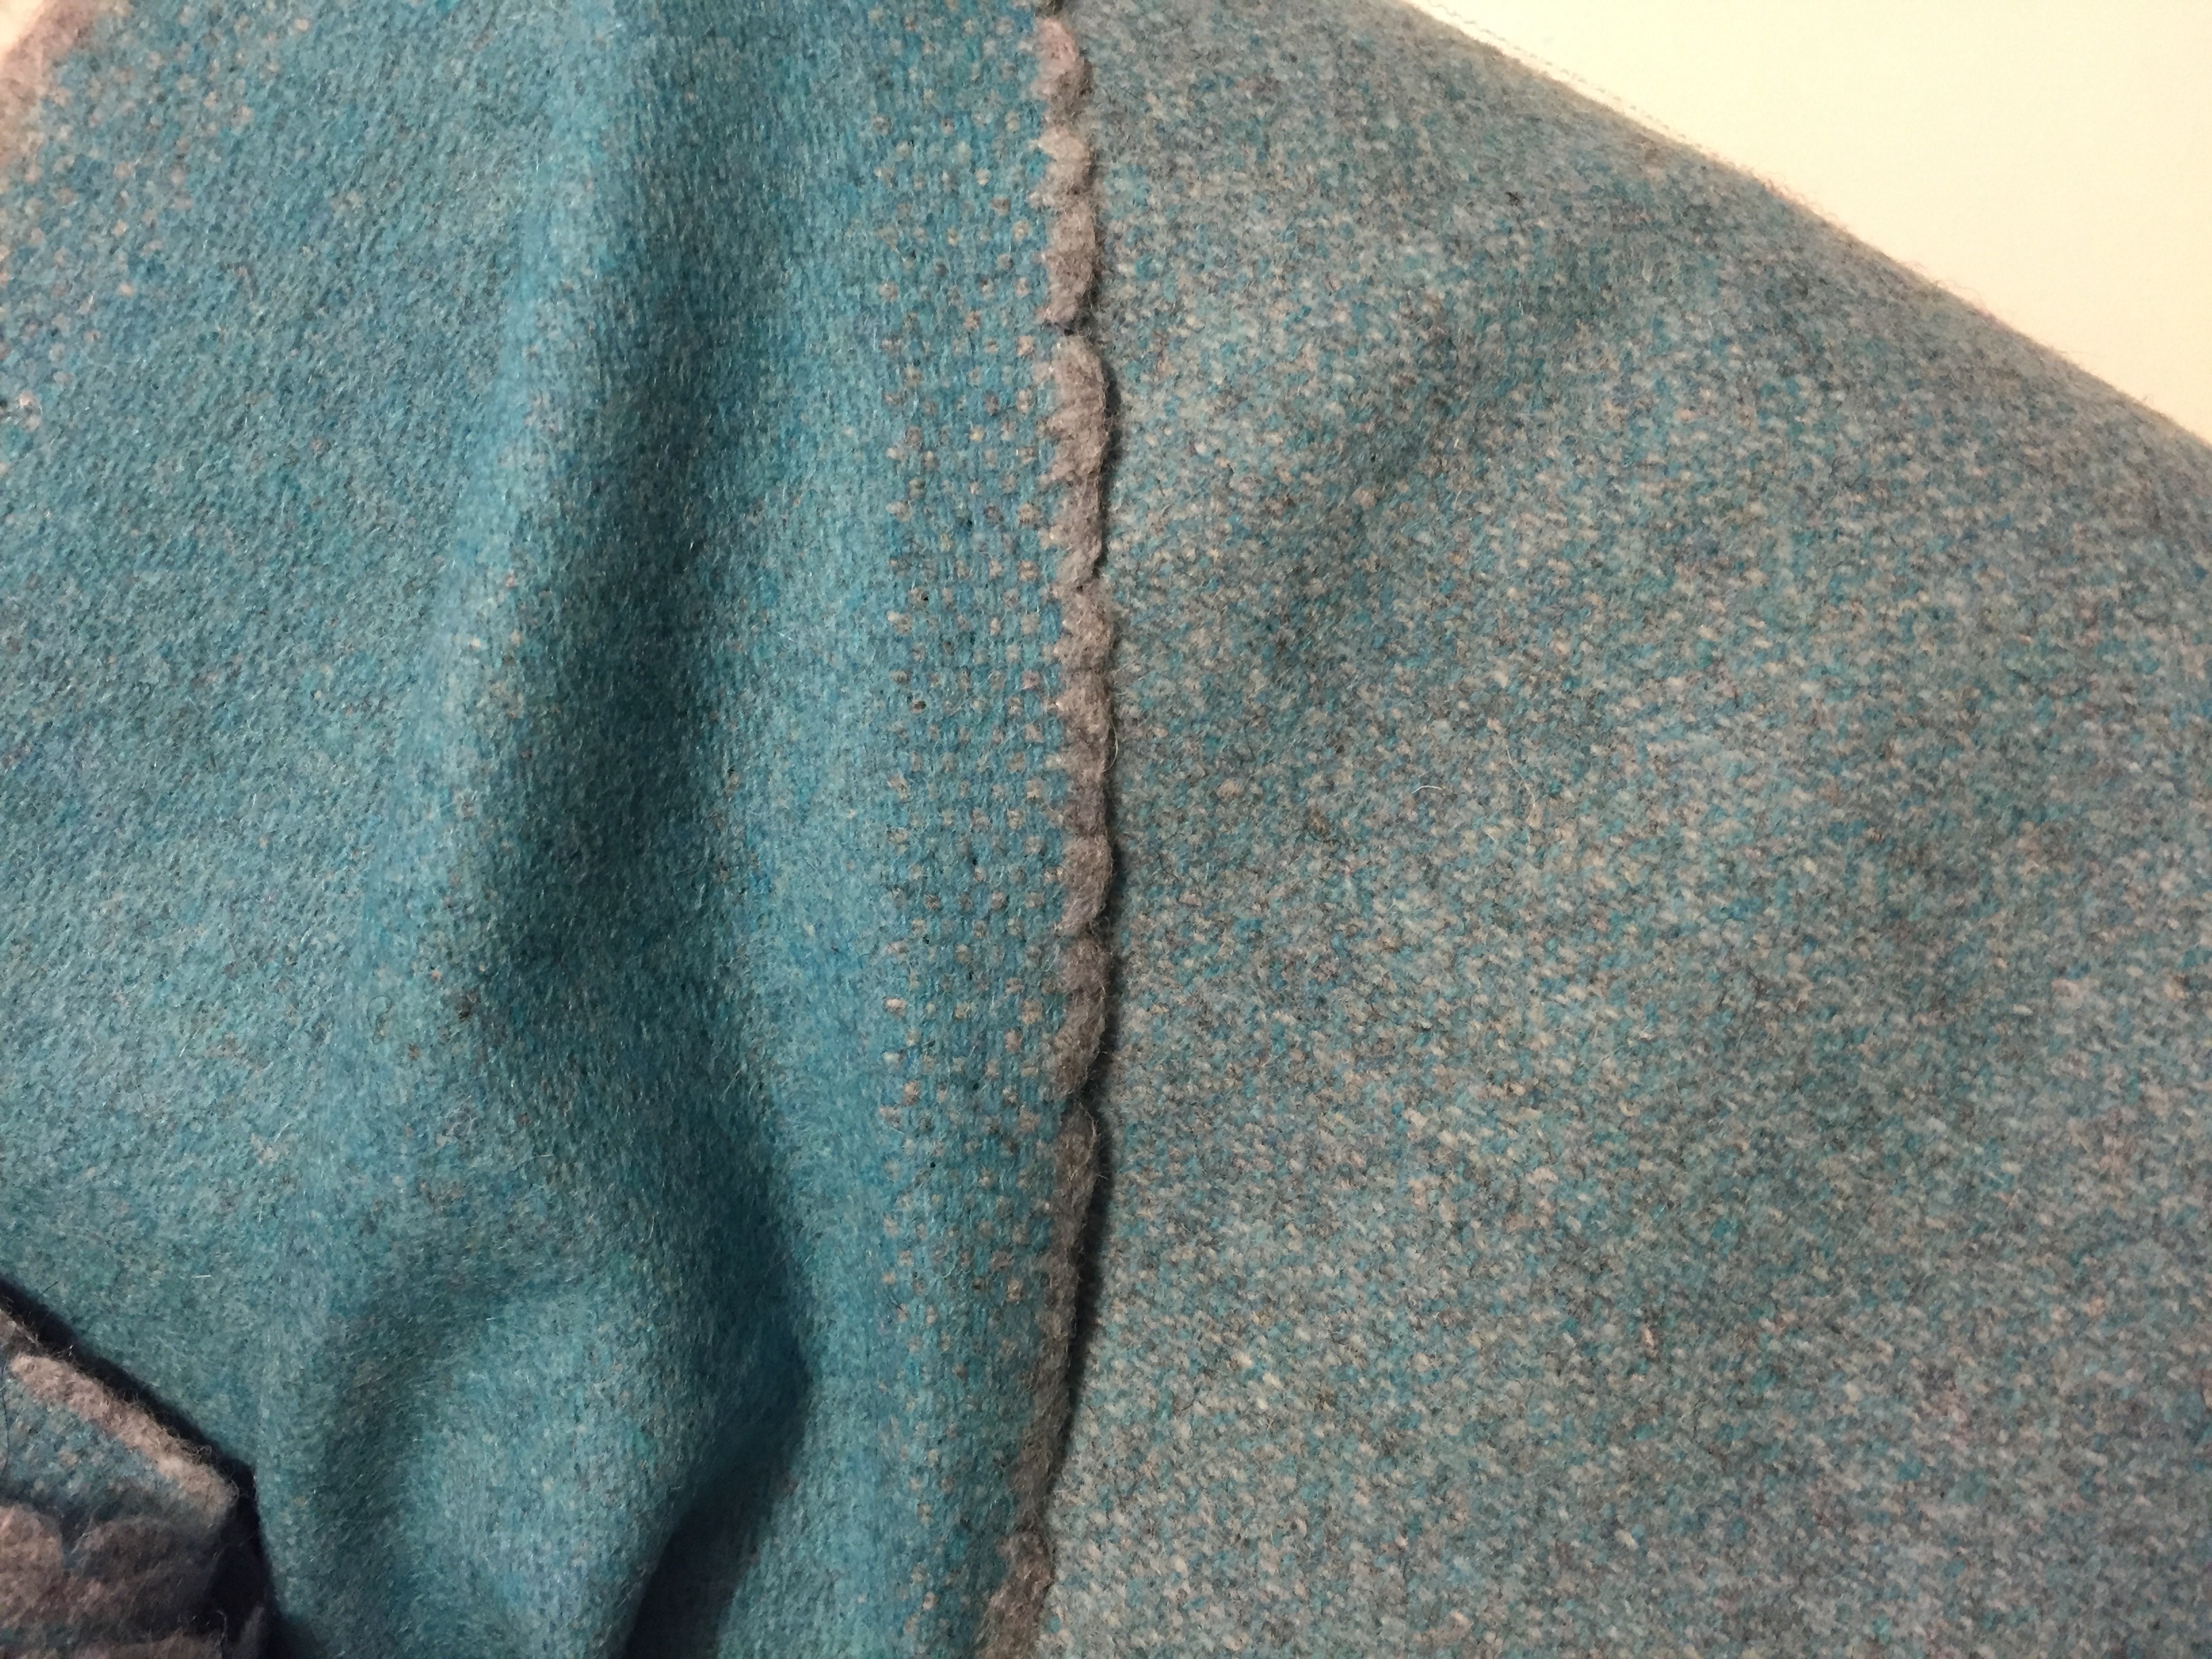
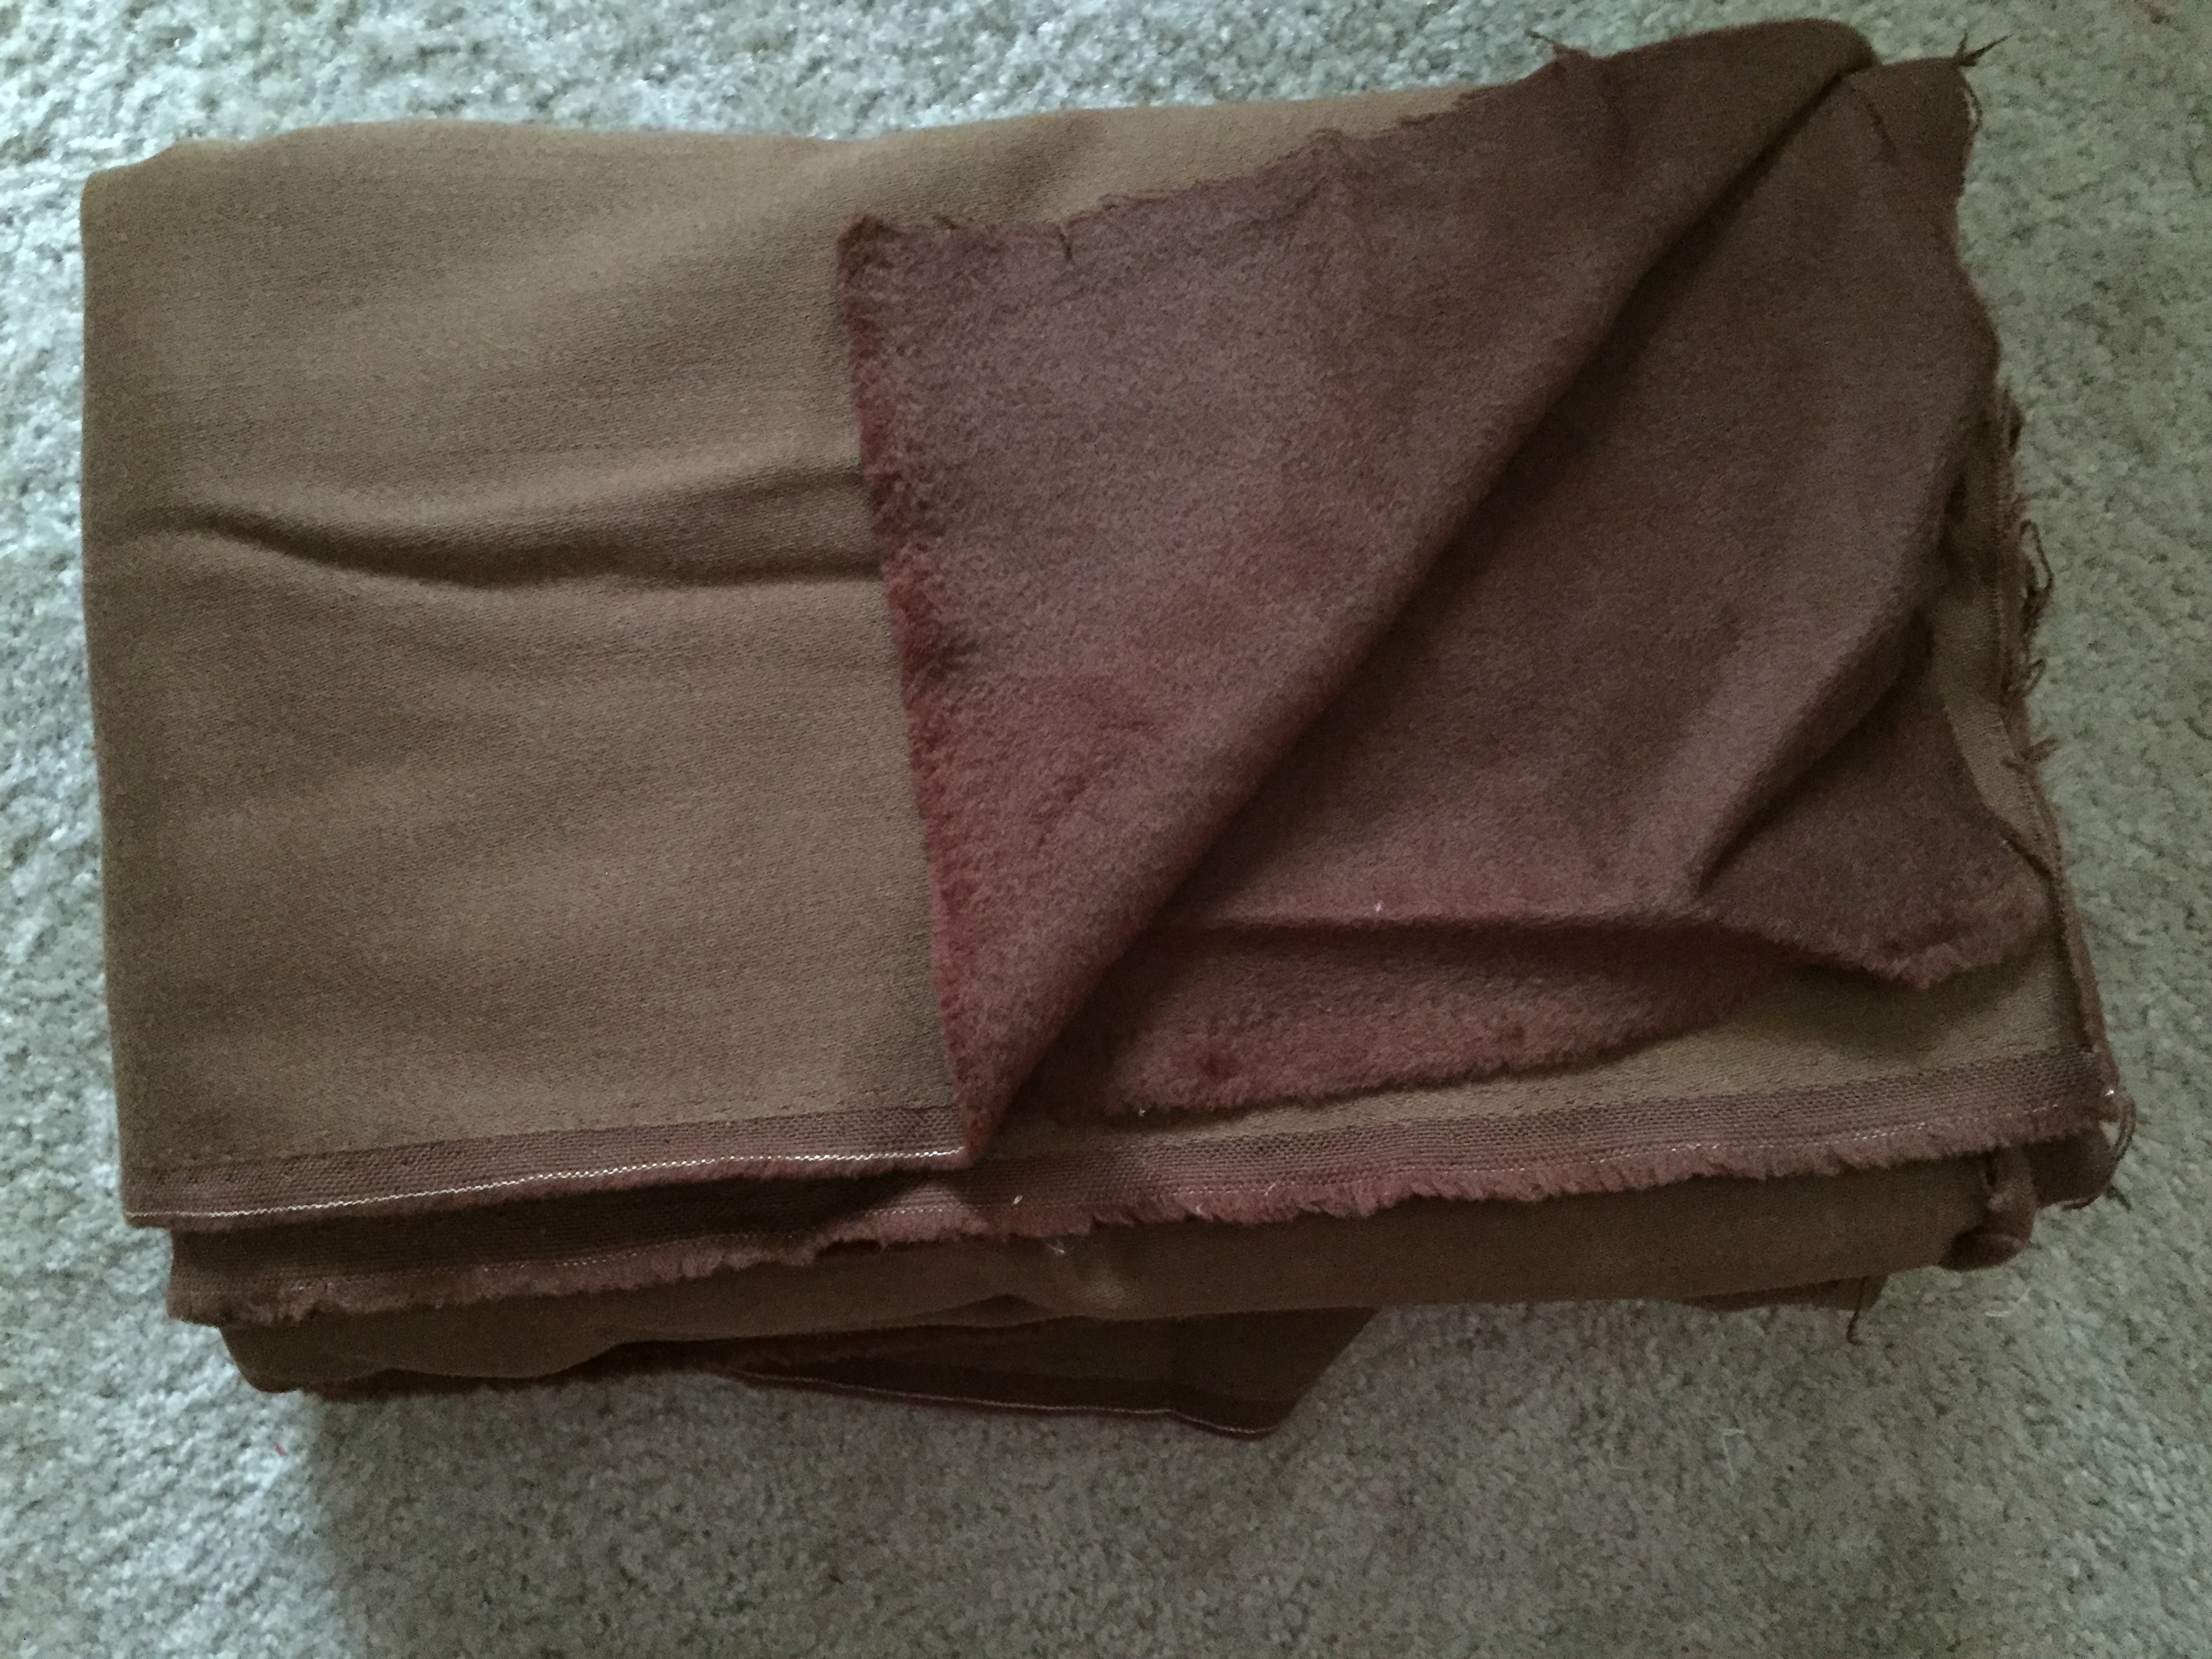
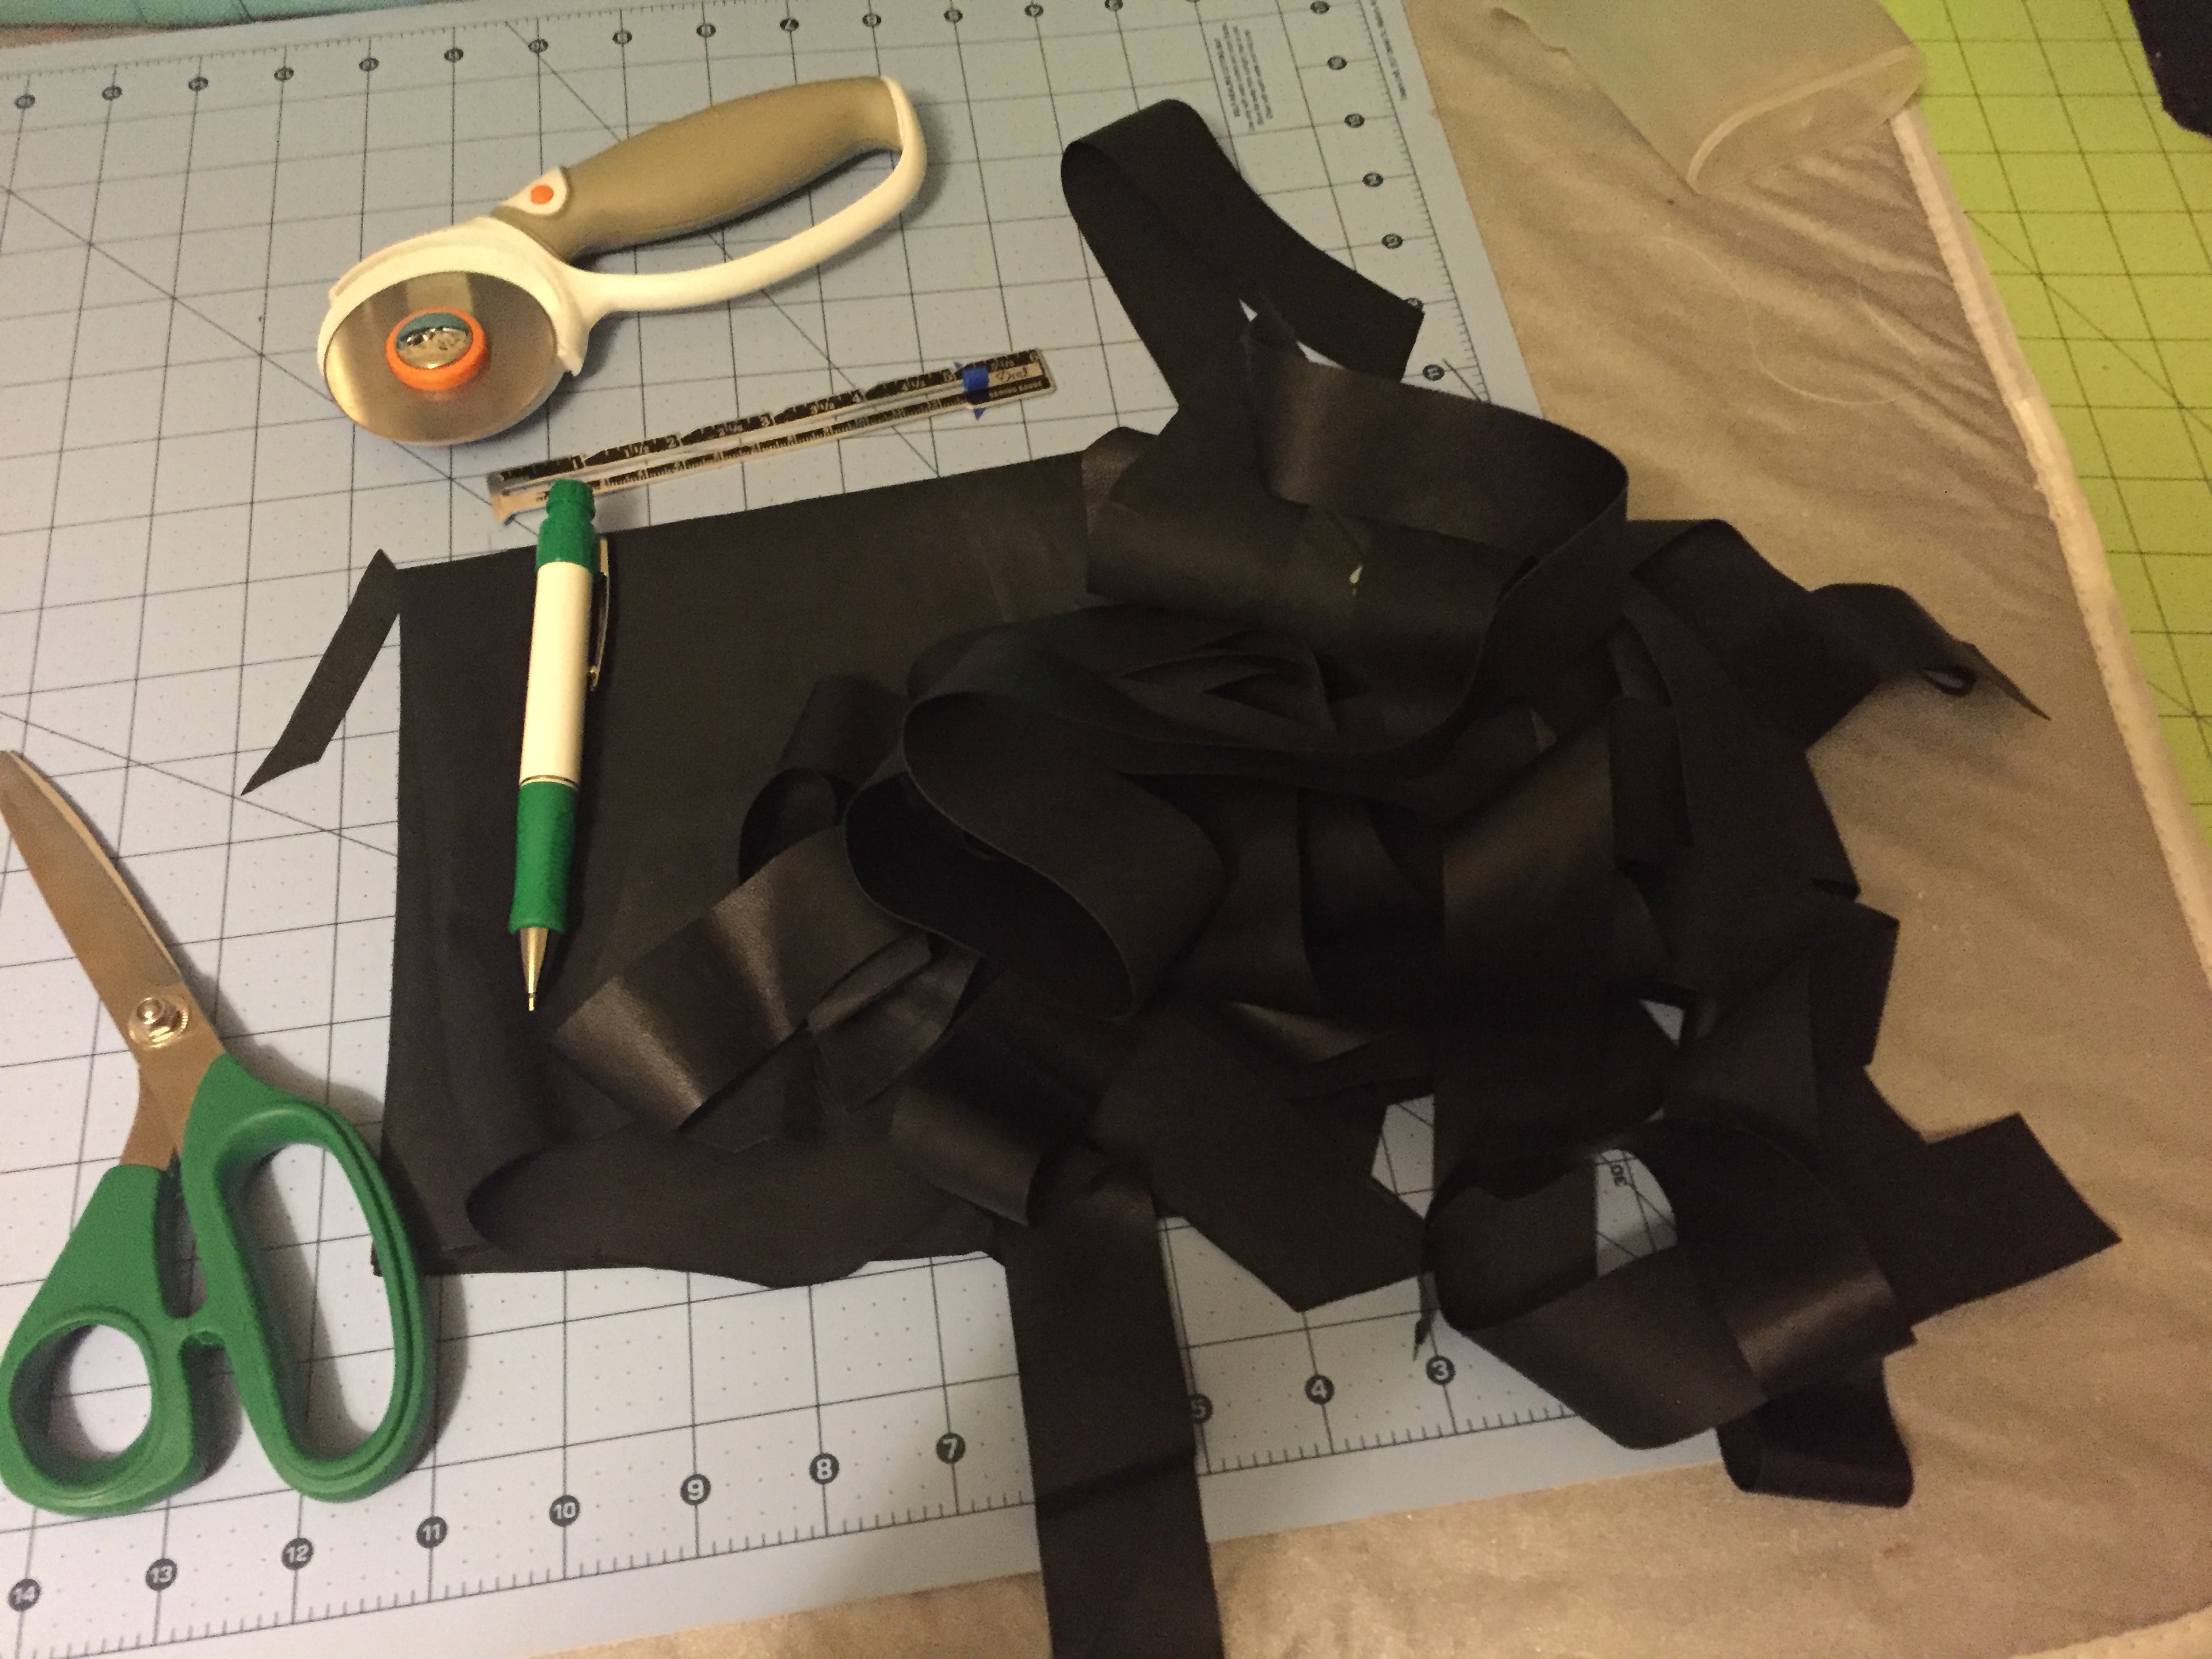
Bias Binding
[spacer height=”20px”]
[spacer height=”20px”]
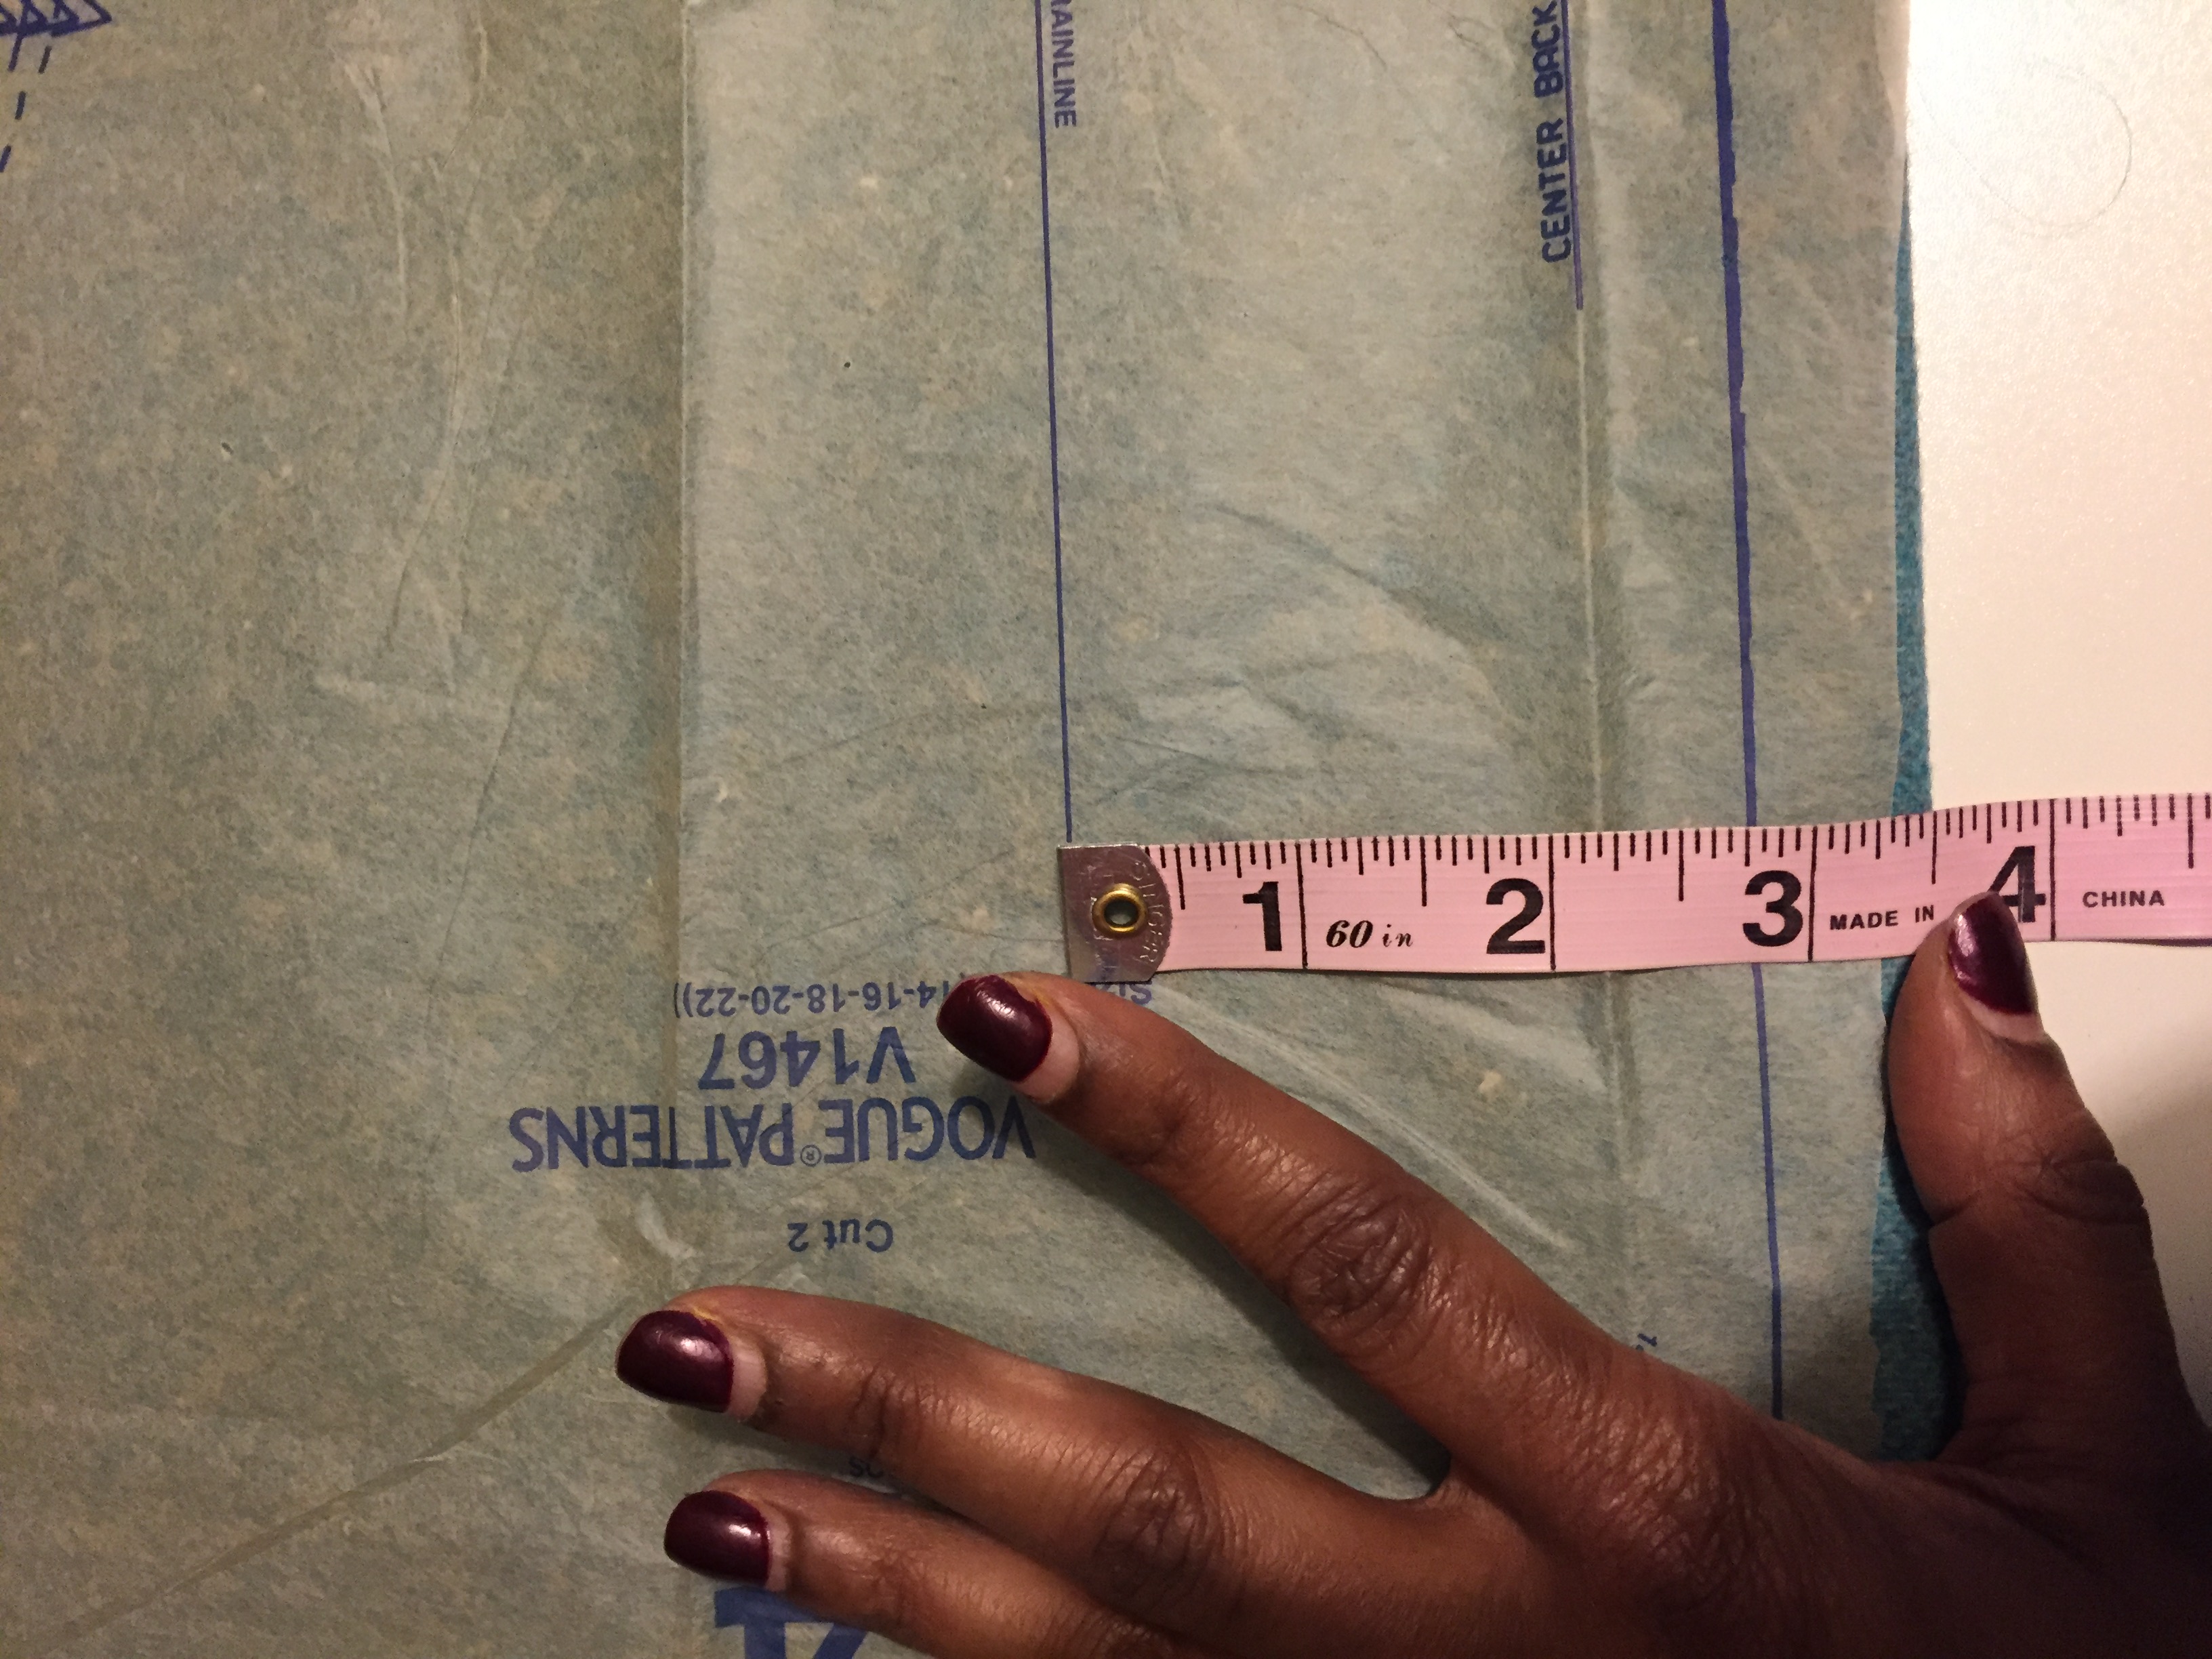
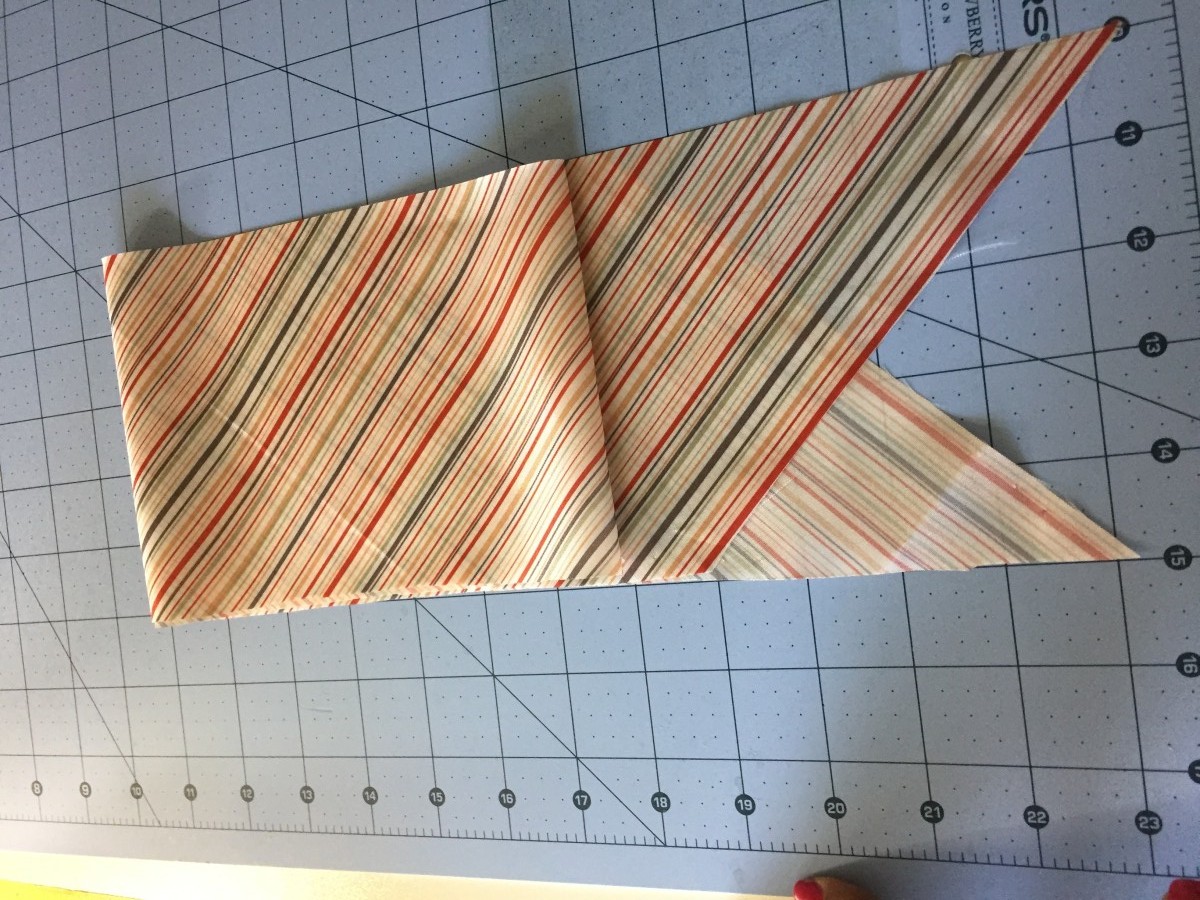
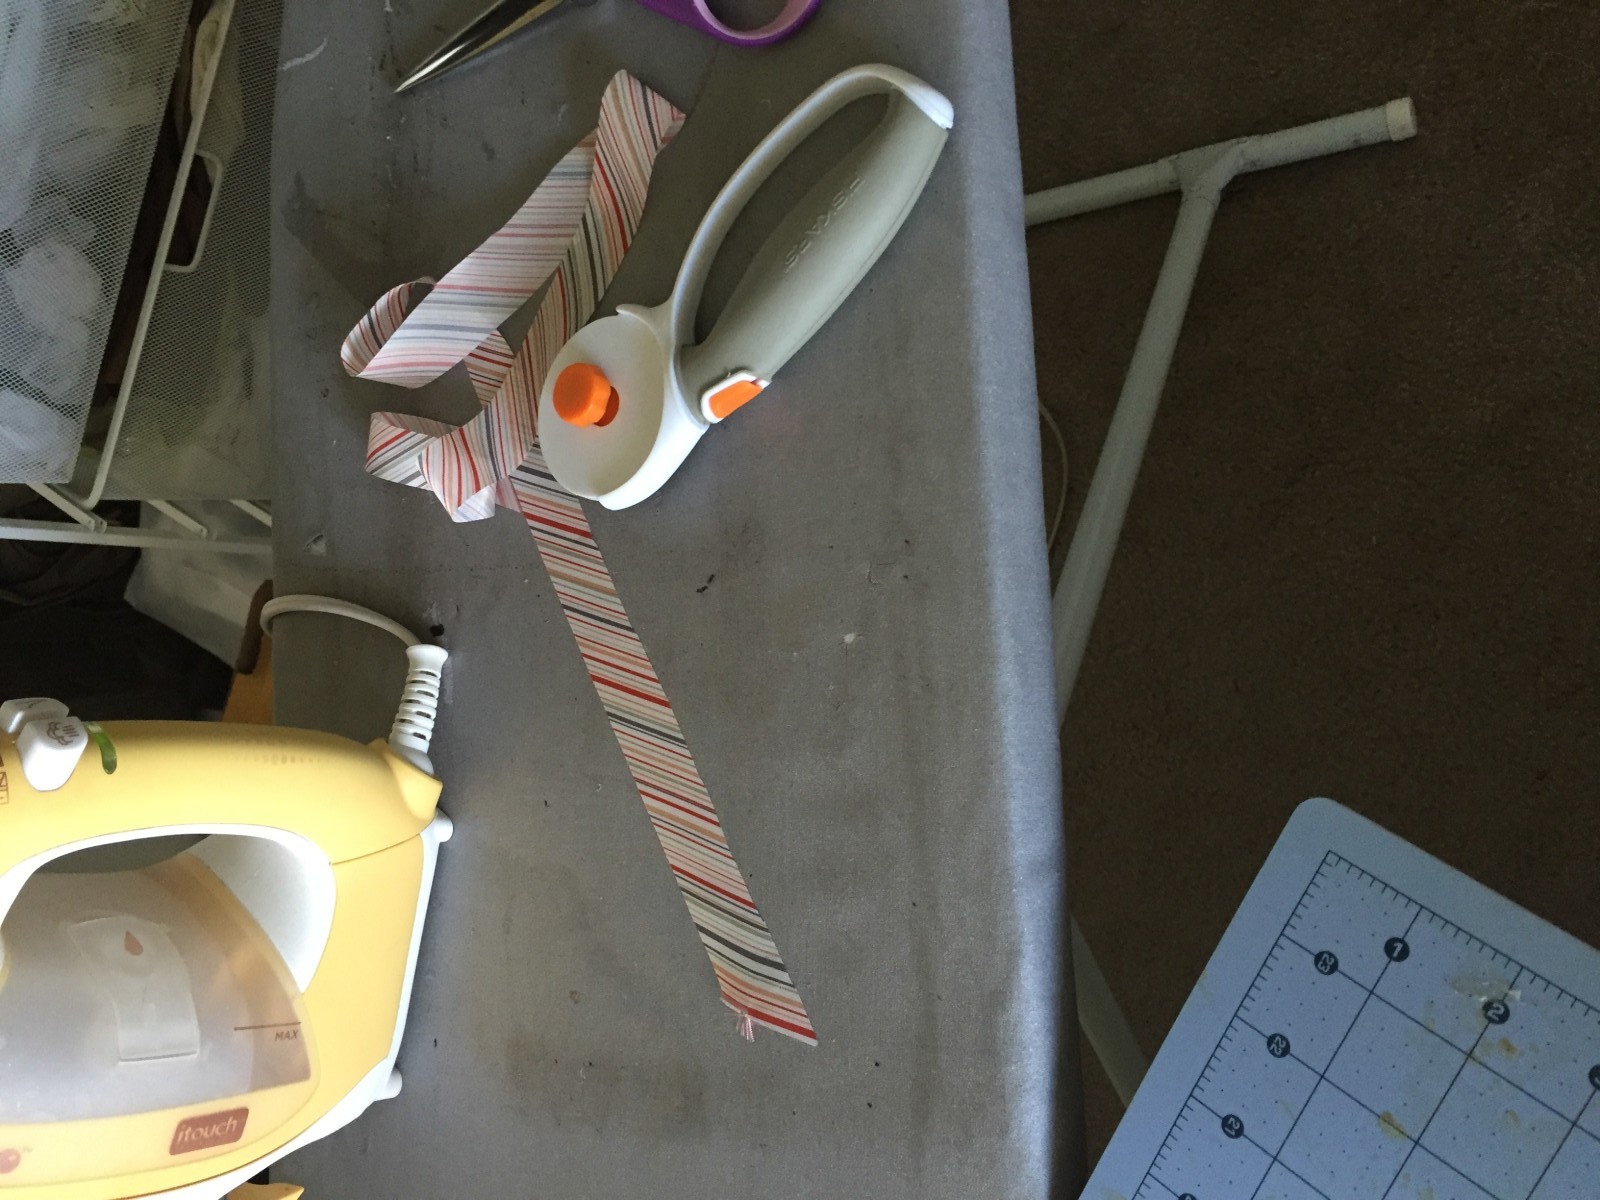
This is the strip of bias binding.. they actually had a pattern piece for this LOL and I actually cut the pattern piece and it was a waste! I wind up cutting my own instead..
[spacer height=”20px”]
[spacer height=”20px”]
[spacer height=”20px”]
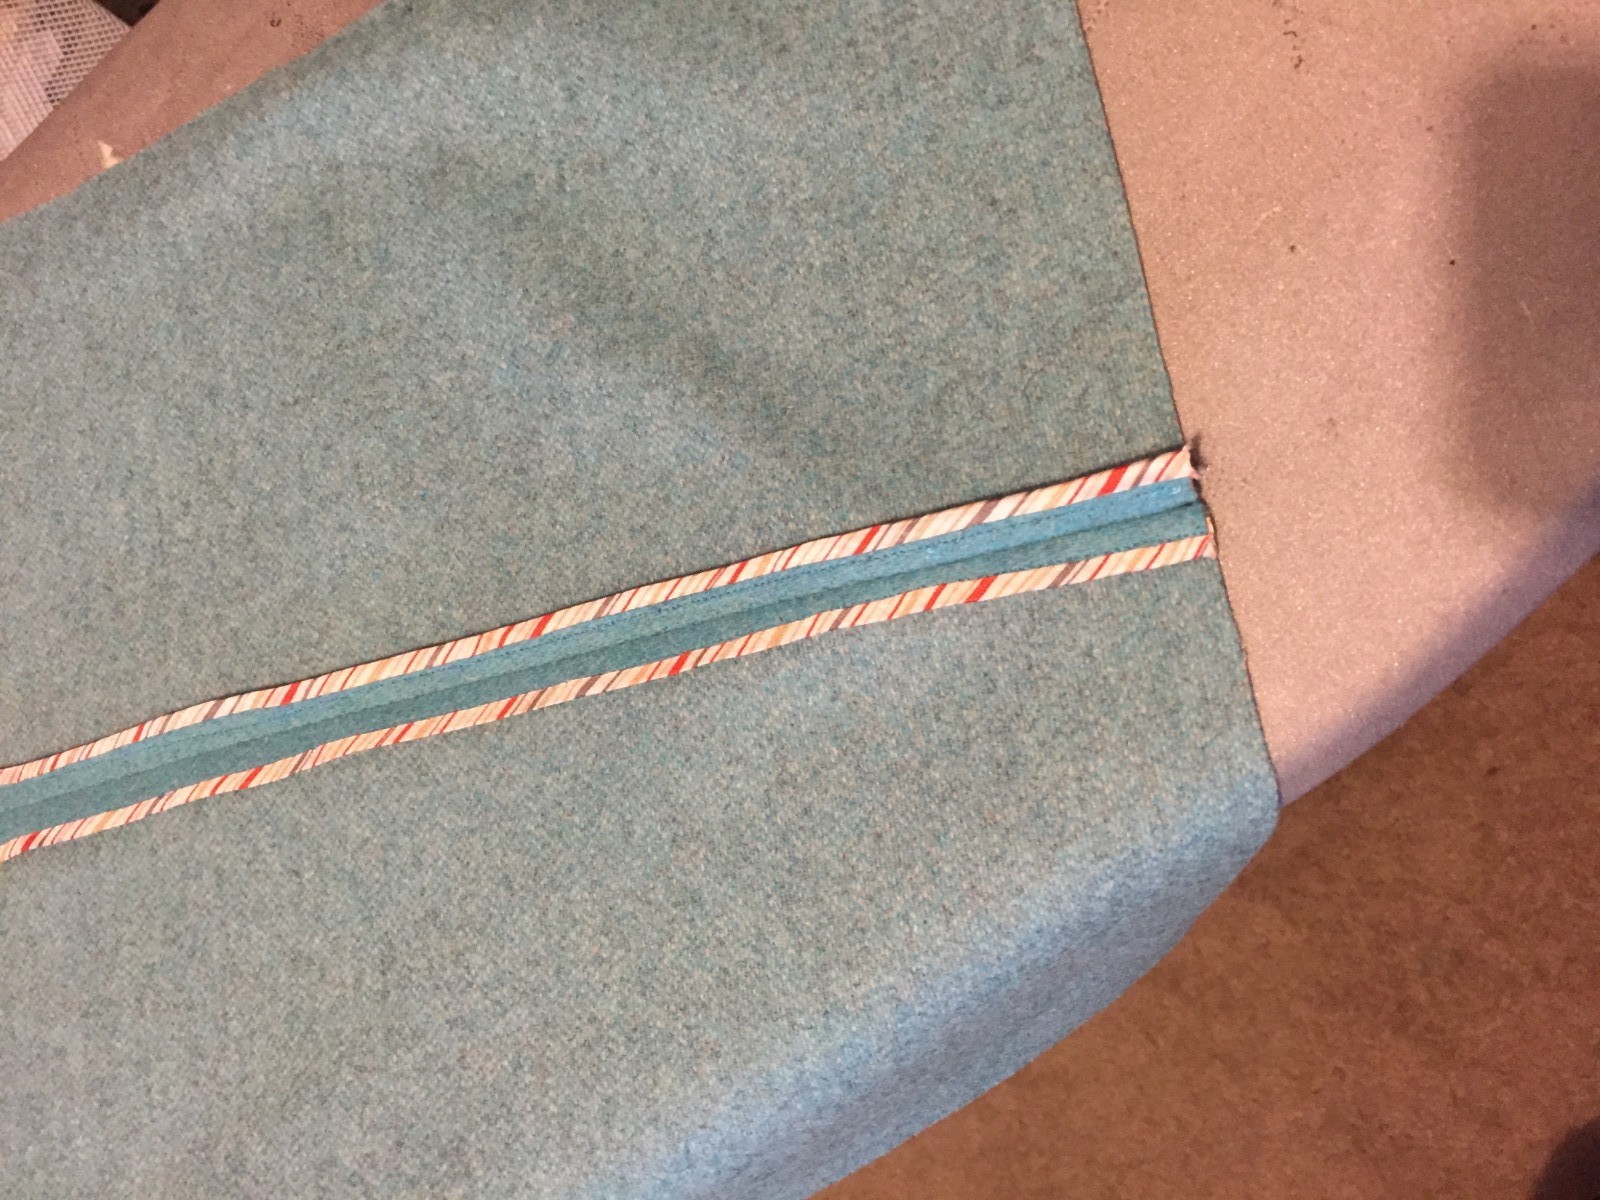
Yes its a bit wobbly I am still pleased with it nonetheless..
[spacer height=”20px”]
Mood Gift Card Winner!
[spacer height=”20px”]
And as promised the winner announced for the Mood $100 Gift Card!
[spacer height=”20px”]
Here is the GiveAway!
[spacer height=”20px”]
Thank you all who entered more contests coming soon! And thank you Mood For Your Generous Donation!
Next week we will look at the lining, sleeves, and outside finishing 🙂
XXXMauh!