Category: Sewing

To Muslin or not Muslin, Pattern Layout, and Cutting

Hello!

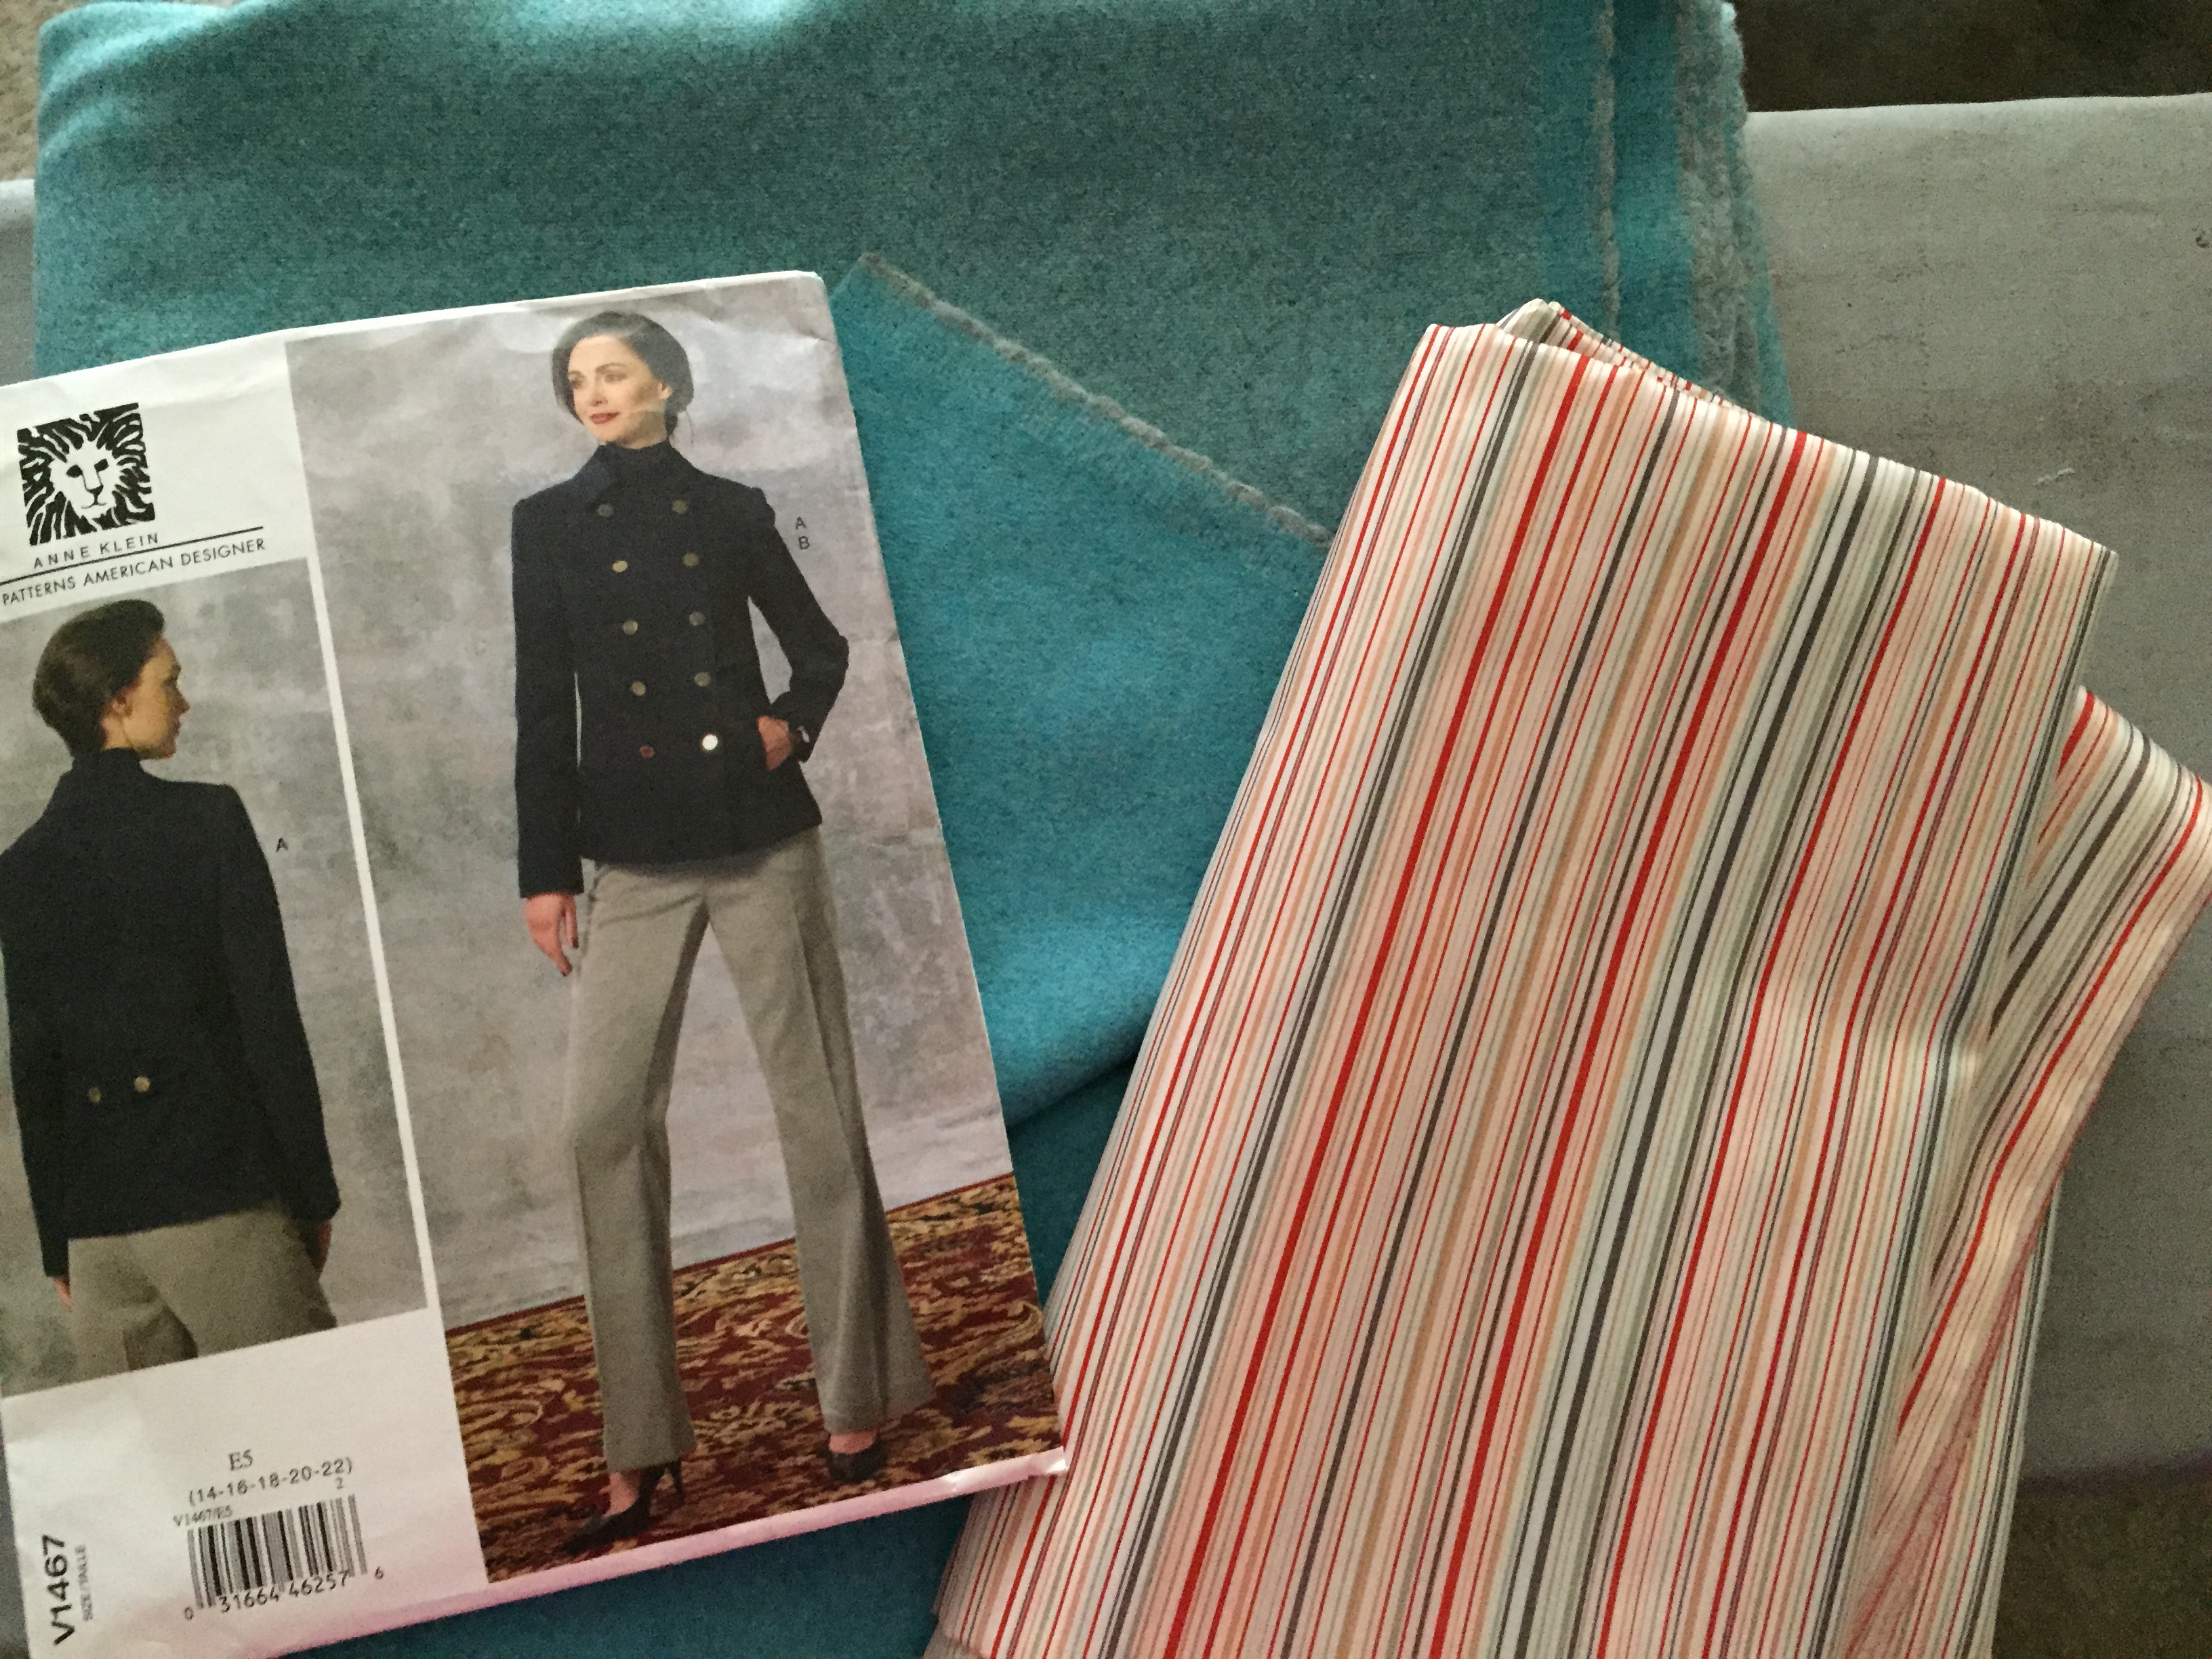
This is week three of Vogue 1467 Sew-Along, if you are just joining us you can read week 1 and week 2. This week we will talk about creating a muslin or not, your pattern layout, guidelines and cutting.

Create a Muslin or Not

I generally do not create a muslin for my garments, I create so many garments a week it would just be pointless for me to do so.  I have sewn so much for my body I pretty much know what will fit and not fit. I also have a tendency to use some patterns multiple times like I have one go to pants pattern — because that is the most challenging for me.

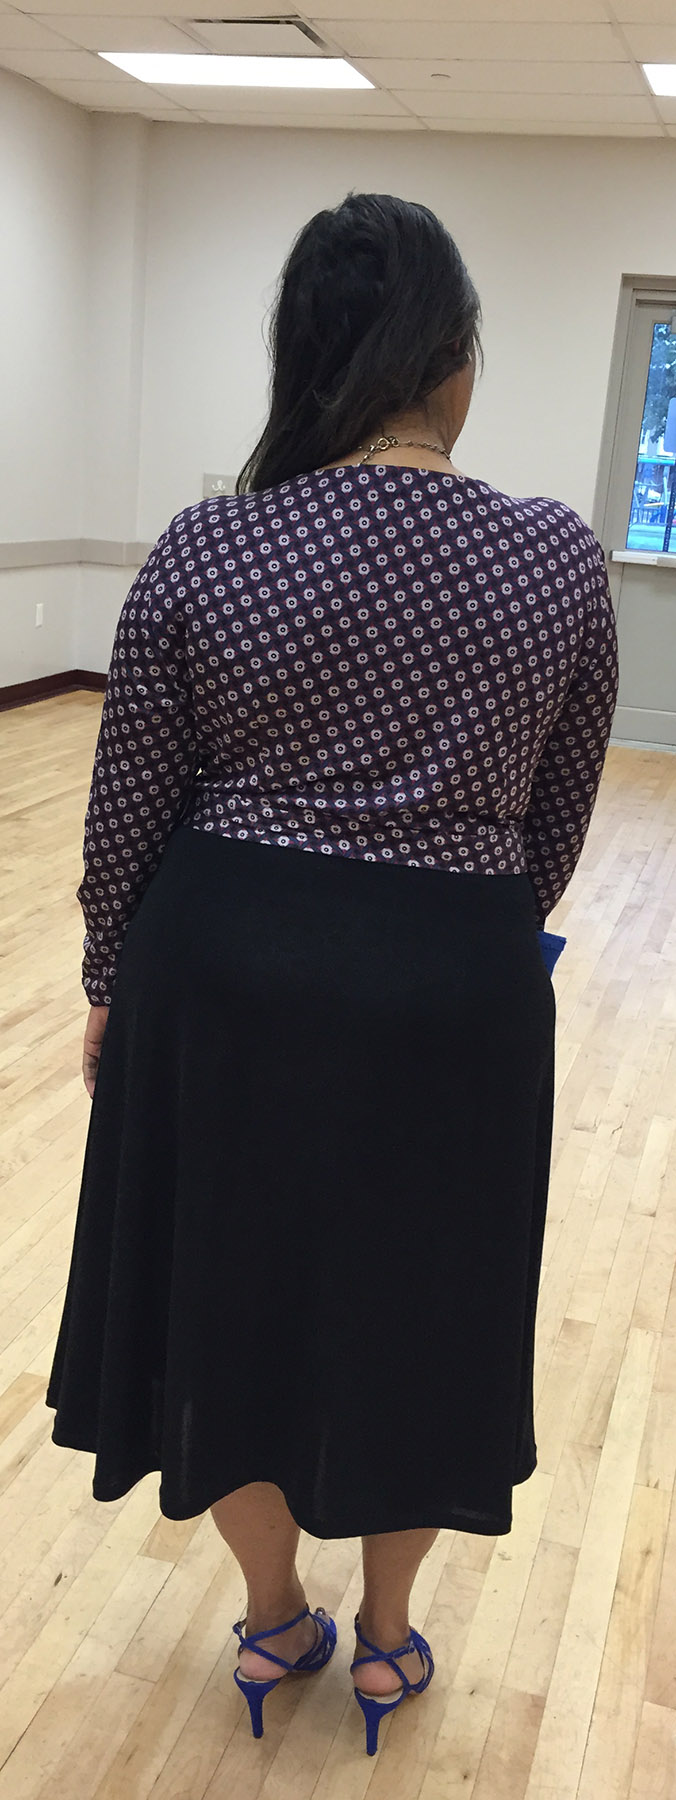
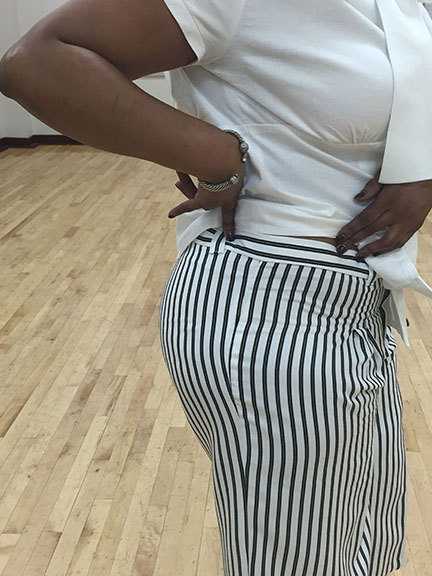
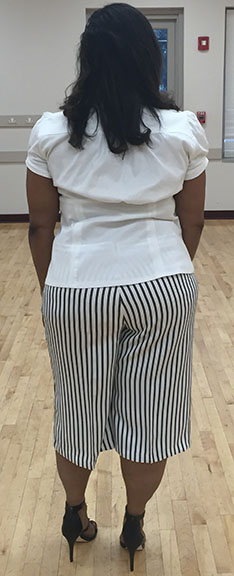
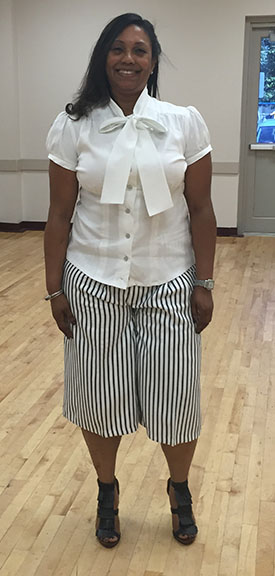
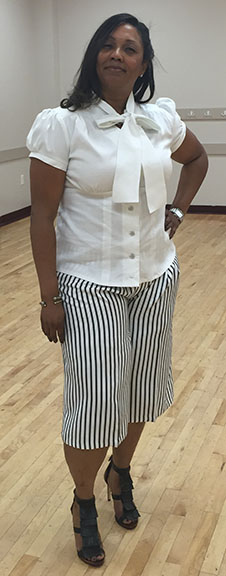
My Go To Pattern, its generous in the legs because I have a problem with them but yet its slimming and flattering. I have made this pattern for a few clients too out of army print fabric.New Look Misses' Pants & Shorts 6055

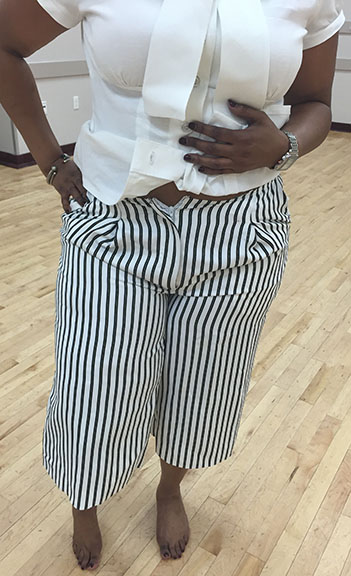
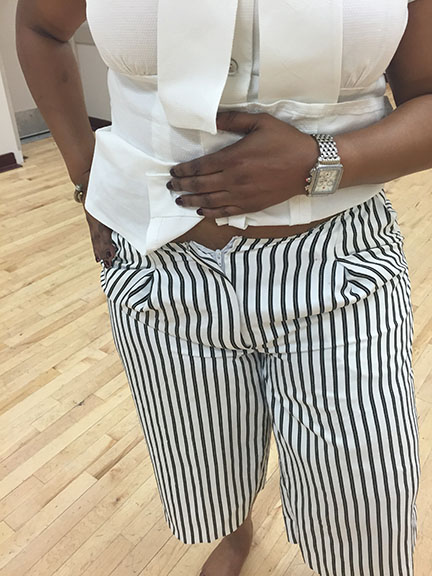
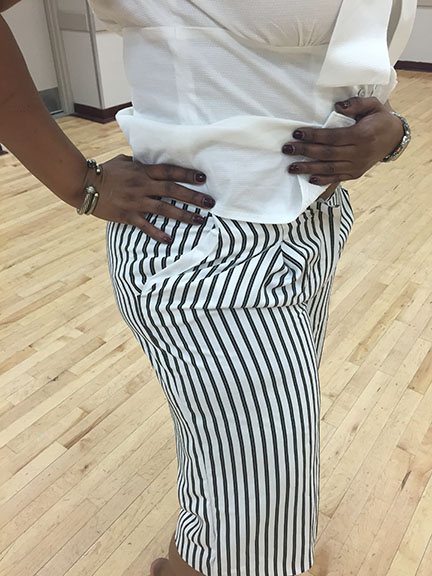
However, my shape is a bit unique as my upper bust and lower bust are significantly different in inches and it often leads to the bodice being too large but fitted in the bust area. So to solve that problem I use the finished measurements from my pattern and measure against myself.

For example, lets say the finished measurement is a 25″ and my bust is 20″.. those 5 inches satisfies my need and ease allowance that I would like. I also create a muslin when its an independent pattern I have not used before.

Pattern Layout, Guidelines, and Cutting

Vogue 1467 Pattern Layout

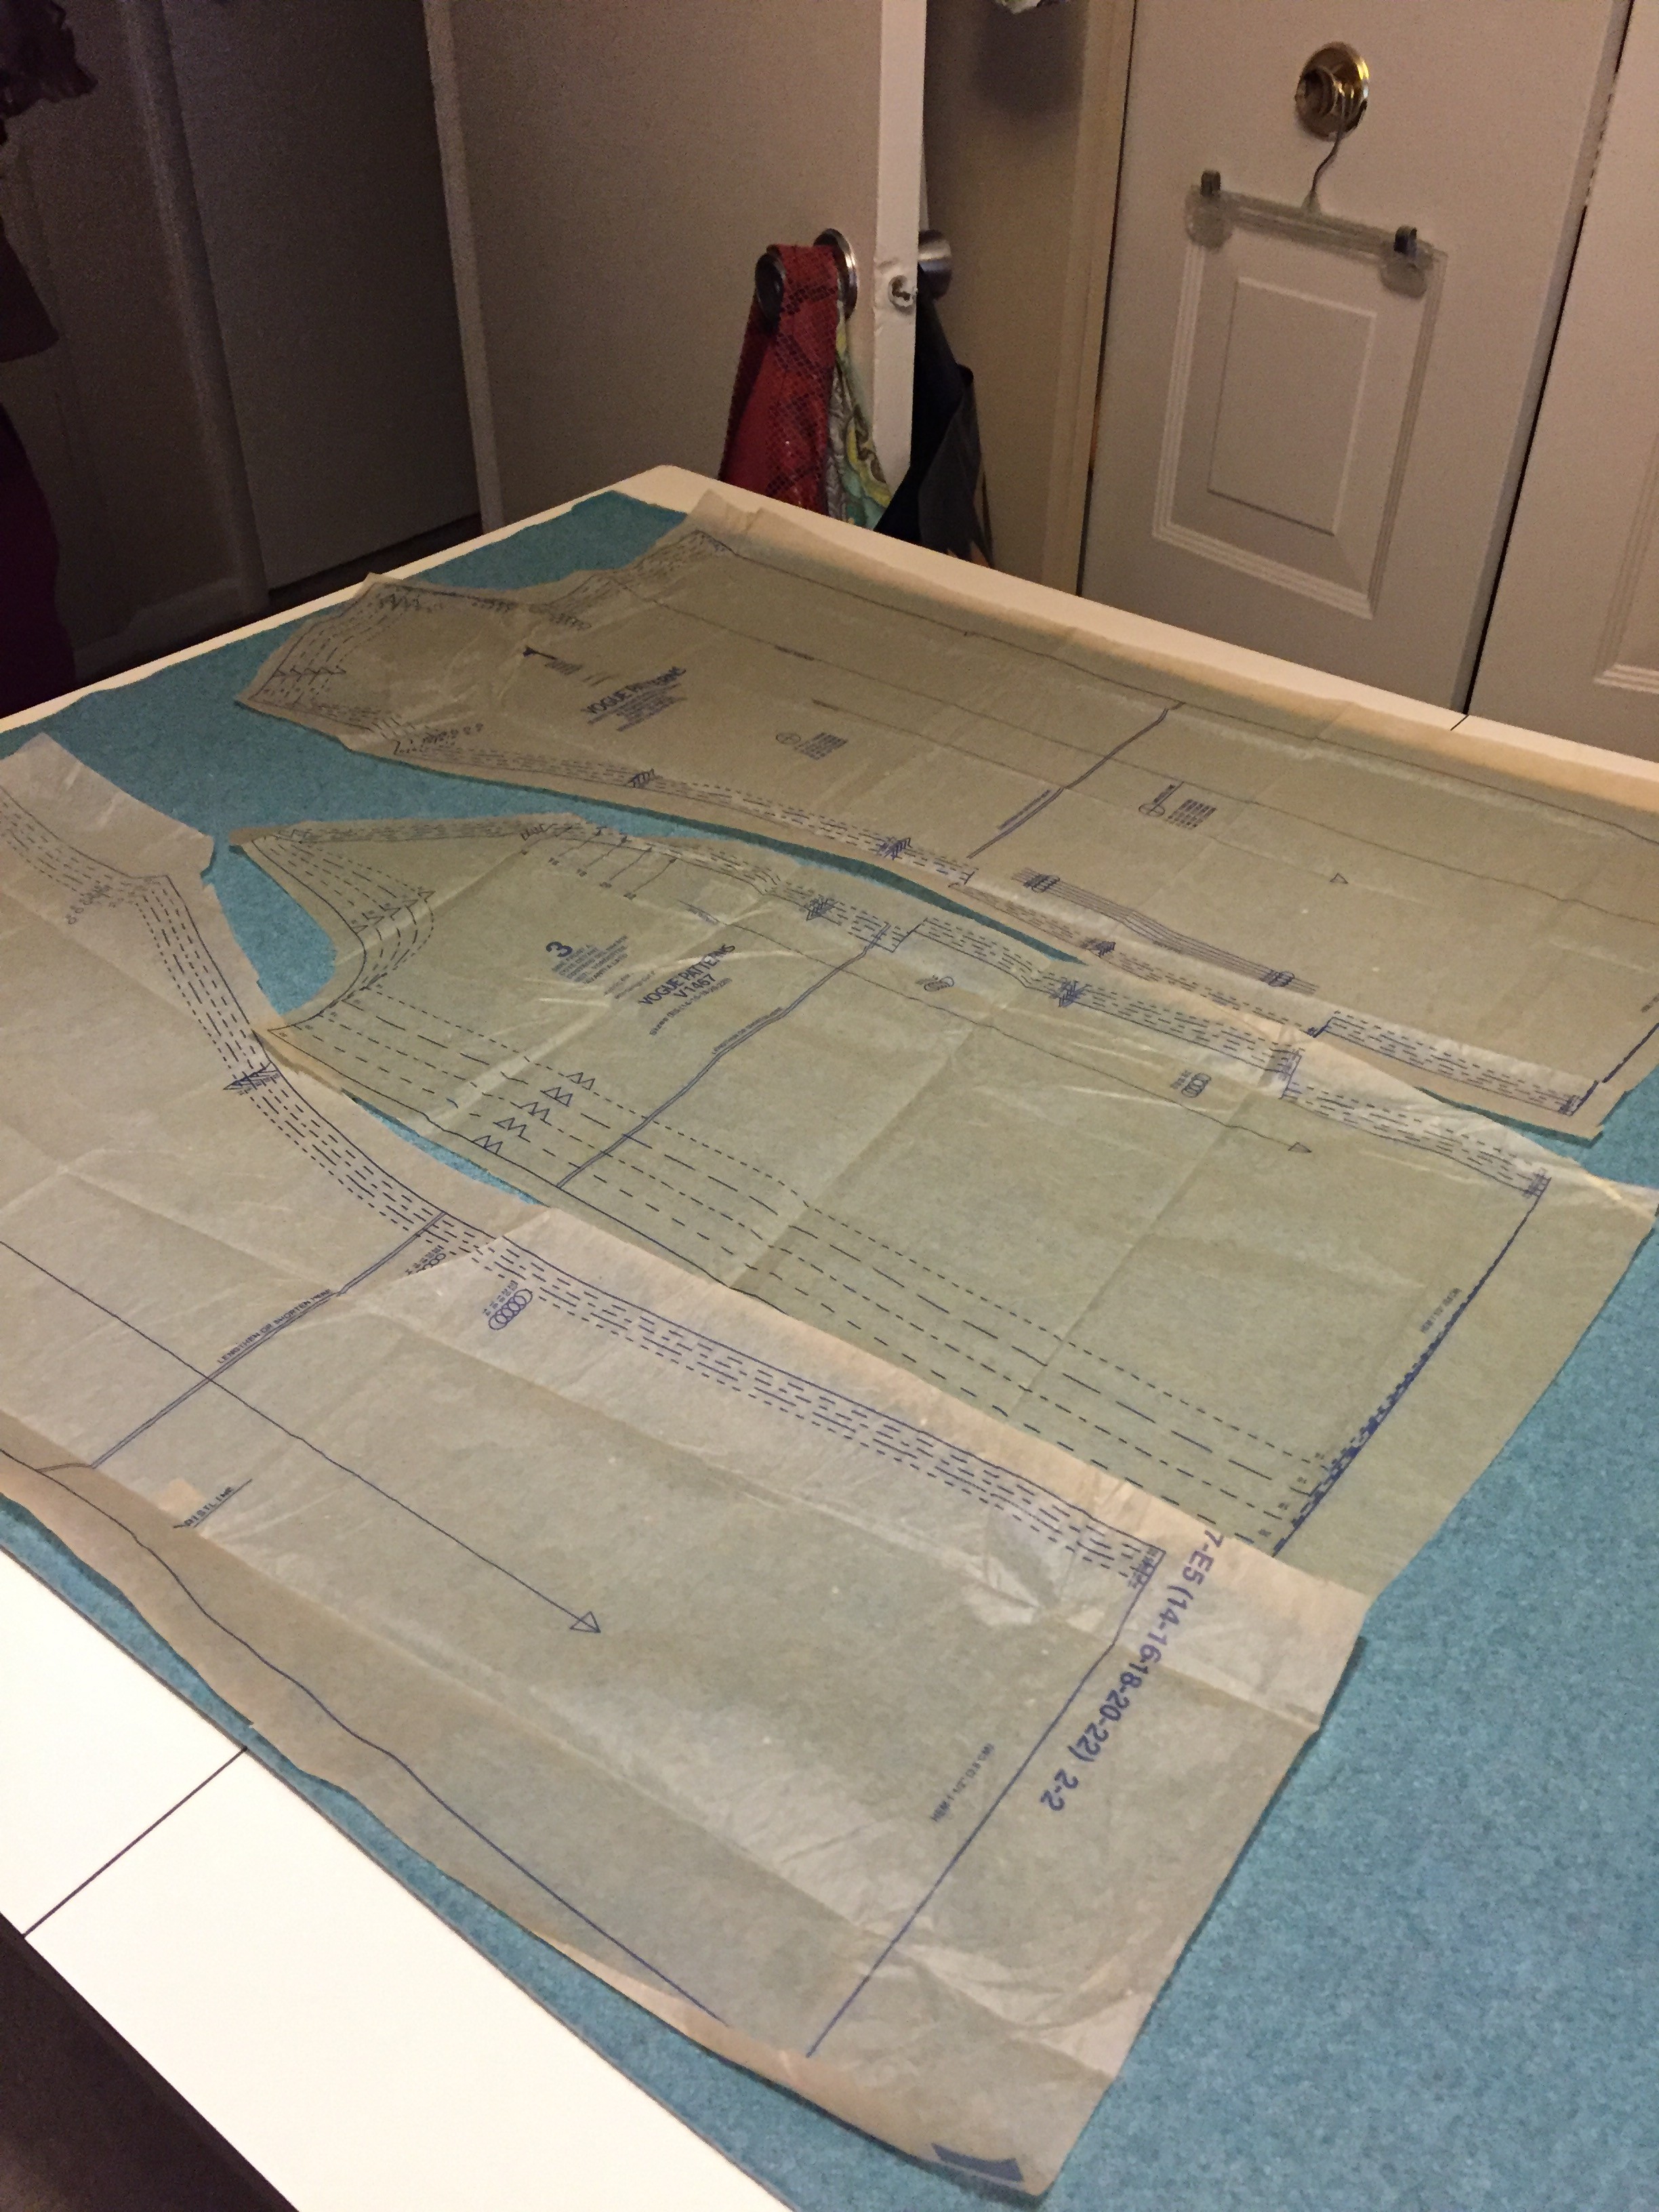
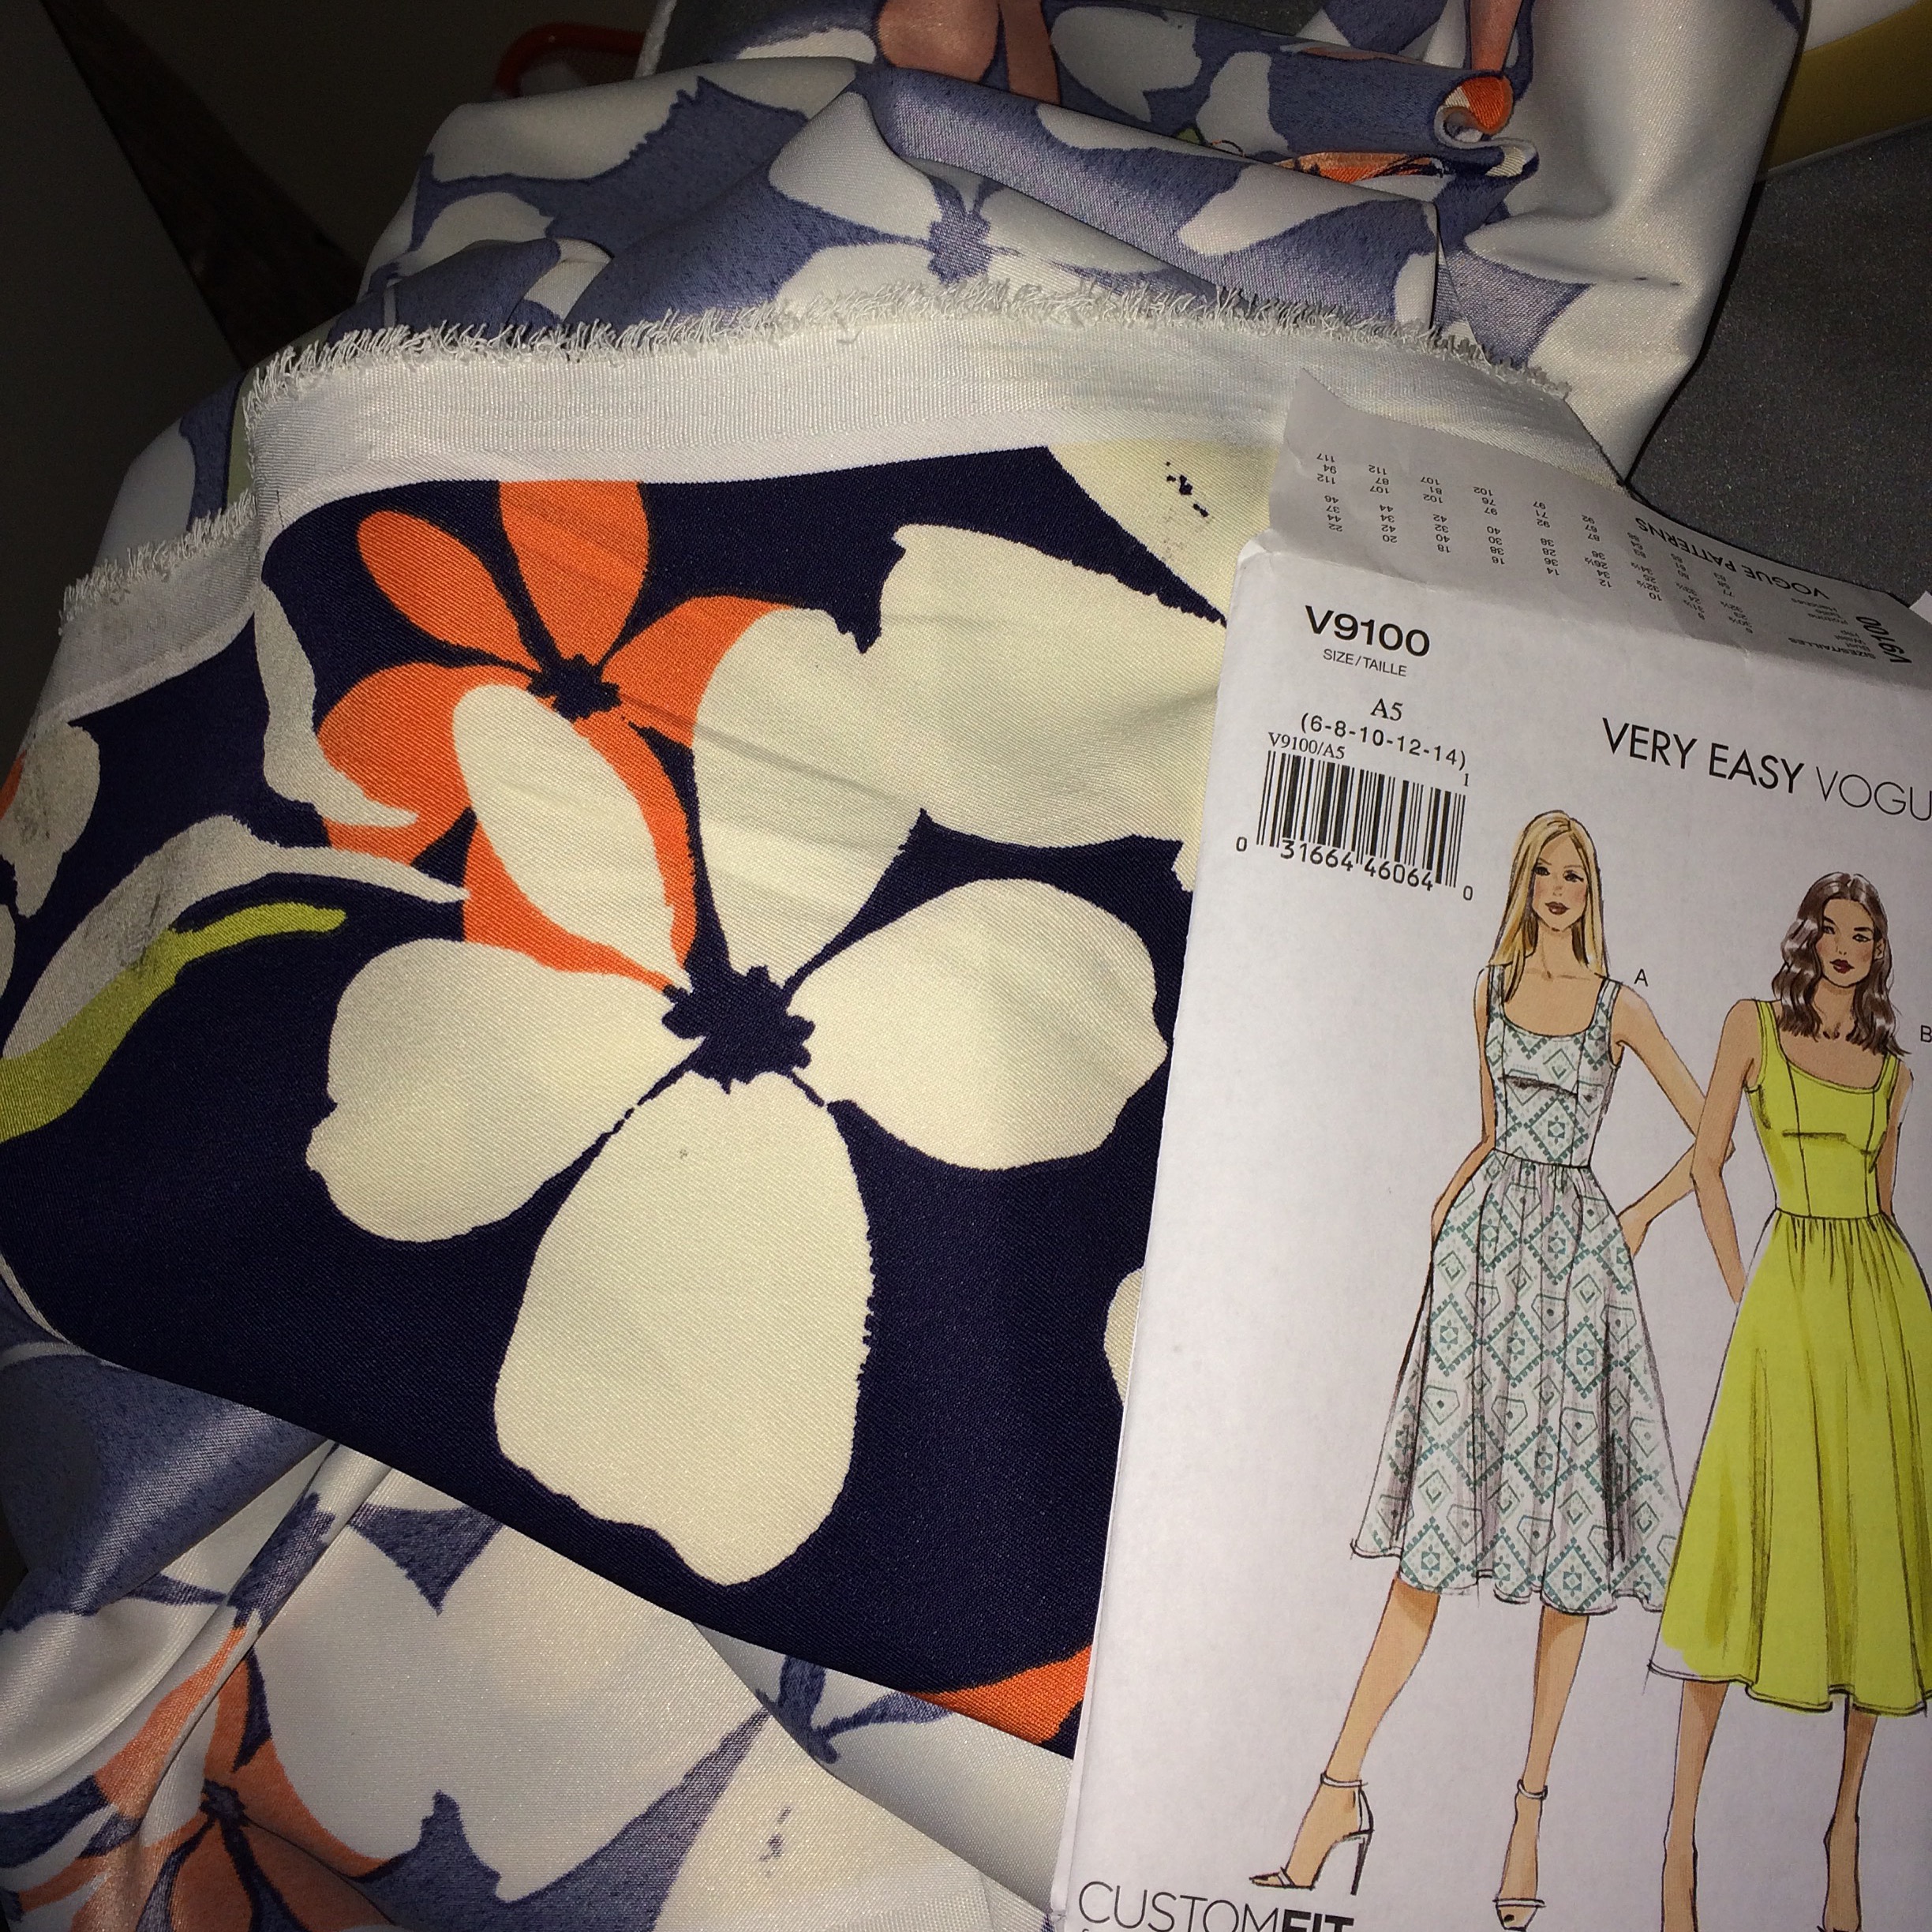
This is the lay out prior to cutting, I lay all of my pieces on the fabric first to make sure they fit and the placement is correct. I do not trace patterns! I have never learned that or did it when I went to school. We cut our patterns and I will continue that method its easy for me. I am also sure that I cut all of my pieces in the same direction unless a piece is cut on the bias like the upper collar. Since the upper collar shrinks and molds to a semi rounded state it needs to be cut on the bias.

To Muslin or not Muslin, Pattern Layout, and Cutting

[spacer height=”20px”]

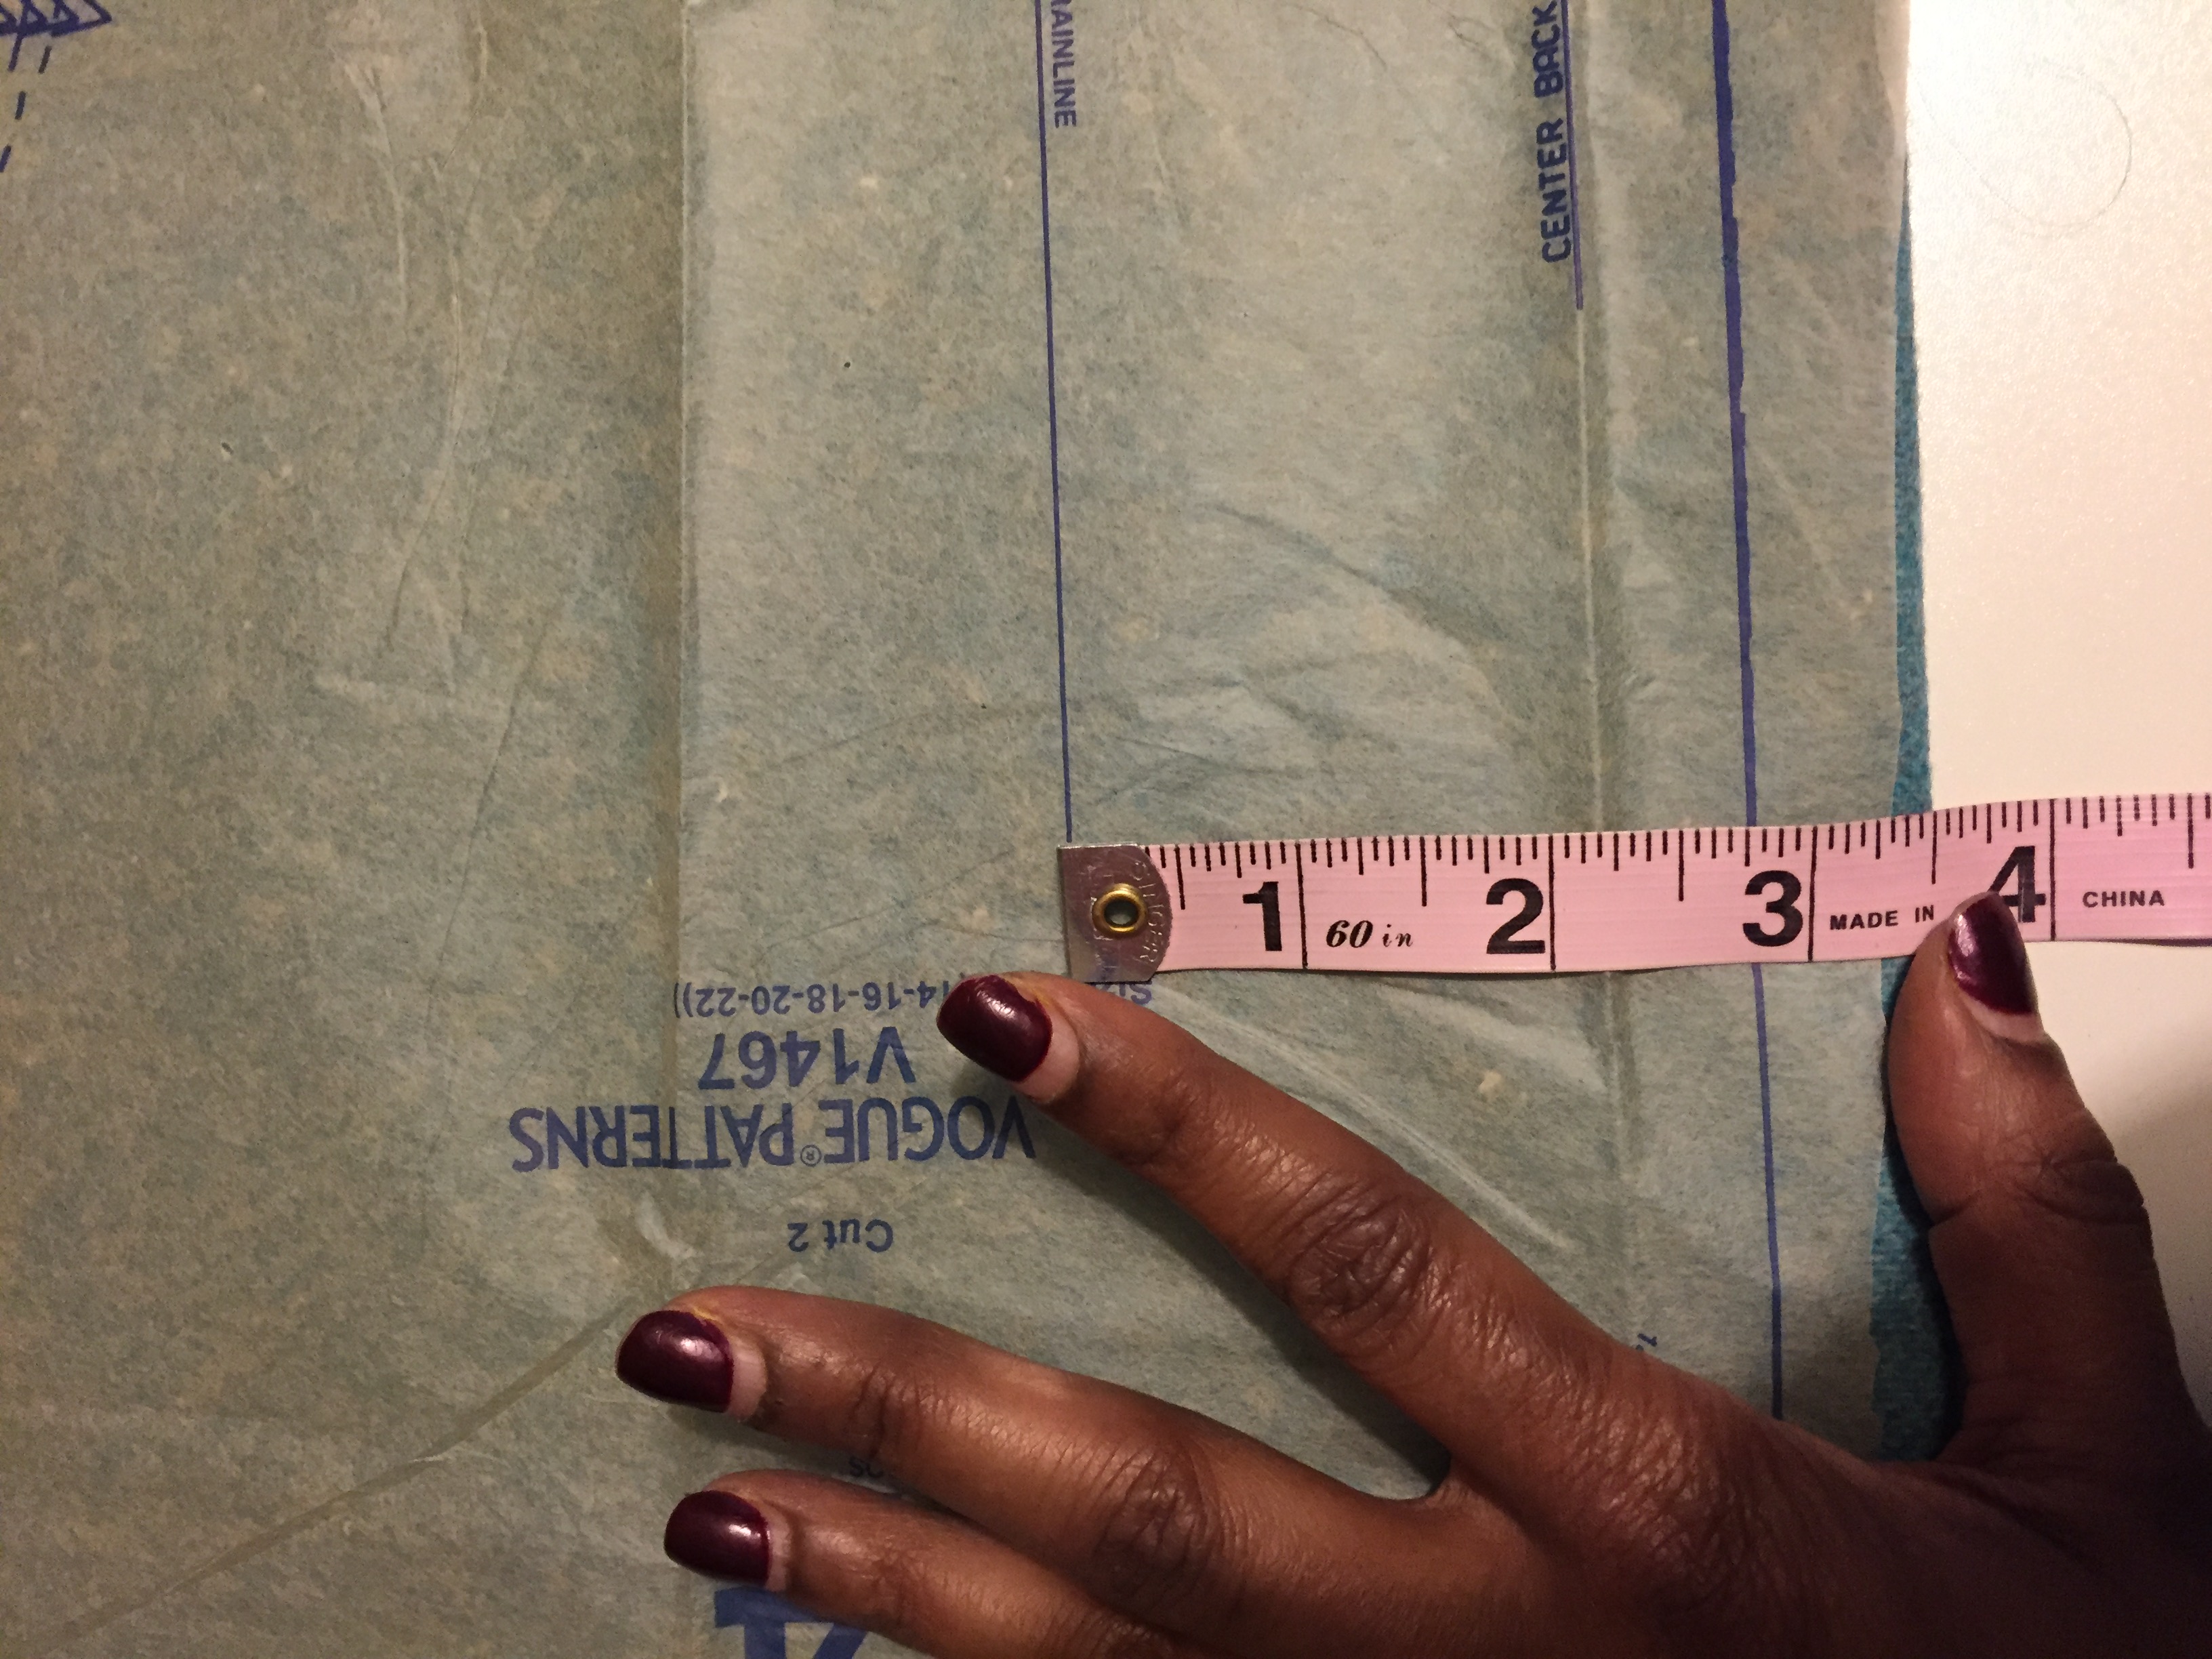
Excuse the undone nails this was weeks ago lol once you pay your pieces you then want to be sure they are properly on the grain by measuring from the grainline to the end of salvage as shown above.

[spacer height=”20px”]

Cut out Pieces Vogue 1467

[spacer height=”20px”]

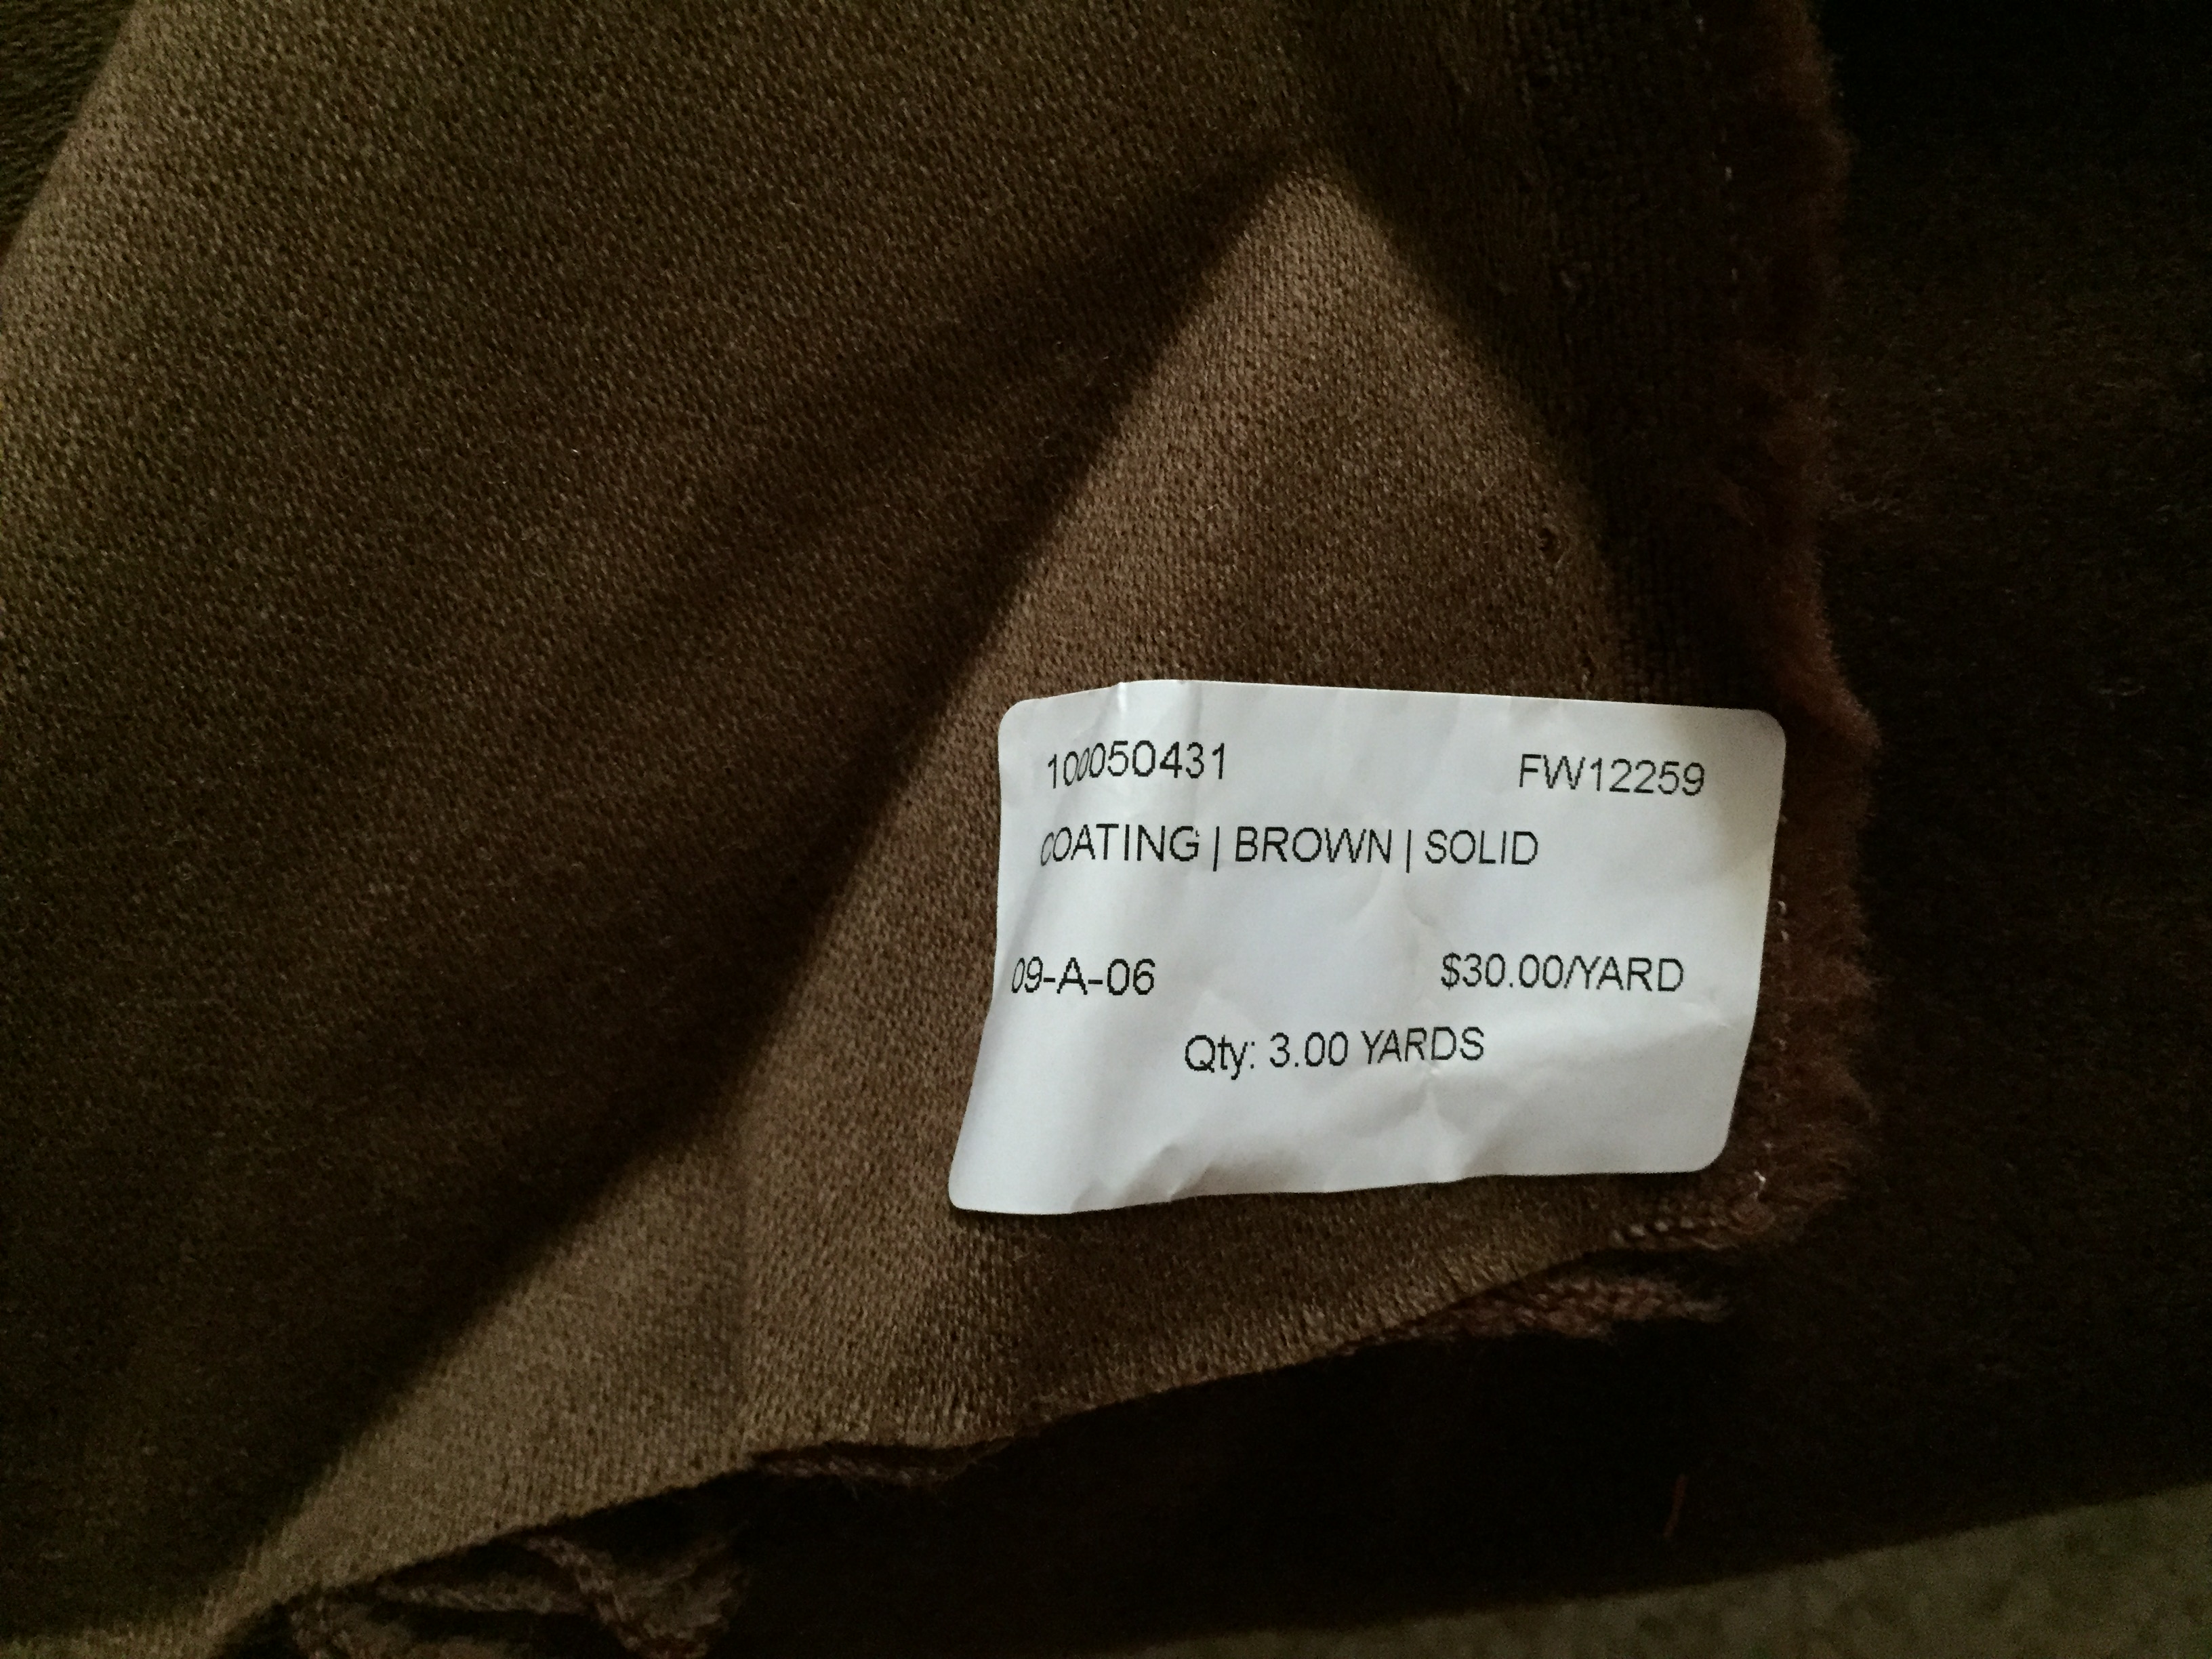
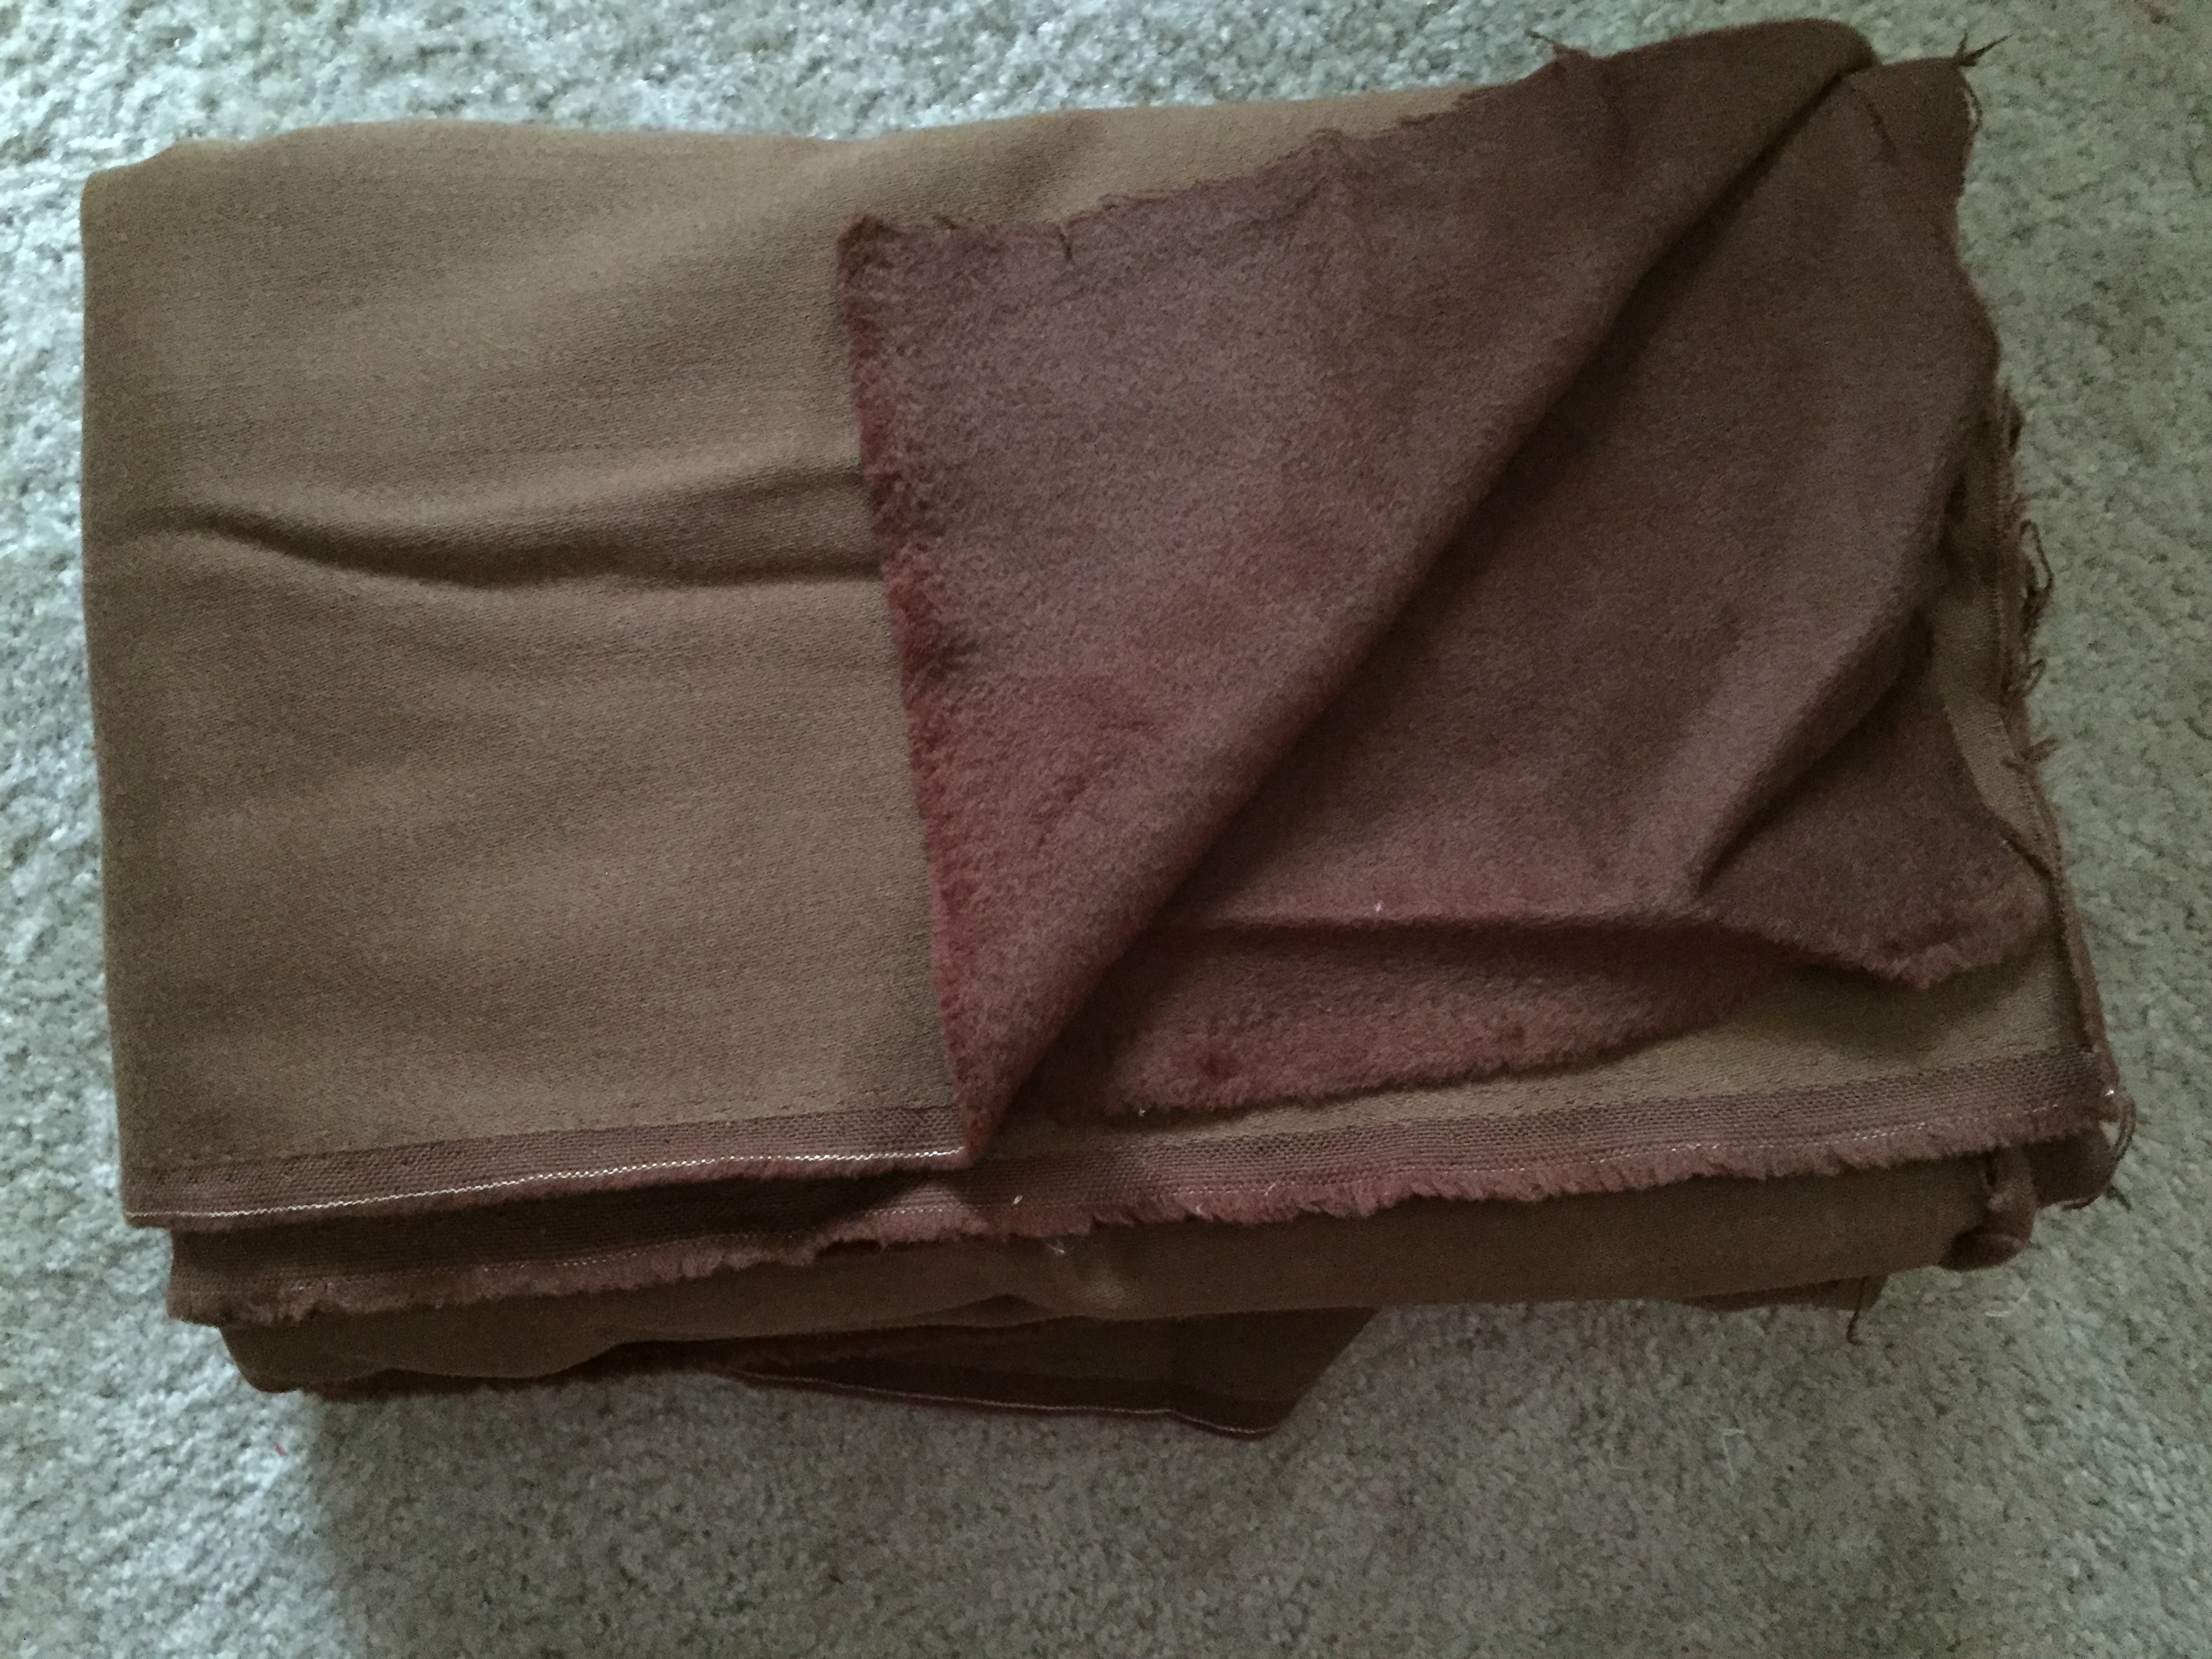
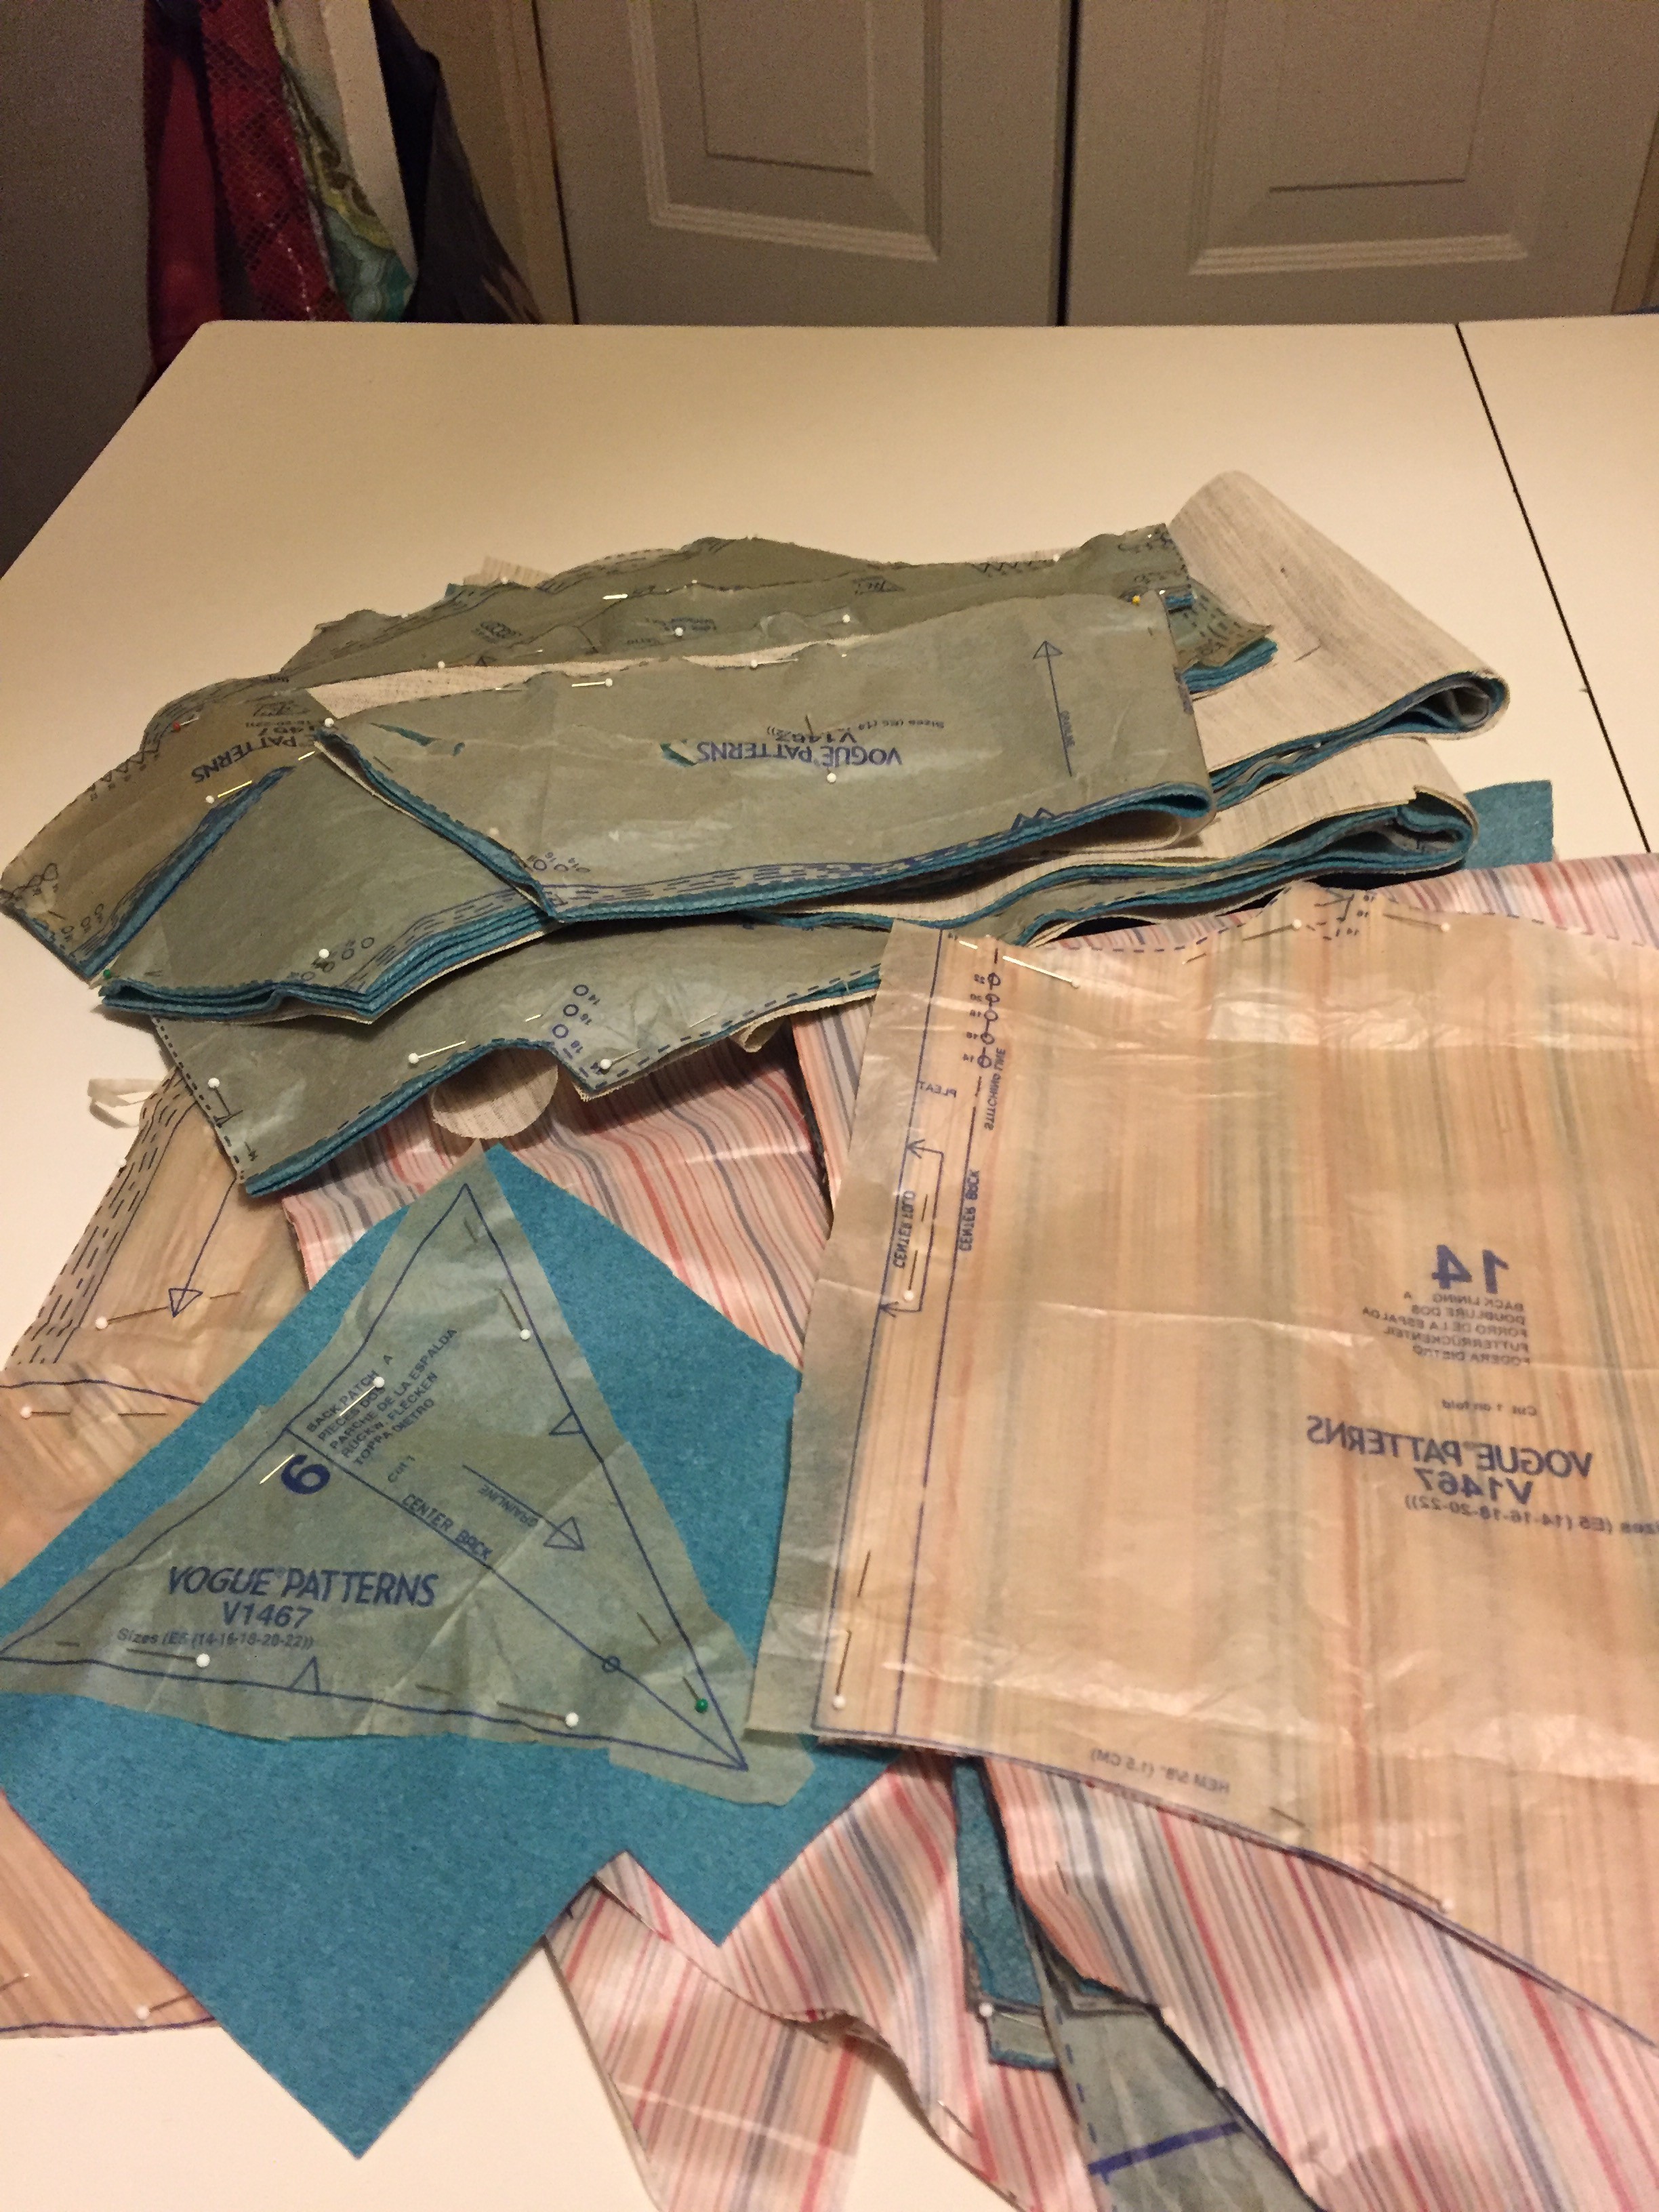
Her are the cut pieces, as you notice piece #6 is not cut, why because remember in earlier posts I mentioned that this fabric could be used on two sides..

[spacer height=”20px”]

Wool and Cashmere Fabric

Well I tried it and did not like it so I stayed with the solid color.


[spacer height=”20px”]

As of this post my coat is completed, I got delayed with machine issues hence why this post is delayed.  My next post will be on October 29th.  I have also decided to extend the contest by week so the Winner will be announced on November 5th, versus the 29th of October as originally announced..

[spacer height=”20px”]

Until next post! Huggs and Kisses!

Vogue 1467 Pea Coat Sew Along Sew Along

Hello Fam!

[spacer height=”20px”]

Its that time again to prepare for the Fall / Winter Seasons (2015)! Well I have already begun, I completed one coat last night Vogue 9136 in the most beautiful Chocolate wool/cashmere. Just need to find buttons and I will post that later.. The fabric I used is sampled below..

[spacer height=”20px”]

Wool/Cashmere from Mood

[spacer height=”20px”]

Brown Wool / Cashmere Fabric

[spacer height=”20px”]

This will be my first time hosting MY OWN Sew Along – there are quite a few others doing this as well but I want to try my hand at this pattern.

[spacer height=”20px”]

I was looking for a traditional “pea coat” pattern for a while and I was uber excited when I saw this pattern V1467 in July designed by Ann Klein and distributed by Vogue Patterns ! My sew along will go through a few weeks of sewing this pattern with a final reveal of the coat and the pants which are contained within the pattern.

[spacer height=”20px”]

Italian Nassau Blue Wool / Cashmere Fabric for V1467

[spacer height=”20px”]

I have a schedule I set up, I will post a part of the Sew Along every Wednesday beginning October 15. Right now I have a schedule of about 7 Weeks.. My coat will be completed long before that but I just wanted to give everyone the opportunity to follow along as I create my coat!

[spacer height=”20px”]

Here is the schedule:

[spacer height=”20px”]

Week One 10/15 – All about Fabric Choices
Week Two – 10/22 – To Muslin or not Muslin / Pattern Layout and Cutting
Week Three – 10/29 –  Notion, Interfacing, Notions, oh my!
Week Four – 11 /4  – Sewing the Coat Part – 1
Week Five – 11/11 – Sewing the Coat Part – 2
Week Six – 11/18 – Sewing the Coat Part – 3 and Finishing
Week Seven – 11/25 – The Big Reveal

[spacer height=”20px”]

Fabricmart Fabricista Week 2 Challenge — The DVF Wrap Dress

Congrats to me I made it through the first week of the challenge and now I am onto the second week!

This weeks challenge is to create a Diane Von Furtensberg (DVF) Wrap Dress – You can VOTE HERE

.. what inspires the wrap dress? The crossover style across the bodice that simple enhances any woman’s size and shape!

Yes! Its time to vote again! You can do it it here and there will be a link provided at the end of the photos…

[spacer height=”20px”]


Wrap Dress

[spacer height=”20px”]

Tell us about the project

[spacer height=”20px”]

Creativity – The DVF Dress like Chanel’s Little Black Dress at this time needs no inspiration! Both of these classic dresses create an attraction to just about any body size and shape! The DVF wrap dresses slenderizes where it needs to and brings a positive attention to the upper part of the body. The crossover bodice also gives a nice waistline especially when using the same fabric as the bodice for the waistband.  Both fabrics are a silk jersey – the top print obtained from Metro Textiles and the bottom from one of Mood Fabrics specials.

[spacer height=”20px”]

The Look

[spacer height=”20px”]

Front View

[spacer height=”20px”]

Craftsmanship – While there is not much “creation” to the wrap dress there are some certain processes so there are no accidental spillages! I used McCalls M7185 the top of view D and extended it to long sleeves.  I cut a 14 on the top using the cup D pattern pieces.  I did not care for the full gathered bottom skirt so I used the bottom of Butterick 6030, which had no darts in the waist, just a bias cut skirt.  I cut a 14 on this as well but it did turn out to be too big although I did create a self-facing for the front wrap.  I wind up cutting it down two inches on each side and I think that is only because it’s a silk jersey cut on the bias.  I created a small self-folded facing for the front wrap piece just to give it a neater look and I had stitched it down as well as hand stitched the hem which equaled to about 78 inches around! This fabric was very temperamental and a bit difficult to handle as it slid all over the place constantly! The top had a self-facing as well, under stitched and I slipstitched it to secure it down. I also added snaps to the bottom of sleeve in case I wanted to wear it more tapered. I also added snaps to the inside to keep the right side closed when it is tied. The sleeves are set-in and there are front darts and back darts in the bodice.

[spacer height=”20px”]

Dress Side

Dress Back 2

Dress 1

[spacer height=”20px”]
Fit – YES! I love this fit! I swayed away from wrap dresses for a while because they would “flap” open! Why because I was not too familiar with a FBA (Full-Bust adjustment) and I would always cut it bigger to “fit” Now that I found a D cup pattern there is no longer this issue! The fit is perfect, the bodice grades down to the waist and the front and back darts assist with slimming the waist to a perfect closure! I did make my skirt about two inches long in cocktail/midi length as that is the length I prefer for mostly all my skirts.  I have one more wrap planned but the next will be a print bottom and a solid top and a maxi length.

Dress 2

[spacer height=”20px”]

BTW I made the cute clutch too and its for sale here

[spacer height=”20px”]

Dress 1

[spacer height=”20px”]

Vote Here for me in this weeks Challenge! Or visit the challenge blog here

[spacer height=”20px”]

Thanks so much for reading and support! I hope you like my dress *mauh*

[spacer height=”20px”]

Fabricmart Fabricista Week 1 Challenge — Handmade Do-Over

The Week One Fabricista Challenge is done and ready to vote!

We had to take a project that was a “fail” and re-do the project.. I choose a pair of culottes below to “do-over.”

Tell us about the project 

Culottes made a comeback this summer although they never left some fashionistas wardrobe. I like them because they are in between the length of shorts and pants and most look similar to an A-line skirt because of its drape.  I purchased this black and white stripe fabric from Fabric Mart initially to create culottes and a blazer (an updated summer suit). When I received the fabric the stripe is horizontal vs vertical which I found challenging as the stripes when against the grain vs with the grain. So I decided to just create the culottes with Burda Pattern Burda Pattern 6812 I chose this pattern because they were not too wide or too slim.

Here is the situation: Initially when I took, the pattern out I said “these pattern pieces seem a small? I took my measurements against the pattern pieces and said hummm this says it will “fit” even with the ease. The one joy about sewing for yourself is you can fit before the garment is finished.. You can even stick one leg in one pants leg to see how it will go. Well yes, they “fit” but the fit is too tight! I also found it very challenging with the pockets, matching the stripe with the pocket yoke because a huge challenge.

Bad Fit 1


[spacer height=”20px”]

Bad Fit 2


[spacer height=”20px”]

Bad Fit 3

[spacer height=”20px”]


Craftsmanship / Do Over – I decided that I did not need the pockets, the show through the white fabric and it is not very attractive.  If you have white pockets in white pants, it should be done with “flesh-tone lining or fabric.” Therefore, I eliminated that.  I took the pattern pieces and compared them to another similar pattern and for sure this pattern is many times too small. The size 14 was bigger on the McCalls then this Burda.. I digress I still used the same Burda pattern, recut the pieces, widened the hips, raised the back rise, and I also added belt loops in case I ever wear them with a tucked in blouse. I also changed the front pleats – initially these culottes had one pleat but I divided the pleat in half, added a pleat (for two pleats), and placed the pleats directly on a dominant stripe.  I hemmed the pants with lace hem tape. The waistband and hemming were never completed in the first pair they just went to the corner of shame L

Good Fit Side View

[spacer height=”20px”]

Good Fit Back View

[spacer height=”20px”]

Good Fit 3

 [spacer height=”20px”]

Fit – The pants fit much better, there is no cutting in the crotch area, it is not pulling in the rear area and I have room to move in the waist and the hips.

[spacer height=”20px”]

Presentation

[spacer height=”20px”]

Vote for Me! Week 1 Challenge!

Summer Dress with Pockets Vogue 9100

Hello Darlings..

Well summer here in the District of Columbia and Maryland is coming to and end 🙁 However, the summer type of weather does not end until the end of September sometimes into October.

20150613_203015000_iOS


So I create this dress with the fabric above using Vogue 9100. I had this fabric in my stash but it came from Fabricmart Fabrics. Its a cotton twill with a bit of stretch to it. I cut the custom fit size 14 but I could have used a 12 because of the stretch. I wind up taking out about 2 to 3″ in the back because it did not fit.


flower dress

image


I just love that this skirt is flowy but with gathers vs pleats.. The princess seams and use of the D cup really fit nice and I had no fit issues. The back fit close to perfect with the exception of taking our a few inches.


image


The major plus about this dress is it has pockets! I do not know why pockets on a dress have become such an obsession lately! But I just made a shirt dress without pockets and I so regret it, I keep searching to put my hands in my pockets all day!


Anyway I love my dress its so fitting to kick it off with these cute Micheal Khors shoes that I got a few years ago.. cute gold hardware bow and kitten heel!

Do you like my dress? 🙂


image

Fashion Challenge 3: Contestants Have Been Selected!

.. and guess who was selected to compete??? You got it this gal!!

I am too honored to be selected as a contestent. While this might not be a big deal to some its a damn big deal to me.. I never thought over 30 years ago I could ever take my passion and skill for sewing to this magnitude of a level..

via GIPHY

This certainly brought joy to me on Friday because I was really feeling down about a different issue.. Then with the never ending health issues.. I was like yeah ok! But as the old saying says.. “God does not place anymore on you than you can bare” and “when one door closes — yes! Two more open!” Thank goodness I have some lovely people in my corner that always have an open ear for me to vent — Erica Bunker thank you so much!

via GIPHY

Anyway the contest begins on September 11, 2015! Please follow me on the social media channels as I do generally post different content!

Thanks for your support dolls!

Fabricmart Fabrics – Fabricistas Fabric Challenge 3

Verified by ExactMetrics