Gold Foil, Leather, and a Baby Easy Press 2
Howdy!
Last year when the Cricut Maker arrived on the market, I was chosen to an influencer of the brand because I am a seamstress and I blog about it. Previously, I have done quick projects on Instagram and Facebook but now I am venturing into other ways to promote myself as well as the brand!
The Cricut Maker is a phenomenal little machine! This amazing machine can cut all sorts of mediums from tissue paper to wood (yes wood with the knife blade) to fabric (with out backing) to leather — Yes you heard me leather!
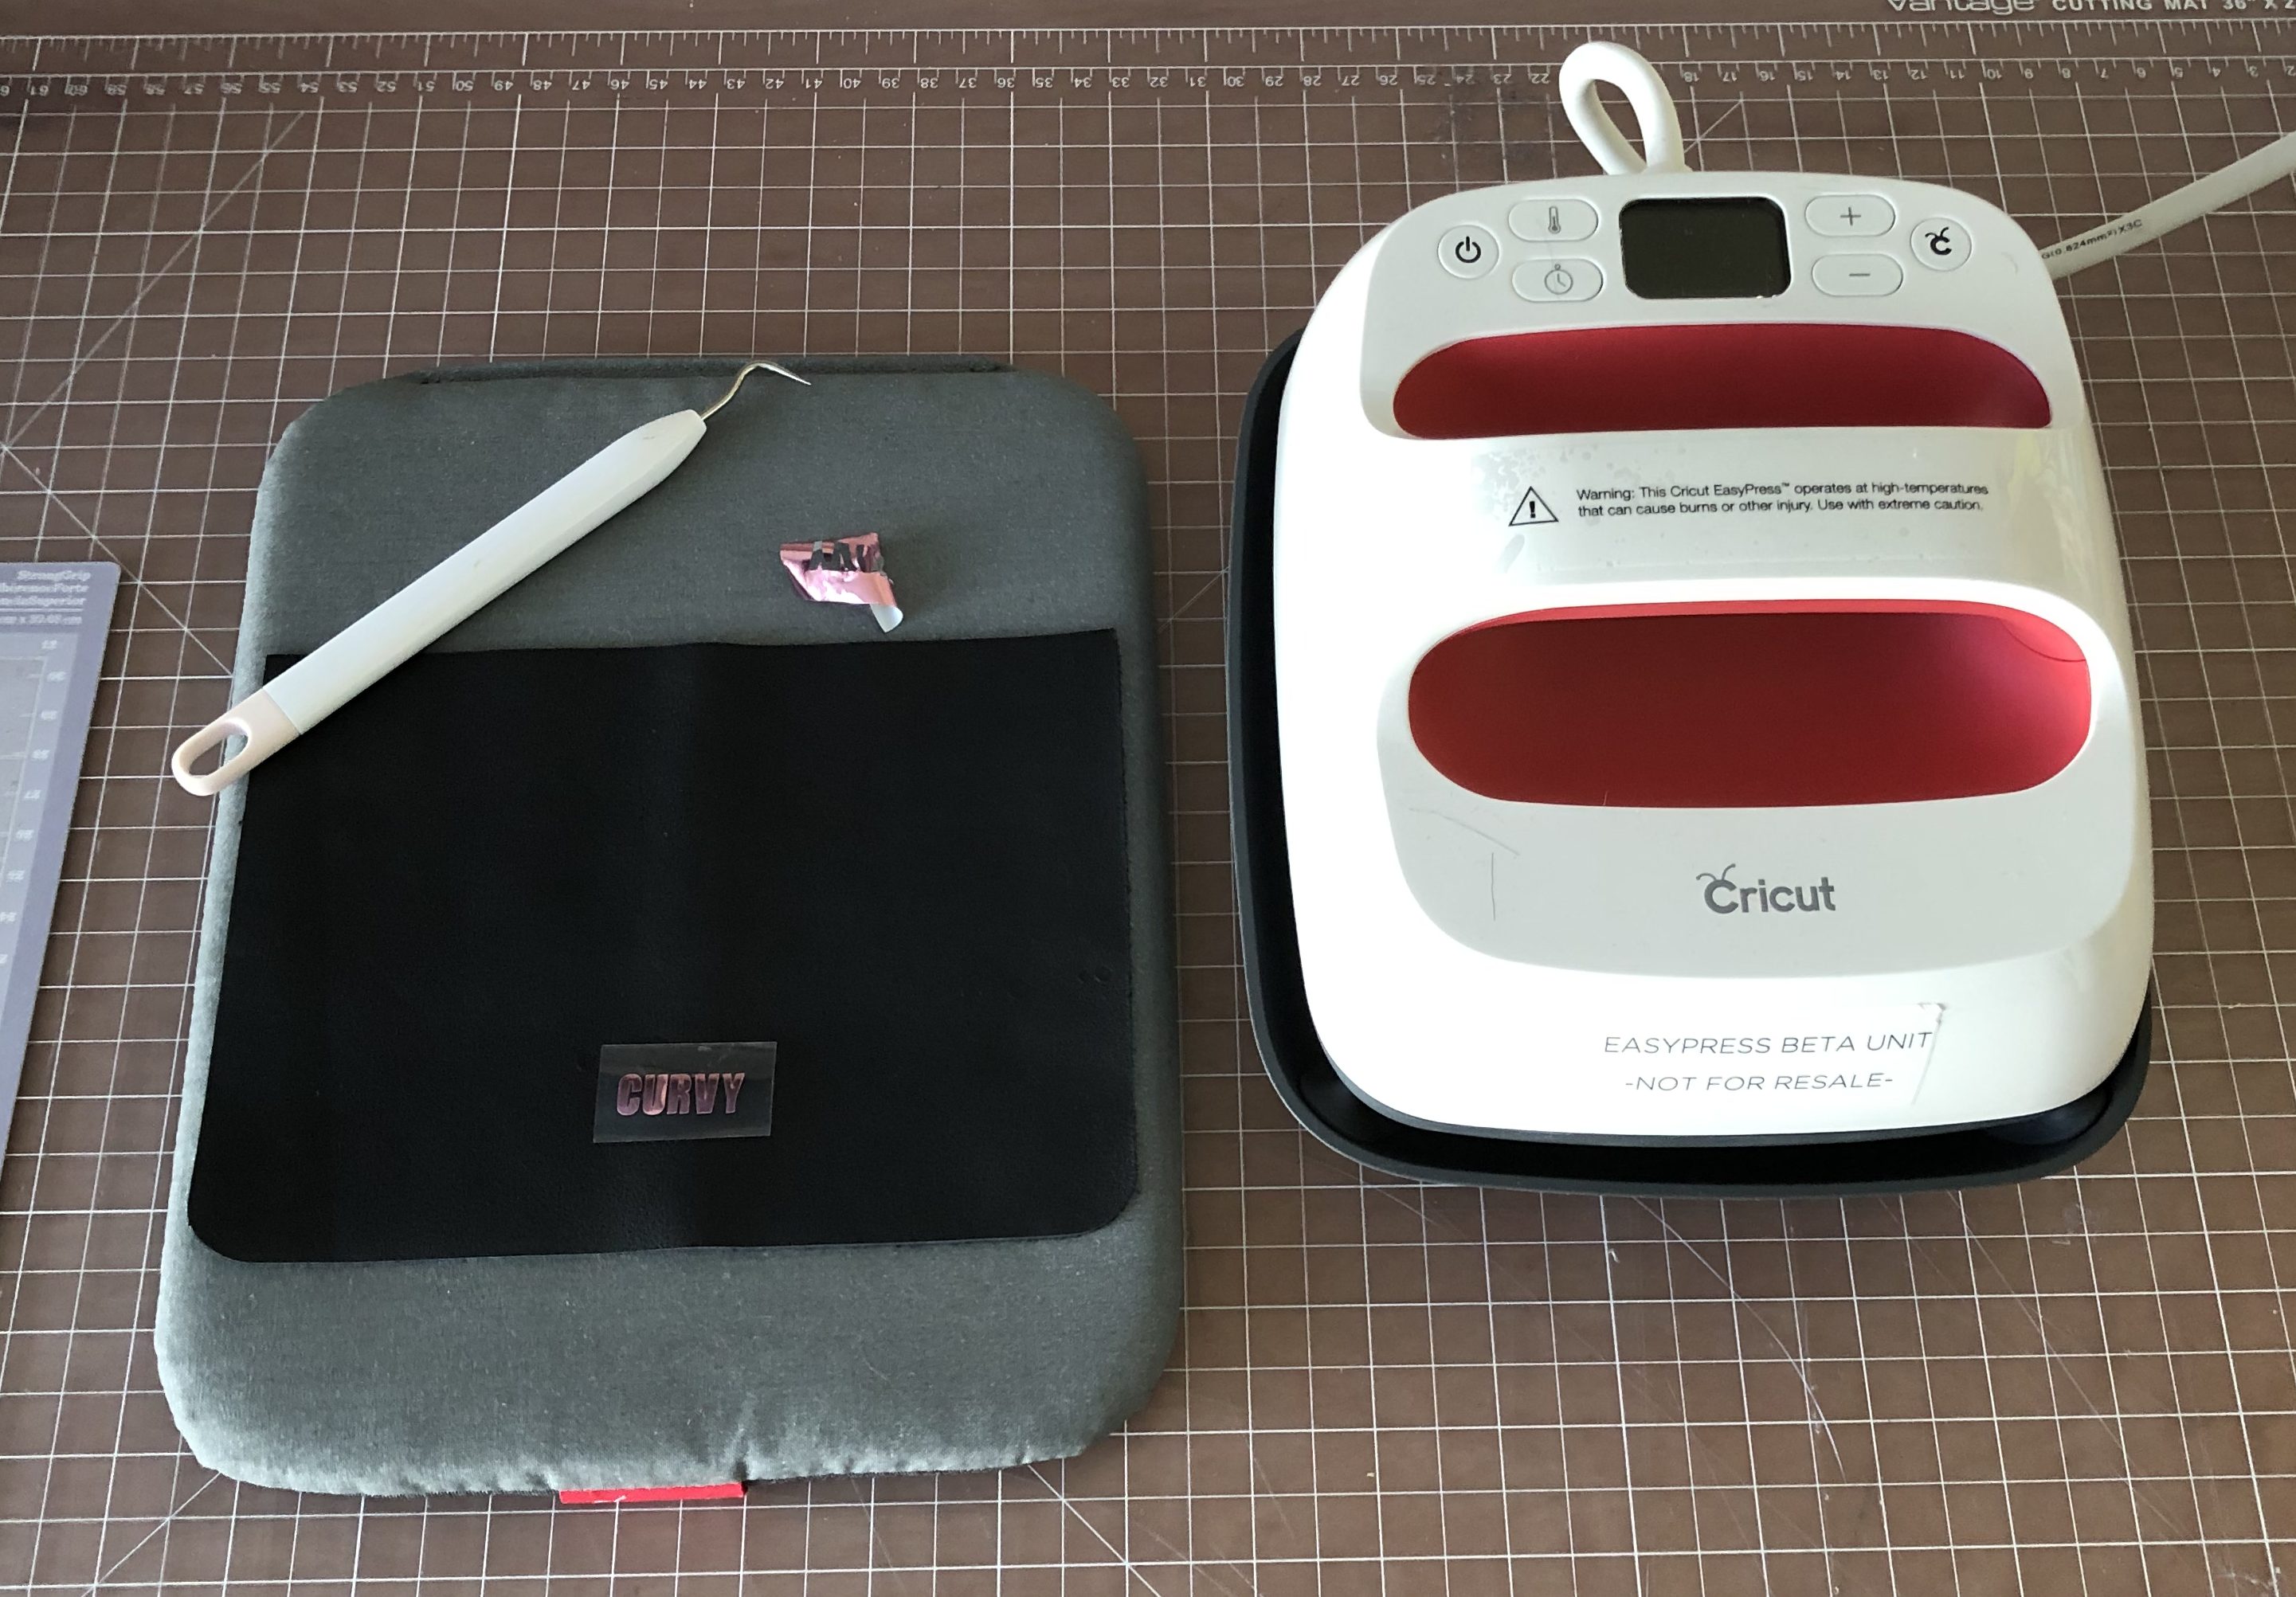
Today’s post will combine all efforts of the Cricut Maker, the NEW EASY PRESS 2, and some of Cricut’s useful tools.
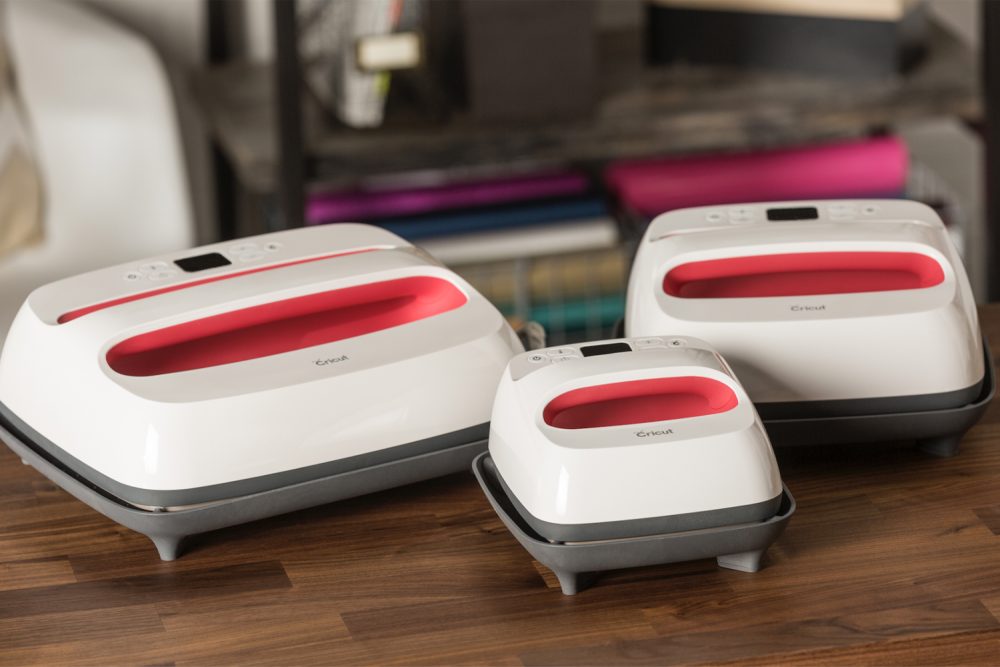
The Easy Press 2 comes in three sizes:
-Small 6”x 7” size I call it the “baby”. Uses would be think Onesies, baby bibs, cosmetic bags, etc.
-The original 9”x 9” size; think uses T-shirts and tote bags, and;
-Large 10”x 12” size, think BIG uses for it blankets, beach umbrellas, and banners!
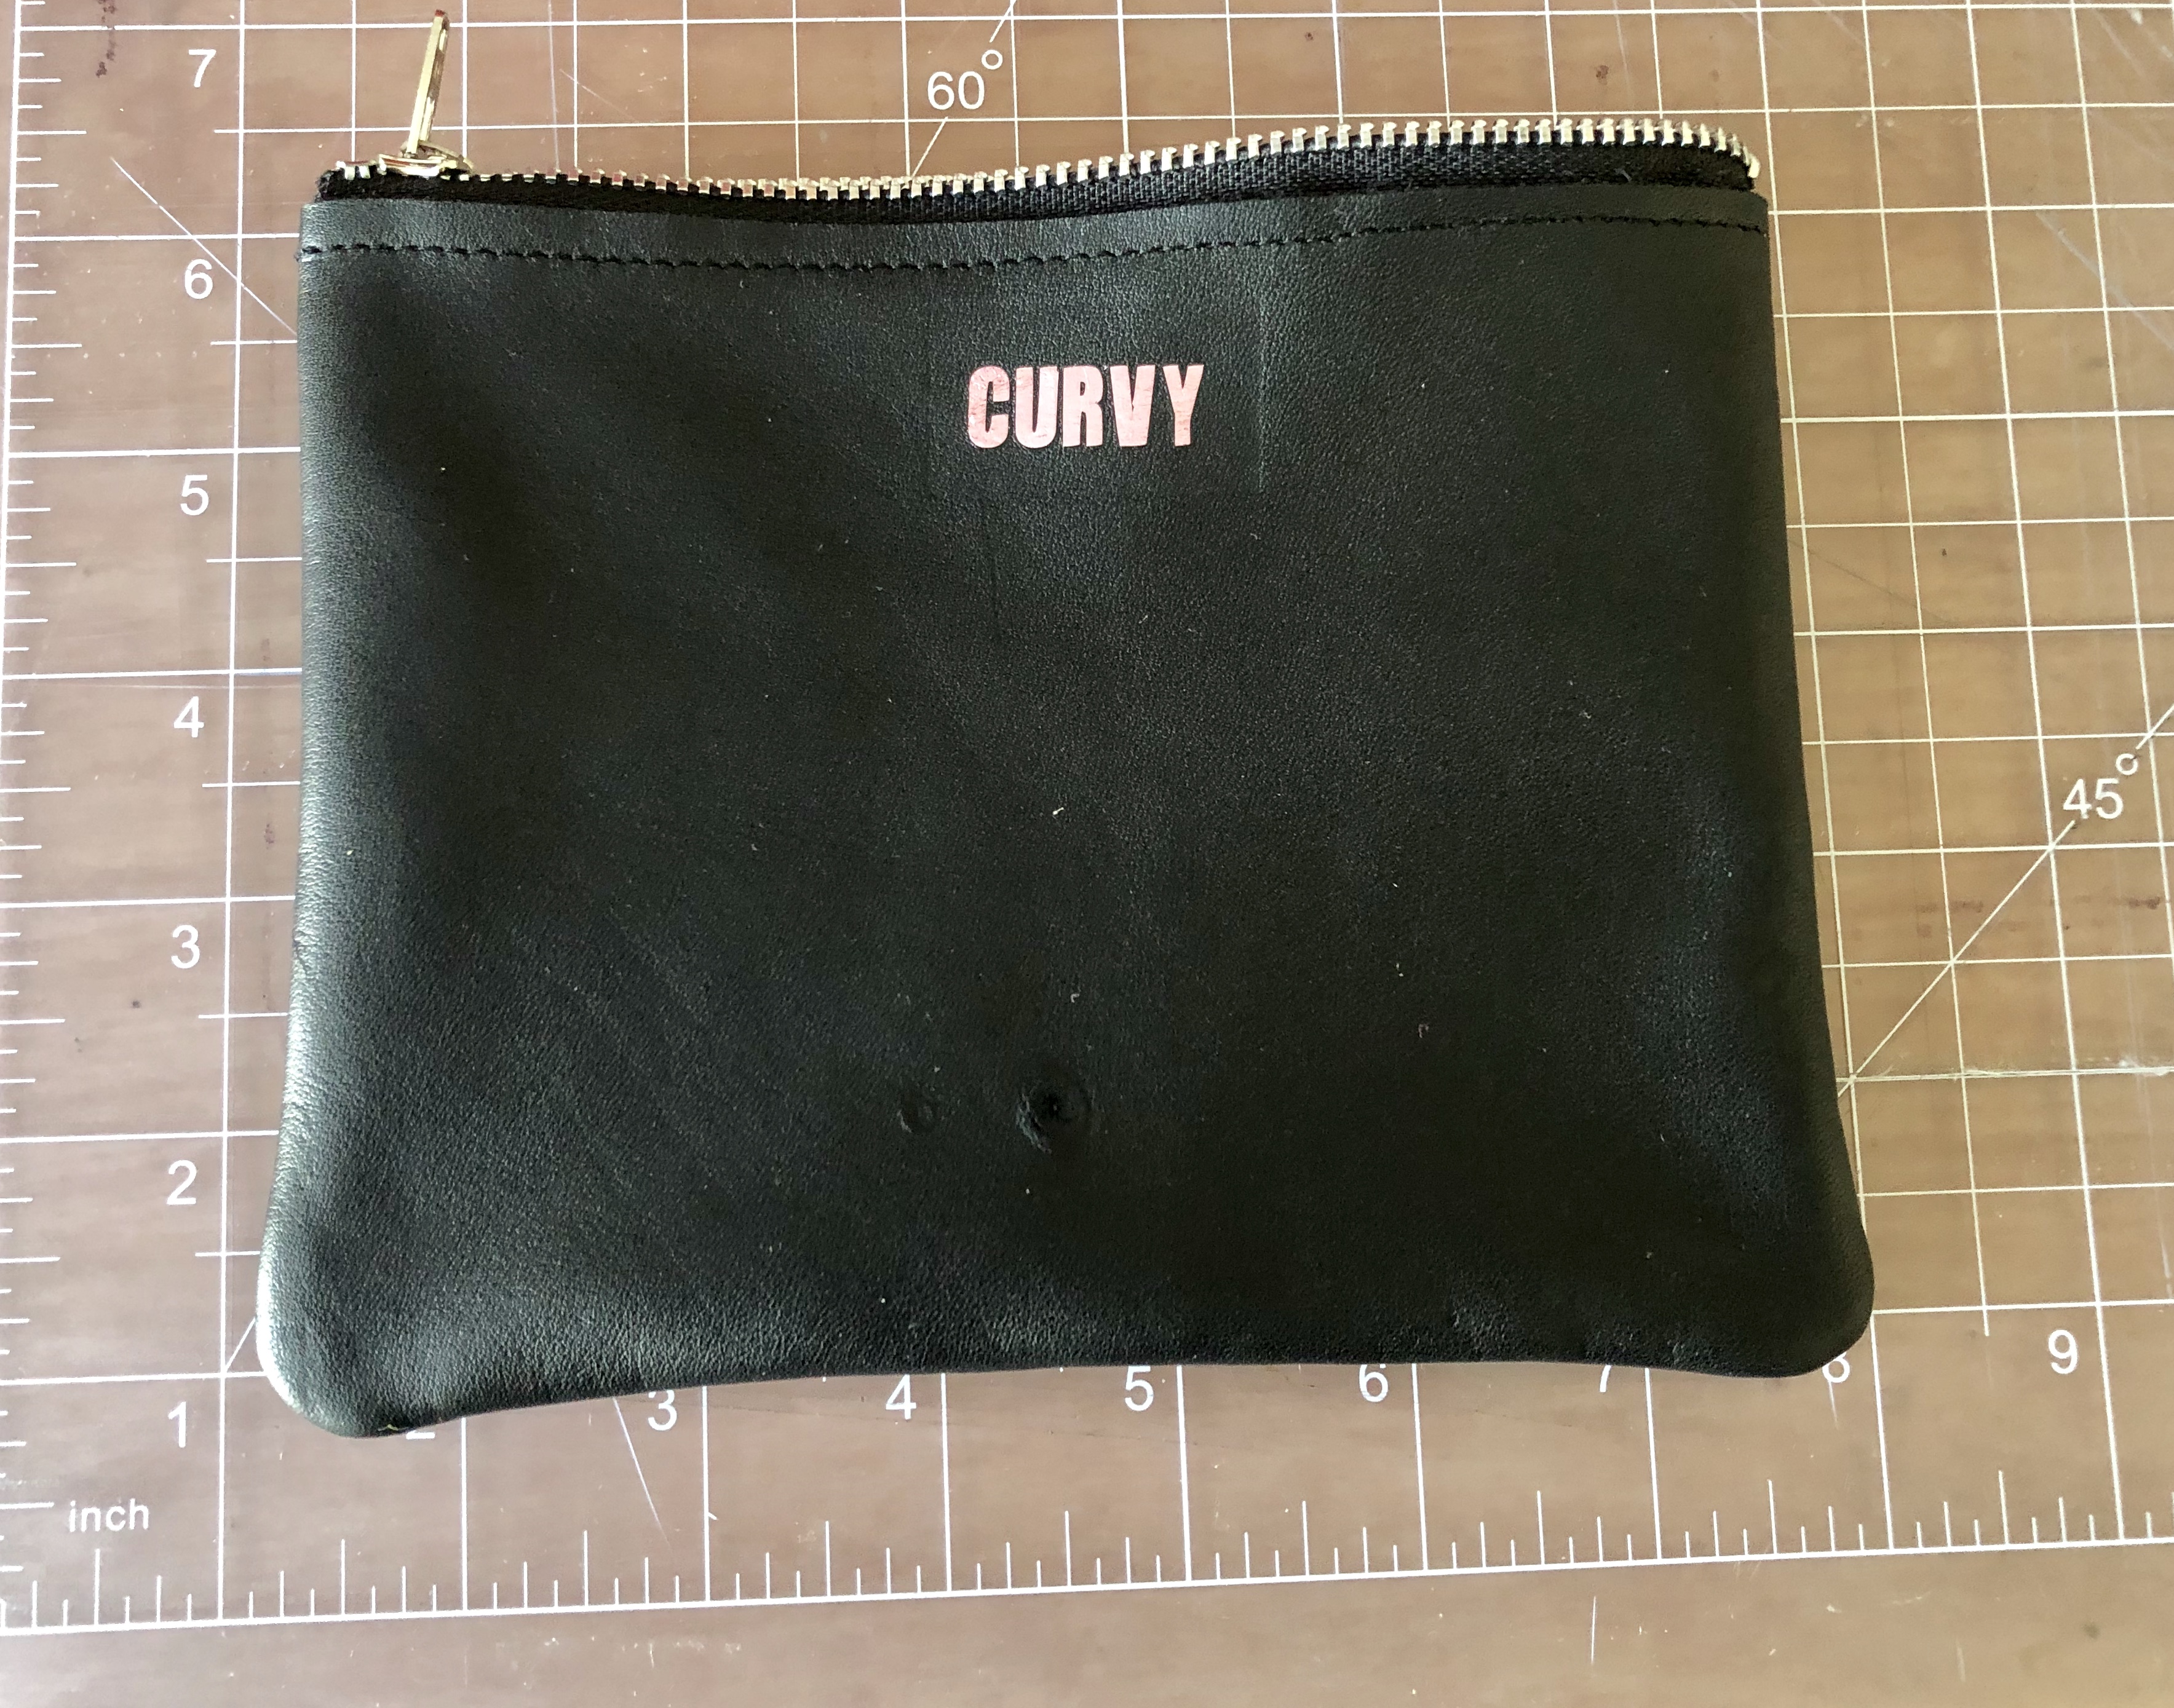
In this blog post we will create a small leather clutch using the small size Easy Press, the Cricut Maker, and add Cricut’s Iron-On Foil as an added personalization.
Having your items Personalized now is all the rage! Everyone wants something unique to represent their lifestyle, family, or even their name. Its a good way to learn new techniques and have something all your own and they make good gifts as well.
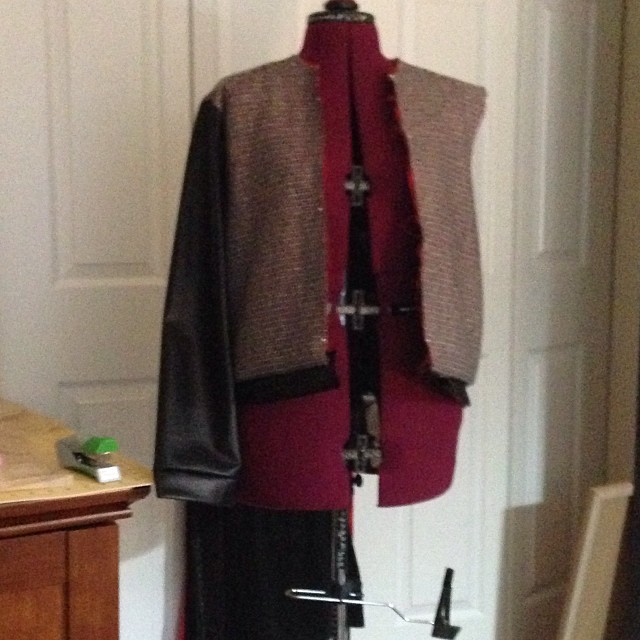
Here is what the final project will look similar to this once we are done.
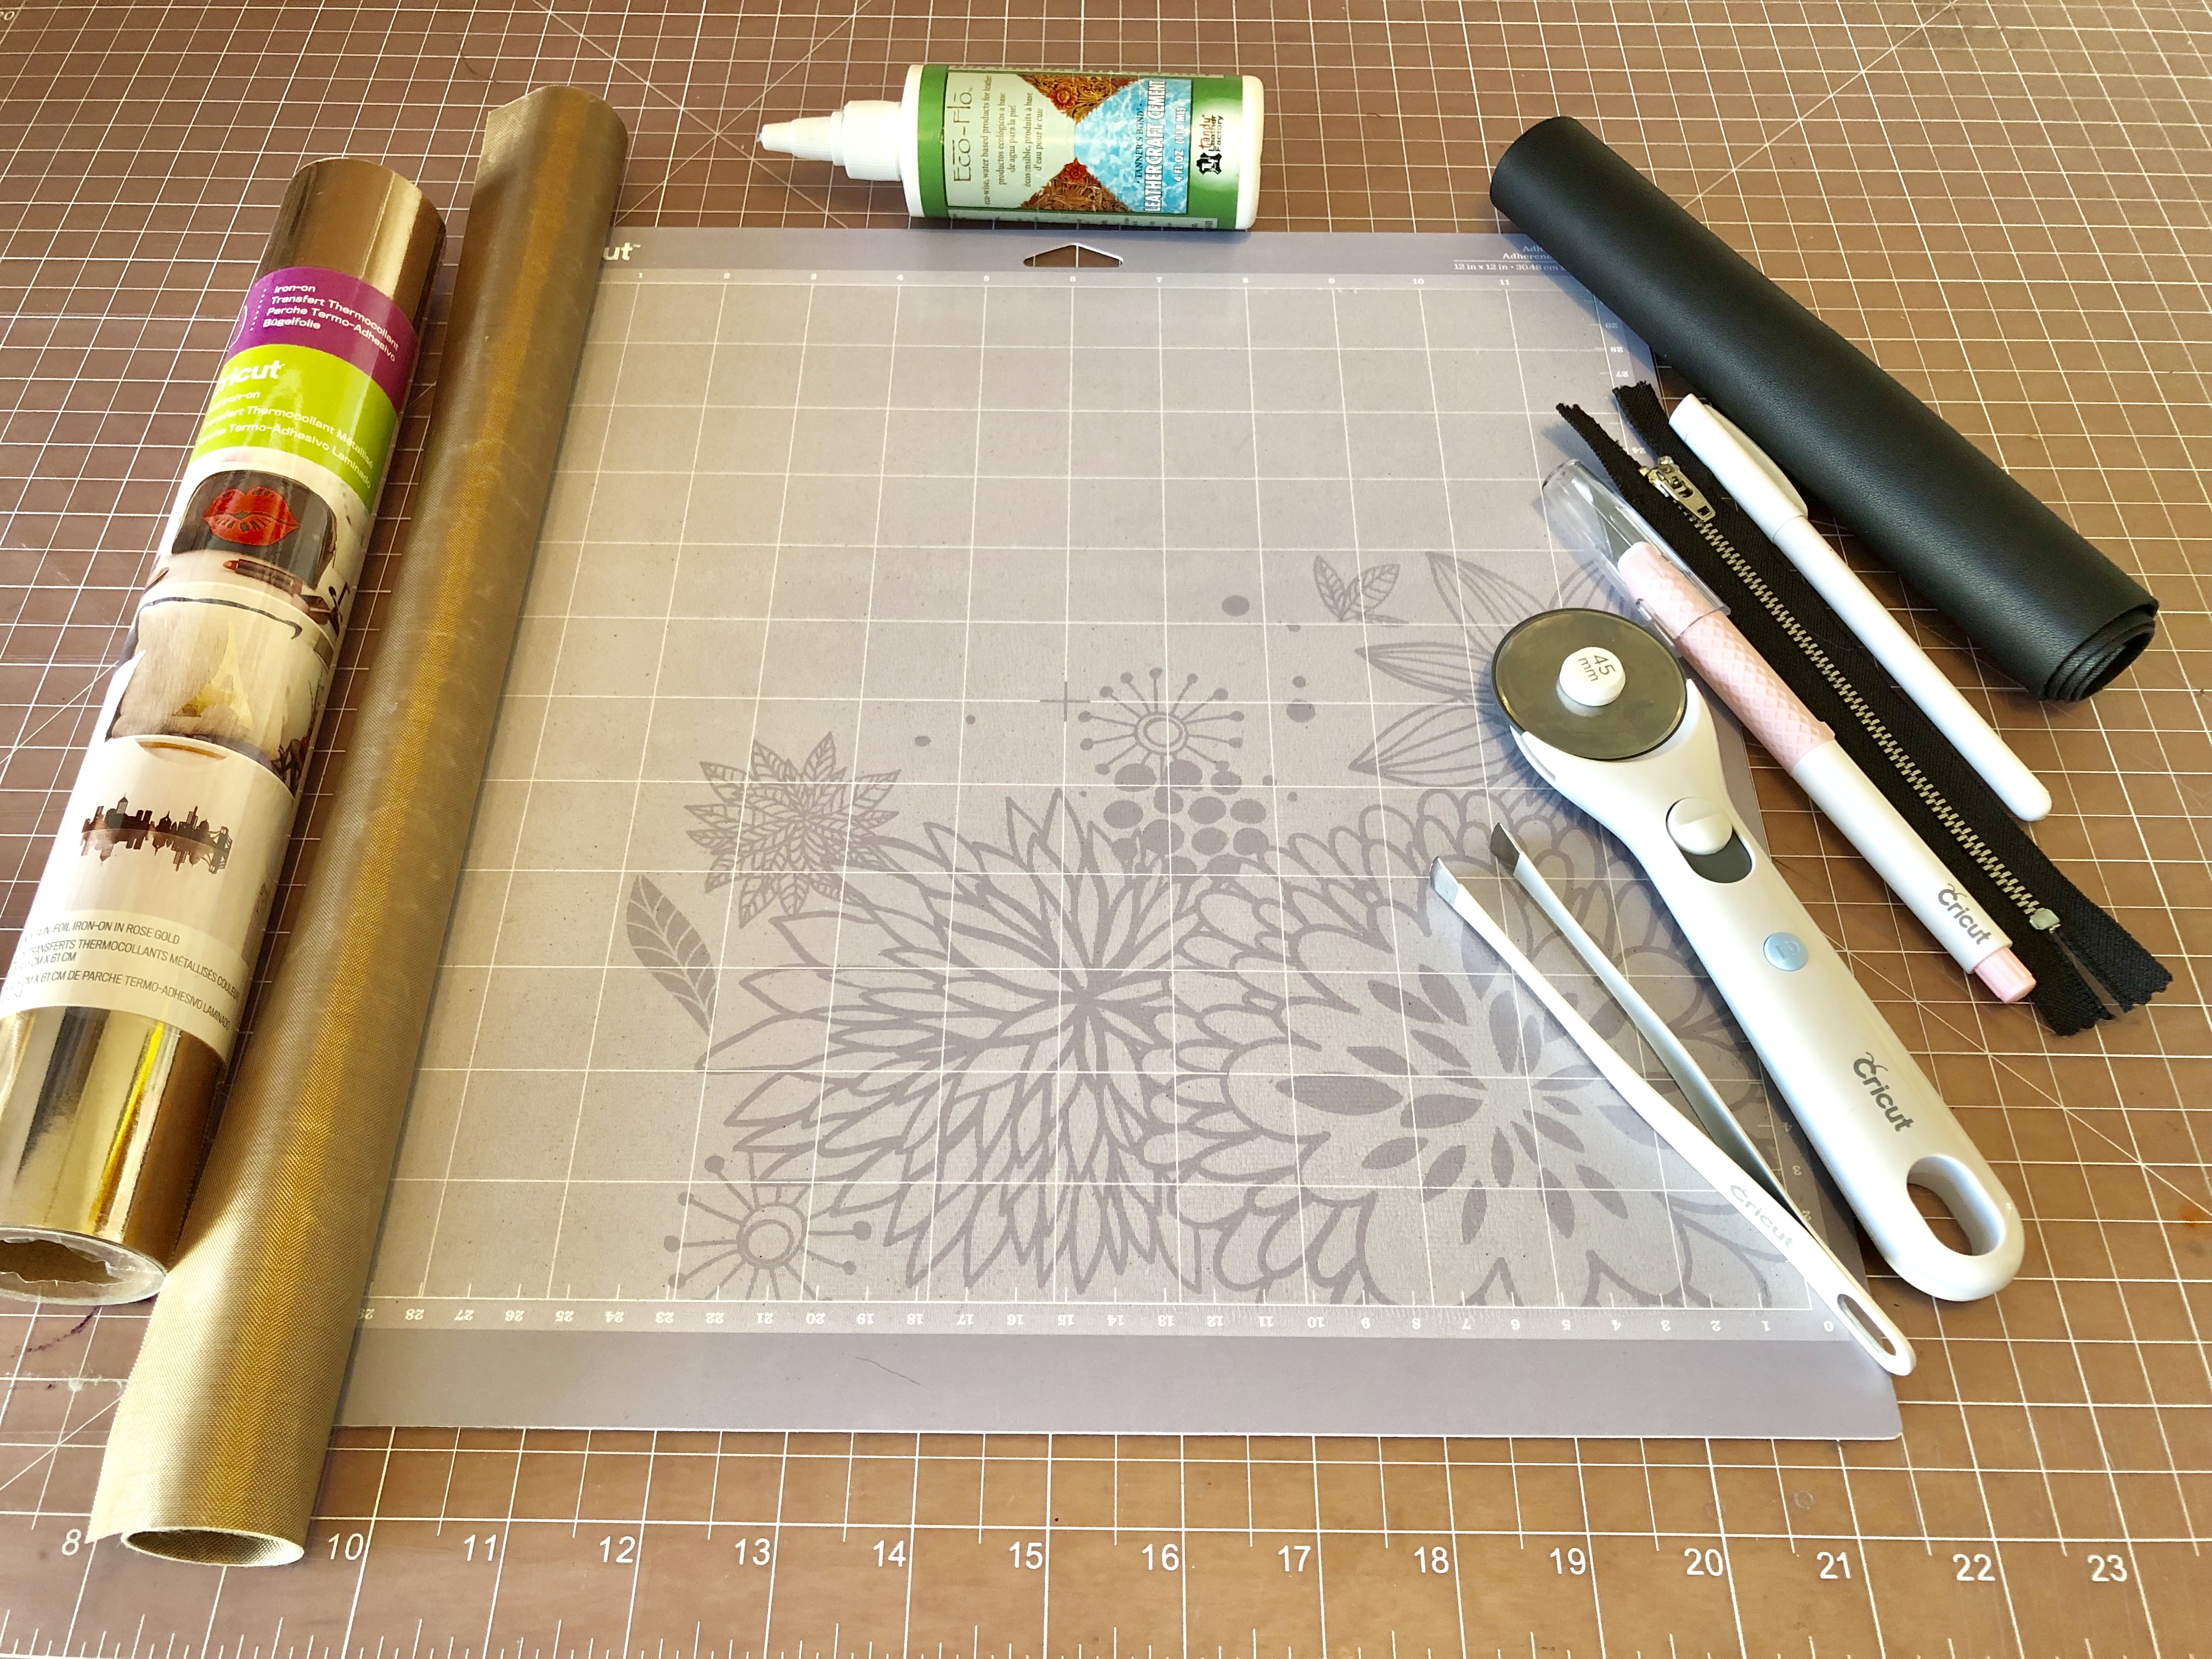
You will need the following supplies for this project:
Cricut Maker
Easy Press Small
Small Leather Hide 4-5 ounce weight
Cricut Iron-On Foil
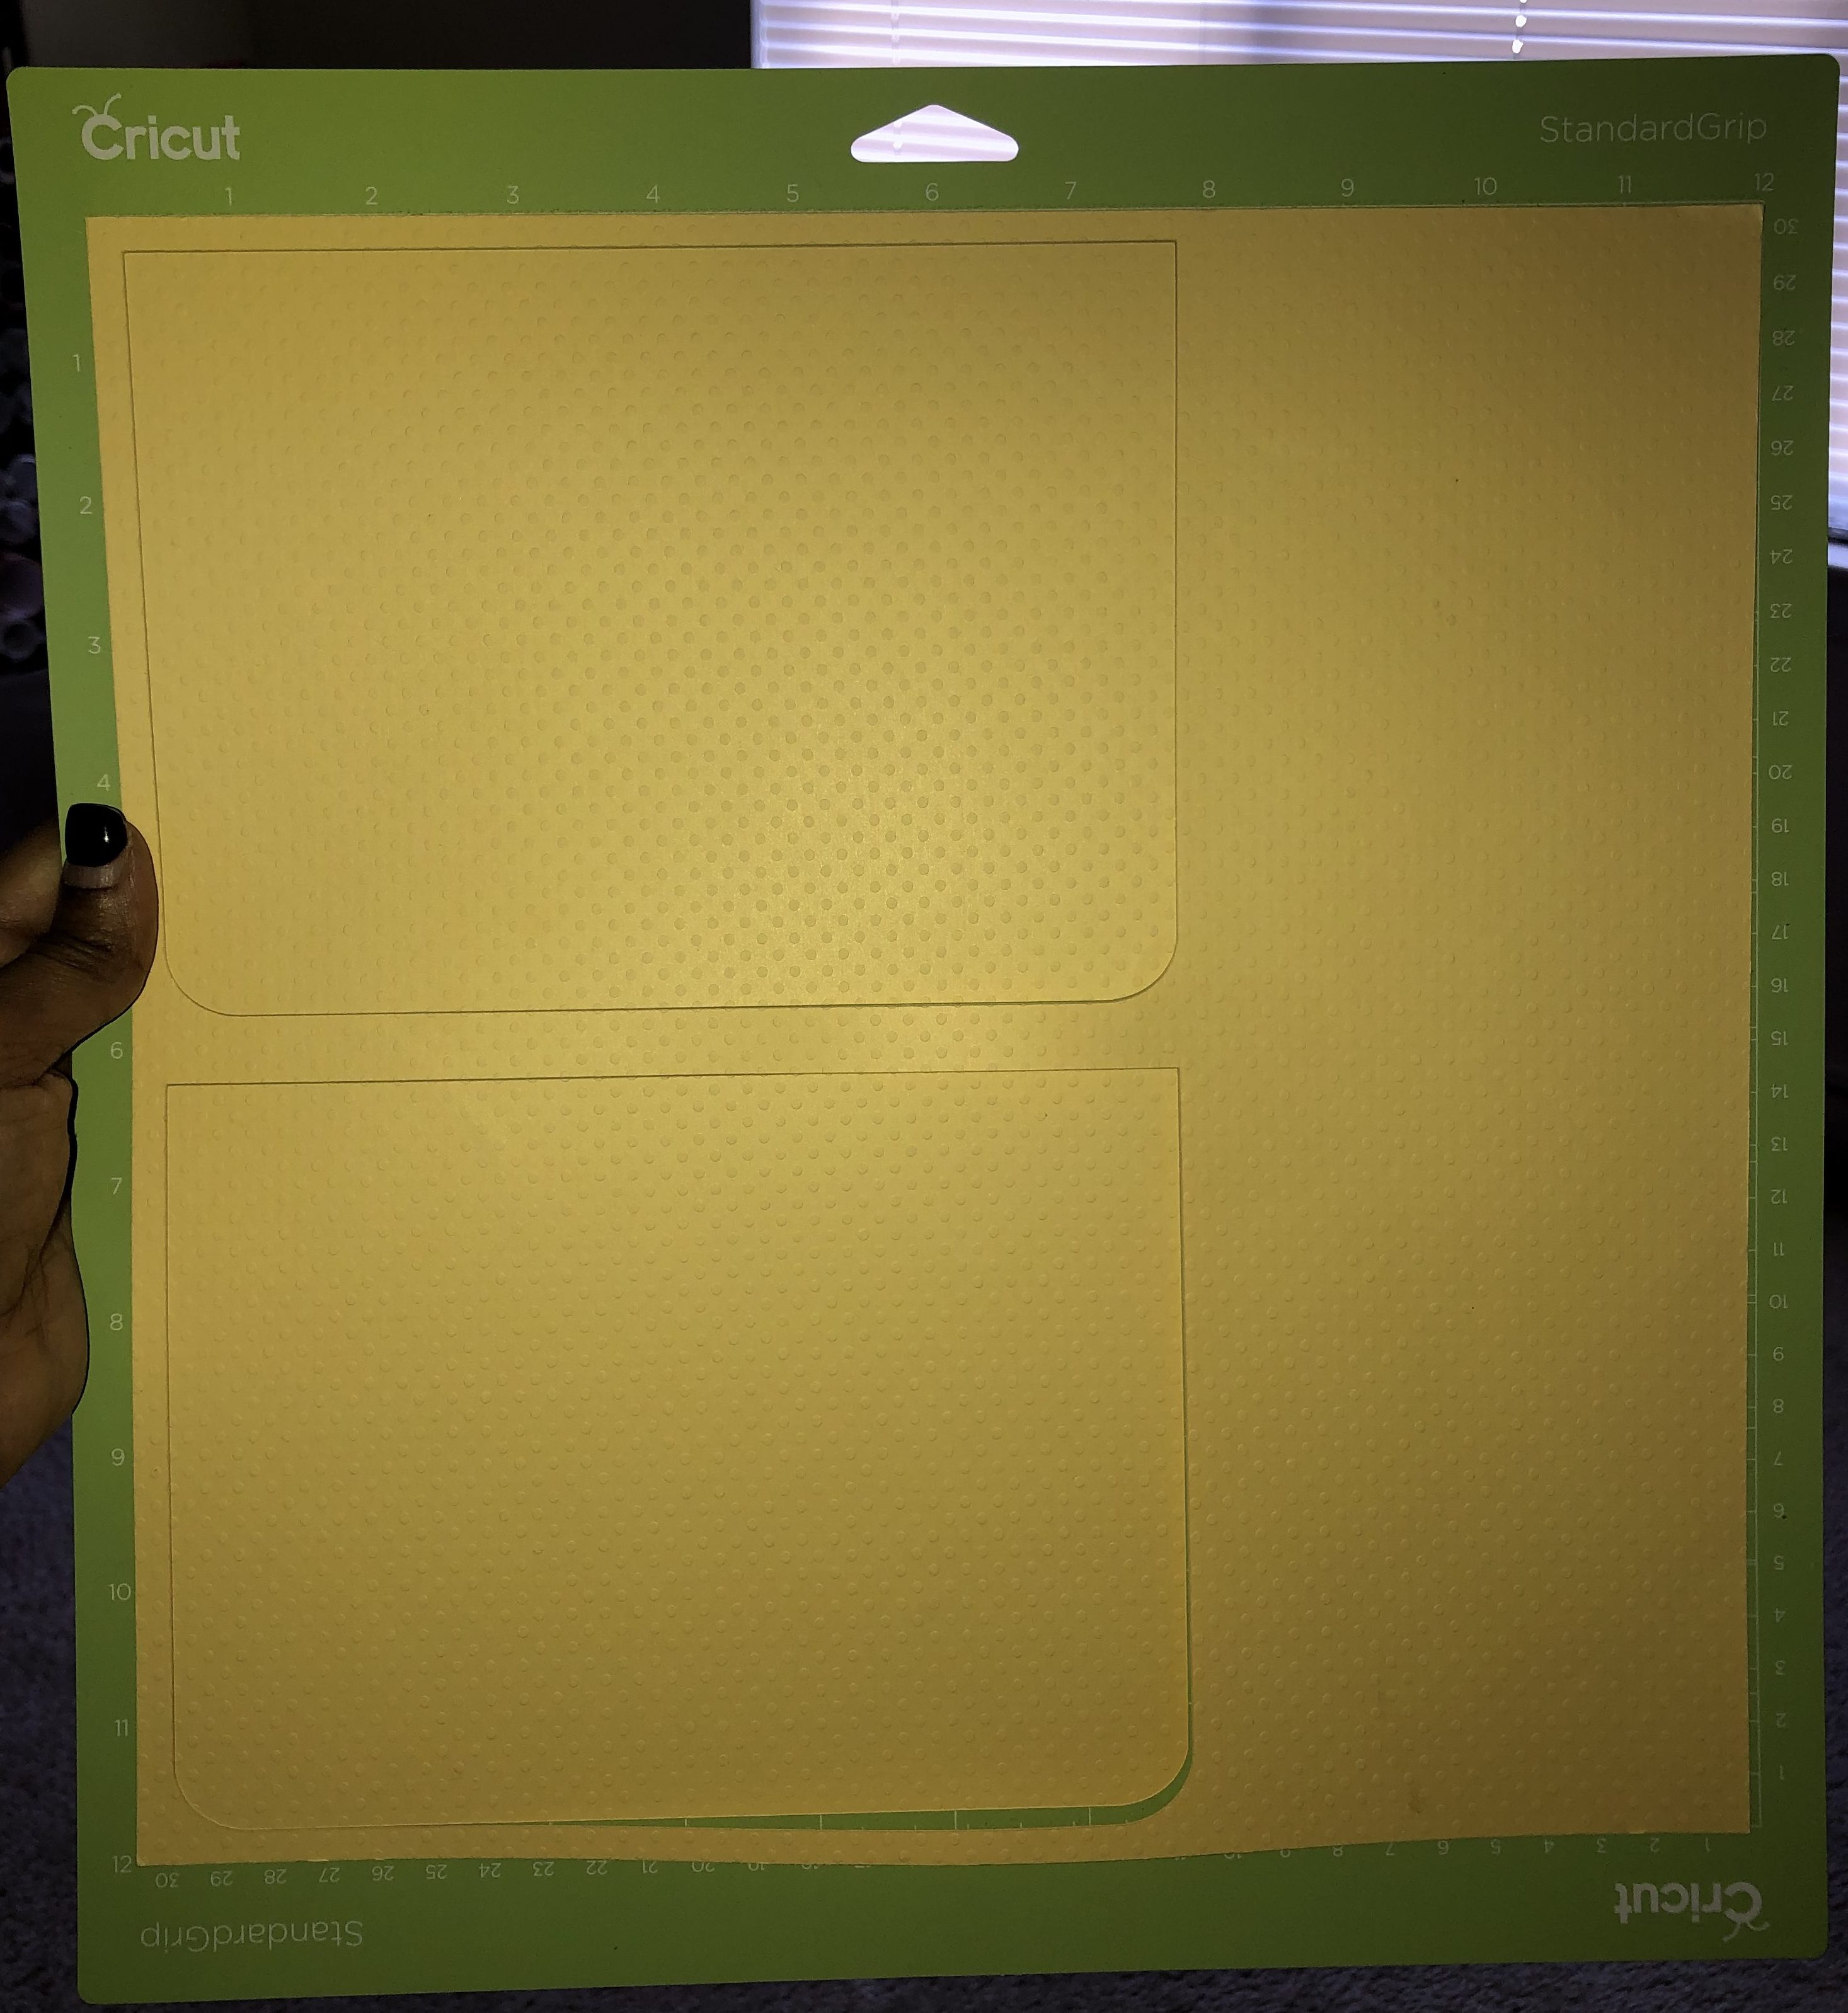
Cricut Heavy Grip Mat
Cricut Knife Blade
Rotary Cutter or Knife
Optional: Tweezers for removing Leather
Teflon Mat (option: cotton cloth)
7″ Metal Zipper
Leather Glue
This Cricut File (will only work on Cricut)
Next, take your piece of leather and cut it to size 8″ x 12″ and place it on the heavy grip mat.
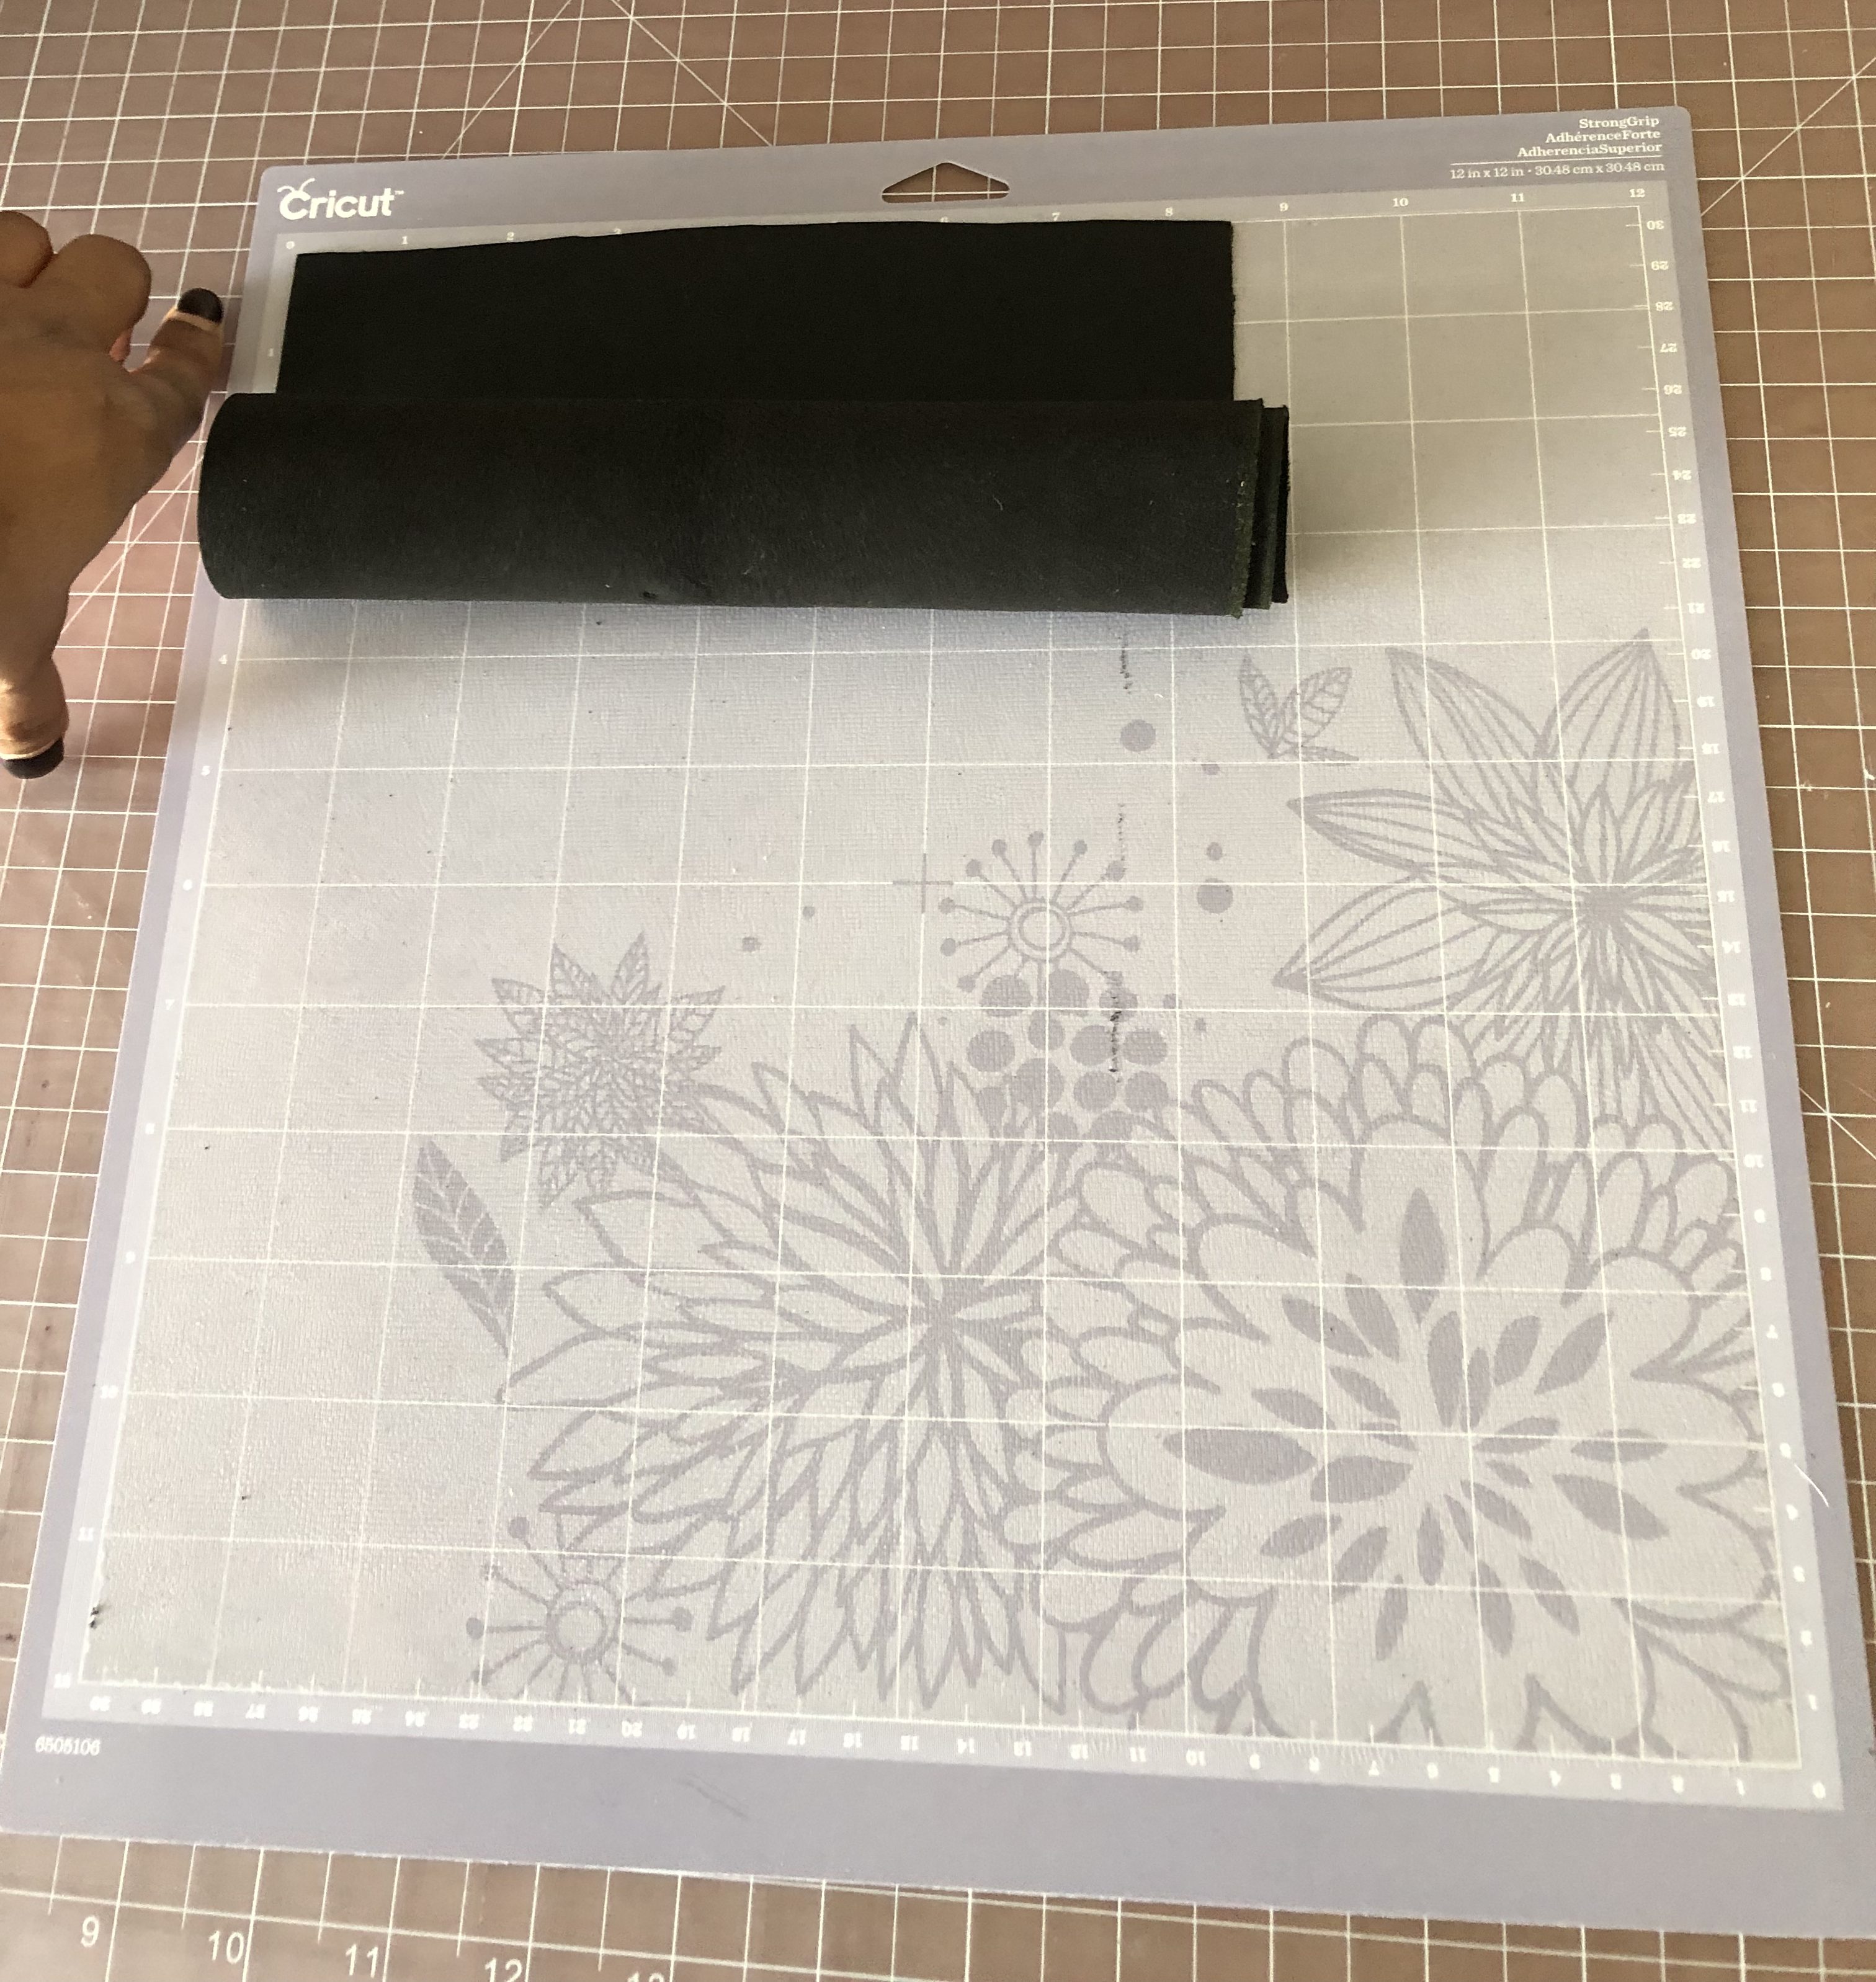
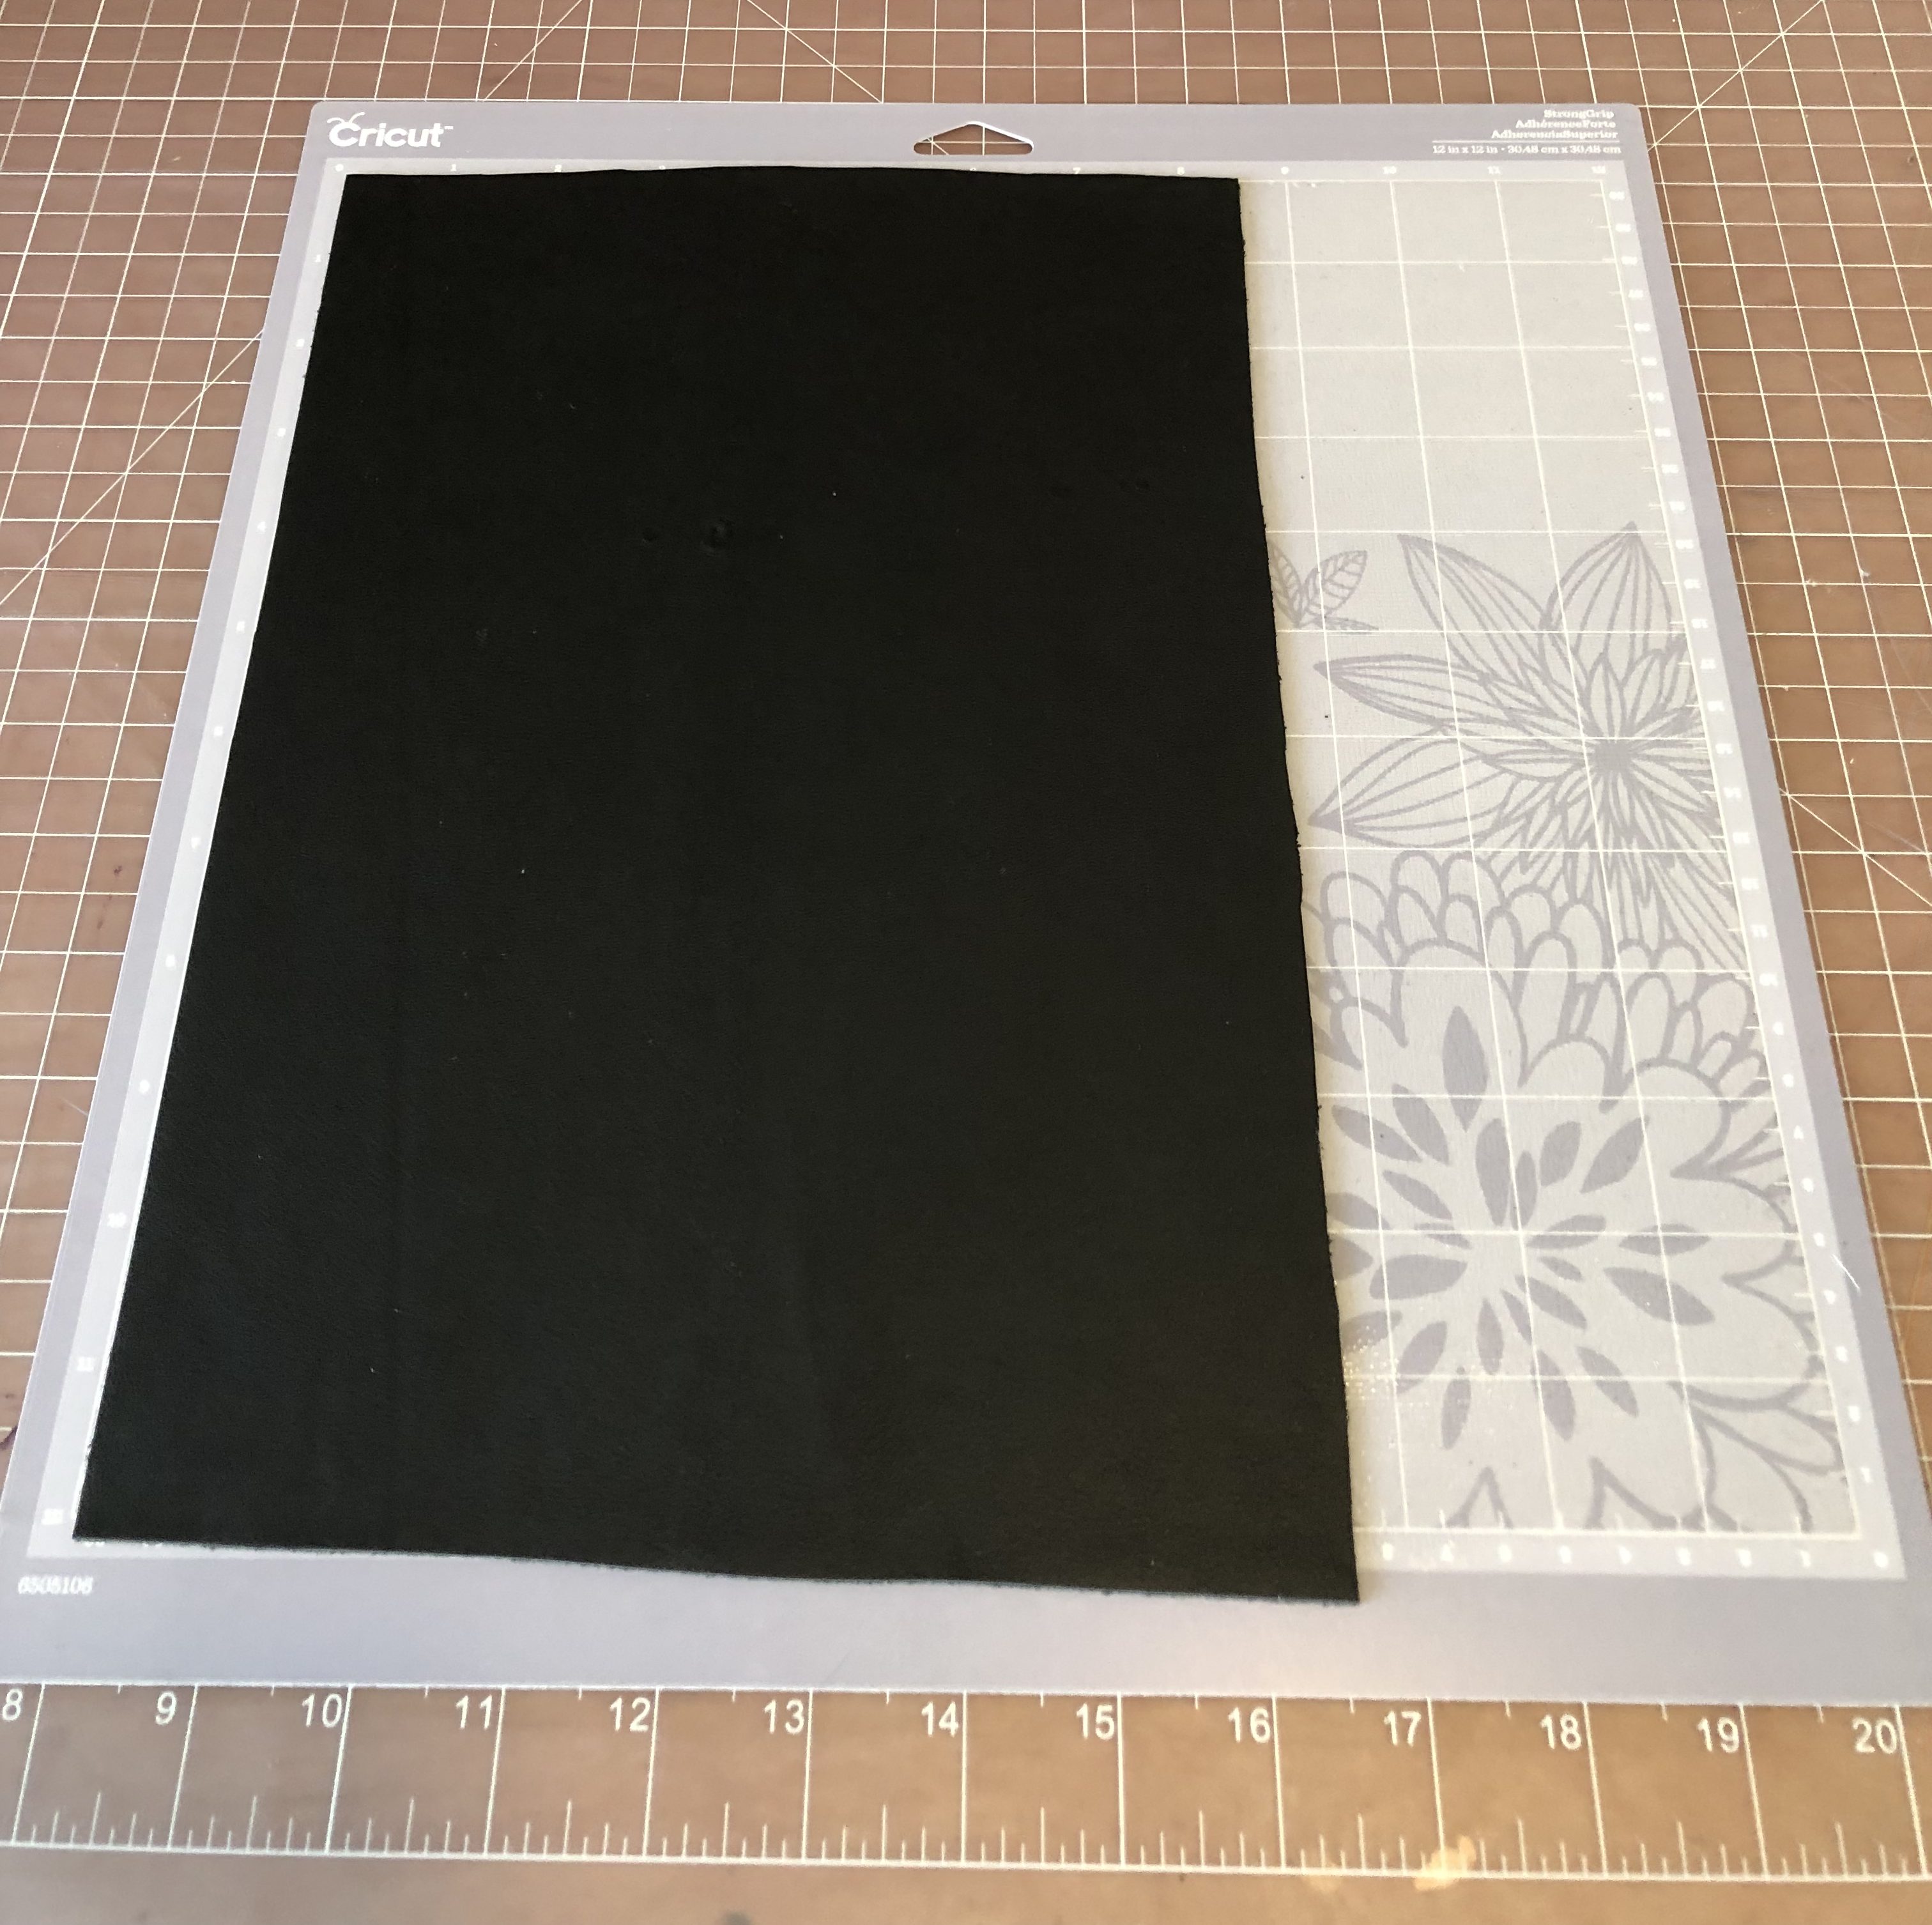
You can add tape to the top and bottom of the mat to secure it in place.
Open the Cricut File, it should already be set up to look like this
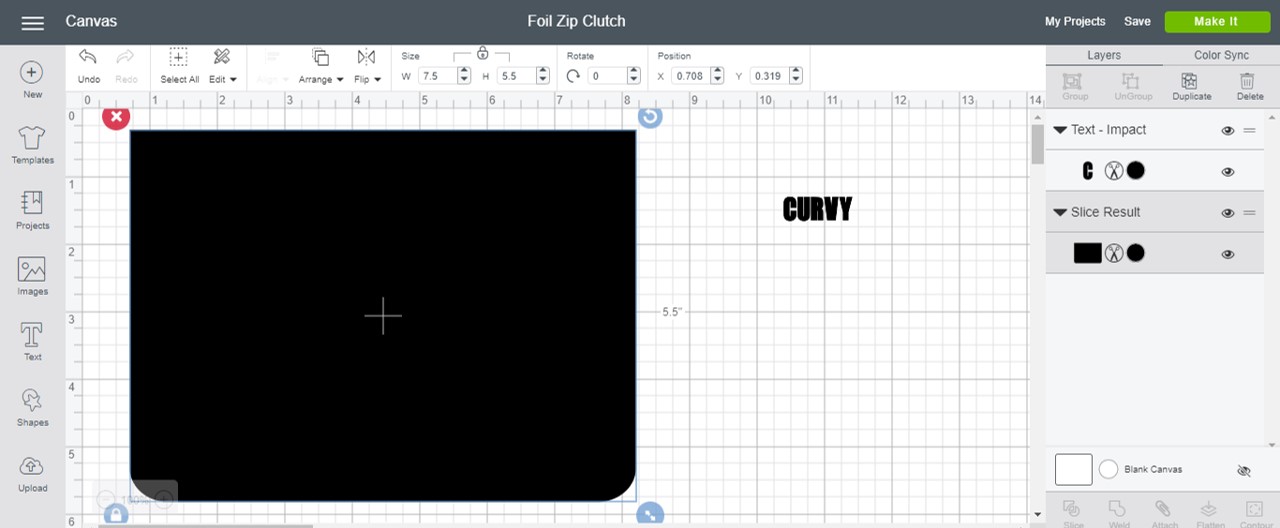
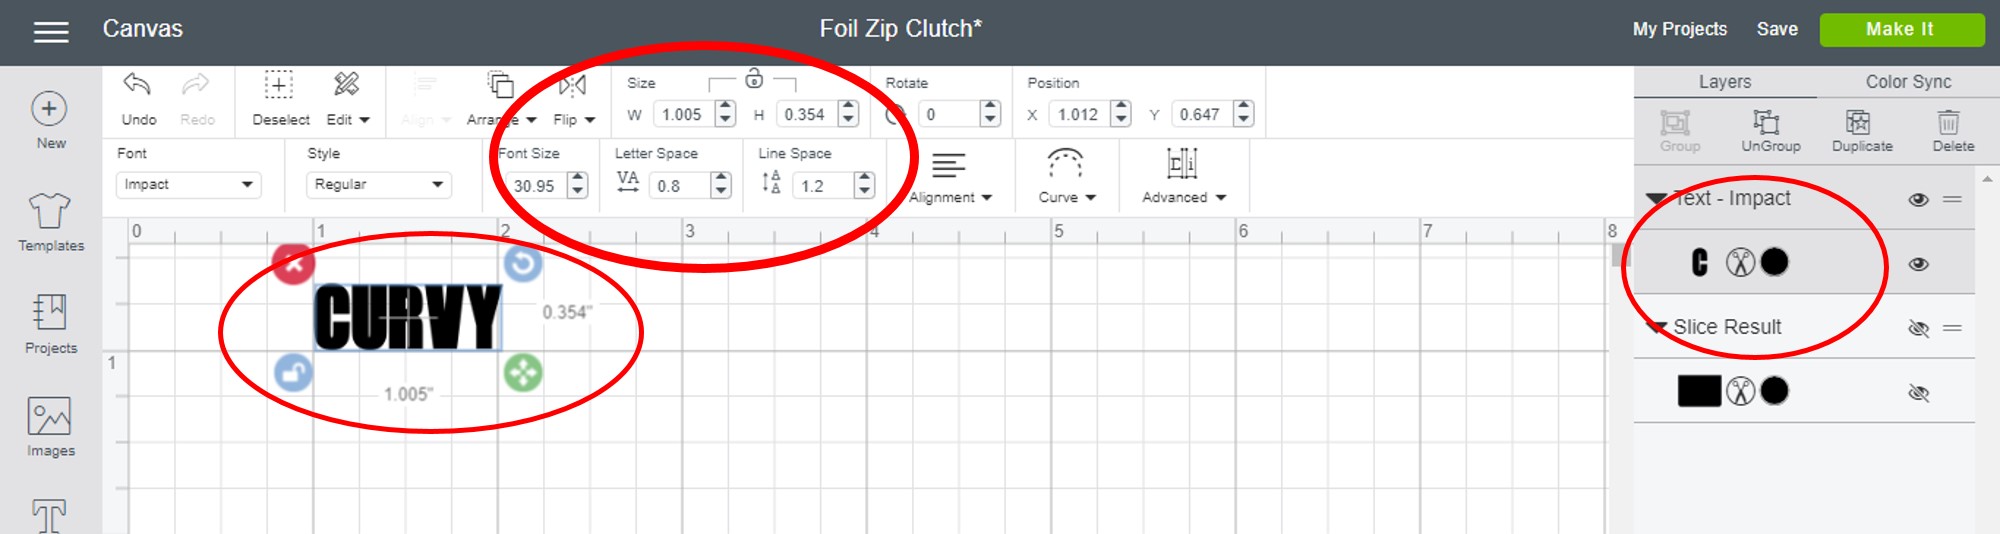
If the Main File (clutch) is set-up to size 7.5″ to 5.5″ you just need to proceed with adding the personalization of your name or initials.. In this case to receive the best result you will use the Font – Impact with a size height of about .75 and reducing the letter spacing to 0.2 and the font size of about 30 – the complete set-up is below:
Once done with both you can hide the text and proceed to set-up the cutting mat, here you will change your blade to the knife blade and choose Genuine Leather. If you aren’t aware on how to do that here is a quick 31 video to show you:
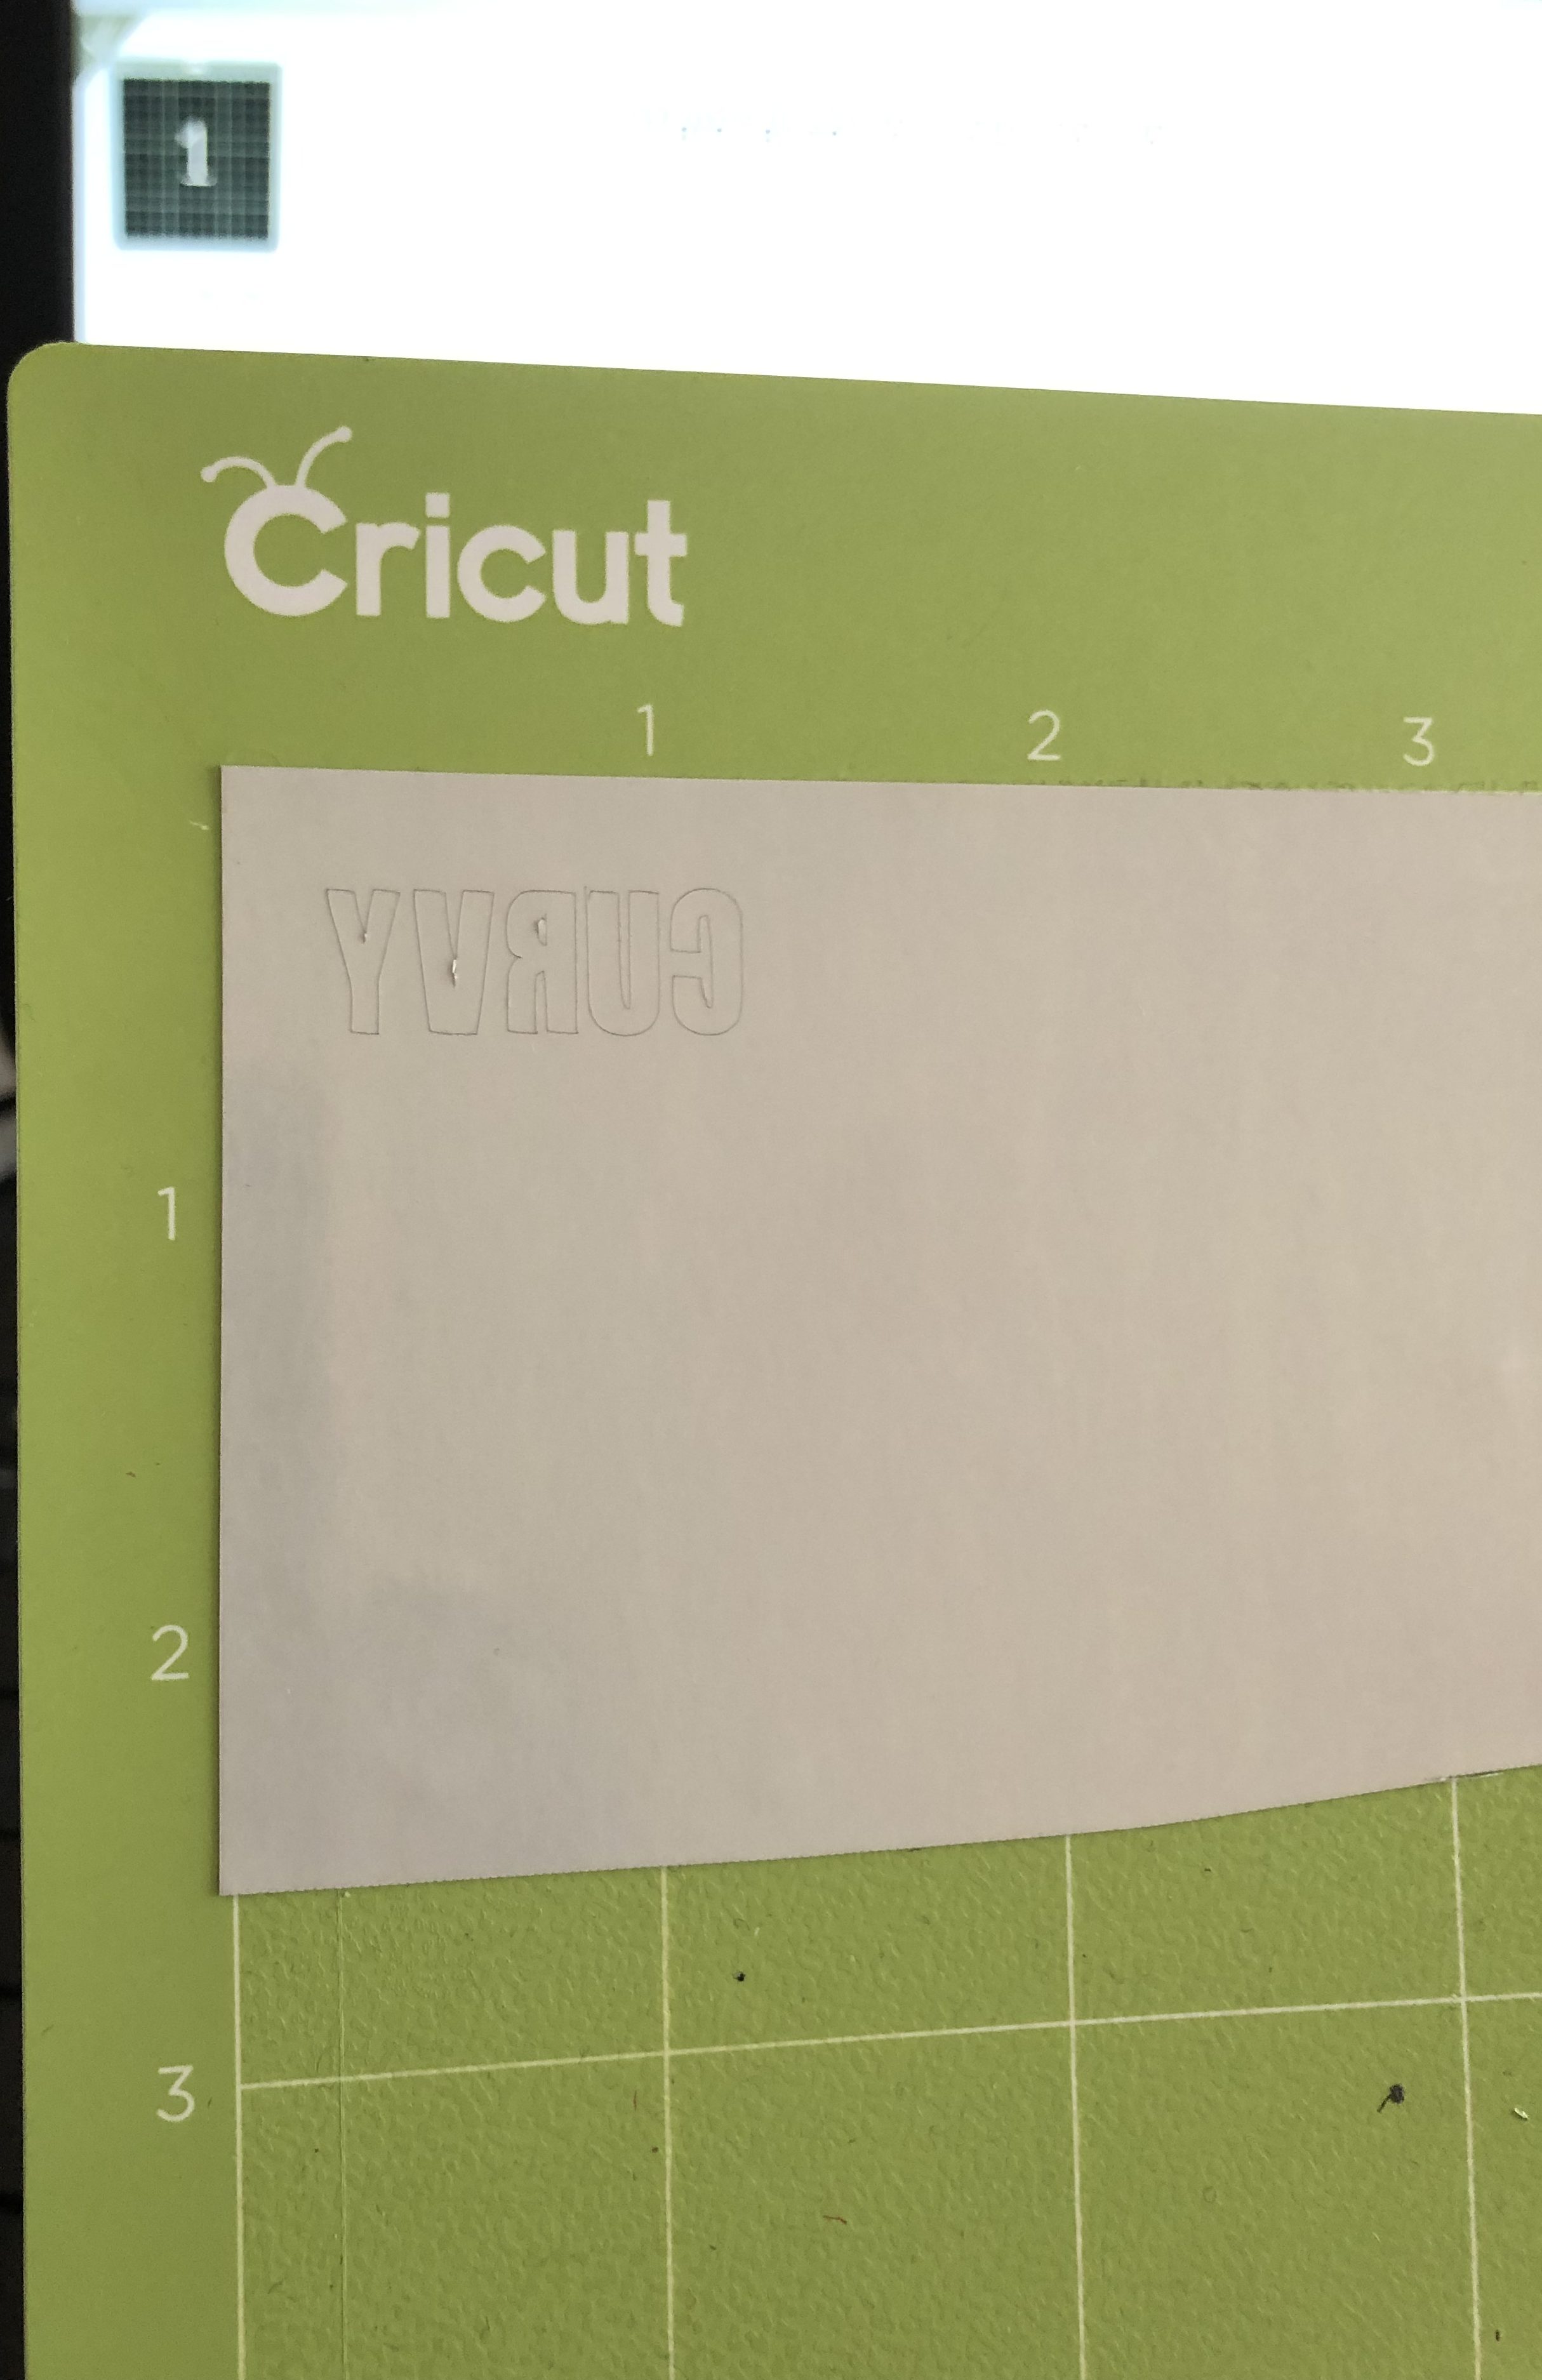
I would test out my cut first on card stock — Just to see how it cuts.. You don’t want to ruin your piece of leather if you have a limited supply. Here is a sample cut:
Now you can cut the real thing..
Once your cut is complete you may see the following message:
You can proceed to cut your personalized foil as you will apply the foil to one side of the clutch prior to the zipper and sewing the whole unit together:
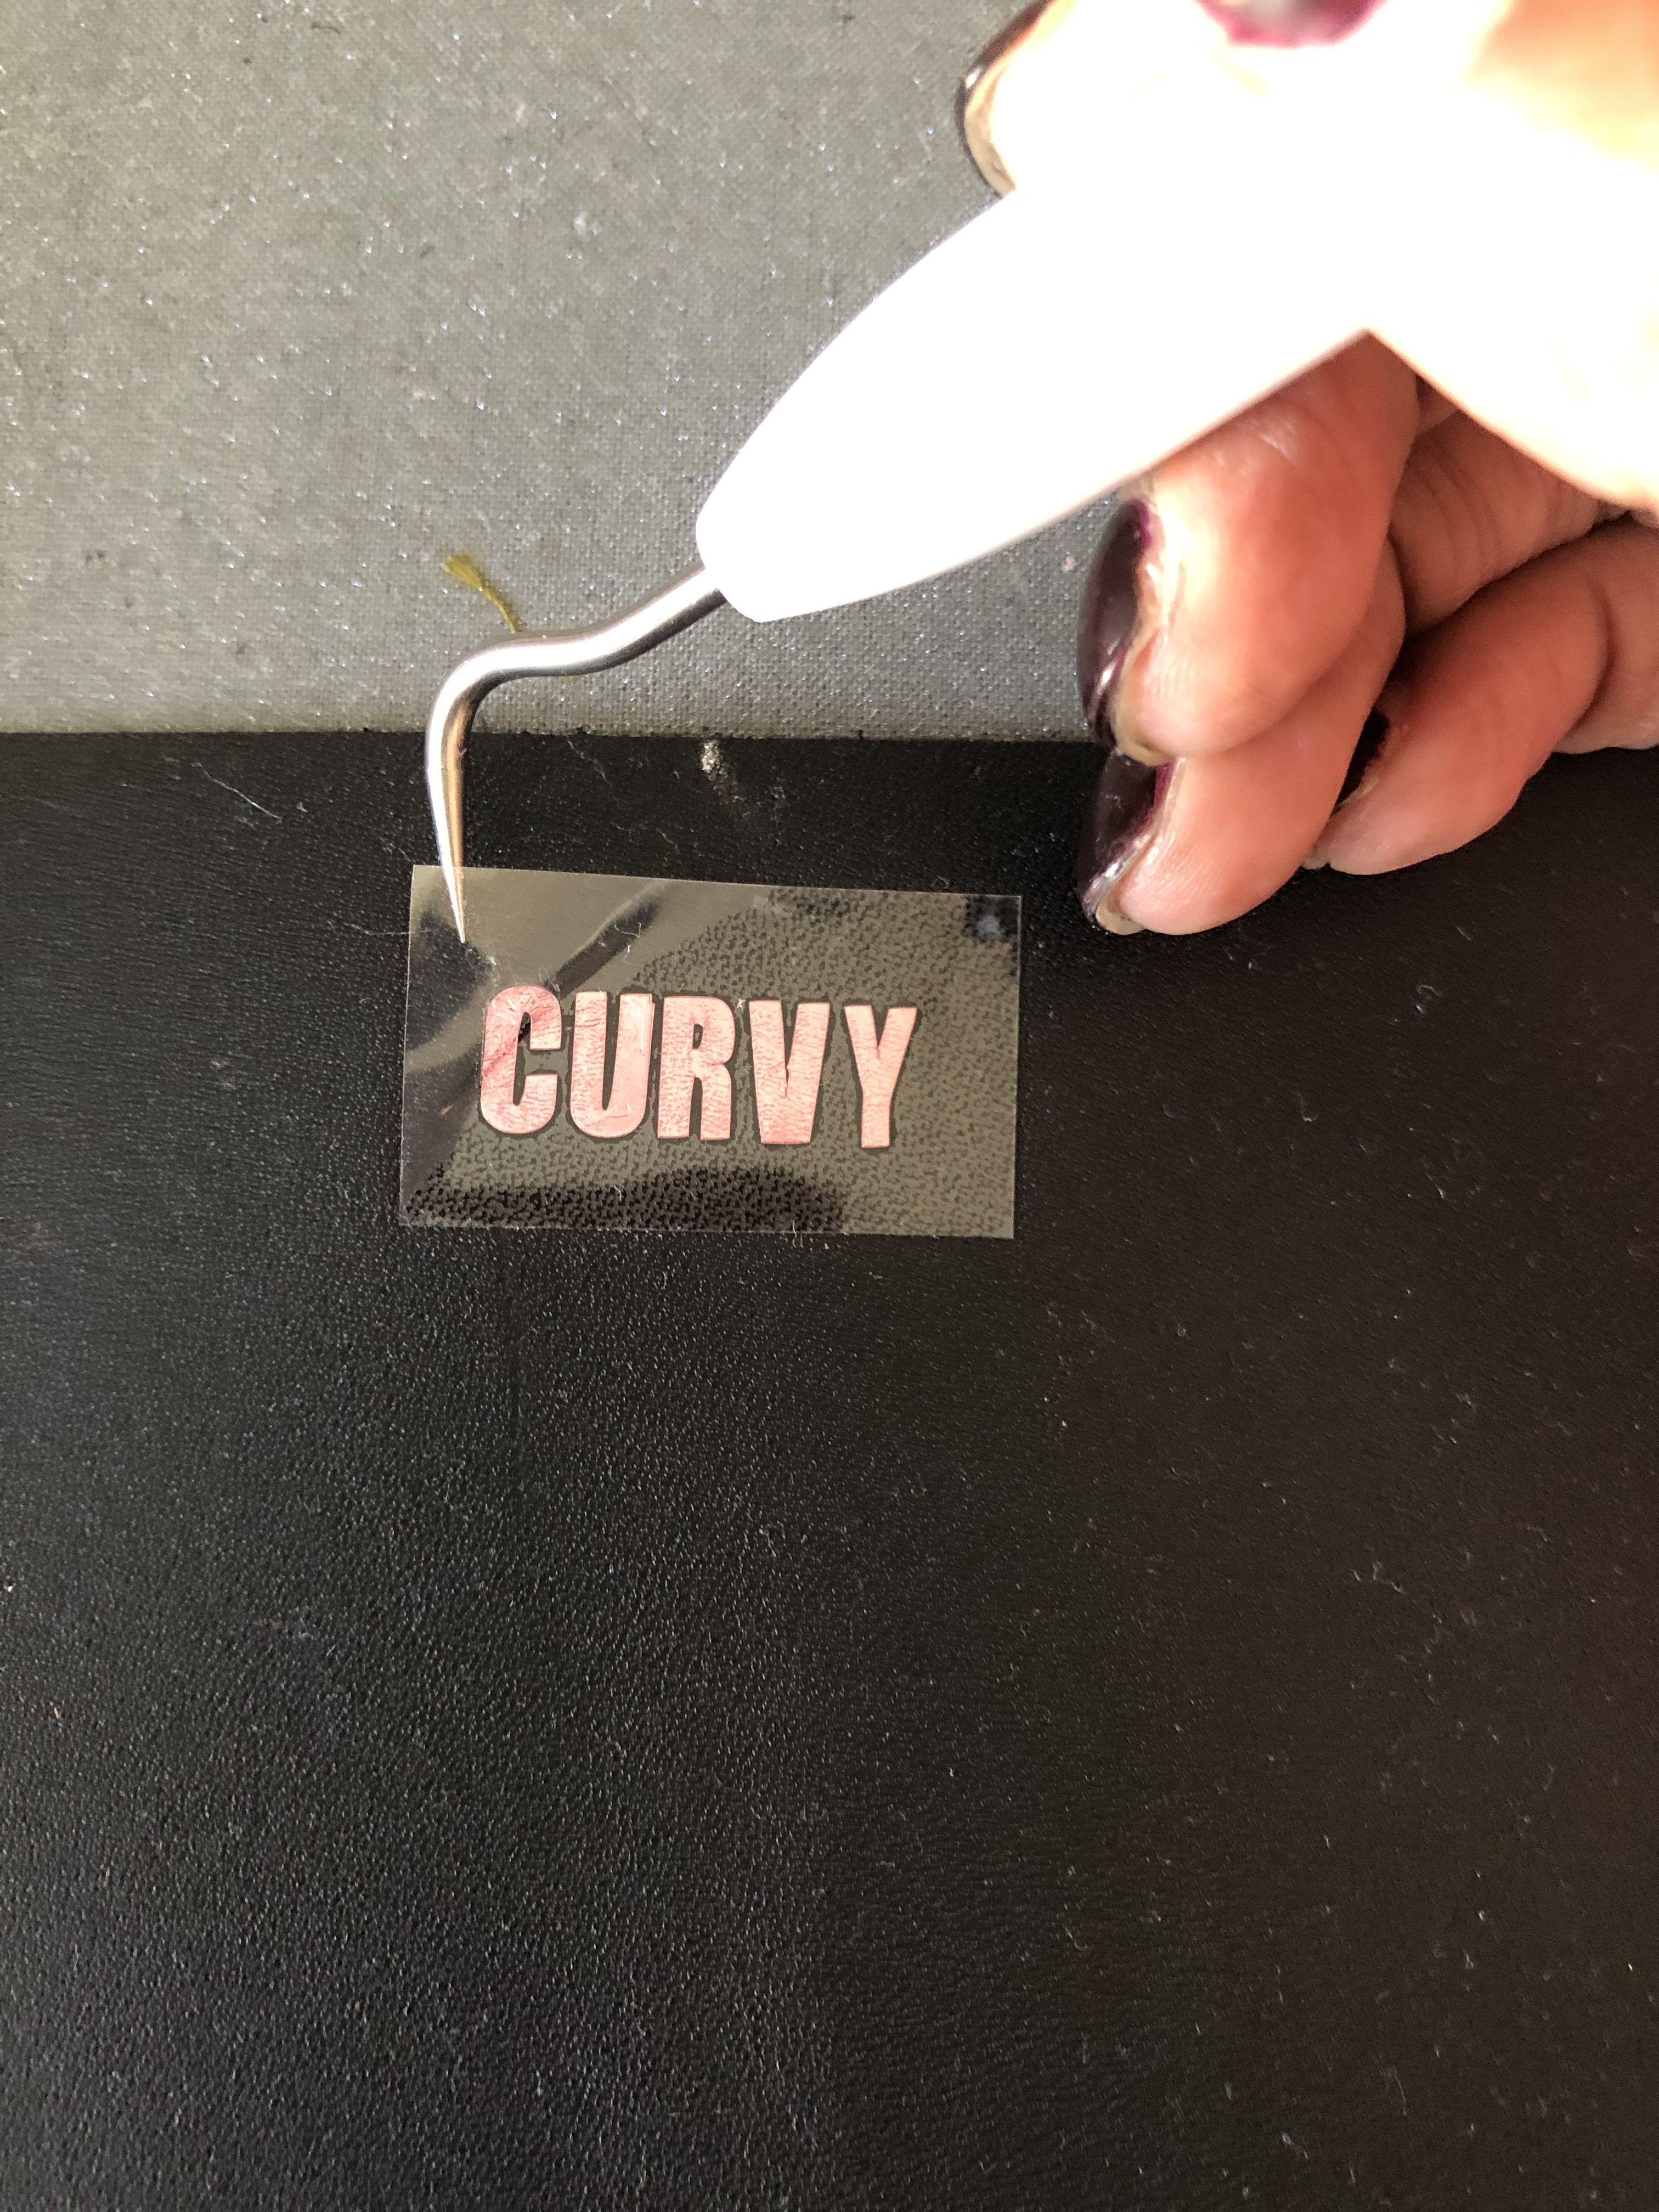
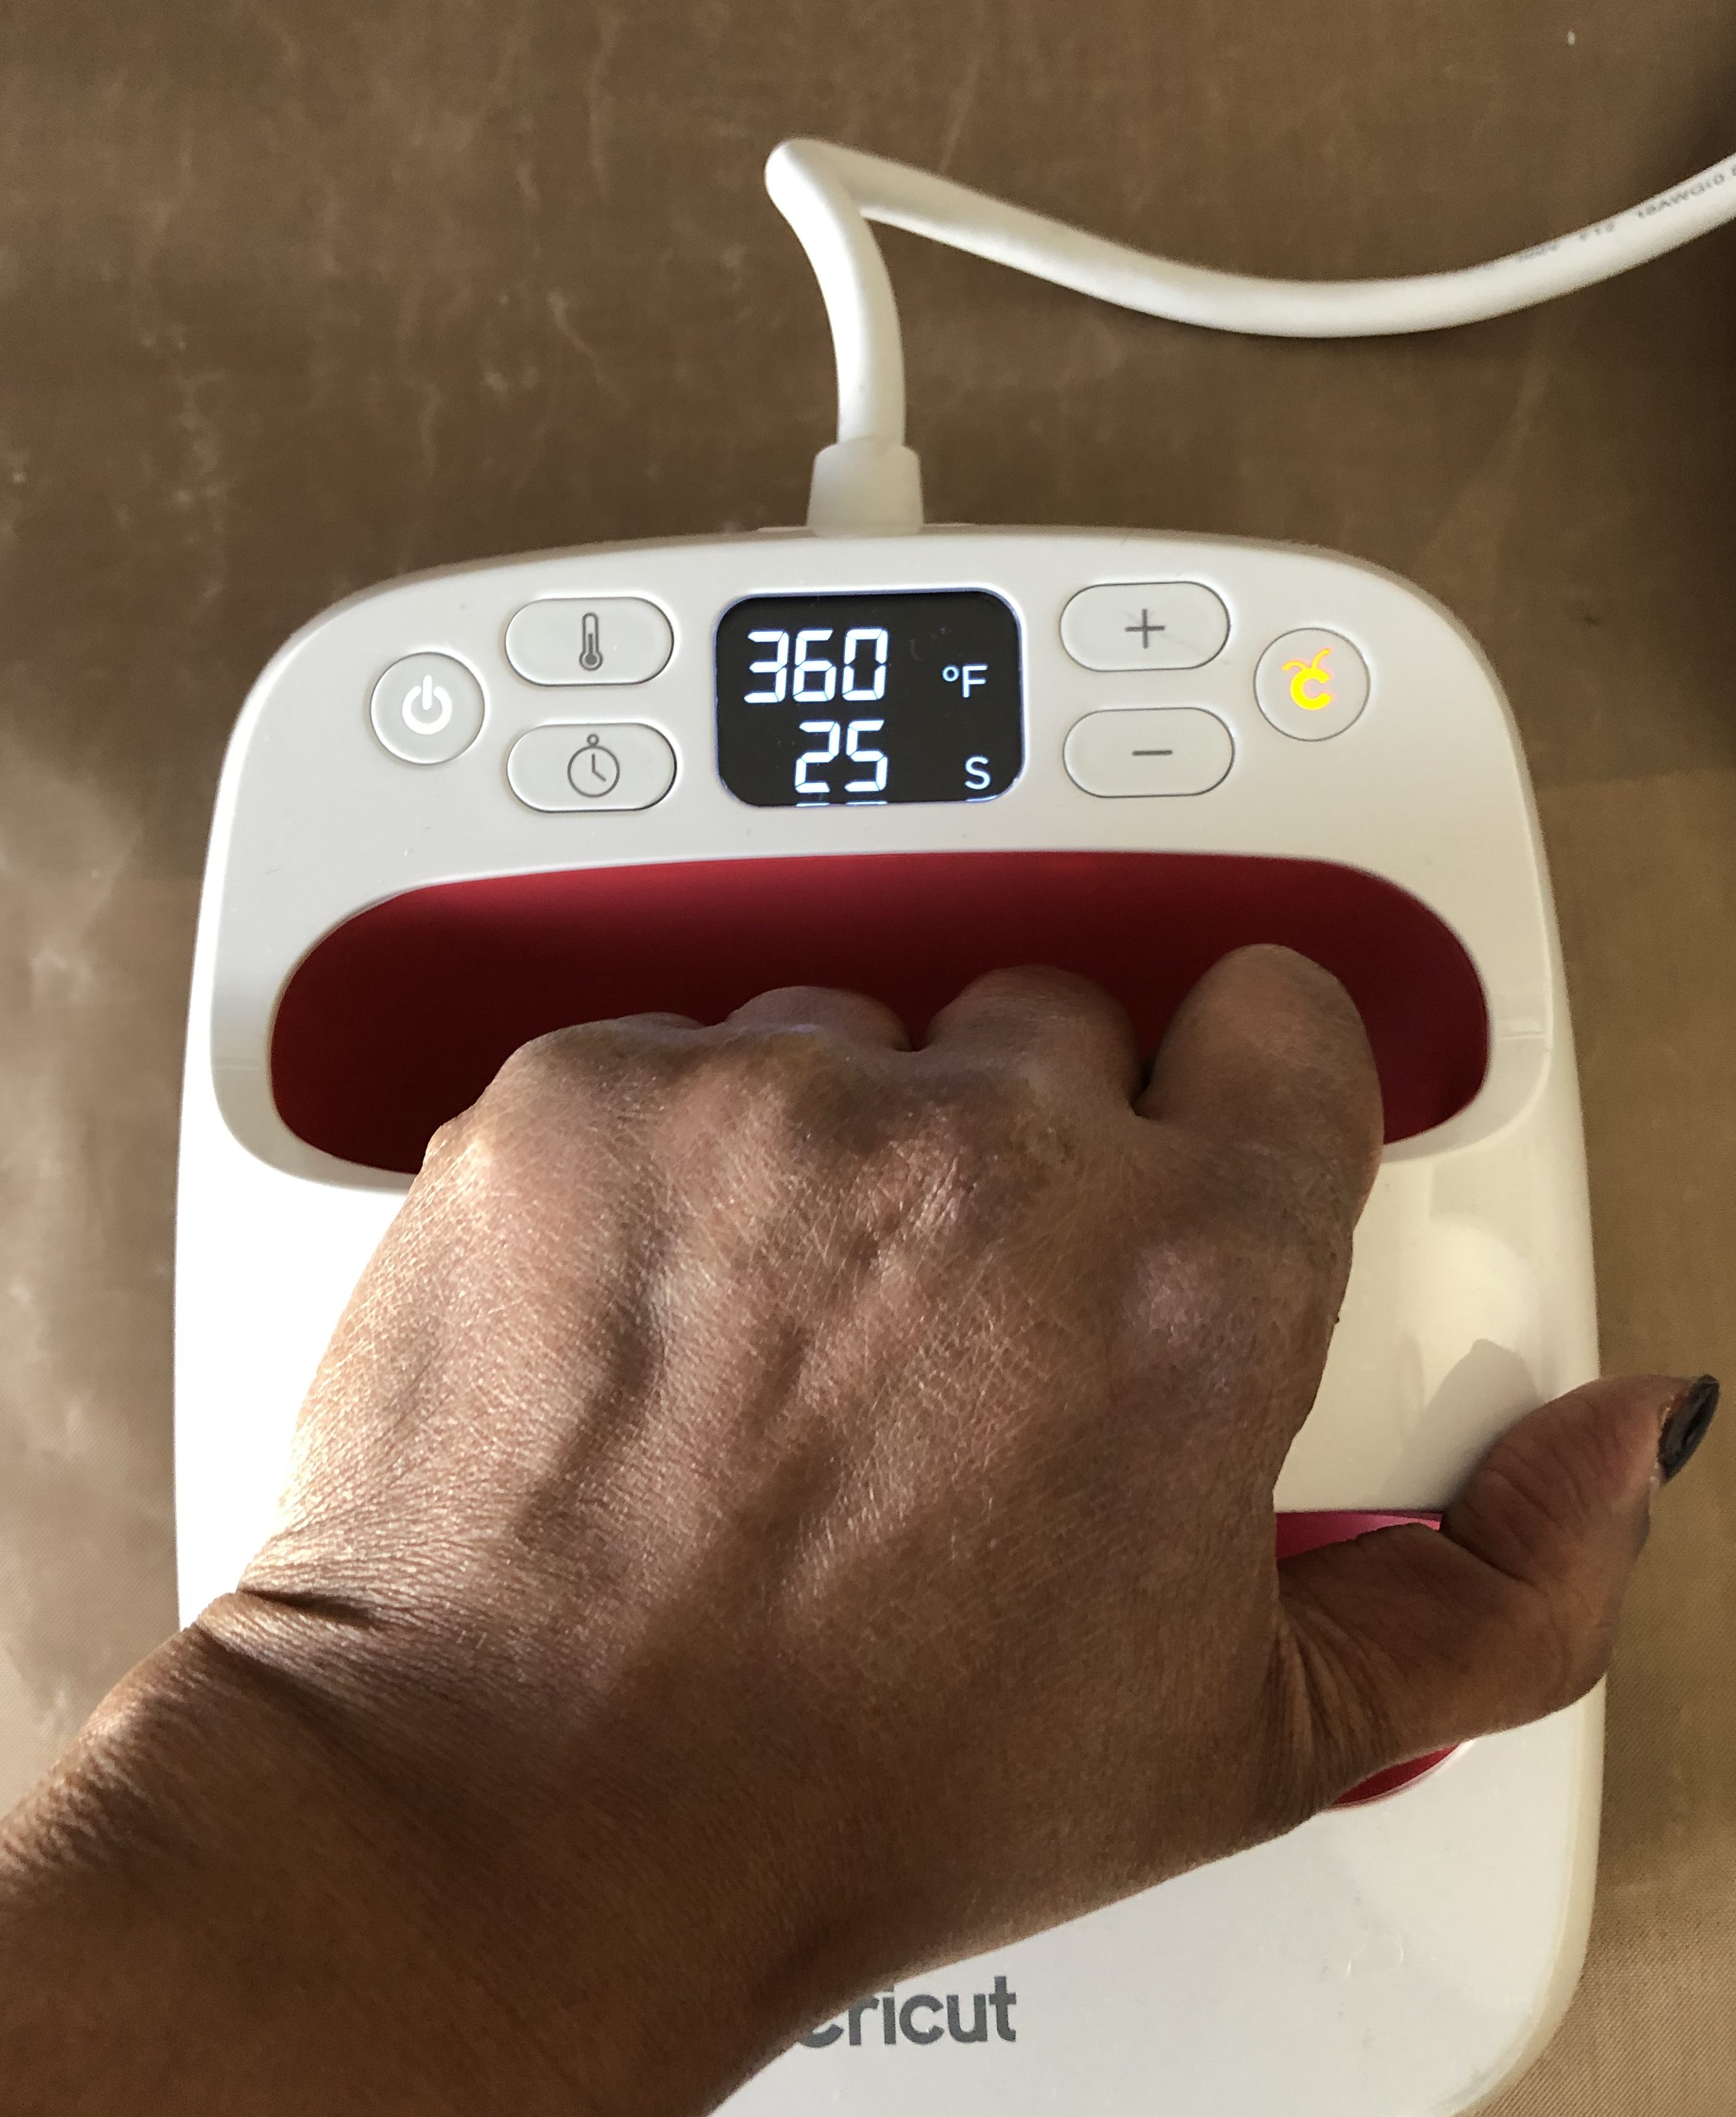
Weed your Foil, get out your Easy Press, and Mat
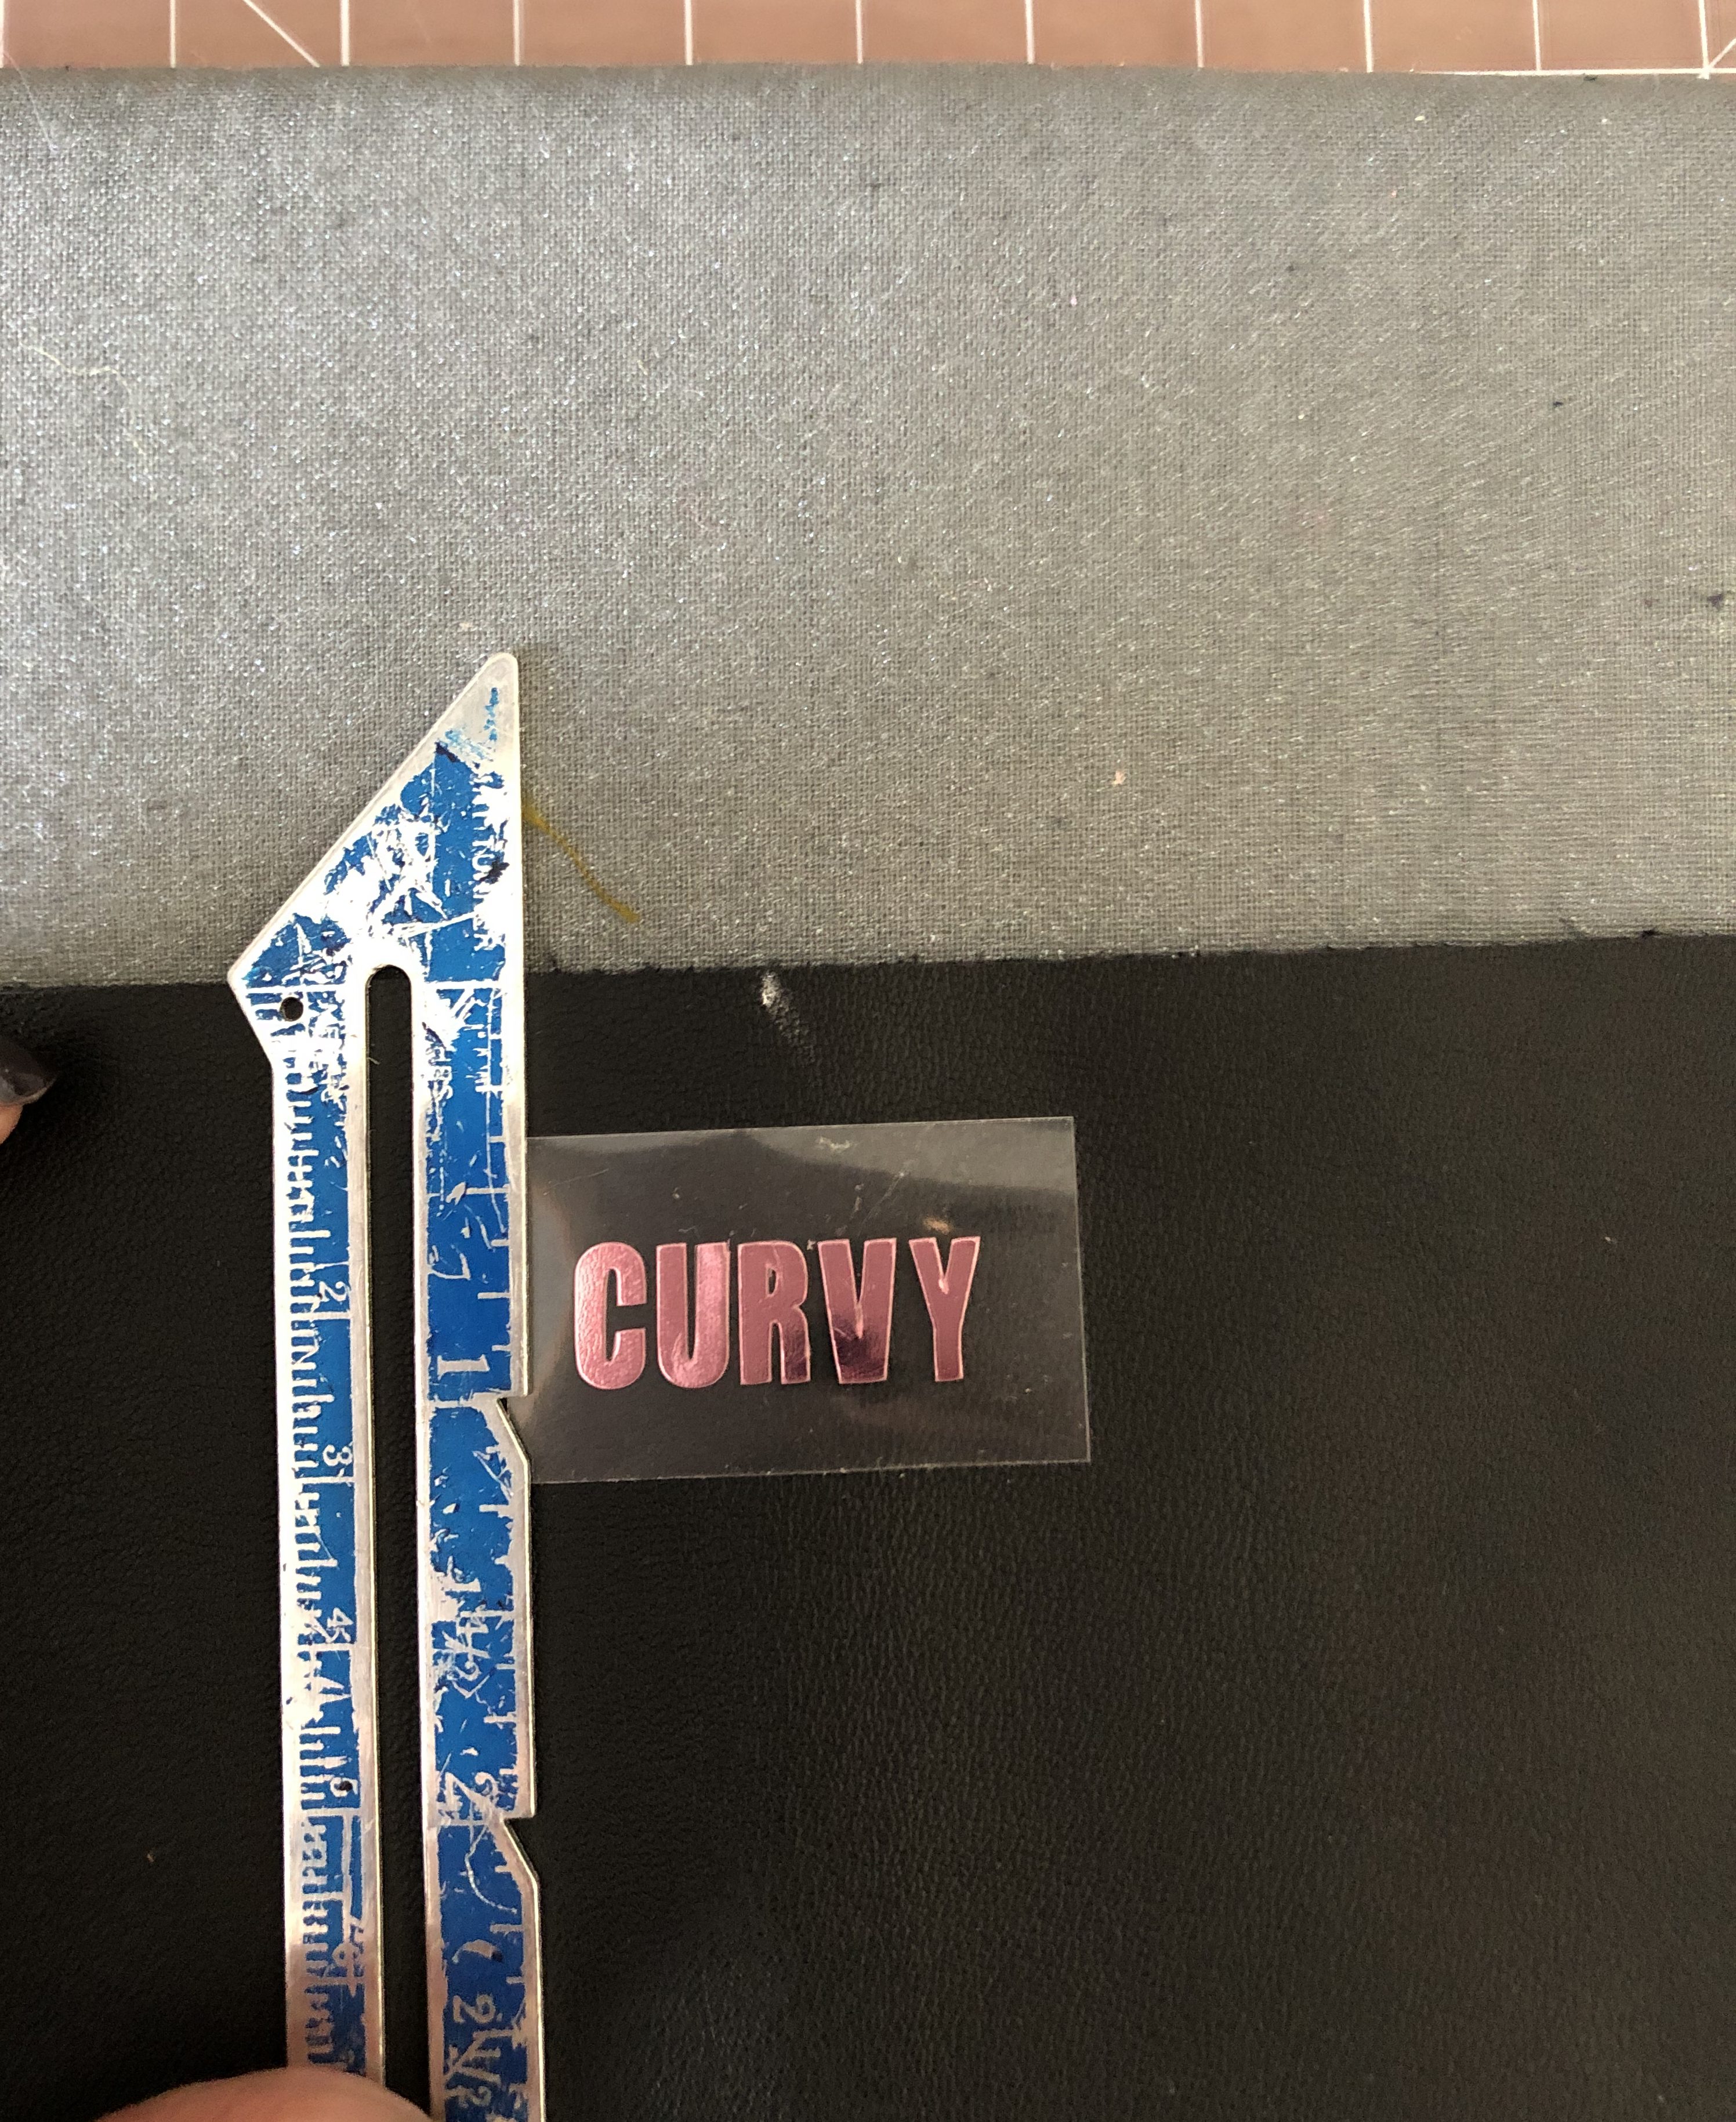
We will now place the cut on in the middle of one of the leather pieces and measure about .75 or 3/4″ from the top and mark the center very lightly.
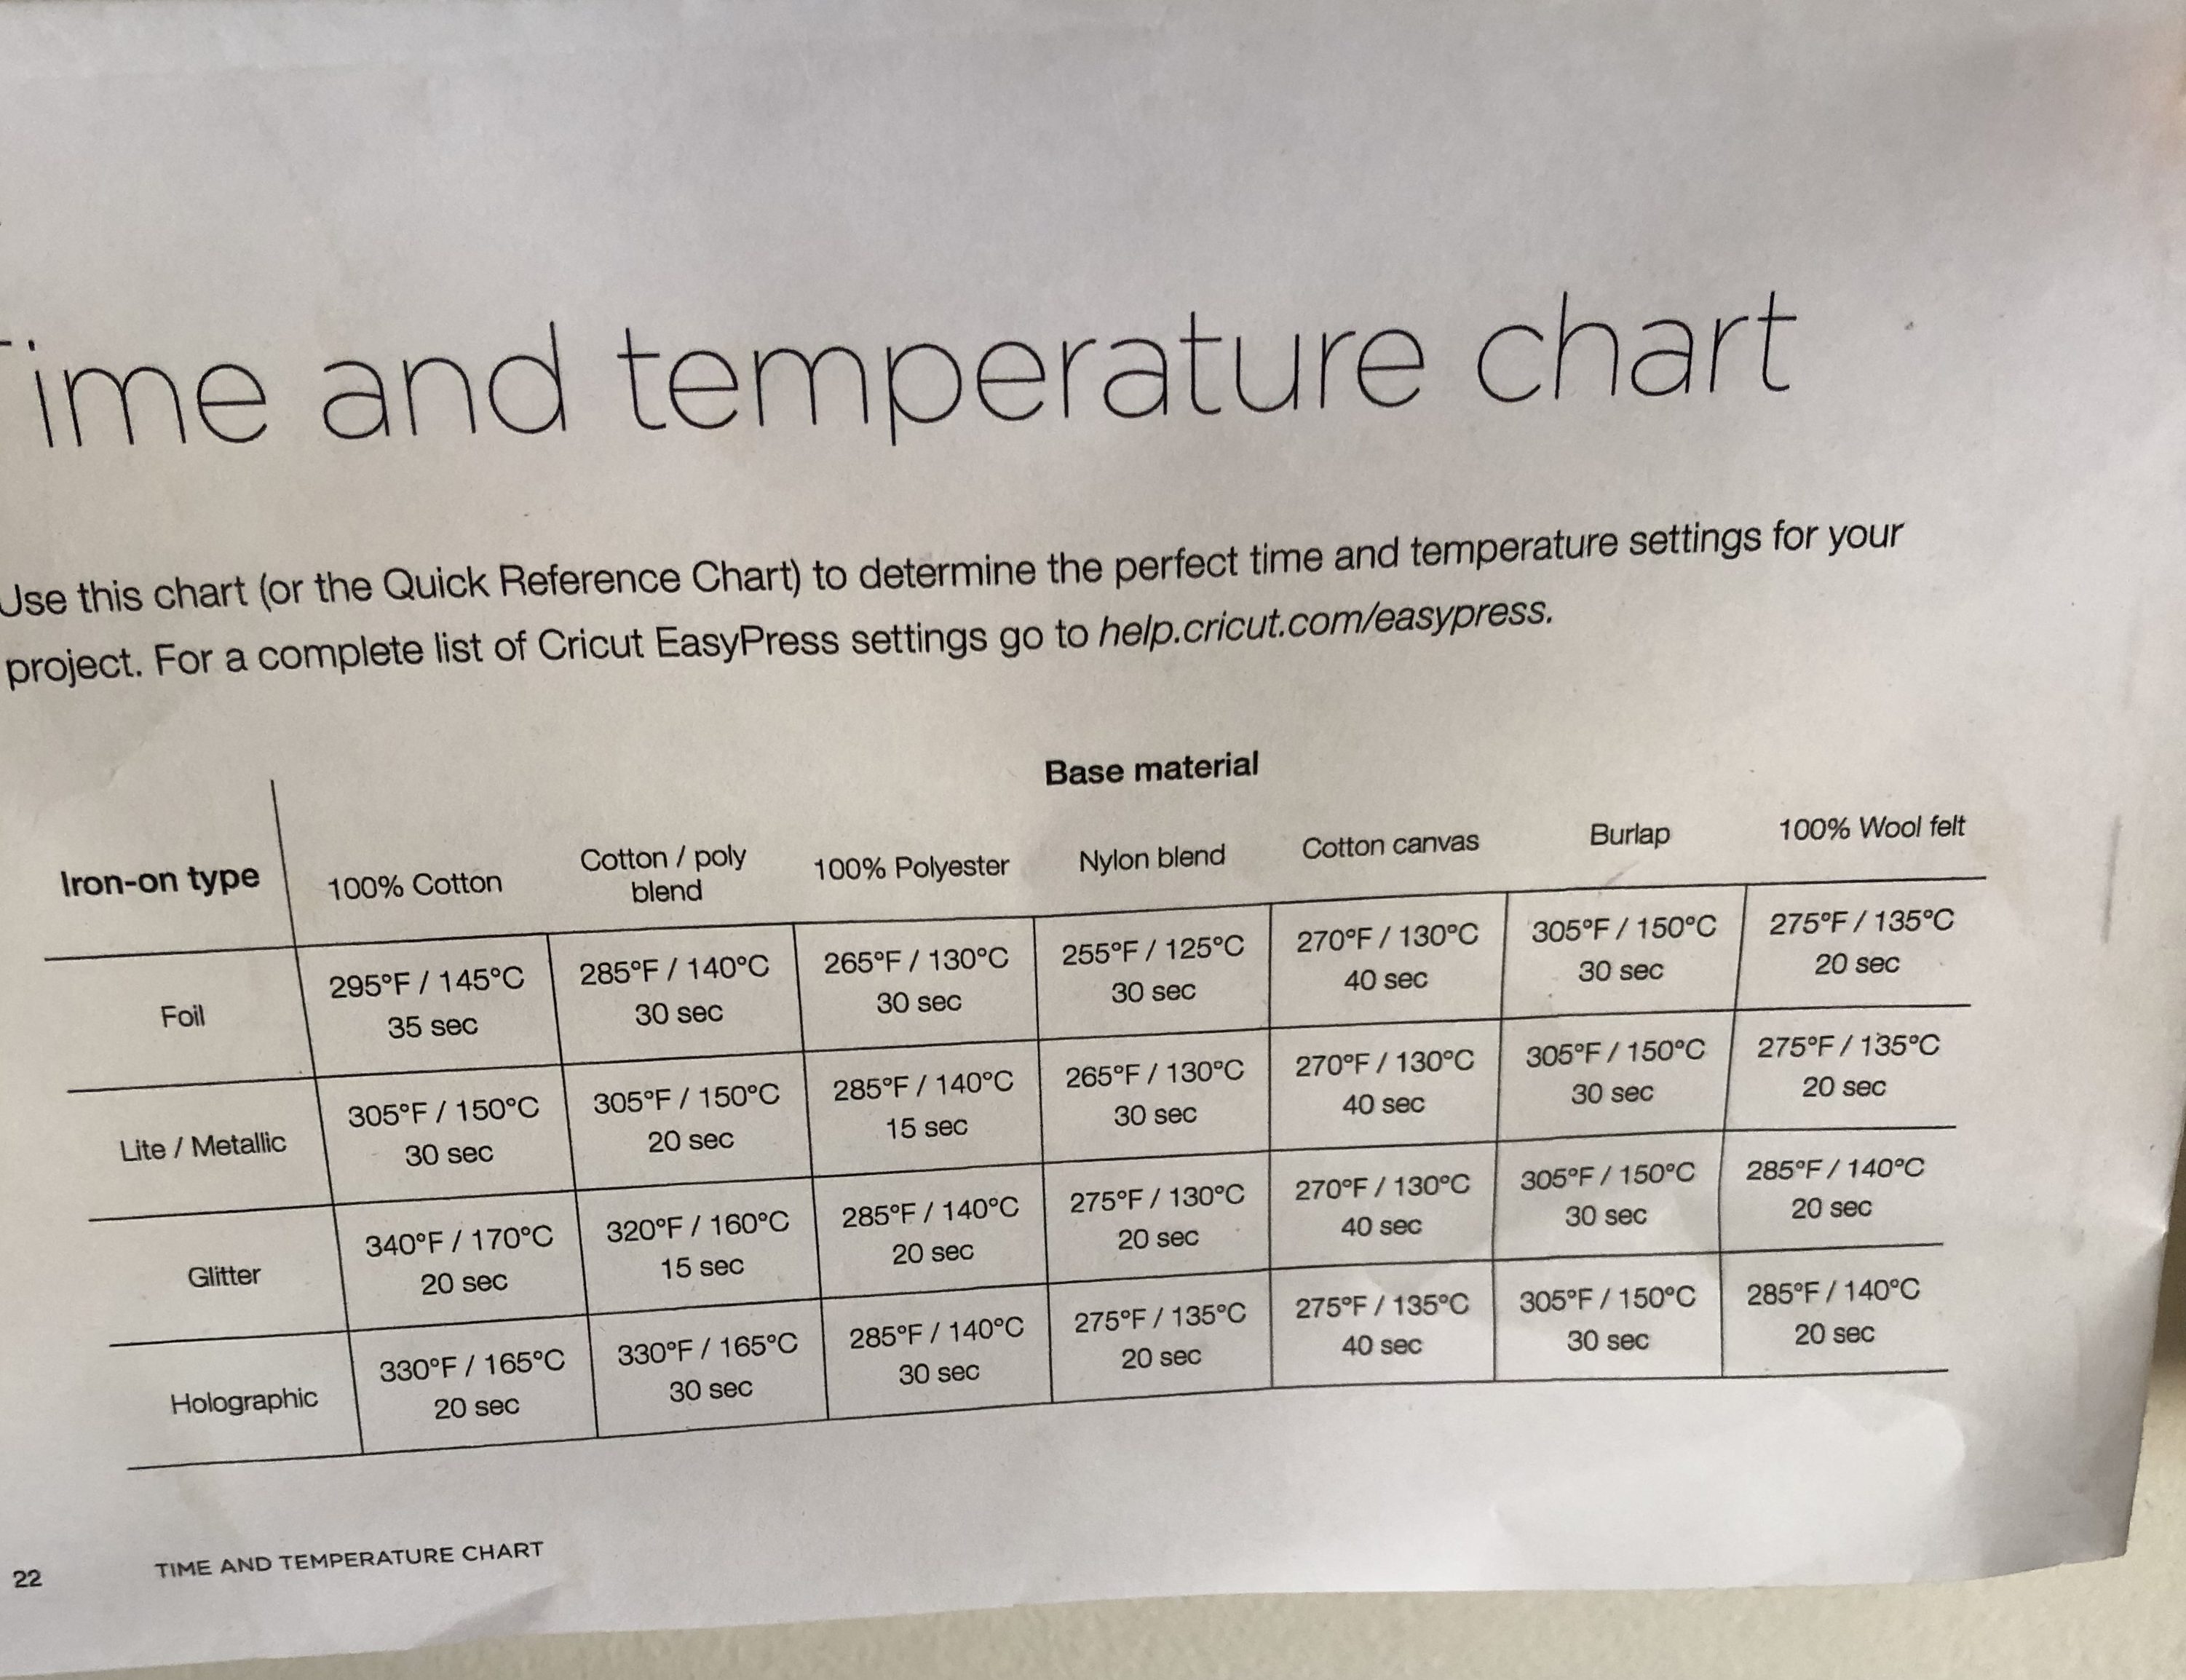
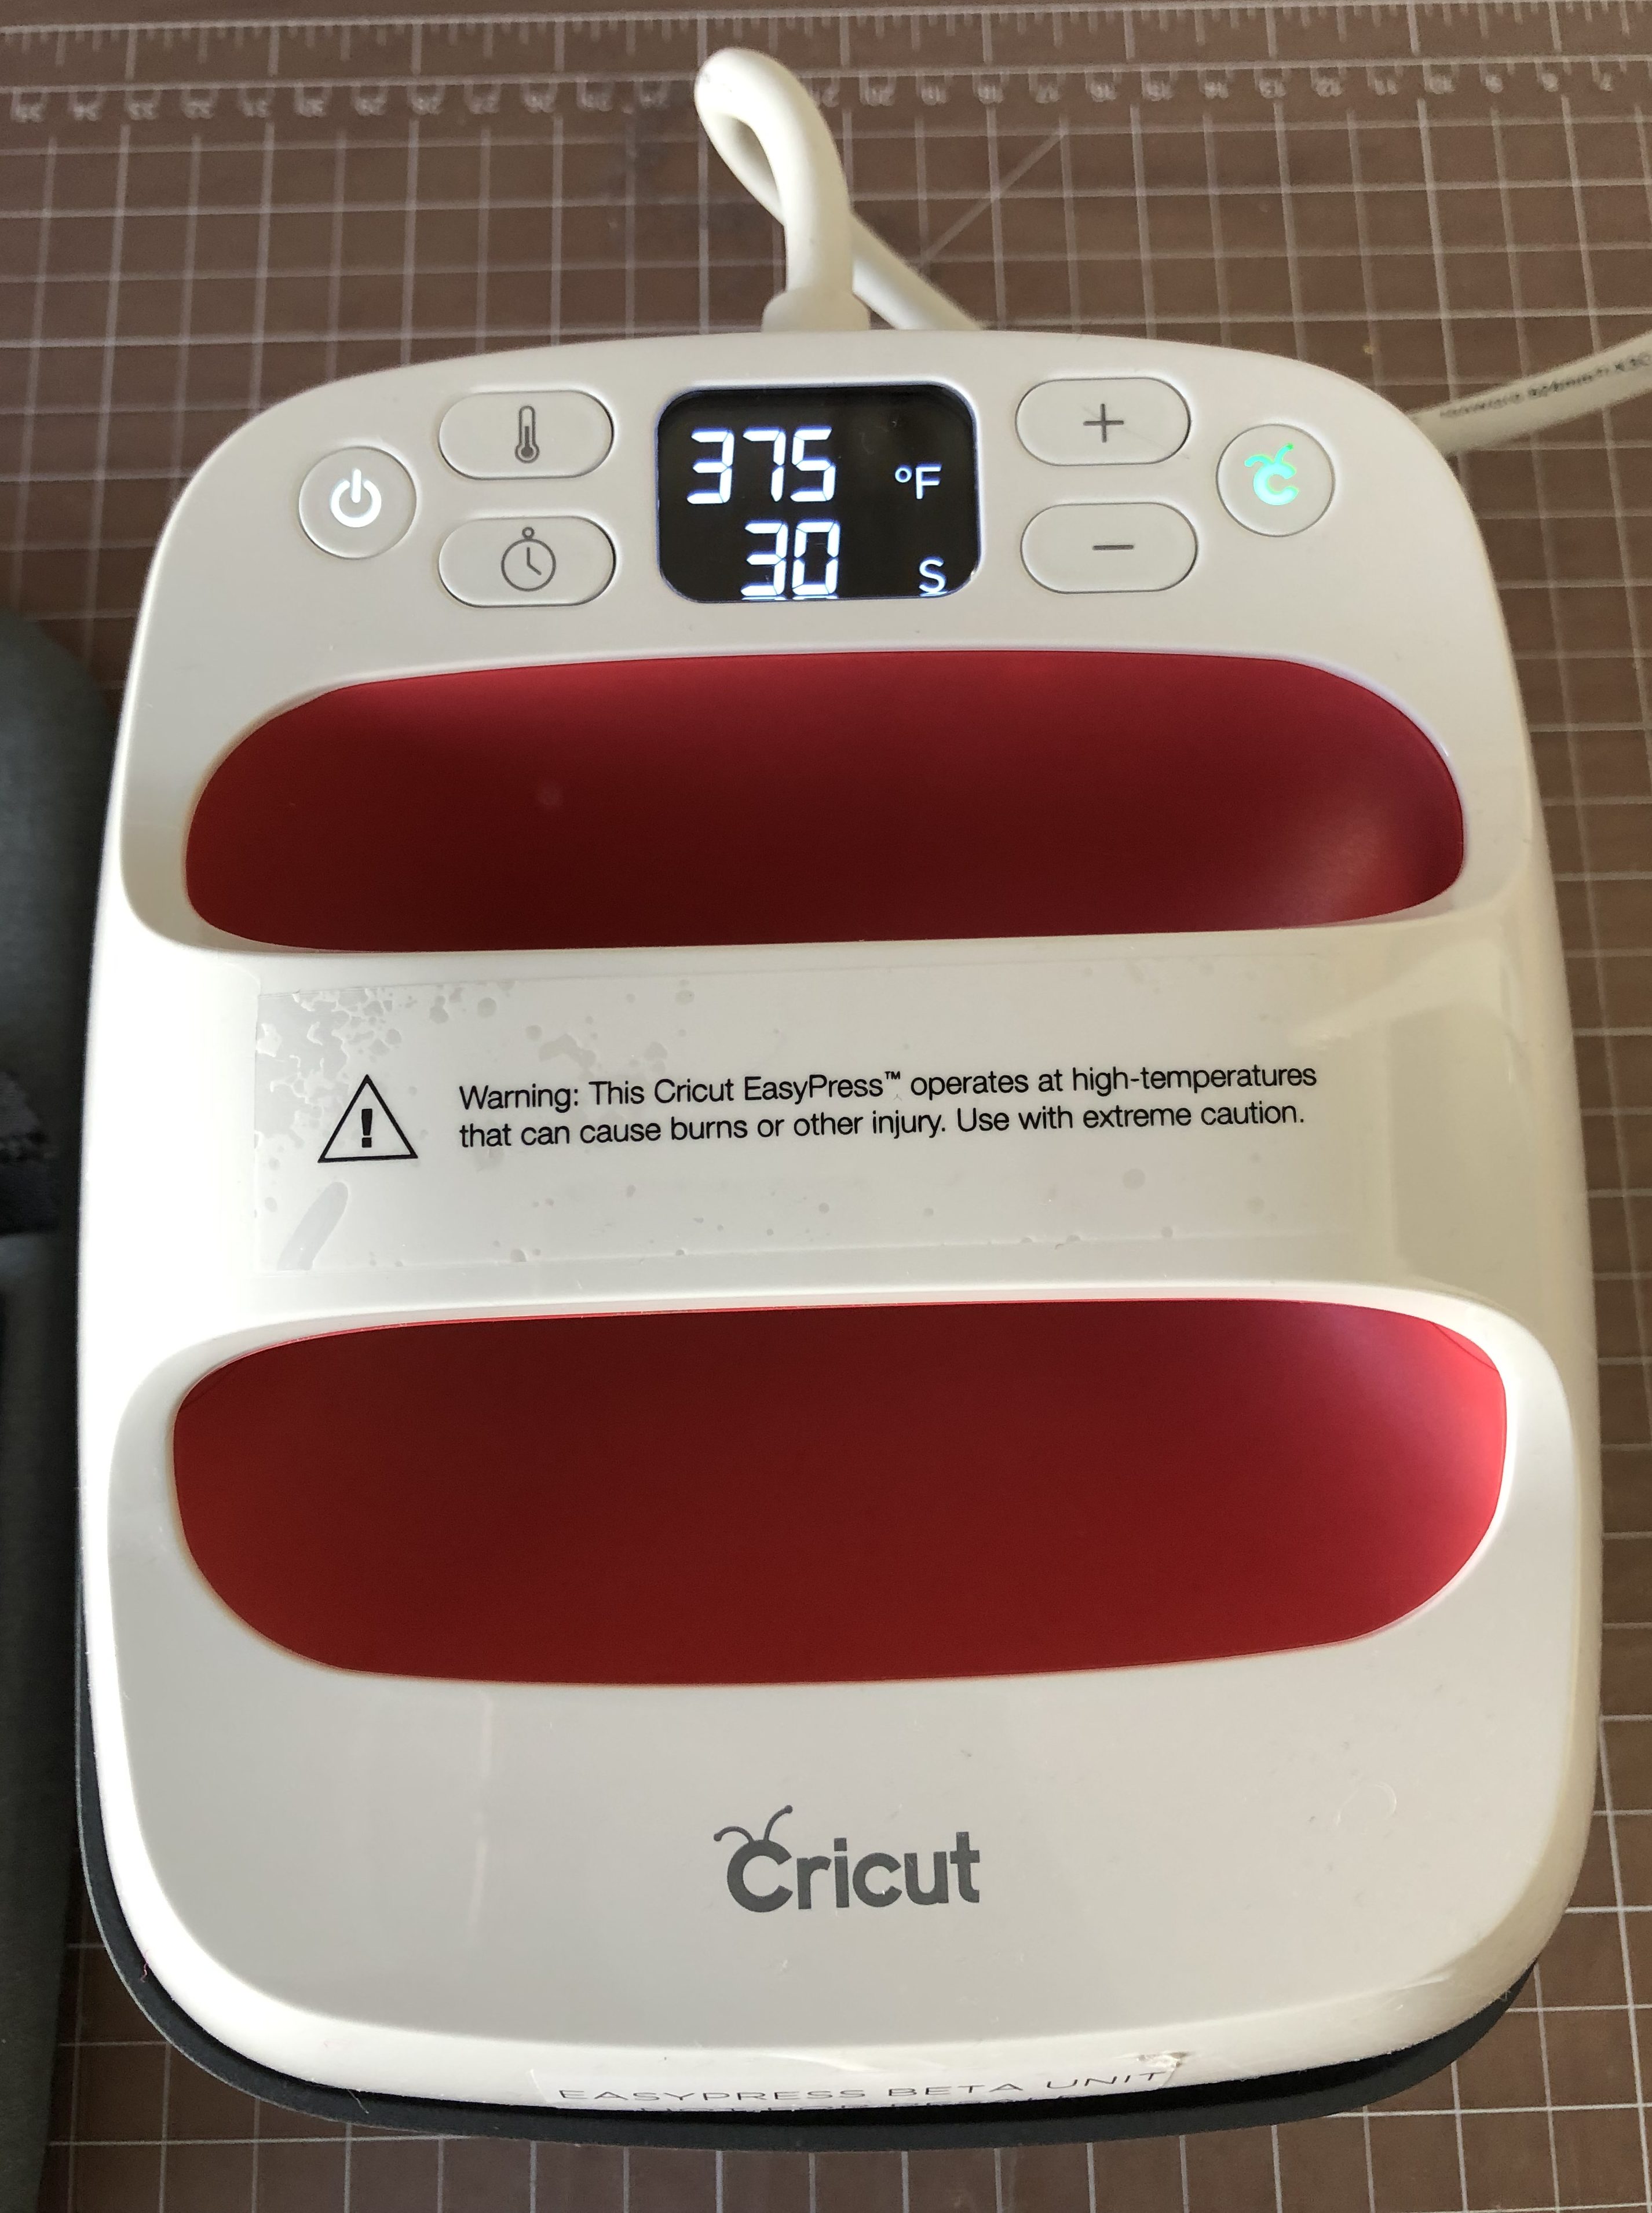
You will now Easy Press the foil onto the leather. Cover with the cotton piece, then the Teflon piece. Set your heat press to 375 degrees and 30 seconds. You may need to press this TWICE. Let the foil and the leather cool between each PRESS. You may see a slight bit of steam but don’t be alarmed.
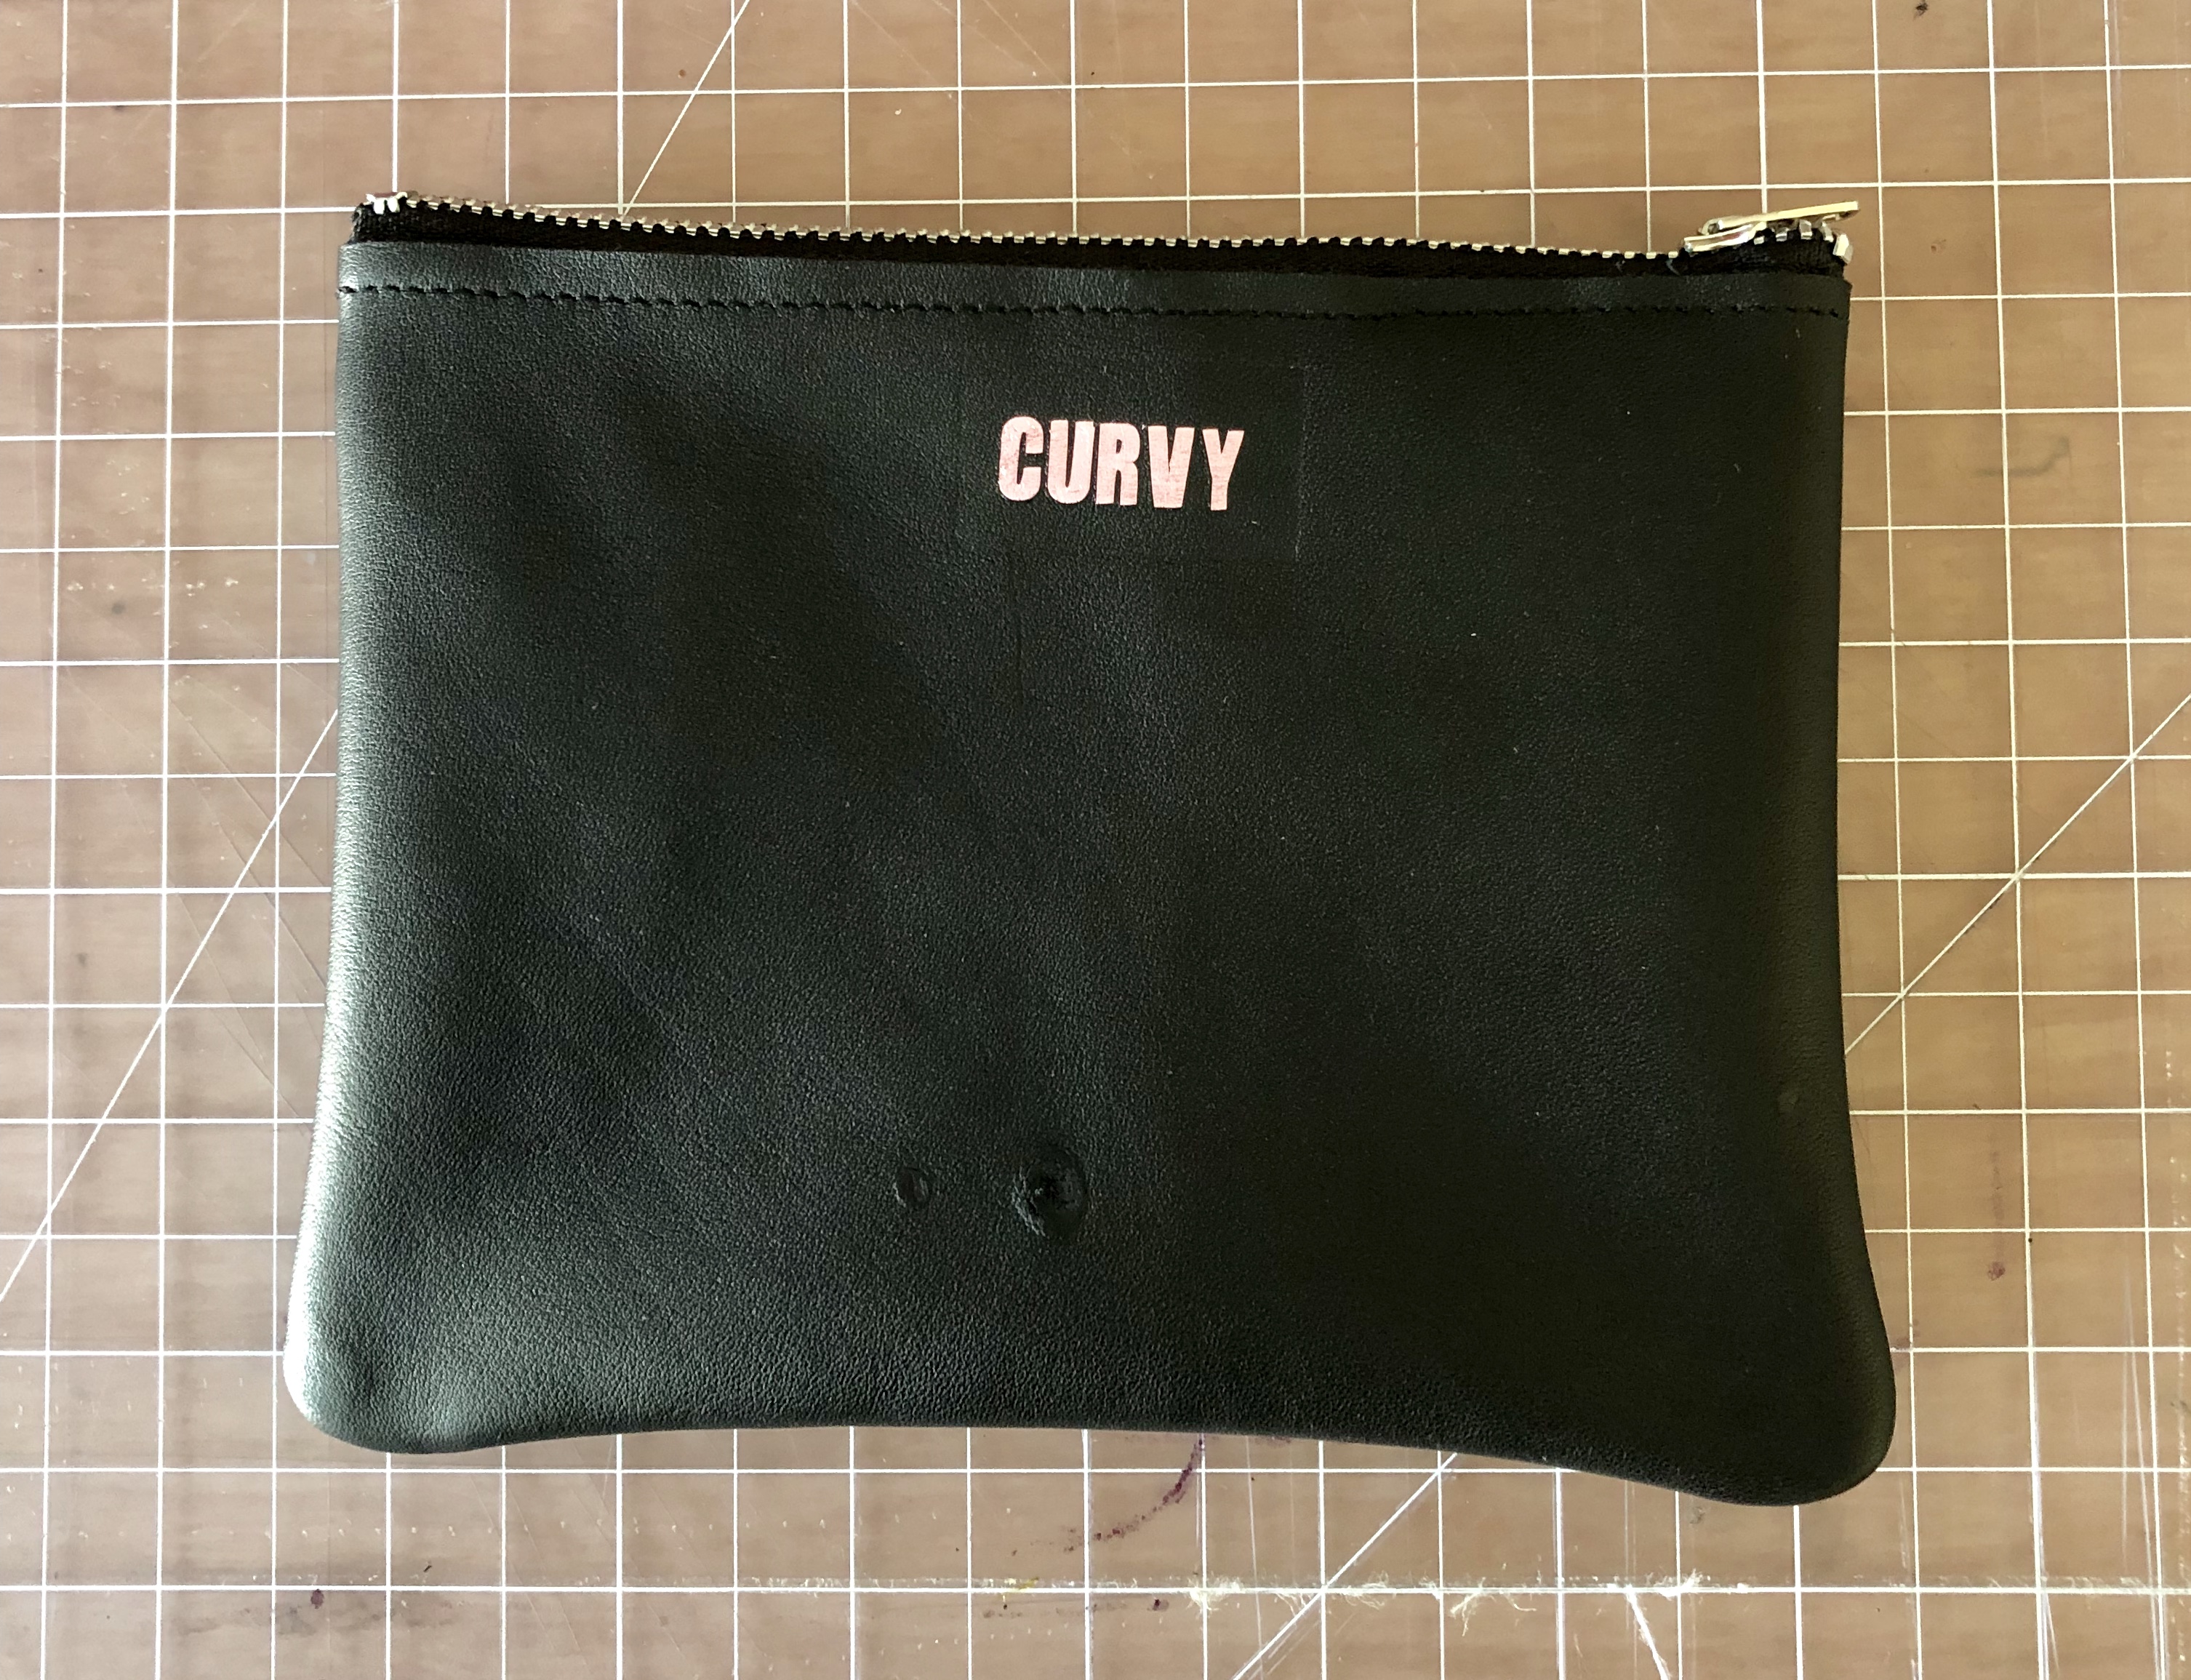
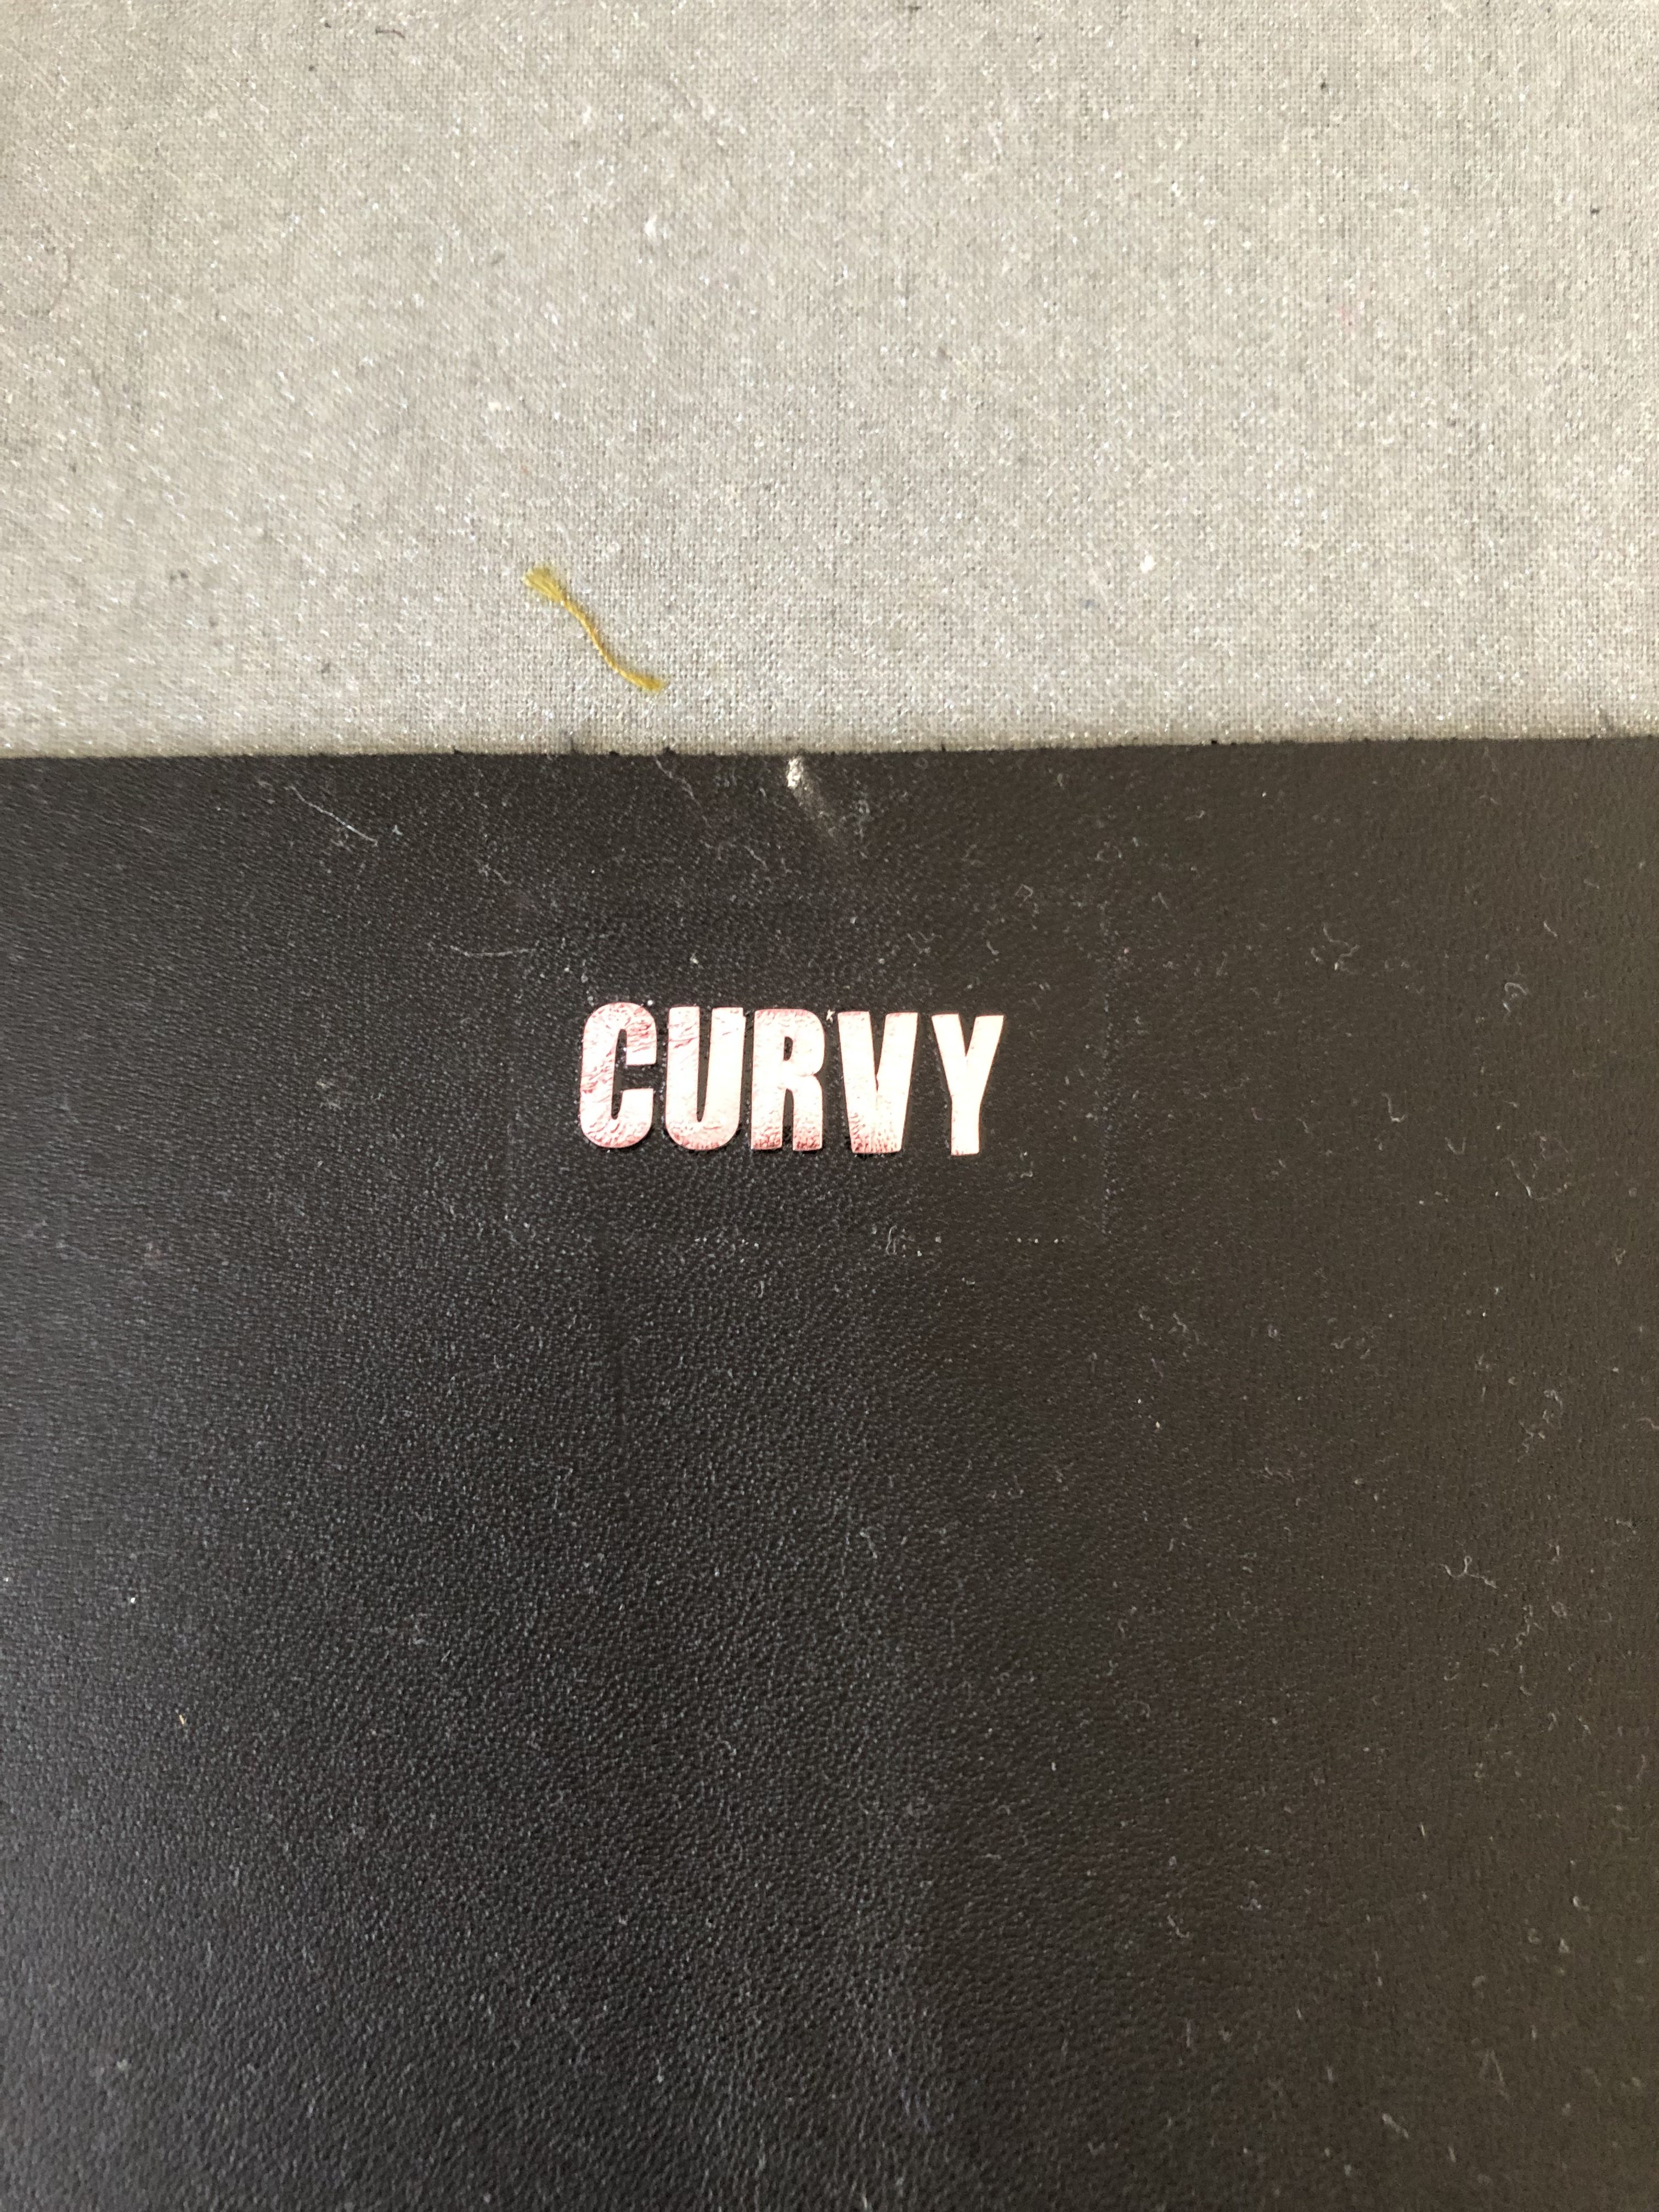
Your foiled piece will appear like this on the leather:
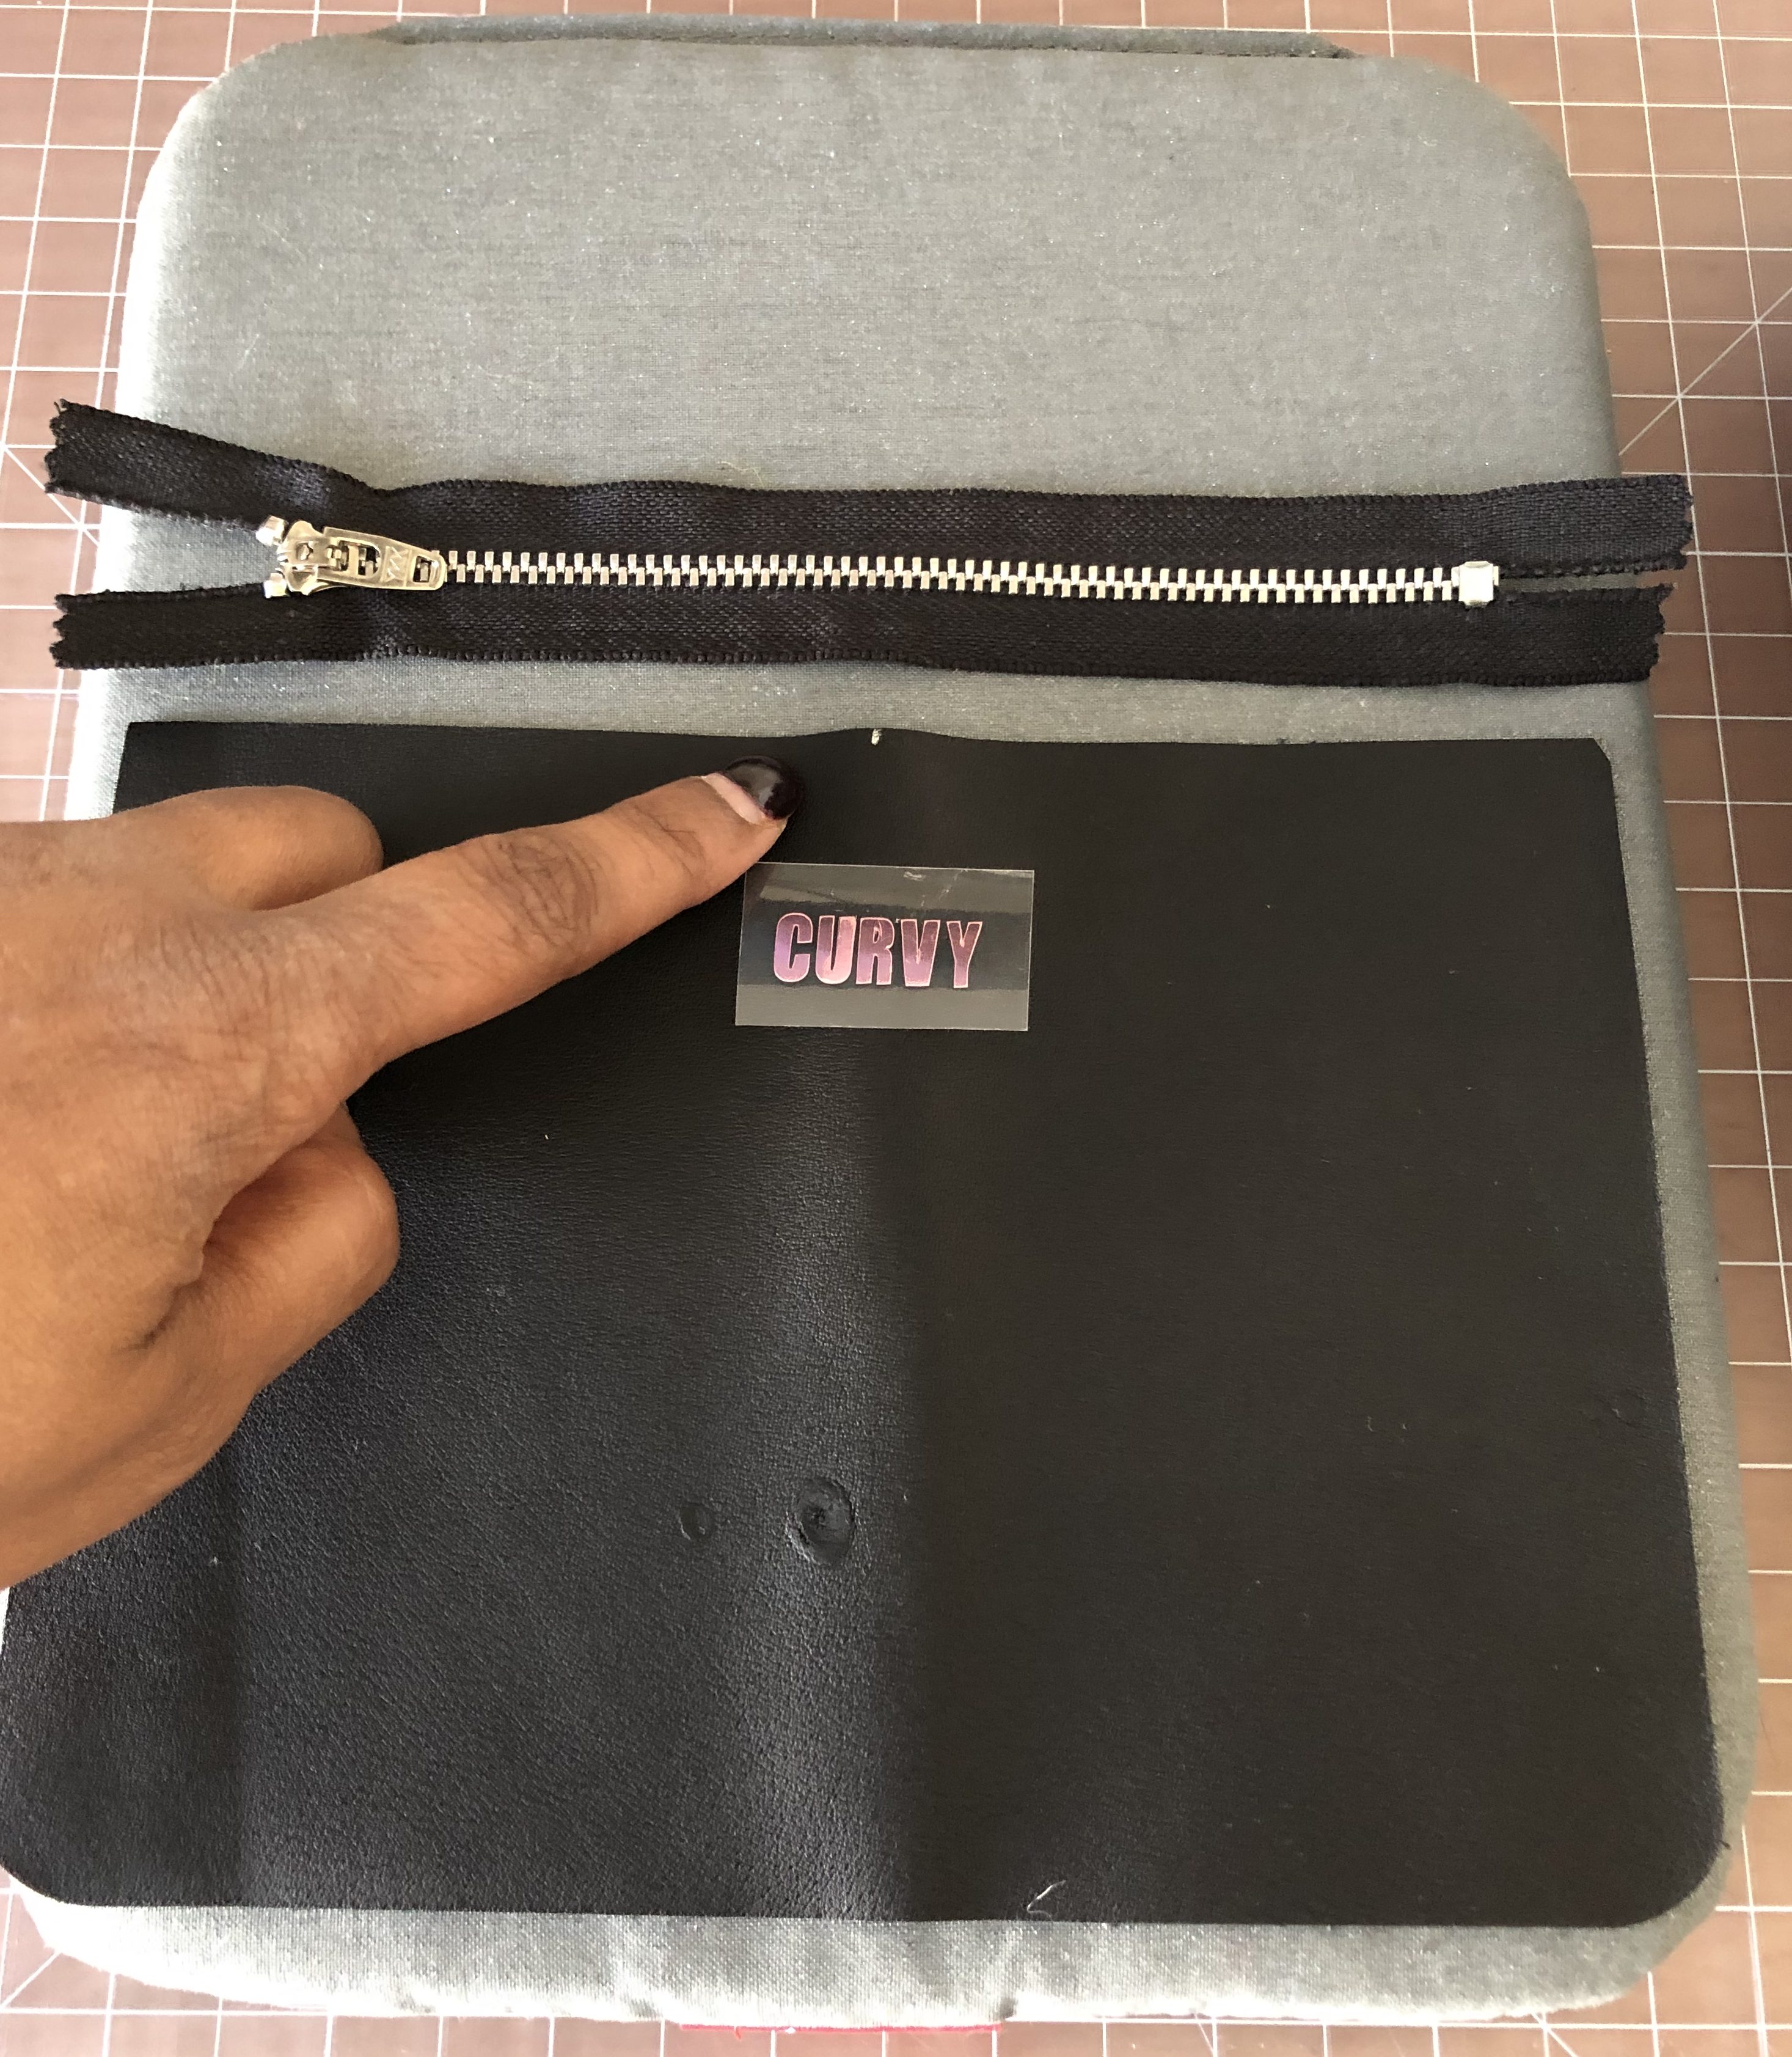
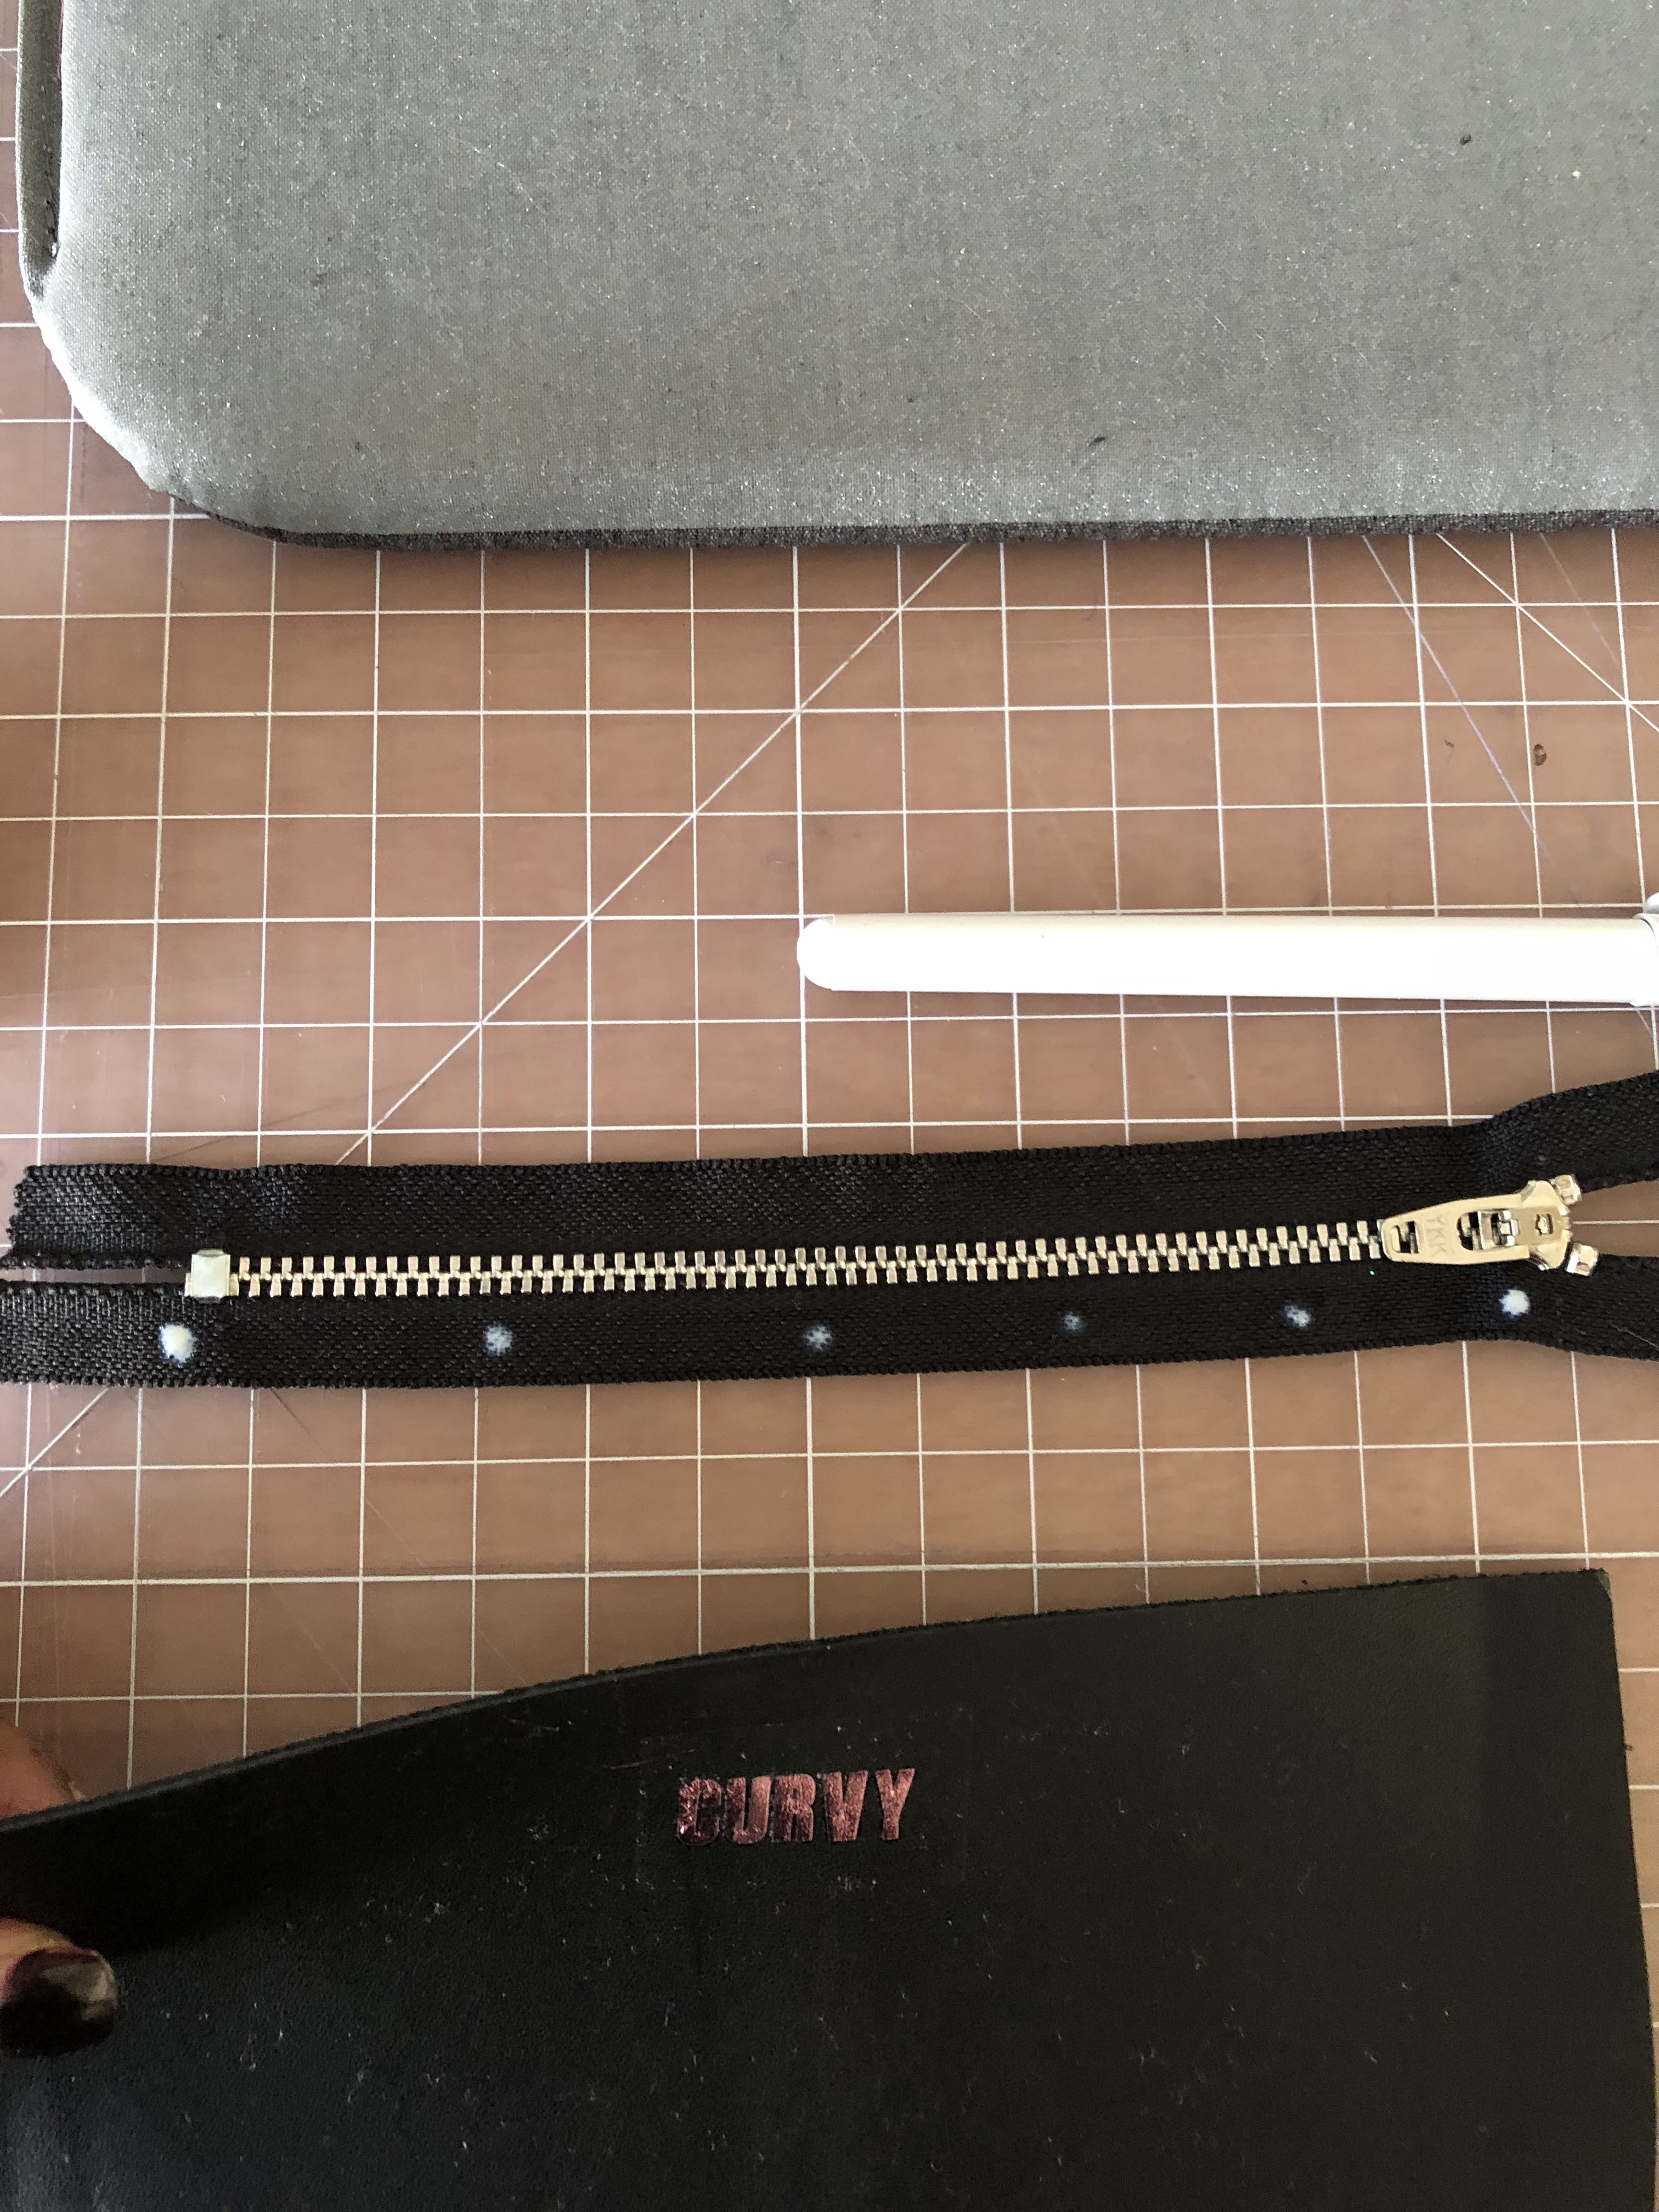
You can now place the zipper, center it right at the mark you made on you clutch. Then add a few dots of the leather glue on the zipper tape staying clear of the teeth. Adhere the zipper leather over top of the teeth, align both sides, let it dry for about 10 minutes, then proceed with sewing your clutch together:
Use your zipper foot and align the edge of the foot right with the edge of the leather, when you get close to the top of the zipper; unzip it a bit so you have a smooth sewing area of the zipper. Flip it over and sew the other side the same way.
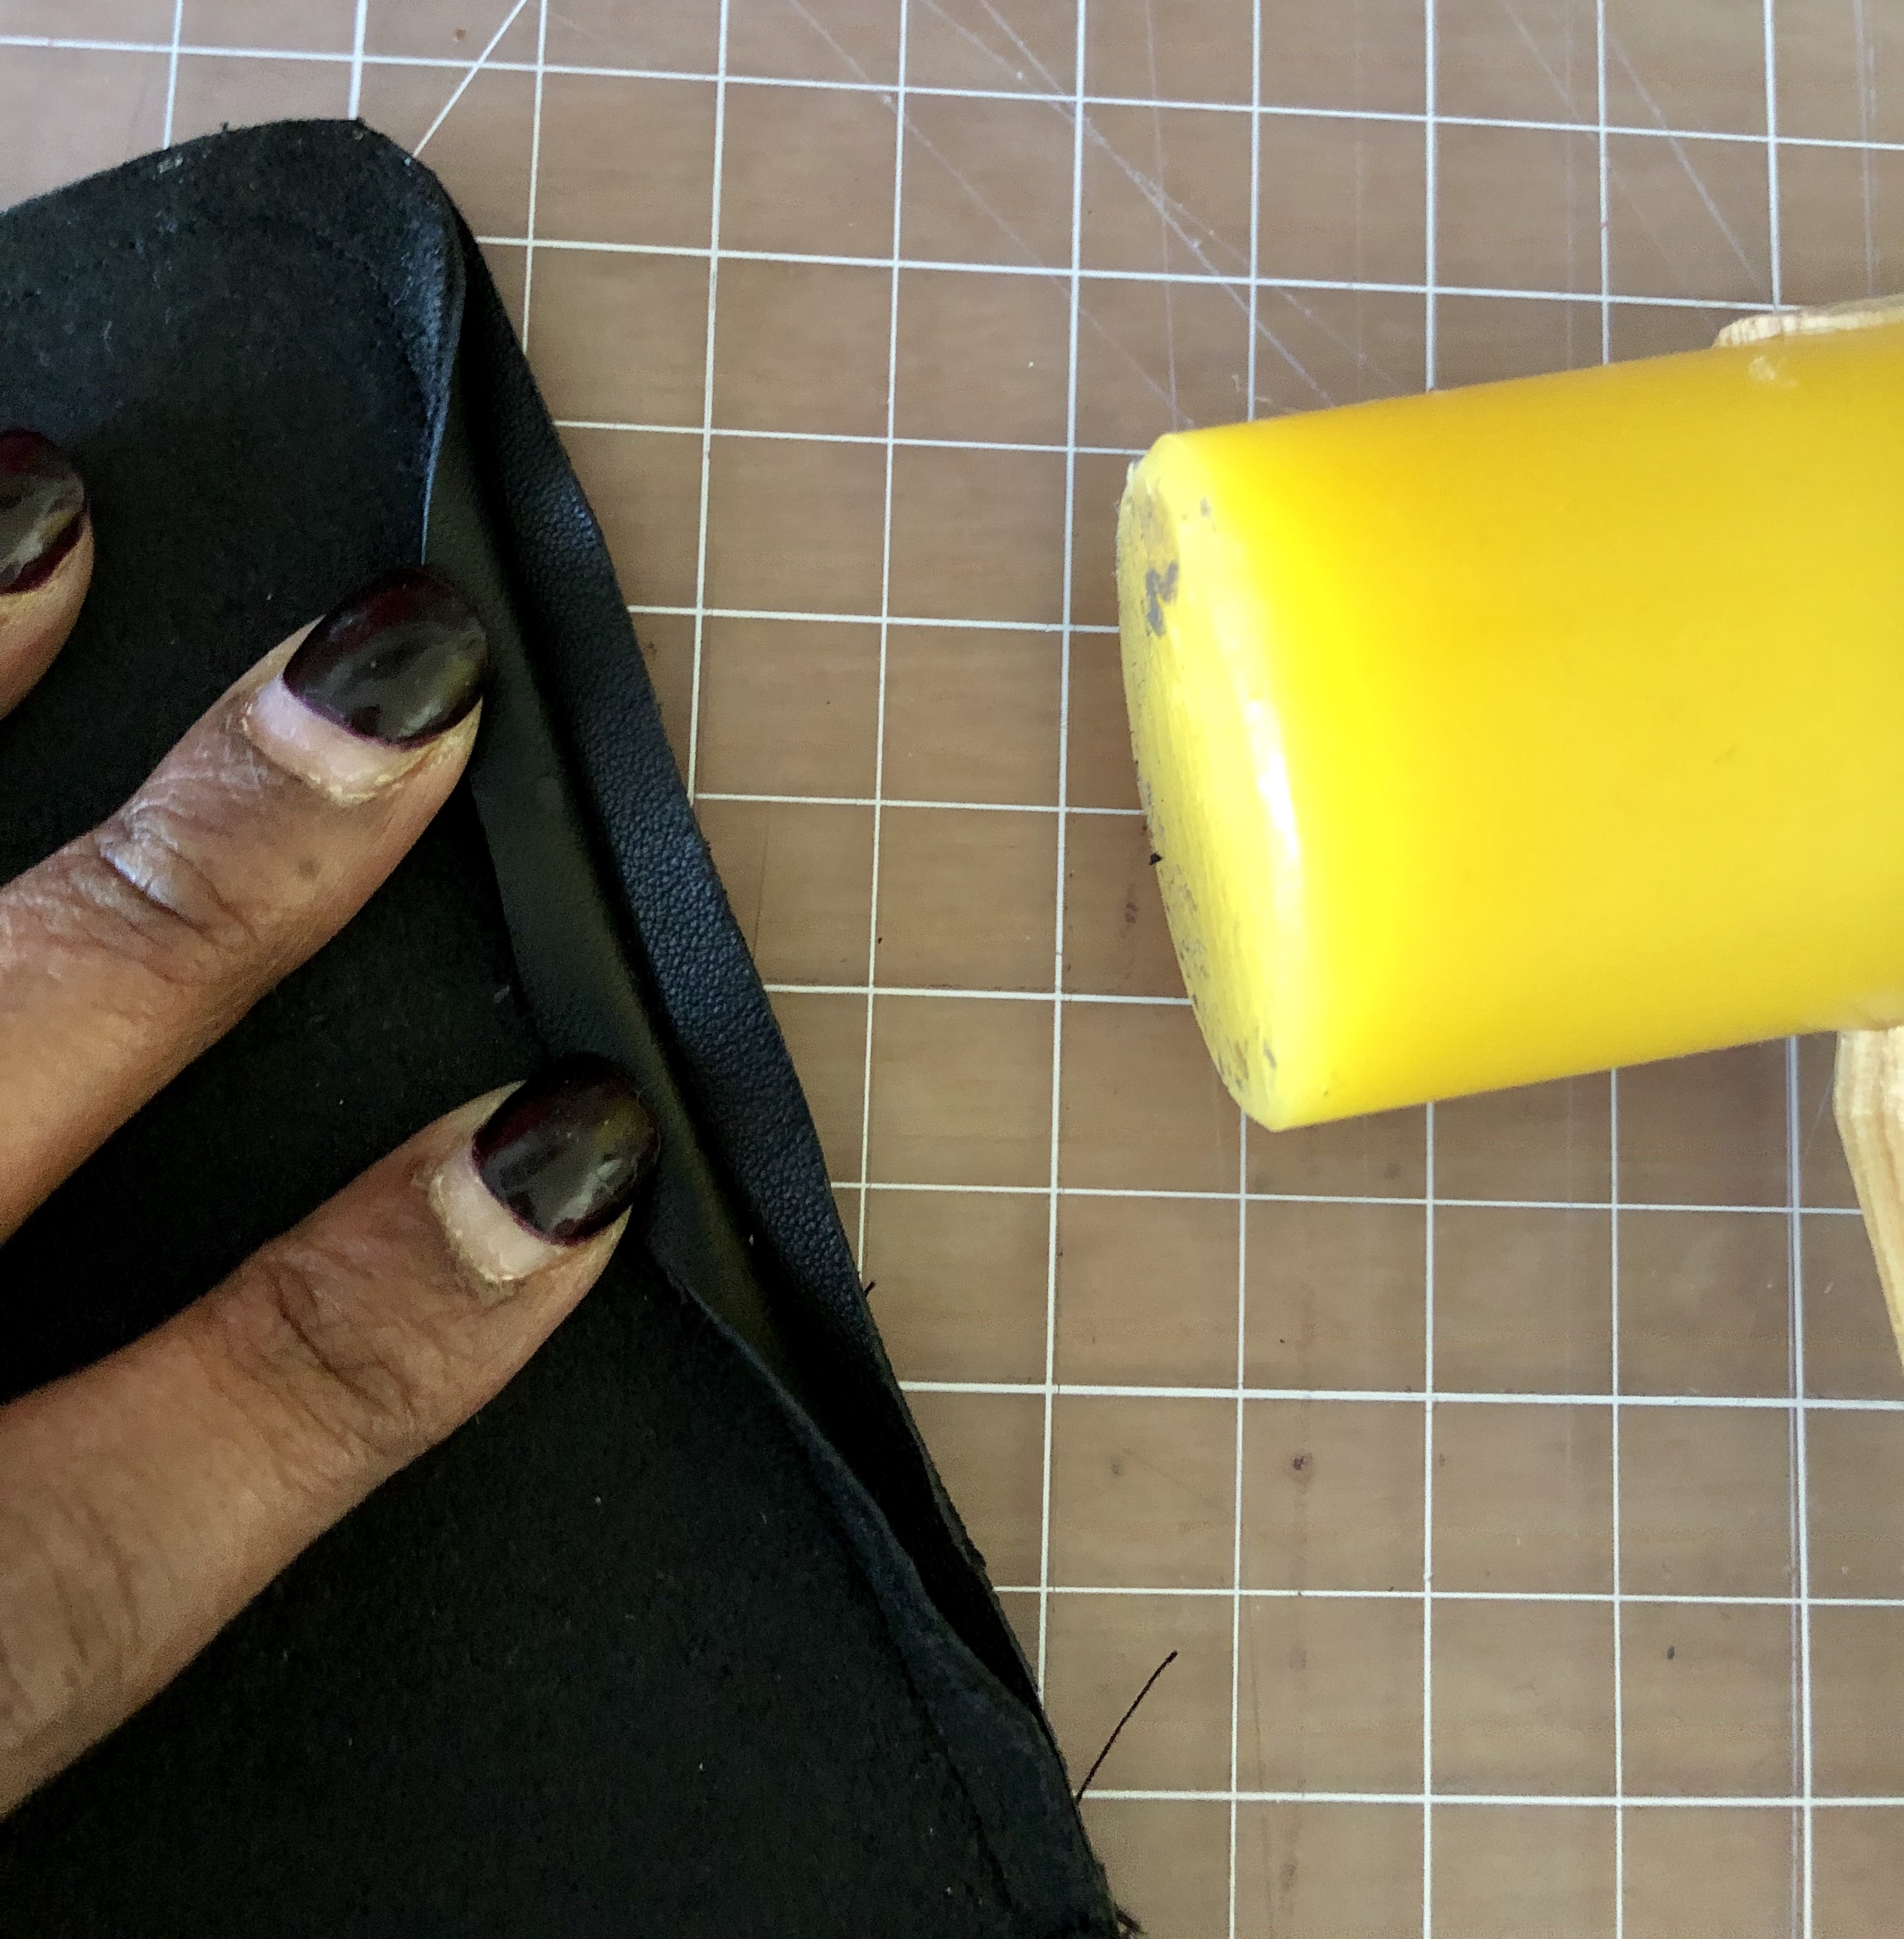
Once you are done with that, close the clutch right sides together and begin sewing each side right at the zipper tape using the same zipper foot. Be careful around the curve and be sure you leave enough seam allowance to trim and turn. Once you have the seams sewn, you will want to pound the edges a bit so the
Be very careful clipping the rounded corners, you don’t want to snip a thread — Guess who did that the first time 🙁
Anyway when you are done clipping and turning your final result will look similar. Don’t worry if your is not exactly like mine — leather can be challenging but not difficult. You need to sew slower than with regular fabric. Leather is thicker and it can drag a bit but just sew slow and you will have a beautiful product to keep or give as a gift!
You leather will soften over time of use and wear.. right now its pretty new so the seams are stiff..
Congrats on working with your first piece of leather!
This is a sponsored conversation written by me on behalf of Cricut. The opinions and text are all mine.