Tag: curvygirlsarechic

Mother’s Day Skirt McCalls M6842

Happy Mother’s Day!

Flower Skirt M6842

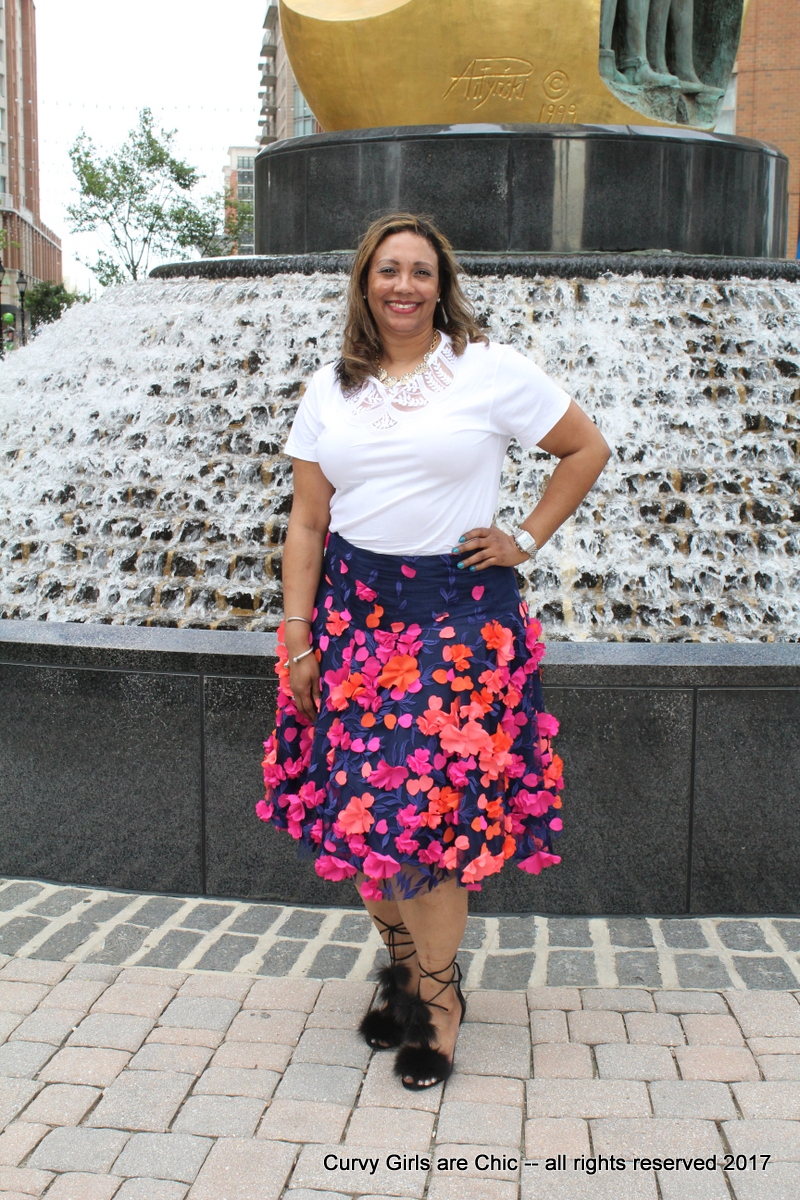
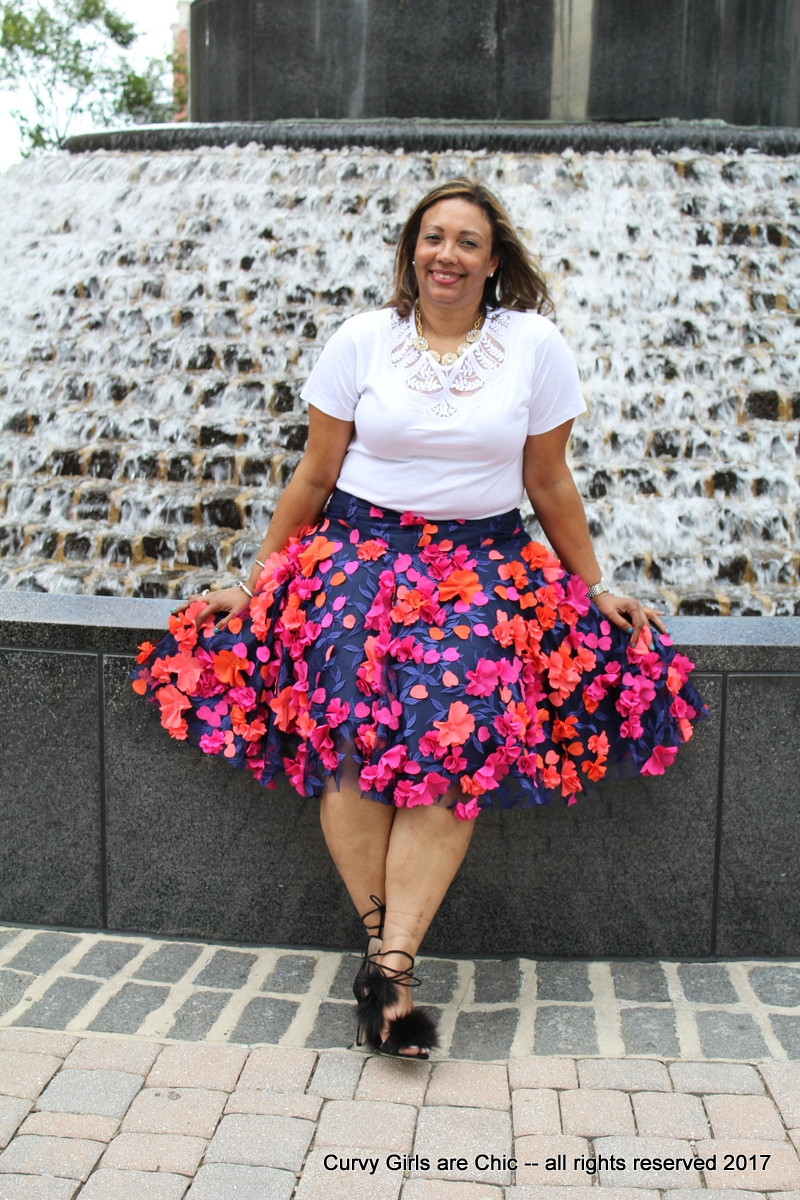
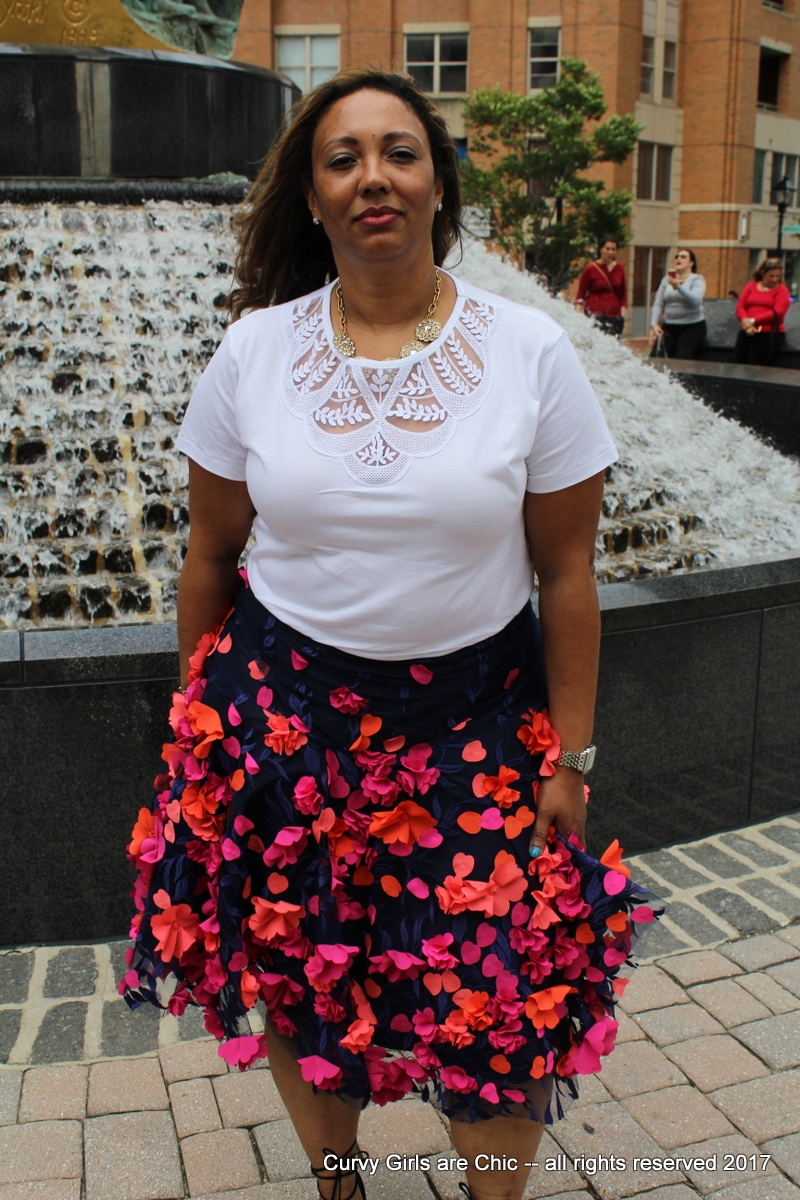
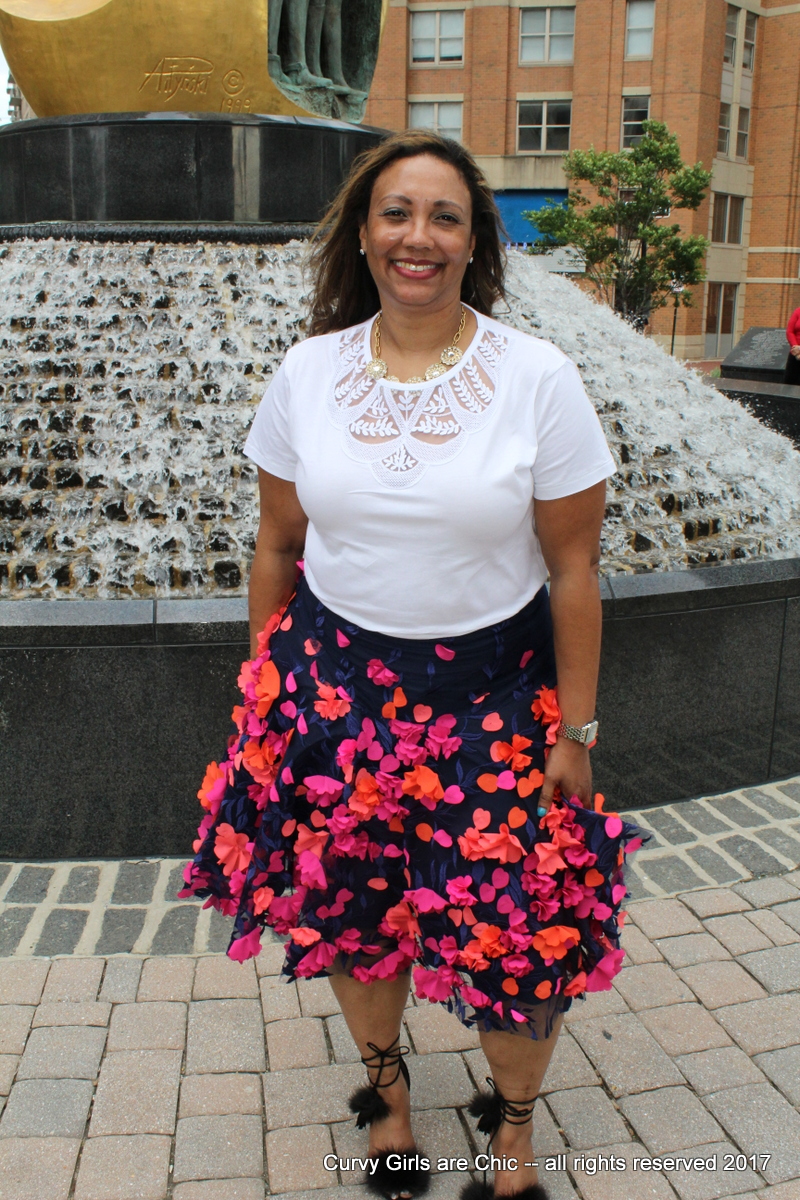
Mother’s Day Skirt M6842

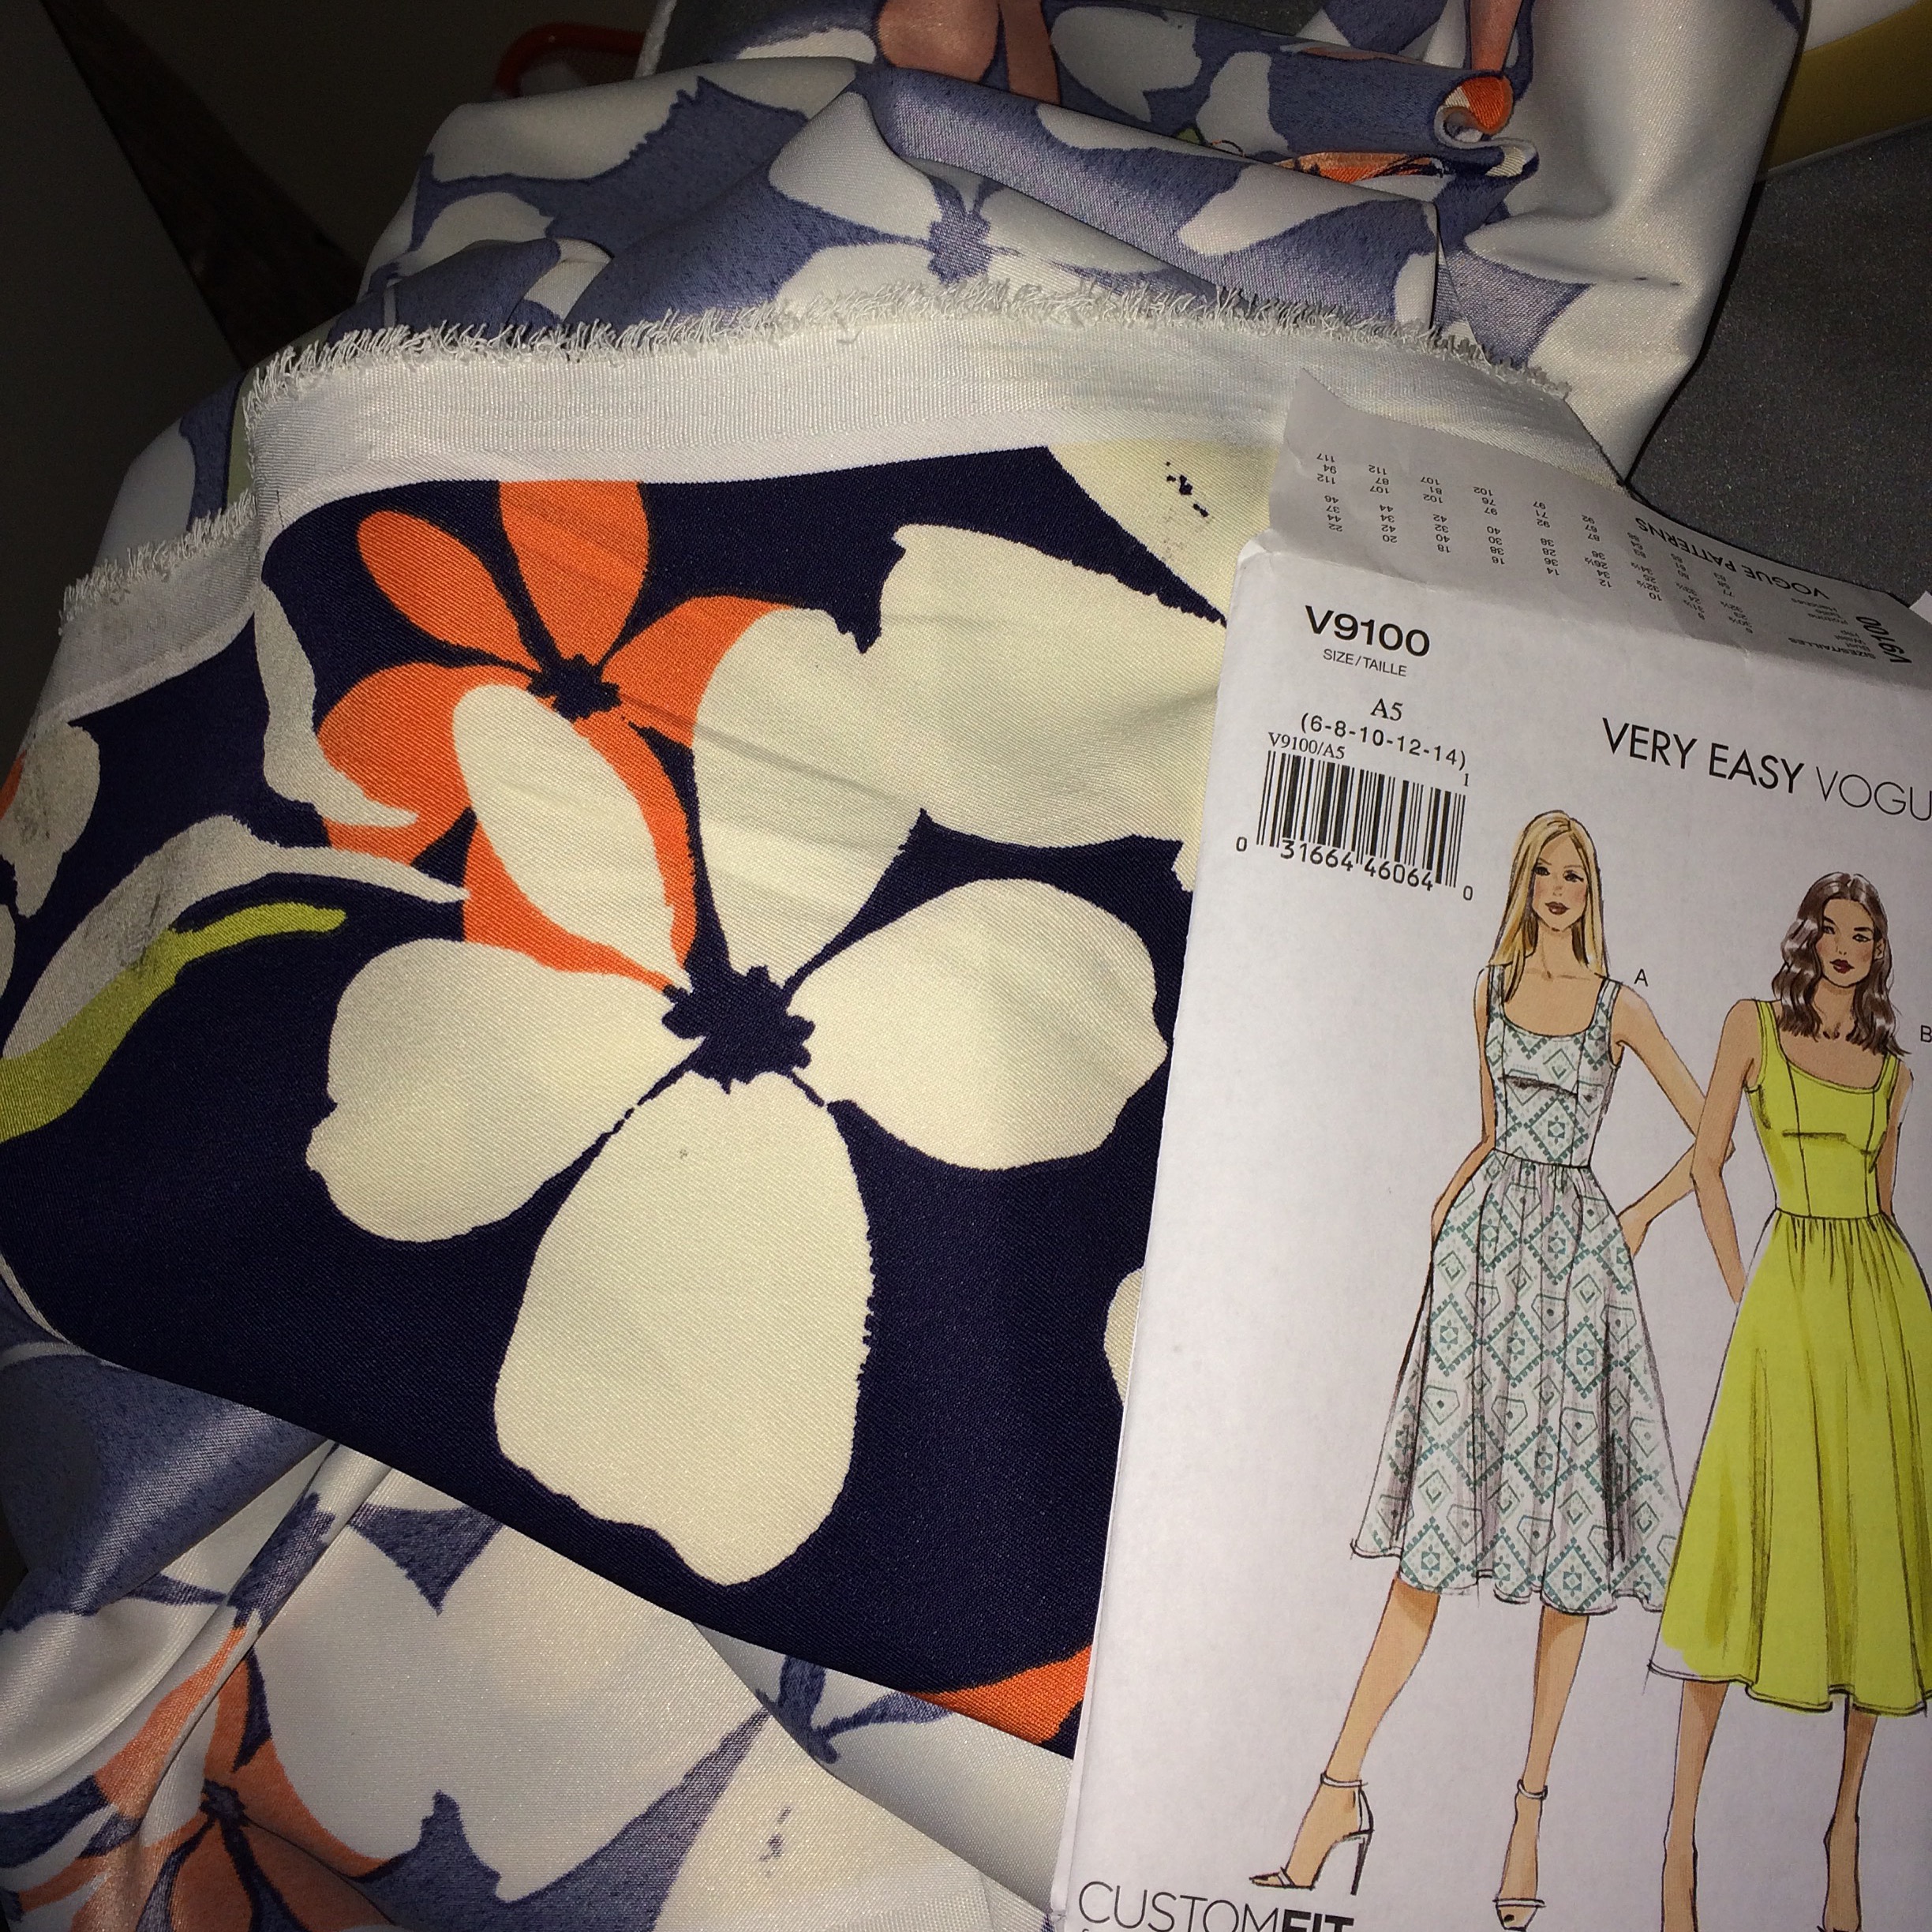
For this project, I used two fabrics.  The fabric used is from A Fabric Place in Baltimore. The bottom layer of fabric is navy blue taffeta.  The top layer of fabric is an embroidered tulle with 3-D flowers in red, pink, and orange. When I saw this fabric a few weeks ago I had to have it. I also did a preview of this fabric on Instagram when Sewing Design School did a monthly photohop and asked us to post #fabrictoafraidtocut!

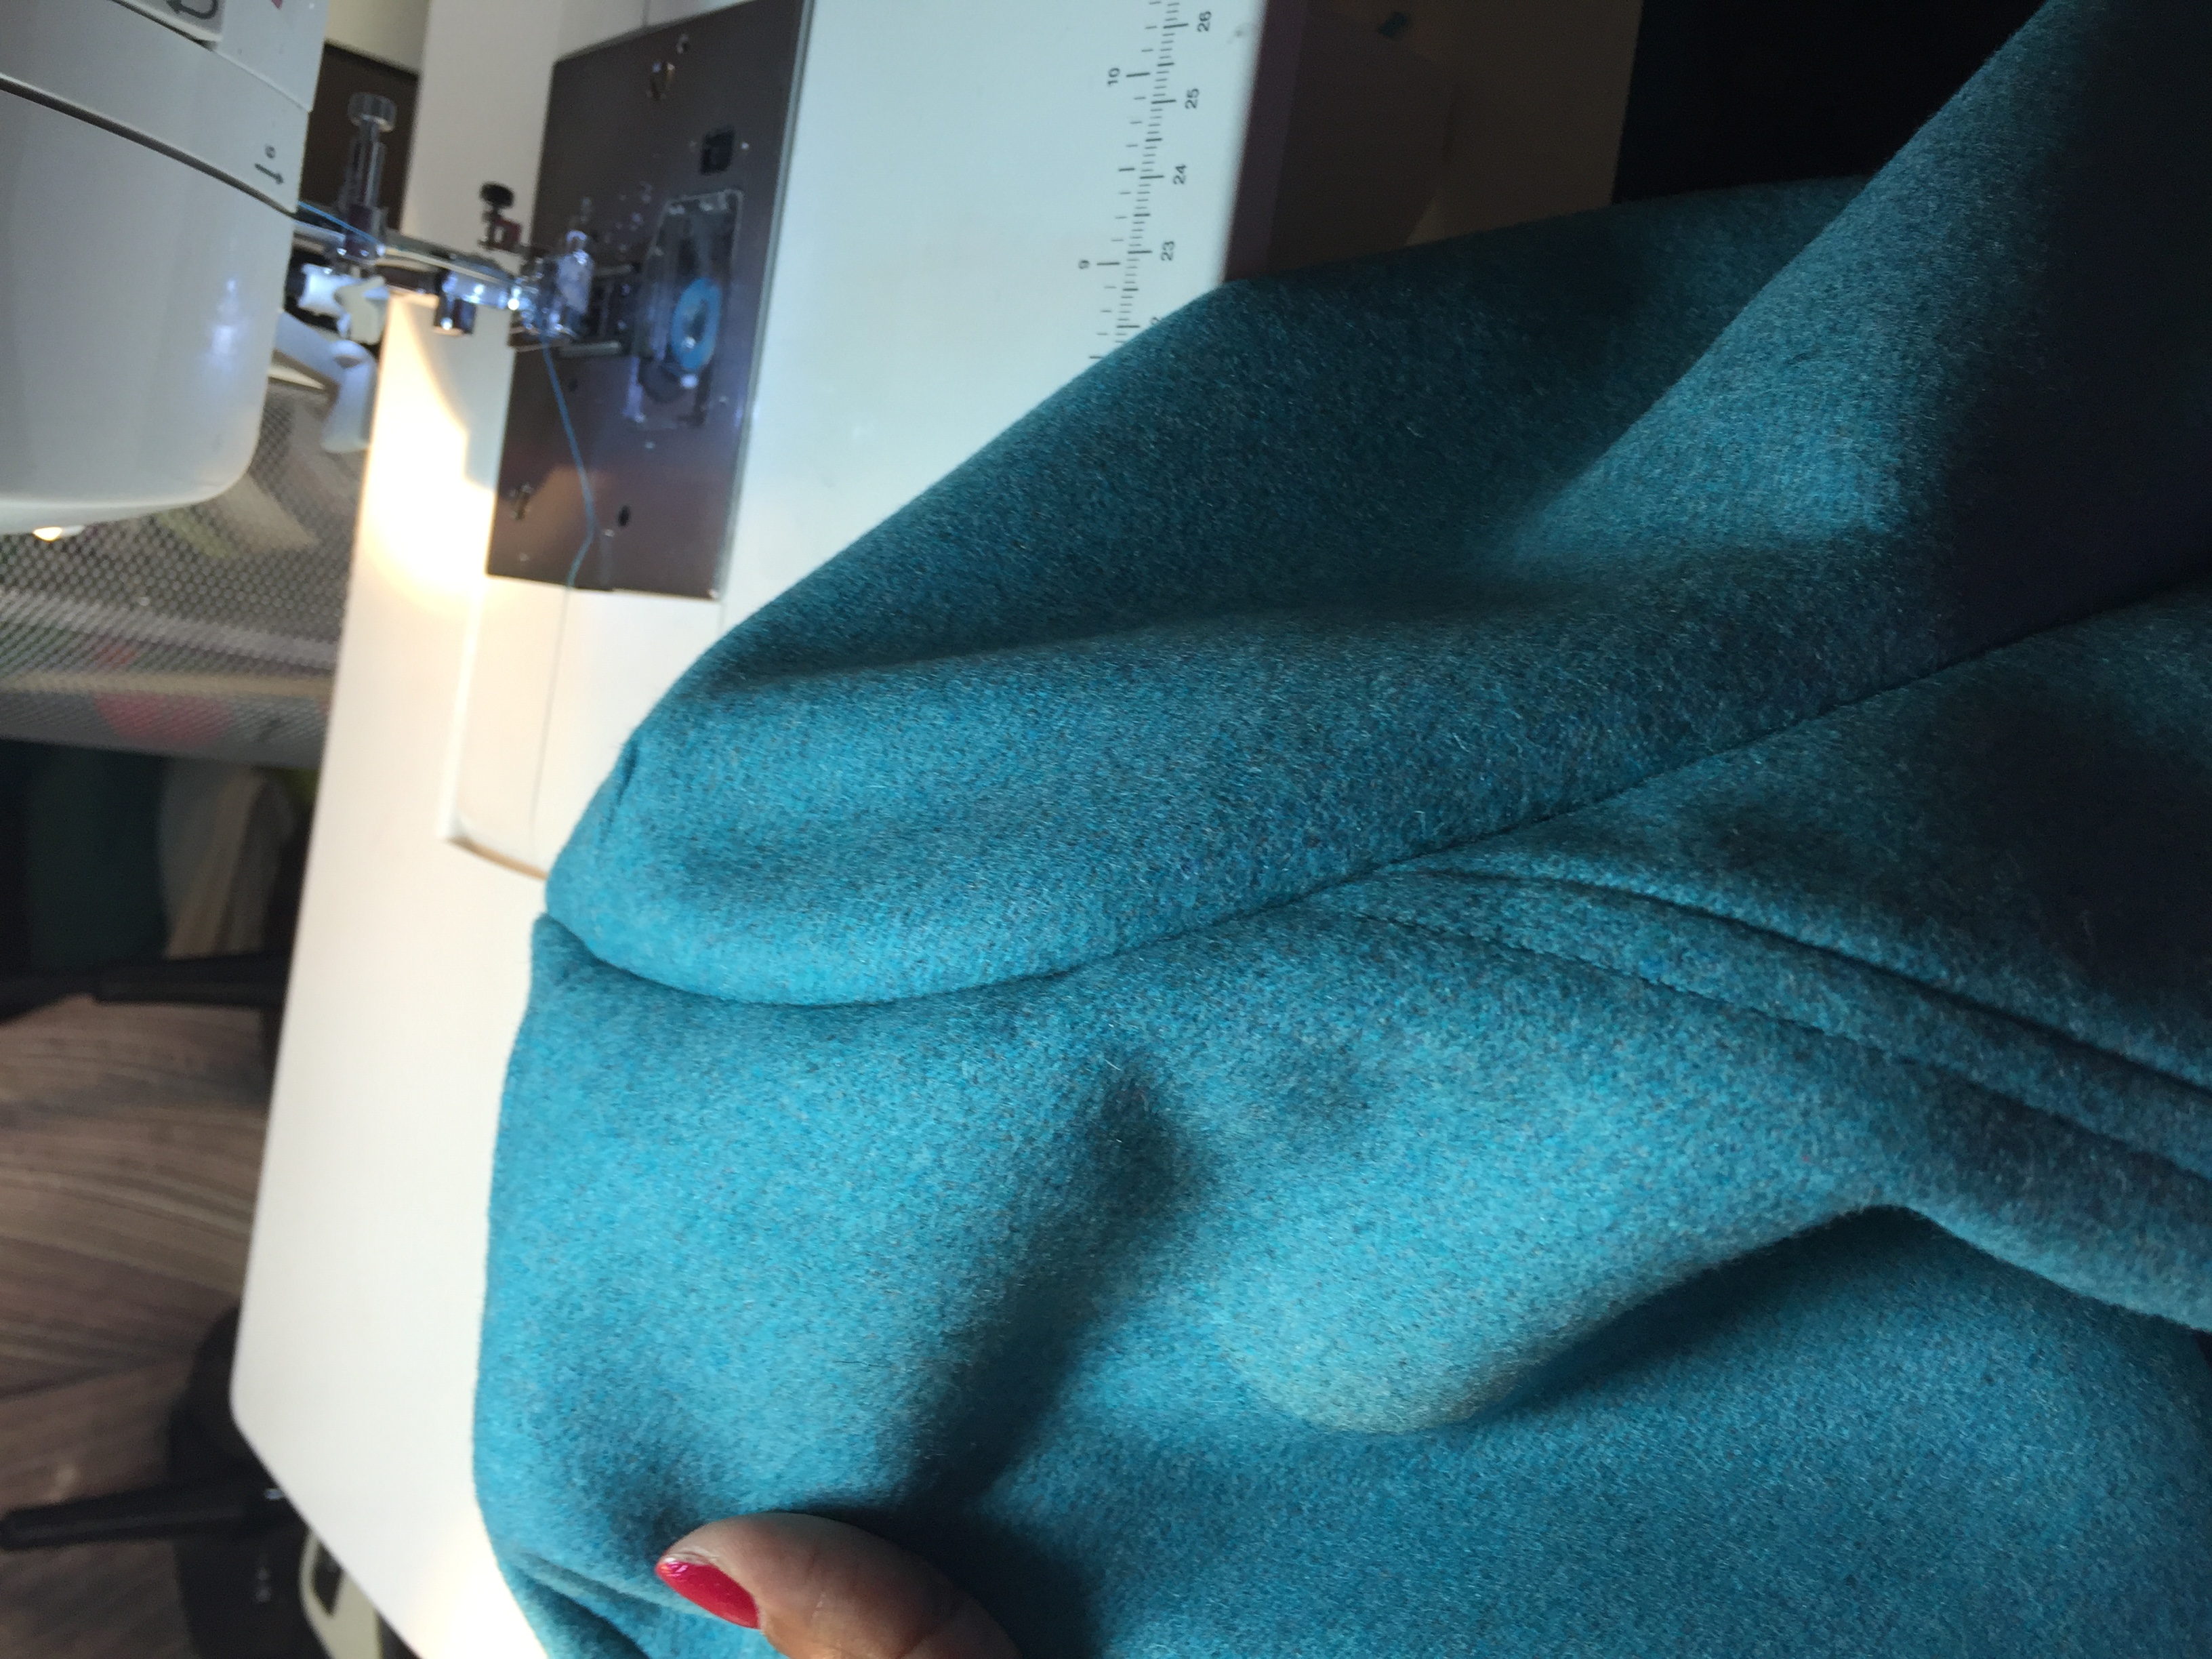
I generally do not have a fear to cut fabric, it’s fabric, I control it I won’t let it control me! The only part that I did have a slight fear of is wasting the precious petals of the fabric and or cutting it in the correct direction.  I used the larger group of petal pieces as they actually went across the grain of the fabric. The more cascading petals were near the end of the fabric on the left side of it. I have a good portion of pieces left over that I refuse to discard. Perhaps I will add them to a clutch or a cool T-shirt to add some flare!

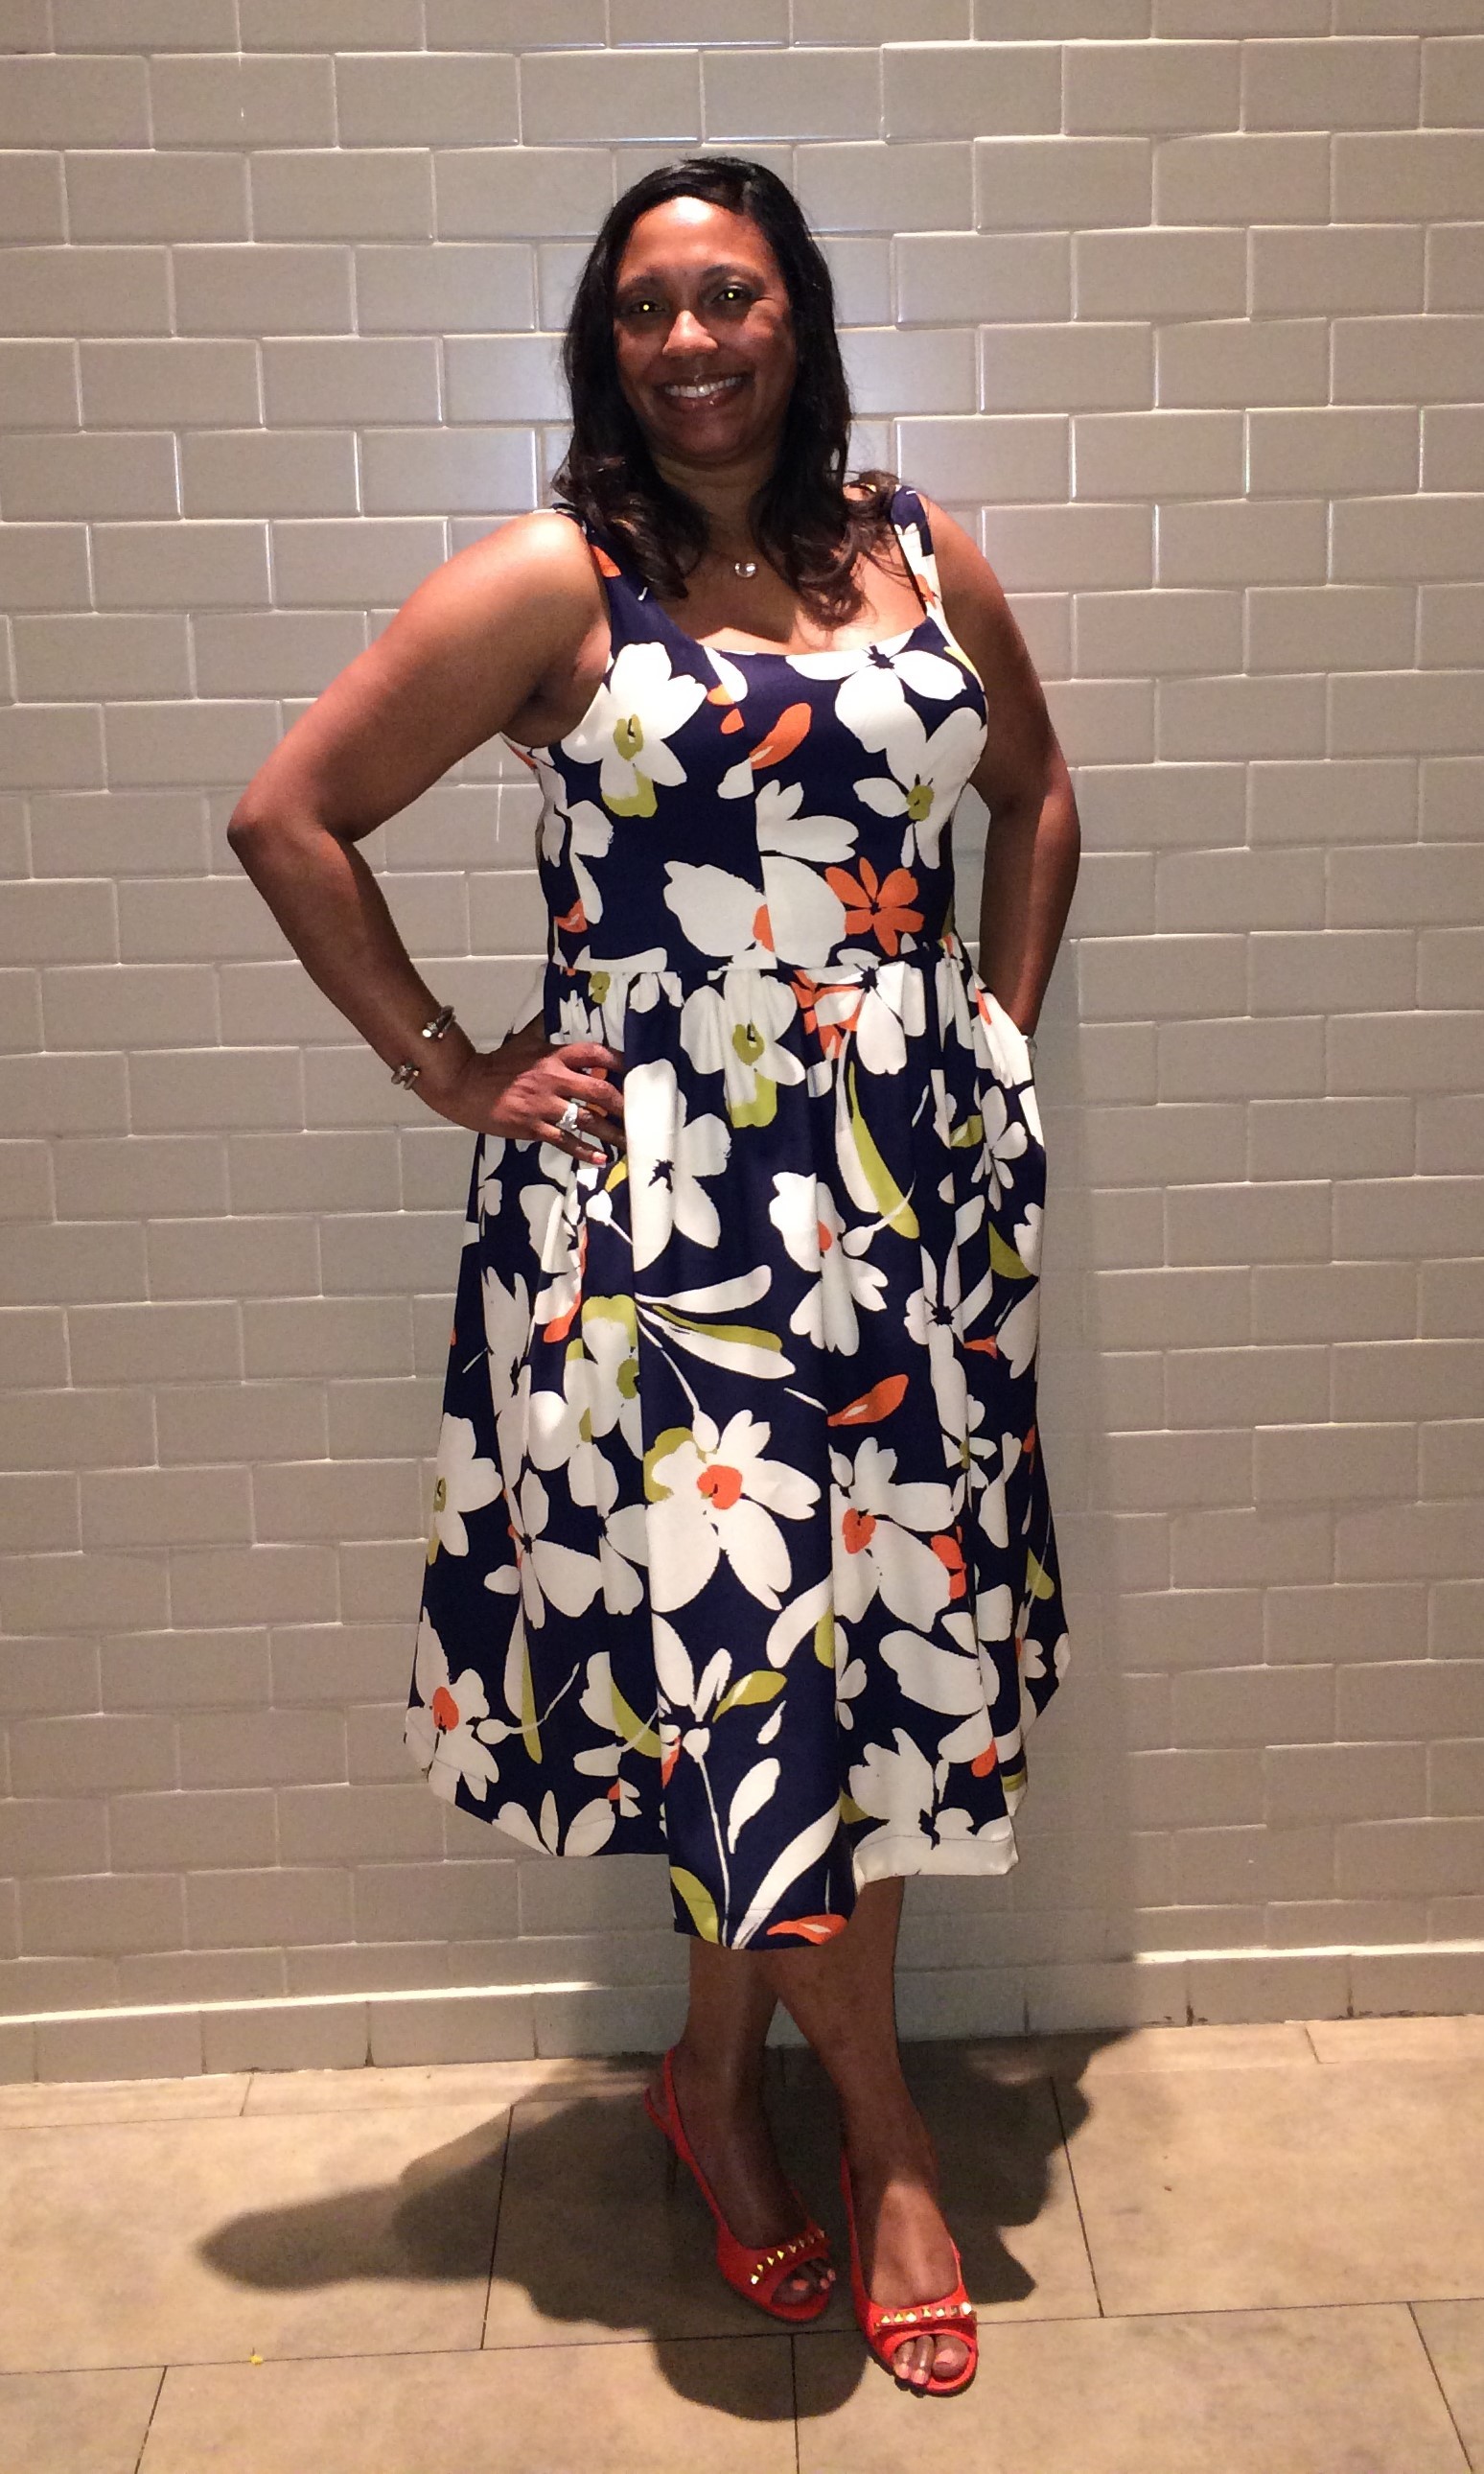
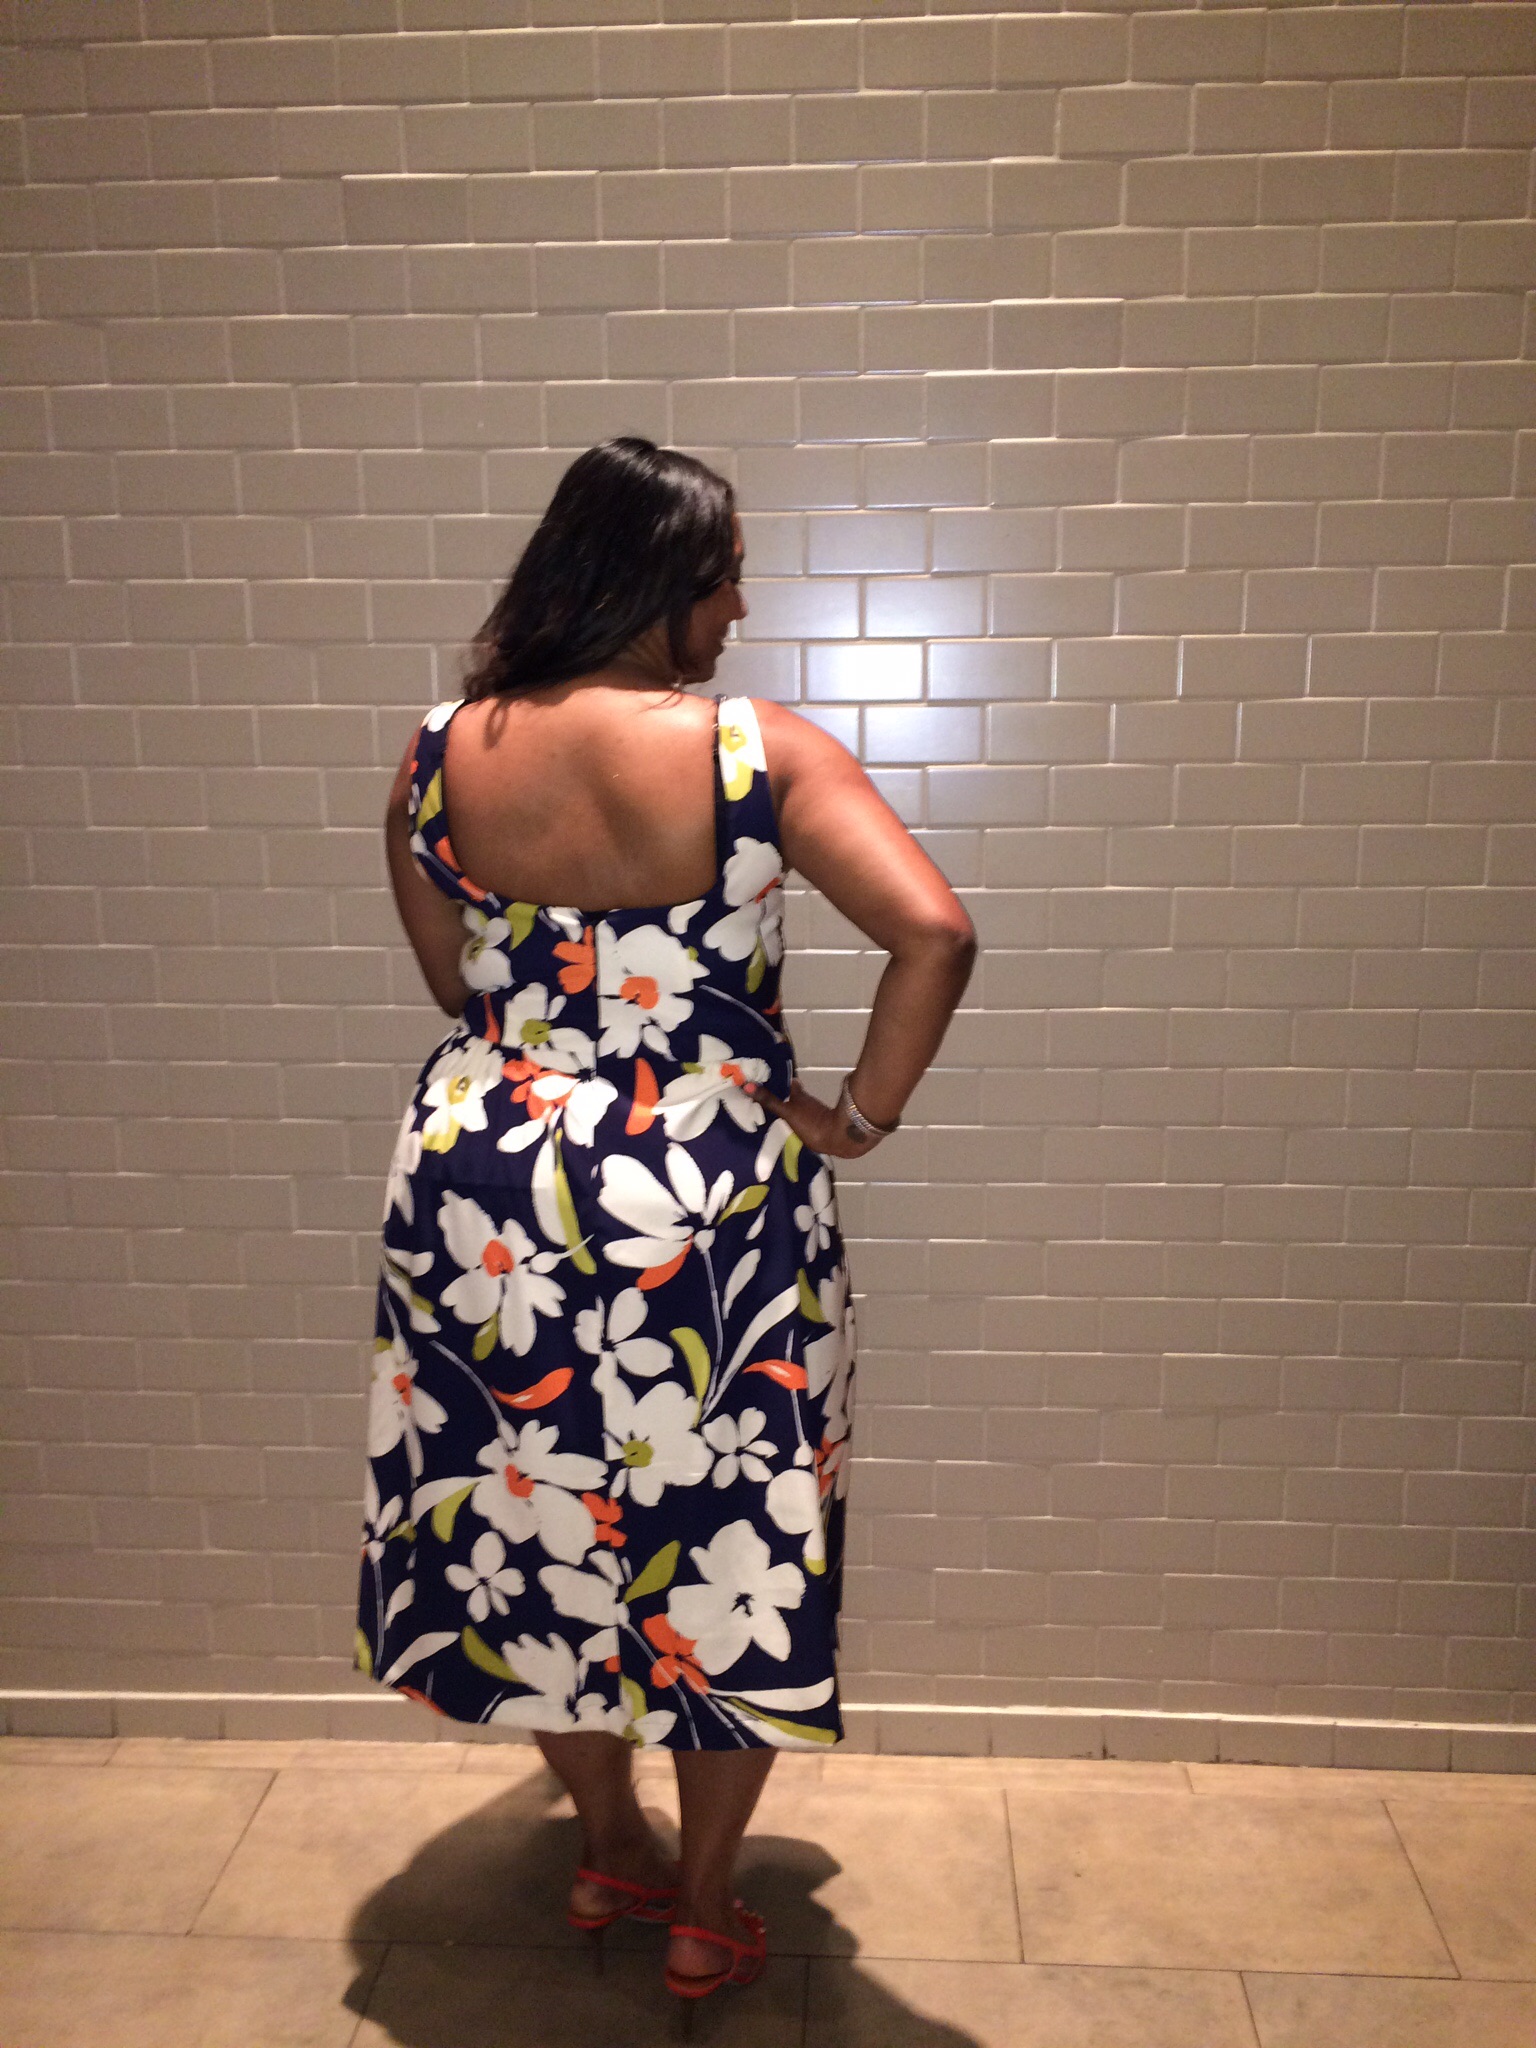
Here are more photos!

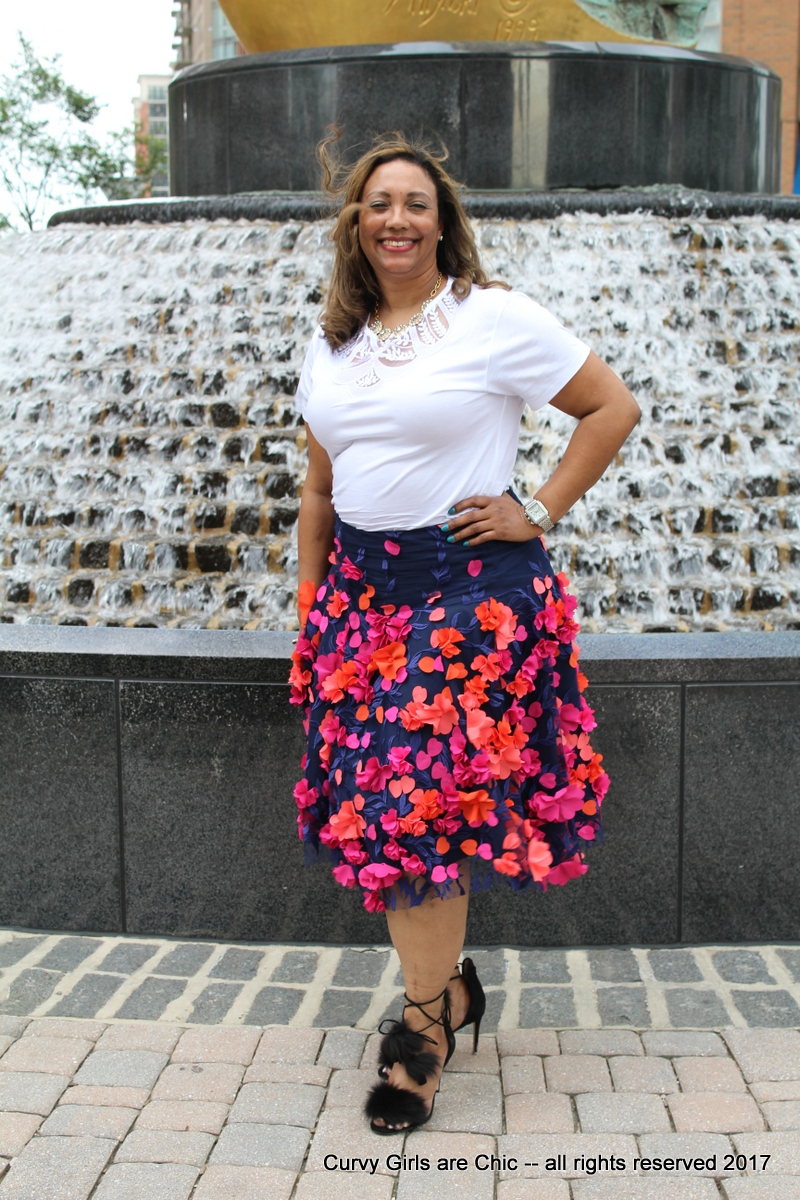
As you can see I did not hem the tulle, it does not fray.  However, the placement of the petals are uneven throughout the fabric it was almost impossible to hem as I would remove a great deal of the petals!

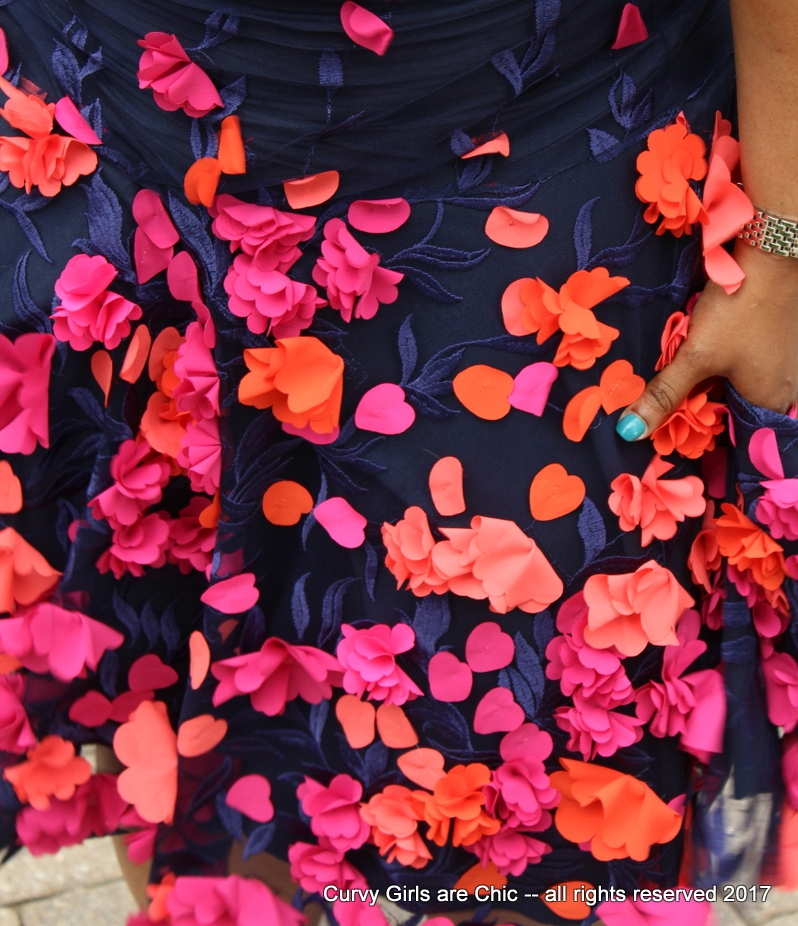
Close up of the embroidery on the fabric!

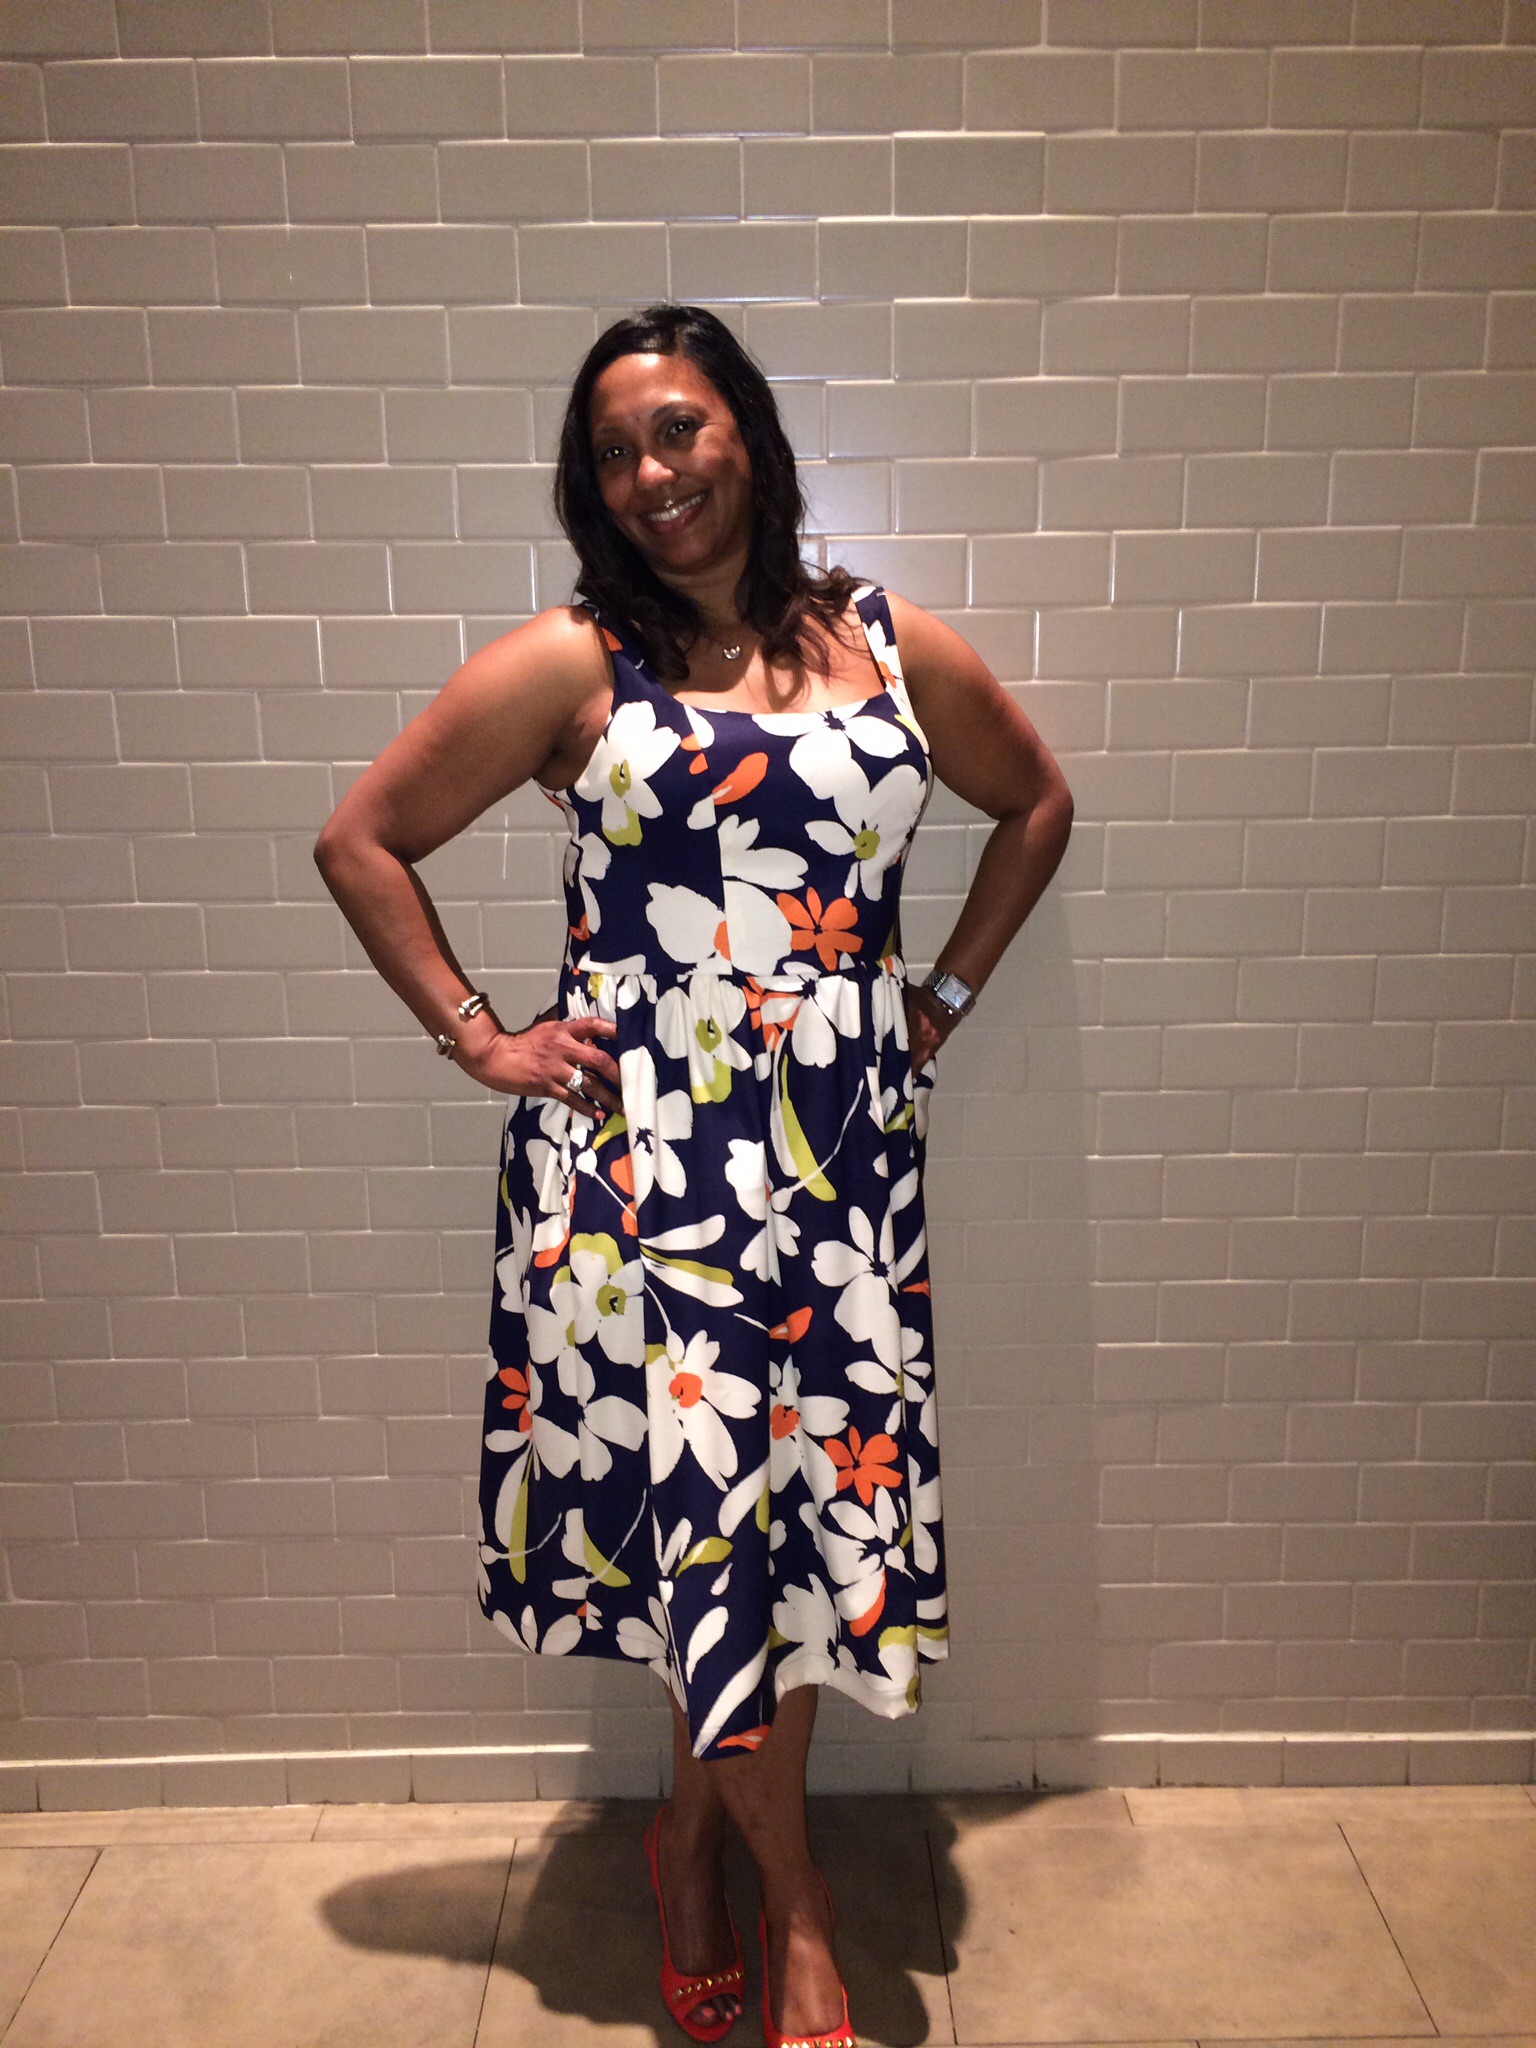
The wind was really whipping after dinner yesterday I am pretty sure quite a few got a peep show downtown Baltimore as my niece took my photos..lol

Do you like my shoes?

I will provide more details on these later this week, they are a combination of a store-bought shoe and a do-it-yourself added accessory!

Pattern McCalls 6842
Fabric: A Fabric Place in Baltimore
Top: Zara
Necklace: JCrew Factory
Lipstick: Tom Ford Cherry Lush Lipstick
Nail Polish: Essie Satin Sister


#ad This post does contain affiliate links, not sponsored links. All recommendations on this post are recommendations of Curvy Girls are Chic and are not sponsor or paid for by any sponsor.

Week 5 Vogue 1467 Coat Sew Along – Top Stitching

Hello Curvy Girl Fan..

I will not talk no more about my frustrations with my photos.. it’s just not happening unless I get married in the next few weeks OR I hire a photographer! The later is probably the cheapest route LOL No seriously I am picky to say the least but I also what to take photos with out a lot of drama or cheer leading — just snap my photo let me see!

Anywhoo so that answers why these posts are delayed.. Someone promised me they would be by to take my photos next week — lets hope because this sew along has gone one too long.

This will be the final installment before the big reveal.. I have not worn the jacket yet and I am anxious to wear it..

Today we will look at the top stitching, the collar, and finishing.

[spacer height=”20px”]

Coat Top Stitching

[spacer height=”20px”]

This coat has top stitching all along the seams, the pocket, back center, and side seams. This is a view of the back joined together with the top stitching. I have to say I am impressed with myself LOL This fabric was sooooo easy to work with and so forgiving.  Basically I inserted my top stitch needle, marked the 1/4″ seams with my FriXion Erasable Pen  and ruler, and sewed slowly.

[spacer height=”20px”]

Finished Armscye and Sleeve

[spacer height=”20px”]

Side view with sleeve Vogue 1467

[spacer height=”20px”]

More Top stitching, Front Flap closes to the right.. the white thread you see is my basting thread that’s keeping the hair canvas in place.

[spacer height=”20px”]

Front Flap added Vogue 1467

[spacer height=”20px”]

Top stitching and back belt prior to buttonholes and buttons

[spacer height=”20px”]

Back with Faux Belt Vogue 1467

[spacer height=”20px”]

Side View of Sleeve and Top stitching

Side view with sleeve Vogue 1467

[spacer height=”20px”]

Coat Collar Attachment

[spacer height=”20px”]

Collar with Hair Canvas Vogue 1467

[spacer height=”20px”]

Collar Attachment Vogue 1467

[spacer height=”20px”]

Finished Collar Vogue 1467

[spacer height=”20px”]

Collar after Pressing and Top Stitching

Collar Attachment Vogue 1467

[spacer height=”20px”]

Thanks for following!

Next post will be the complete coat and outfit 🙂

Mauh XXXX

[spacer height=”20px”]


Summer Dress with Pockets Vogue 9100

Hello Darlings..

Well summer here in the District of Columbia and Maryland is coming to and end 🙁 However, the summer type of weather does not end until the end of September sometimes into October.

20150613_203015000_iOS


So I create this dress with the fabric above using Vogue 9100. I had this fabric in my stash but it came from Fabricmart Fabrics. Its a cotton twill with a bit of stretch to it. I cut the custom fit size 14 but I could have used a 12 because of the stretch. I wind up taking out about 2 to 3″ in the back because it did not fit.


flower dress

image


I just love that this skirt is flowy but with gathers vs pleats.. The princess seams and use of the D cup really fit nice and I had no fit issues. The back fit close to perfect with the exception of taking our a few inches.


image


The major plus about this dress is it has pockets! I do not know why pockets on a dress have become such an obsession lately! But I just made a shirt dress without pockets and I so regret it, I keep searching to put my hands in my pockets all day!


Anyway I love my dress its so fitting to kick it off with these cute Micheal Khors shoes that I got a few years ago.. cute gold hardware bow and kitten heel!

Do you like my dress? 🙂


image

I am falling in love with the idea of creating things with leather.  I found this piece of leather at G Street Fabrics in Rockville, Maryland. They are having a fabulous sale right now that can’t be passed up! In fact I am eyeing a Bernina machine that is on sale as well.. anyway I needed a good size Black leather clutch for a long time and to see this piece of patent embossed piece — was a must have.  It was a really large piece in which I utilized a great space of it, I lined it with a cotton/silk lining and interfaced the lining versus the actual piece of leather.  Although I did do a test piece of leather and I fused the interfacing to the leather, I thought it would be better to do the first option.

Stitching this required longer stitch lengths, and a walking foot.  I used Gutterman’s polyester thread and a regular all-purpose needle.

I measured the size I wanted onto pattern paper, then transferred to to the leather, the interfacing, then the lining.  I also cut a square lining pocket for the inside just to give it a more “professional look.”

I then measured the front 10” from the bottom and marked it with chalk, I stitched down that line. Then measured and marked another 10” to the back section and stitched down that line. The rest of 5” is the flap.  I then stitched up each side 5/8, tacked each end.  Then stitched around the flap, trimmed close to the edge of the stitching.  I then cut a 1” strip the length of the flap folded it over and stitched across the edge just for decoration purposes.

I used fray check around all the edges just so the little lining threads do not fray.  I will be looking for some other kind leather edge sealer to put on the sides.

Let me know how you like it .. subscribe to the blog or send me an email 😉

Verified by ExactMetrics