To Muslin or not Muslin, Pattern Layout, and Cutting
Hello!
This is week three of Vogue 1467 Sew-Along, if you are just joining us you can read week 1 and week 2. This week we will talk about creating a muslin or not, your pattern layout, guidelines and cutting.
Create a Muslin or Not
I generally do not create a muslin for my garments, I create so many garments a week it would just be pointless for me to do so. I have sewn so much for my body I pretty much know what will fit and not fit. I also have a tendency to use some patterns multiple times like I have one go to pants pattern — because that is the most challenging for me.
My Go To Pattern, its generous in the legs because I have a problem with them but yet its slimming and flattering. I have made this pattern for a few clients too out of army print fabric.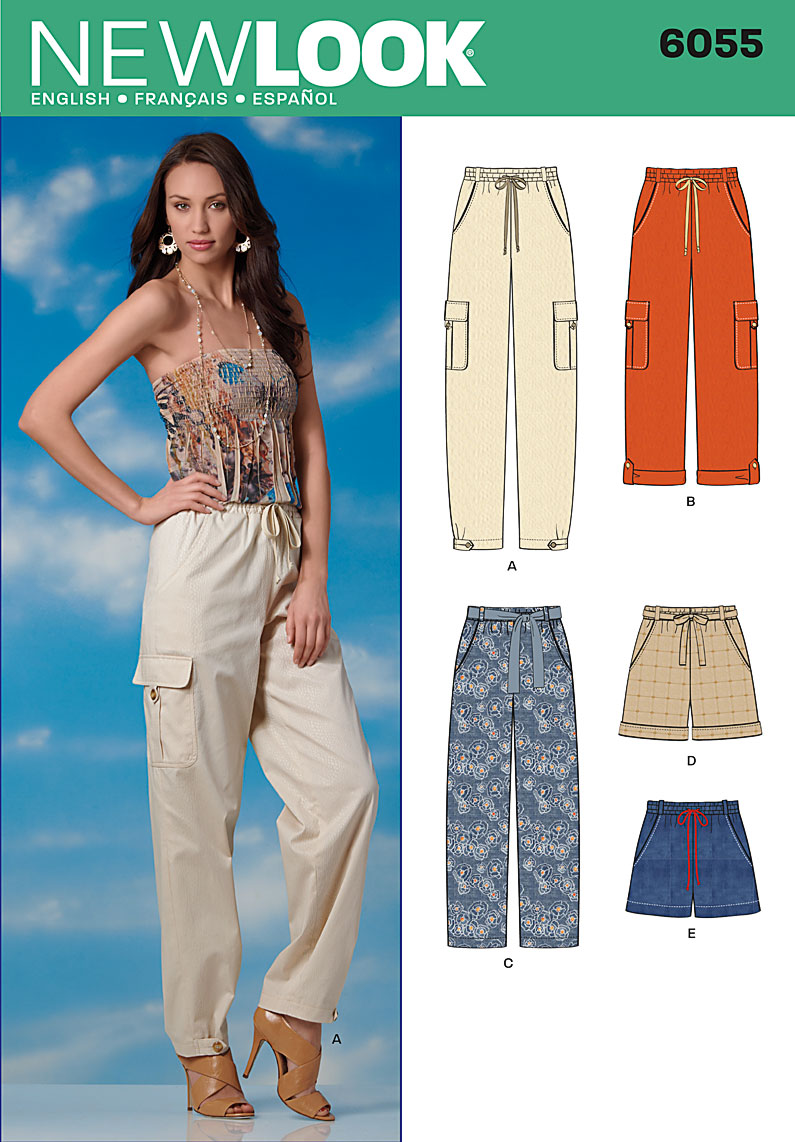
However, my shape is a bit unique as my upper bust and lower bust are significantly different in inches and it often leads to the bodice being too large but fitted in the bust area. So to solve that problem I use the finished measurements from my pattern and measure against myself.
For example, lets say the finished measurement is a 25″ and my bust is 20″.. those 5 inches satisfies my need and ease allowance that I would like. I also create a muslin when its an independent pattern I have not used before.
Pattern Layout, Guidelines, and Cutting
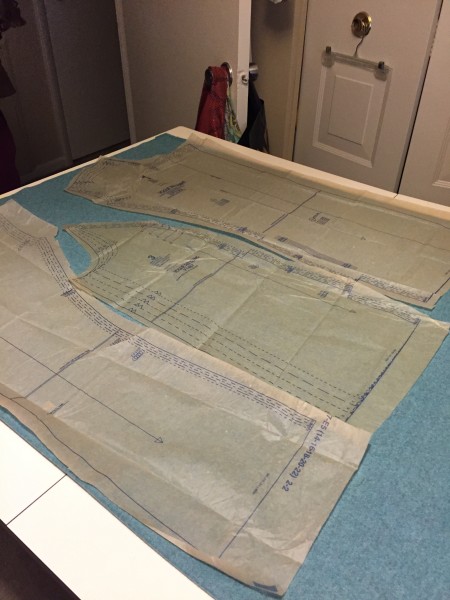
This is the lay out prior to cutting, I lay all of my pieces on the fabric first to make sure they fit and the placement is correct. I do not trace patterns! I have never learned that or did it when I went to school. We cut our patterns and I will continue that method its easy for me. I am also sure that I cut all of my pieces in the same direction unless a piece is cut on the bias like the upper collar. Since the upper collar shrinks and molds to a semi rounded state it needs to be cut on the bias.
[spacer height=”20px”]
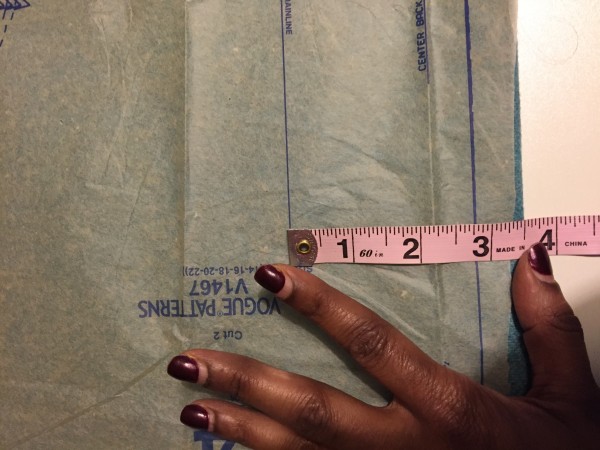
Excuse the undone nails this was weeks ago lol once you pay your pieces you then want to be sure they are properly on the grain by measuring from the grainline to the end of salvage as shown above.
[spacer height=”20px”]
[spacer height=”20px”]
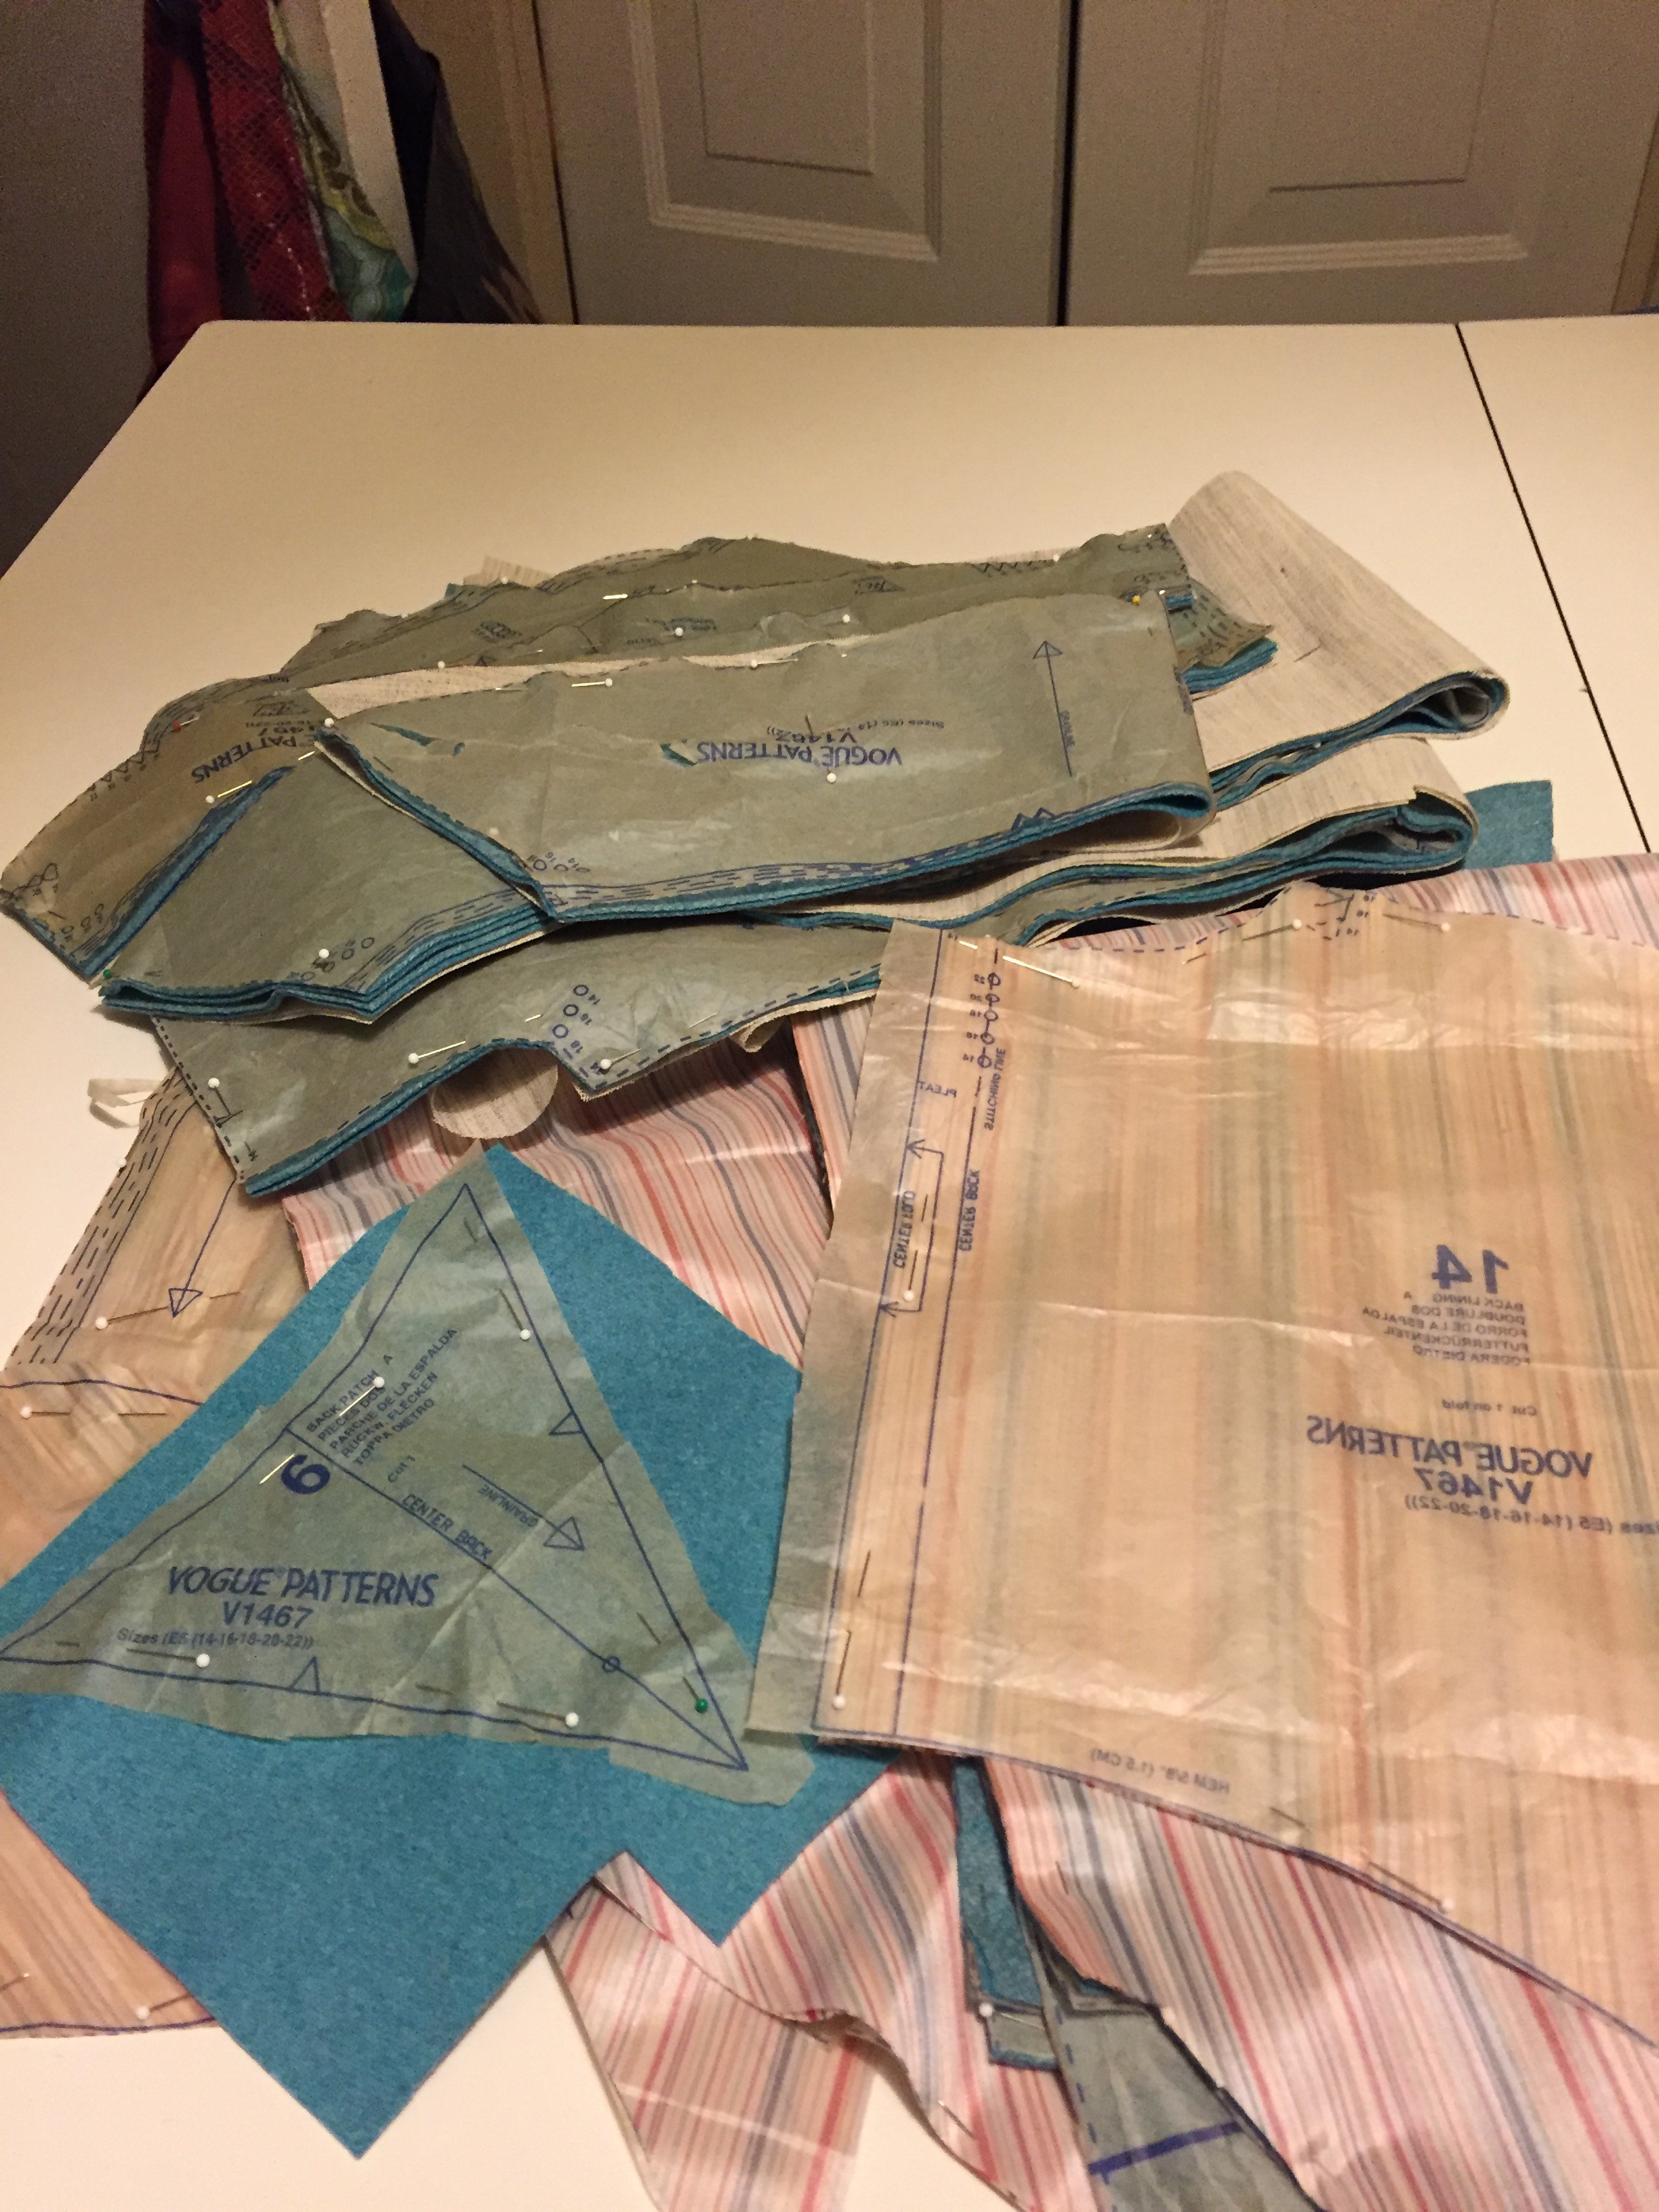
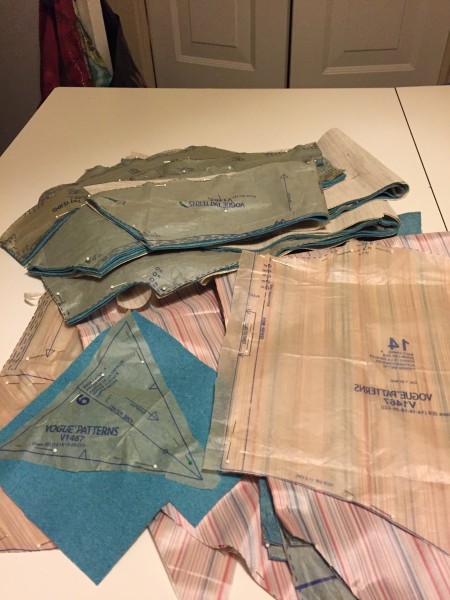
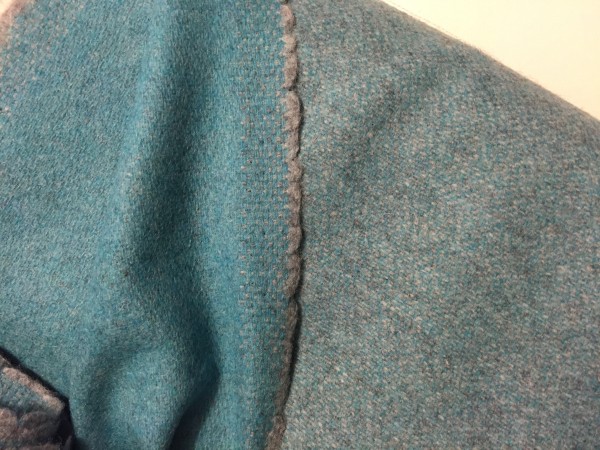
Her are the cut pieces, as you notice piece #6 is not cut, why because remember in earlier posts I mentioned that this fabric could be used on two sides..
[spacer height=”20px”]
Well I tried it and did not like it so I stayed with the solid color.
[spacer height=”20px”]
As of this post my coat is completed, I got delayed with machine issues hence why this post is delayed. My next post will be on October 29th. I have also decided to extend the contest by week so the Winner will be announced on November 5th, versus the 29th of October as originally announced..
[spacer height=”20px”]
Until next post! Huggs and Kisses!
