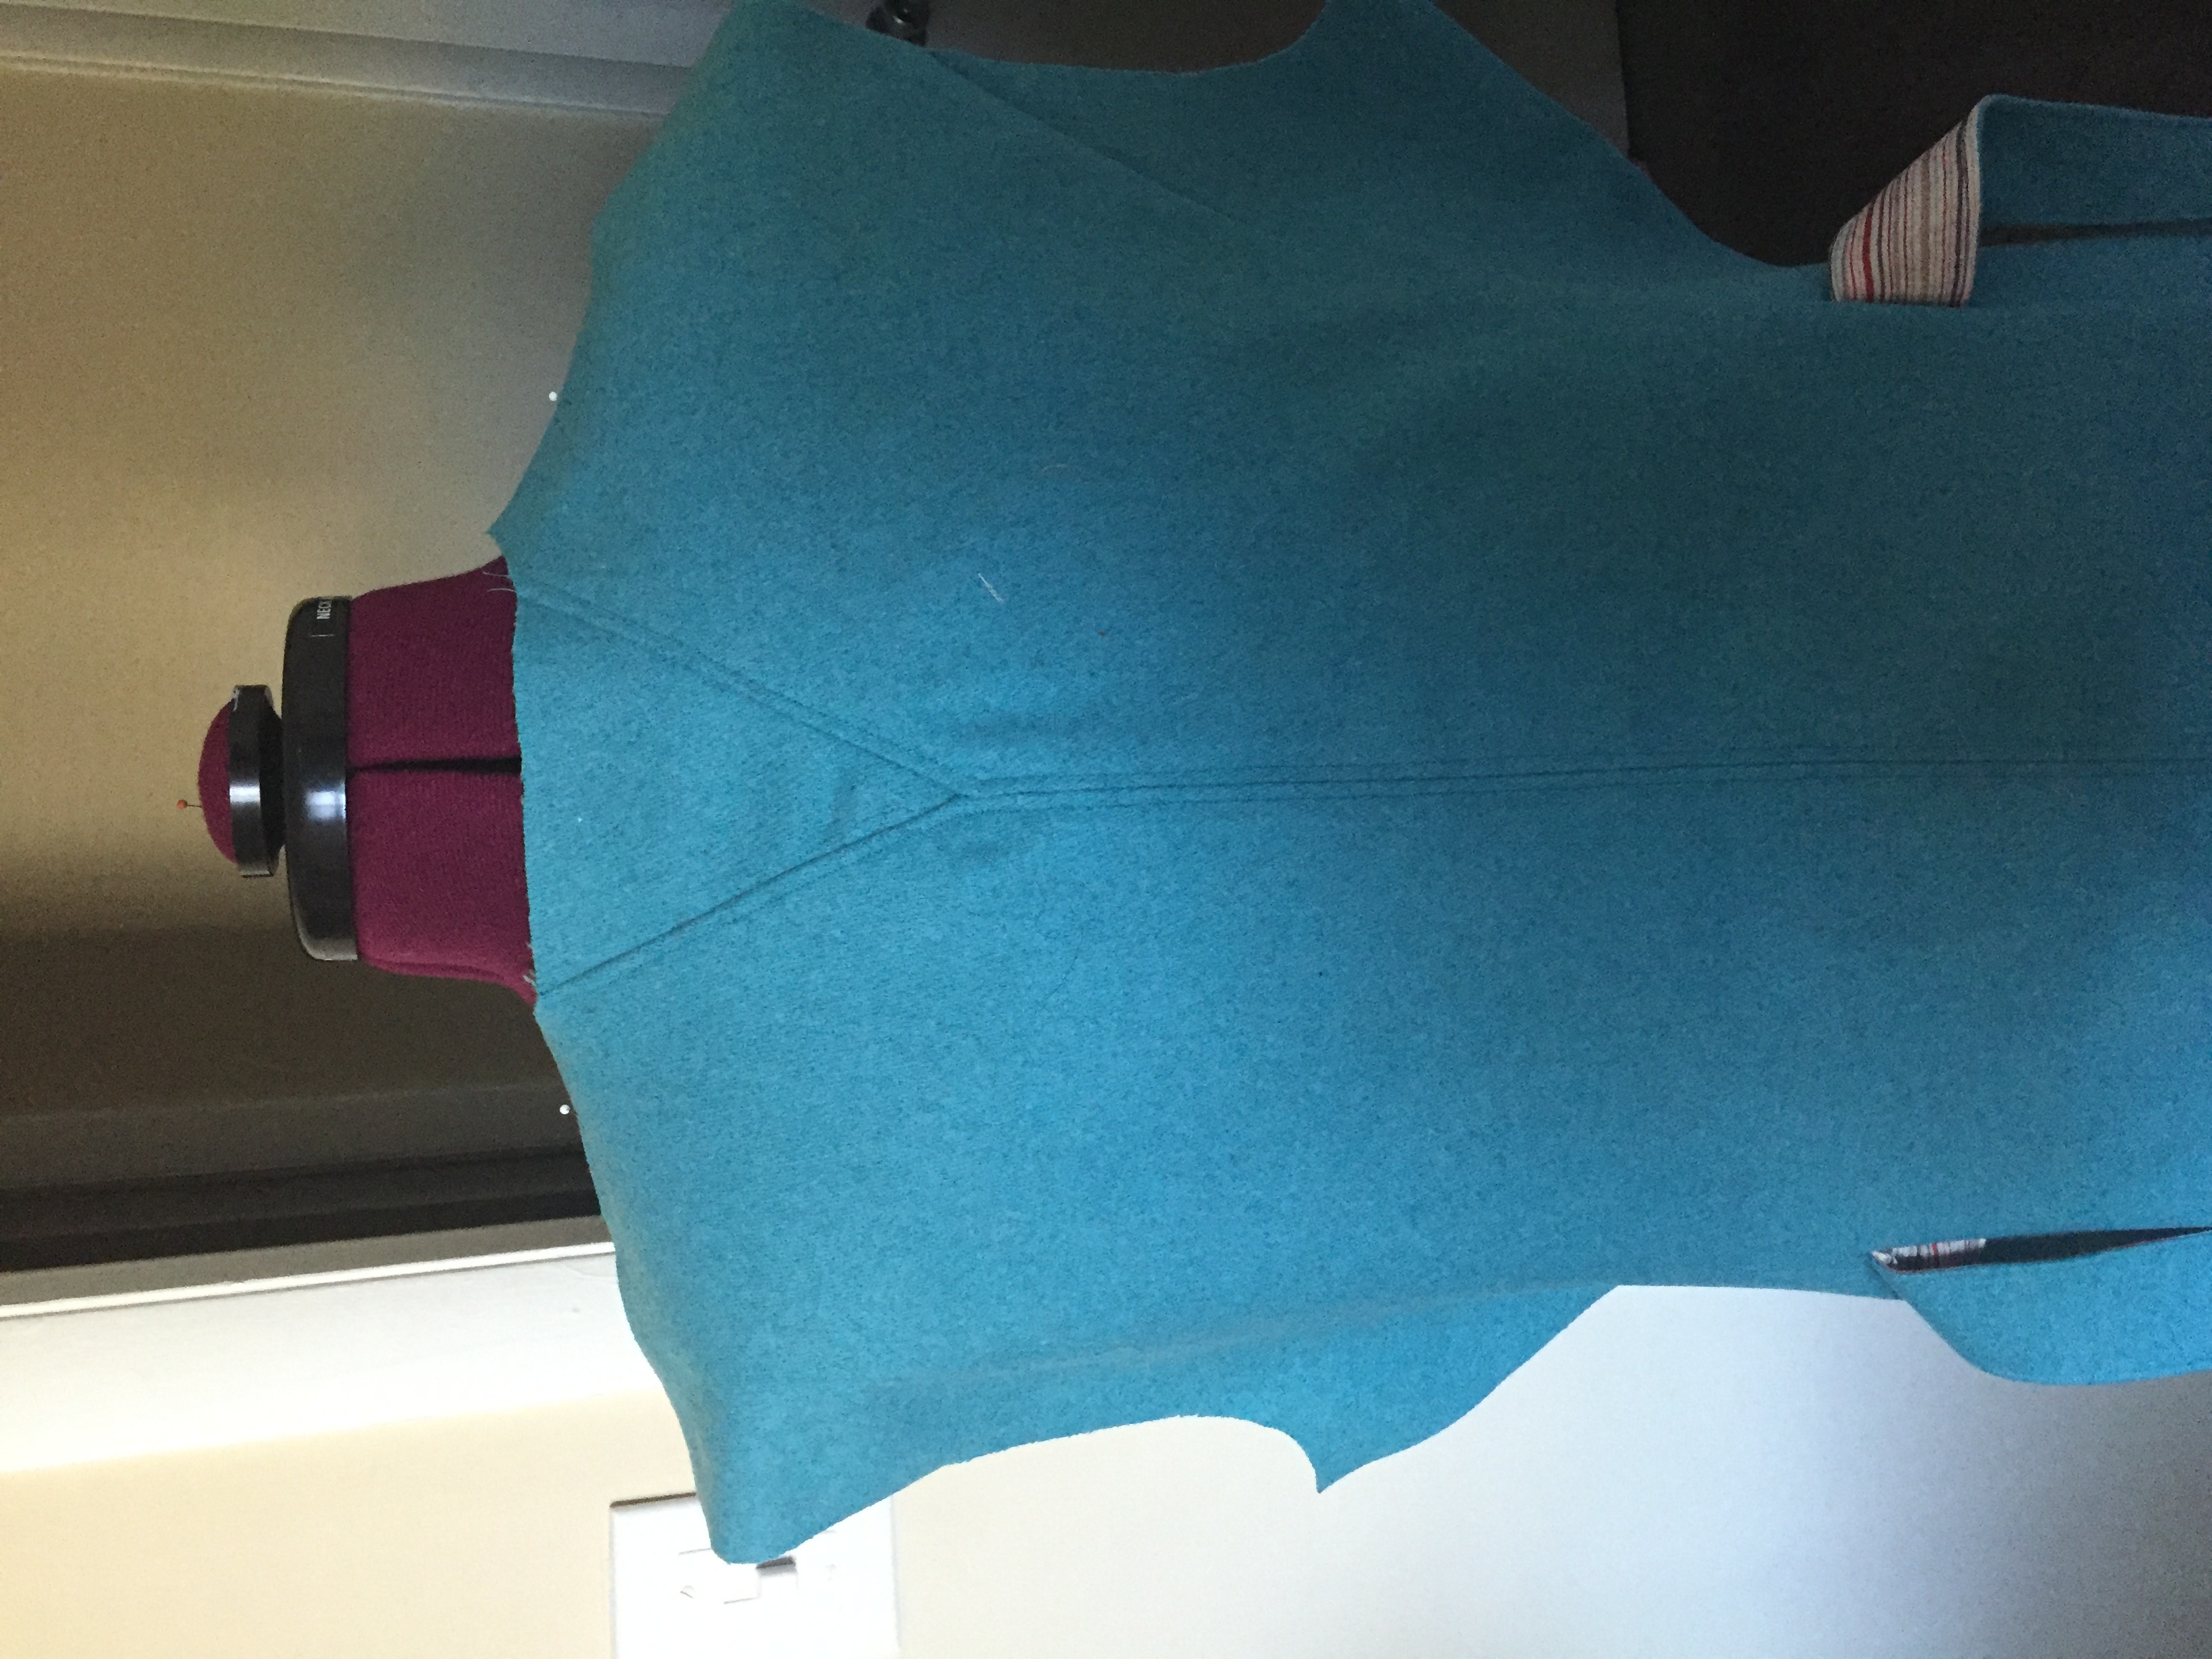
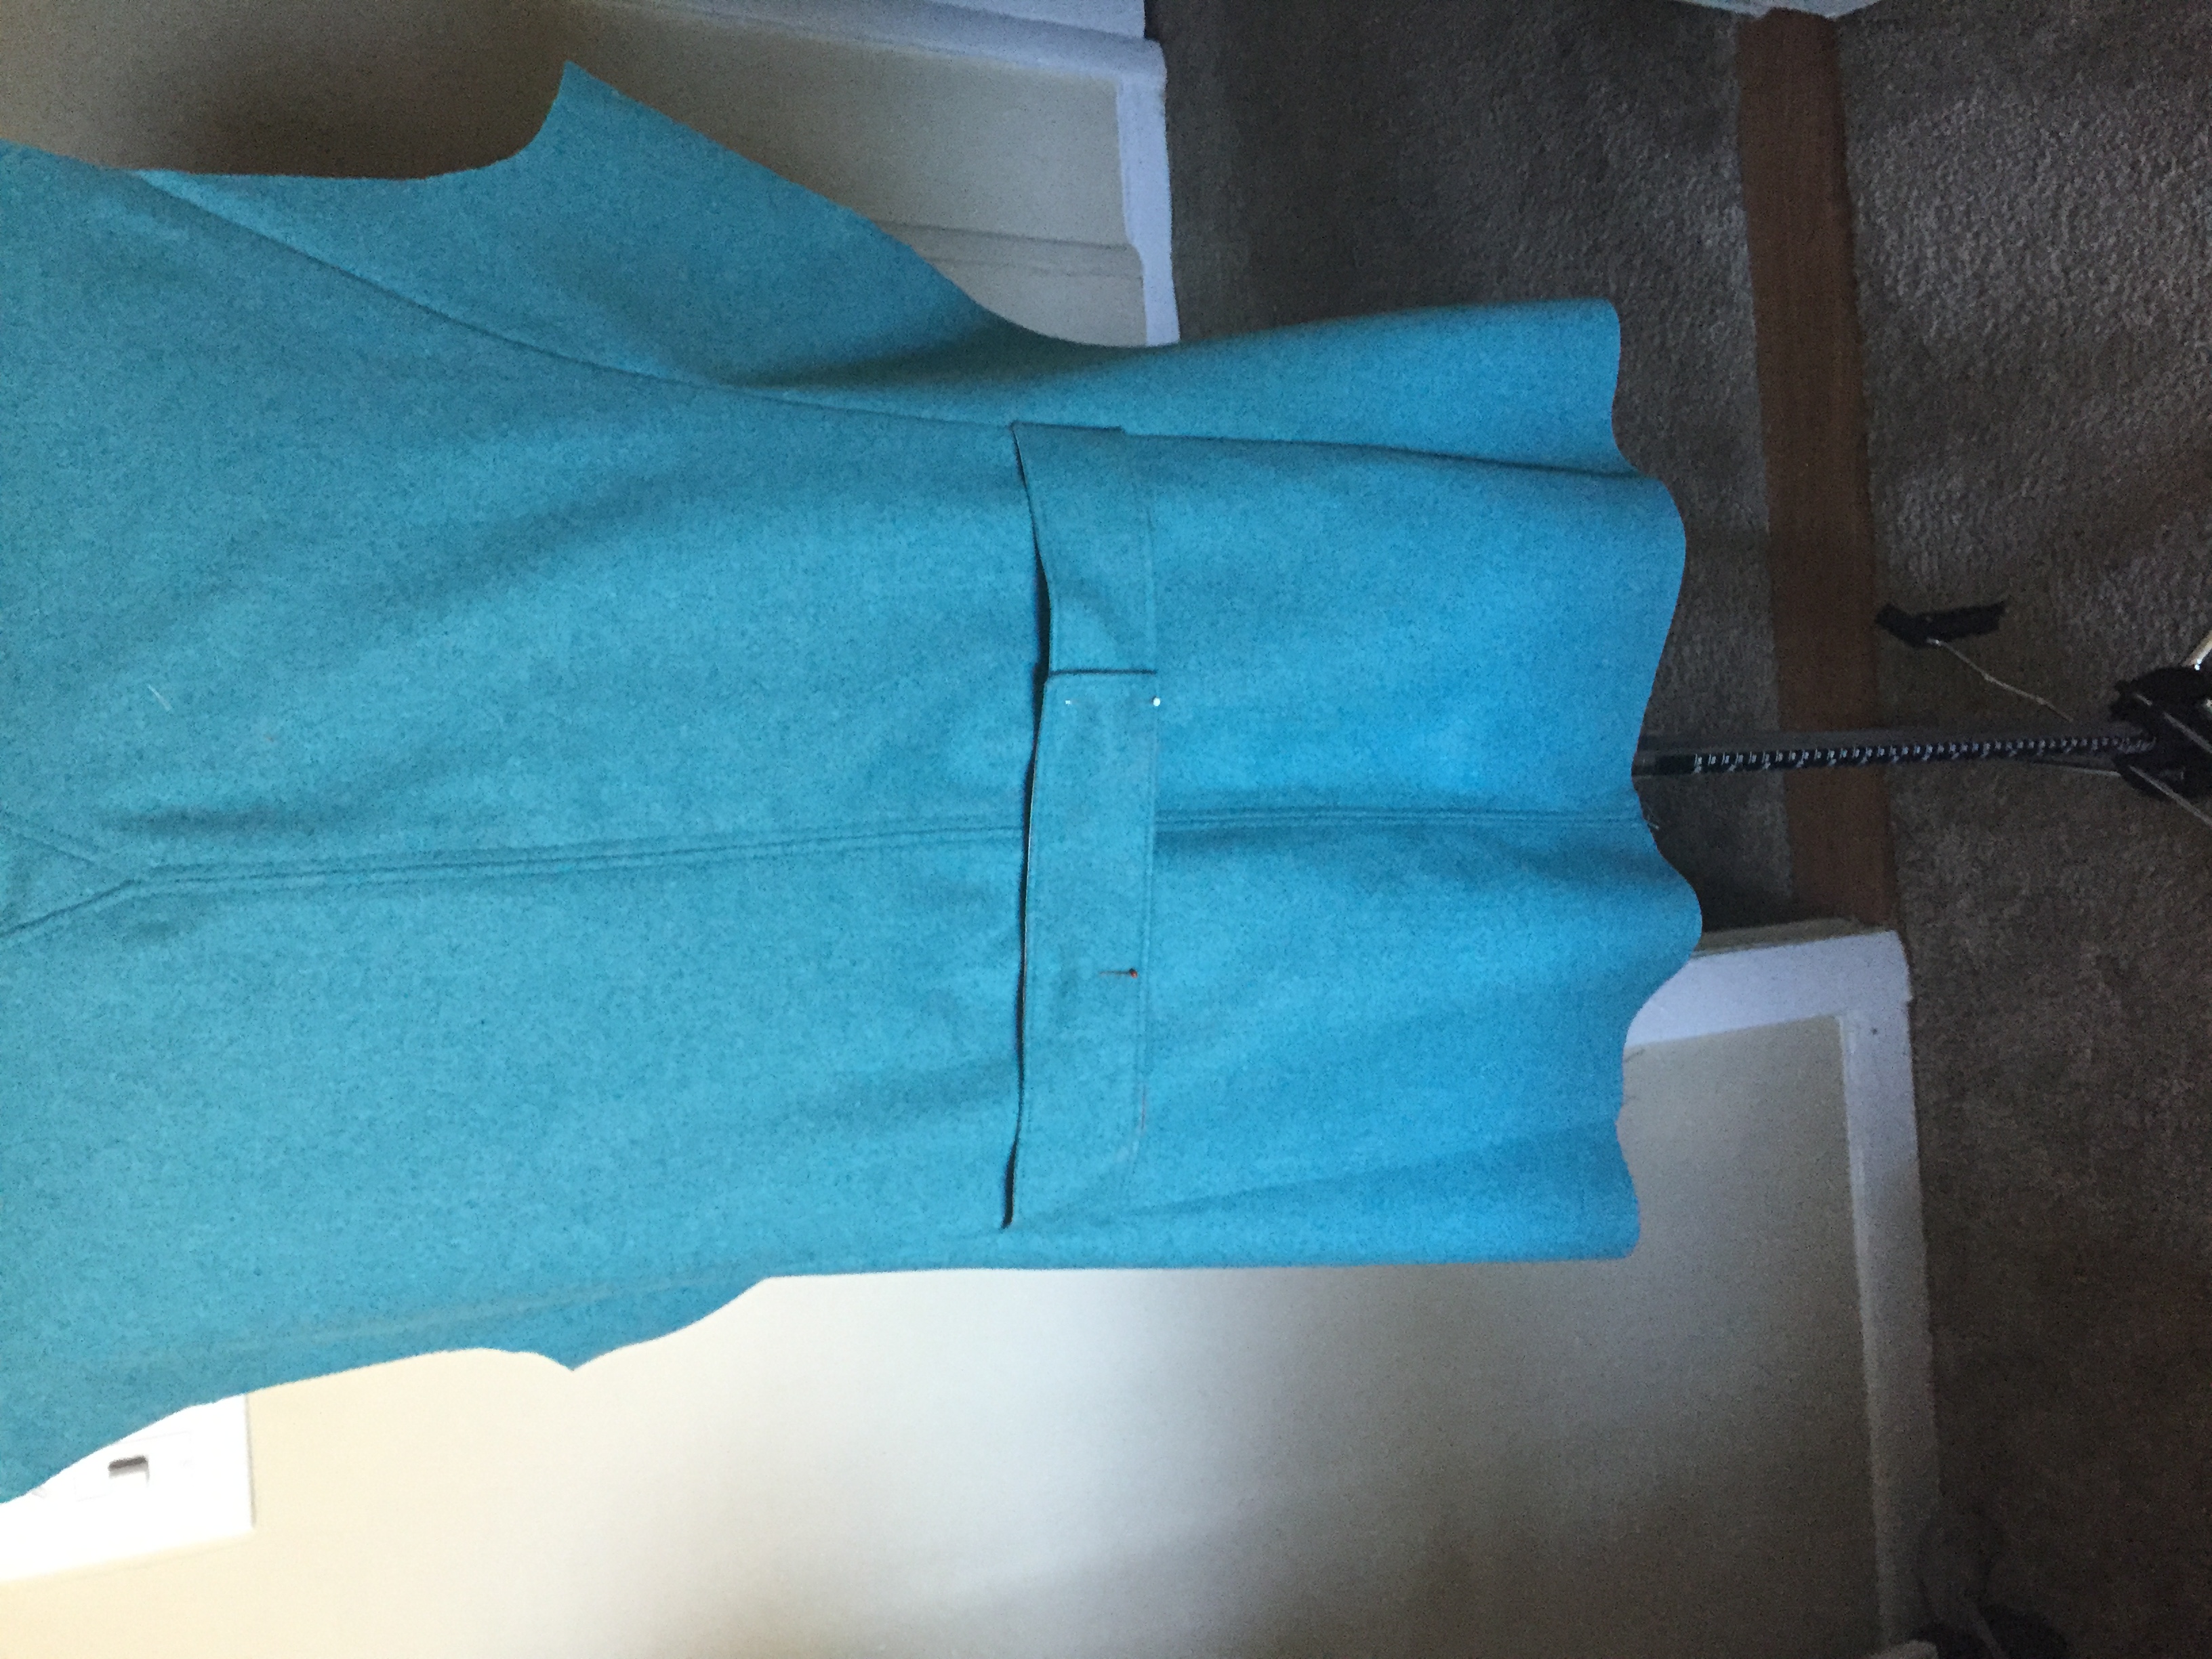
Completed #Vogue 1467 Pea Coat Sew Along
Hi dolls and Happy New Year!
Yes this post is a long time coming! My Completed #Vogue 1467 Pea Coat Sew Along was finished long-ago but I was in a hunt for a photographer. I finally found one! My plan is to have quick photo shoots at least twice a month with 3 – 4 outfits each. That will put me at a regular posting schedule of at least twice a week!
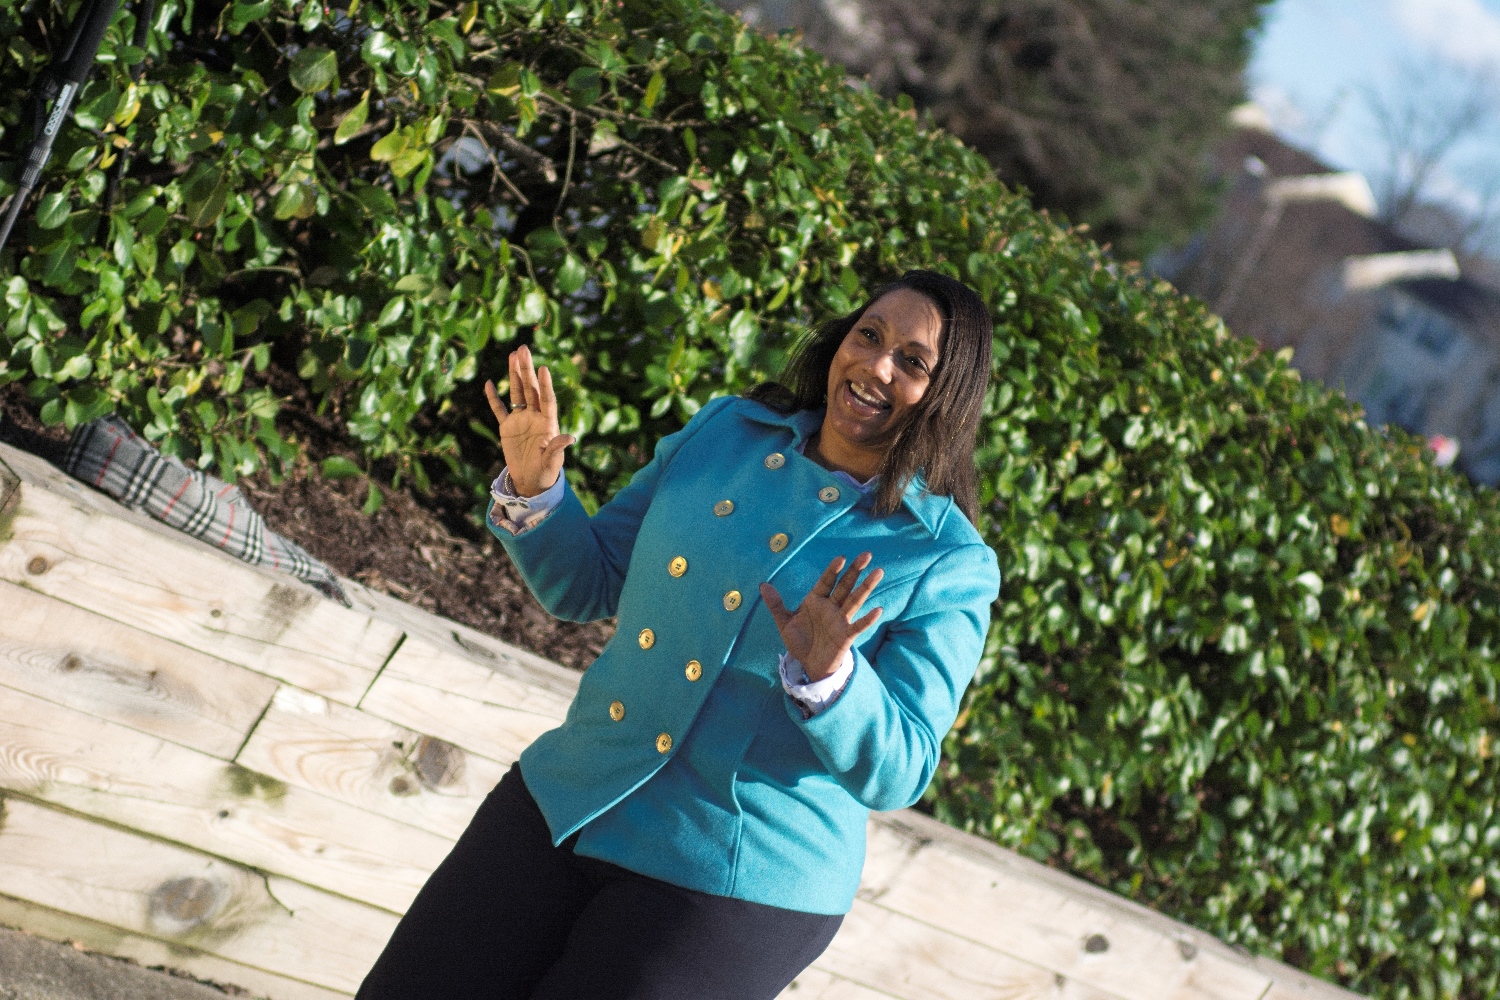
Anyway here are the final photos.. it was a good day outside my complex for these — it was a bit nippy but my warm wool and cashmere kept this at bay as long as the wind did not blow LOL.
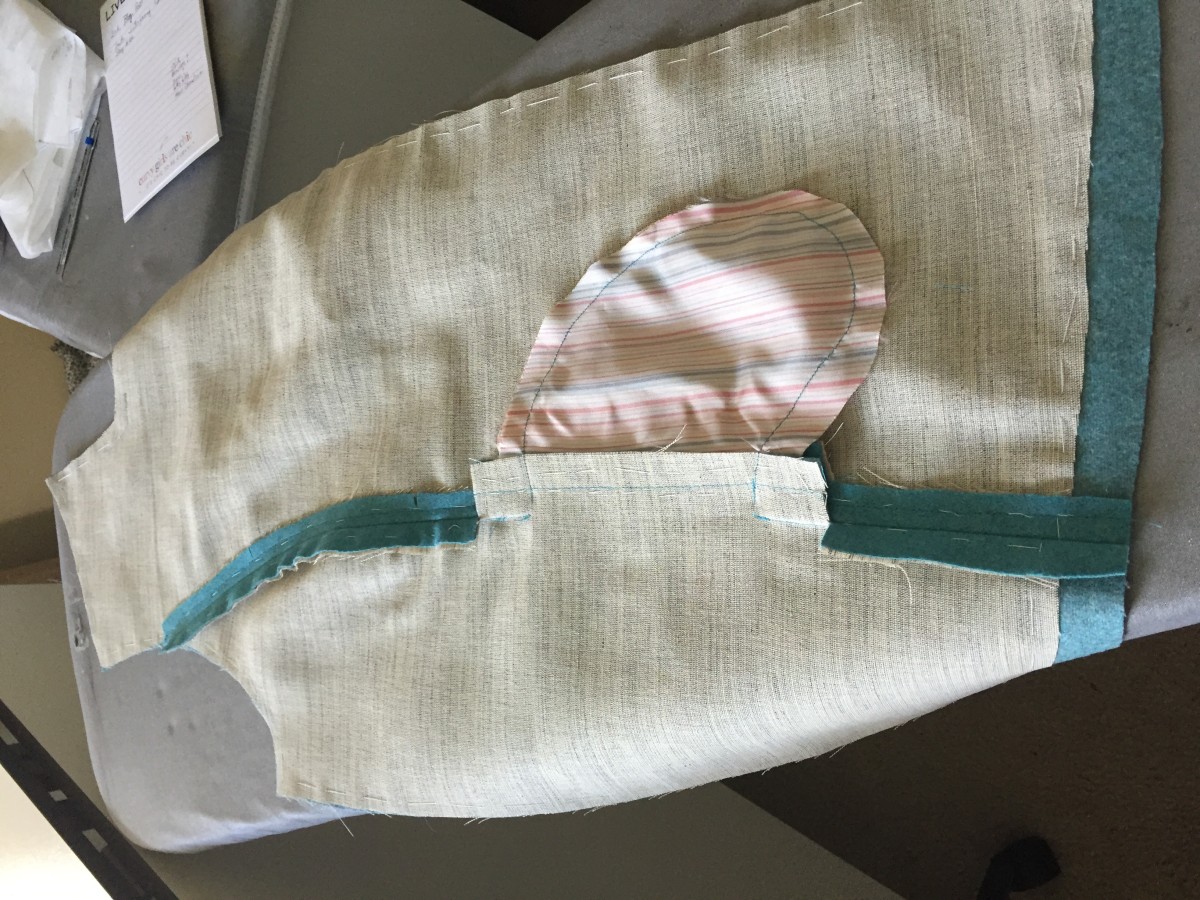
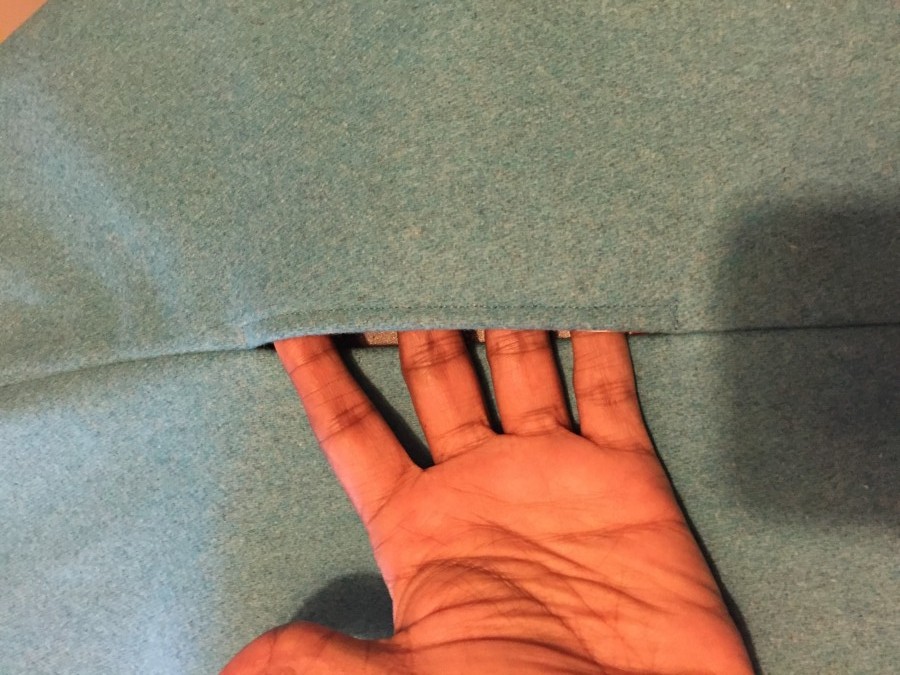
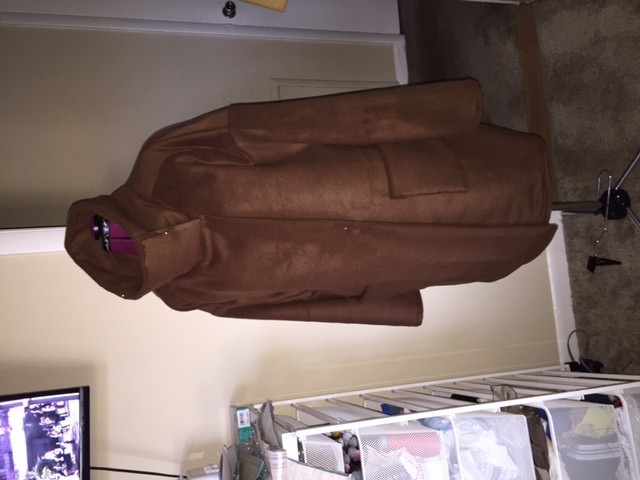
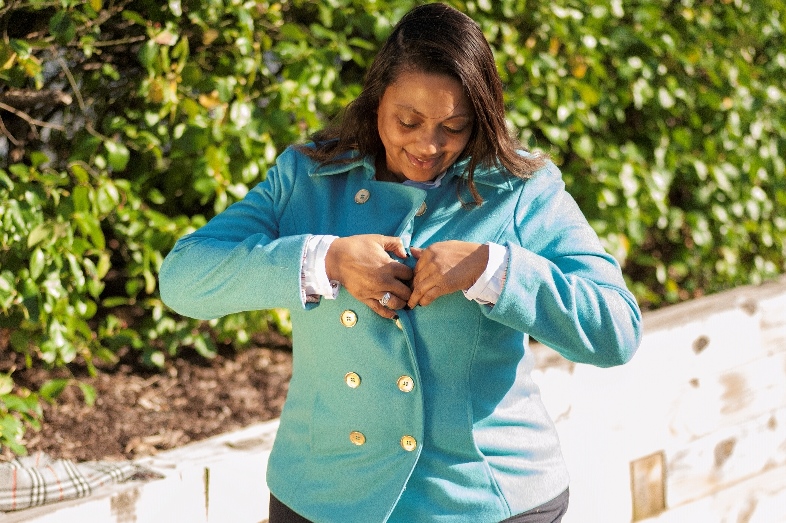
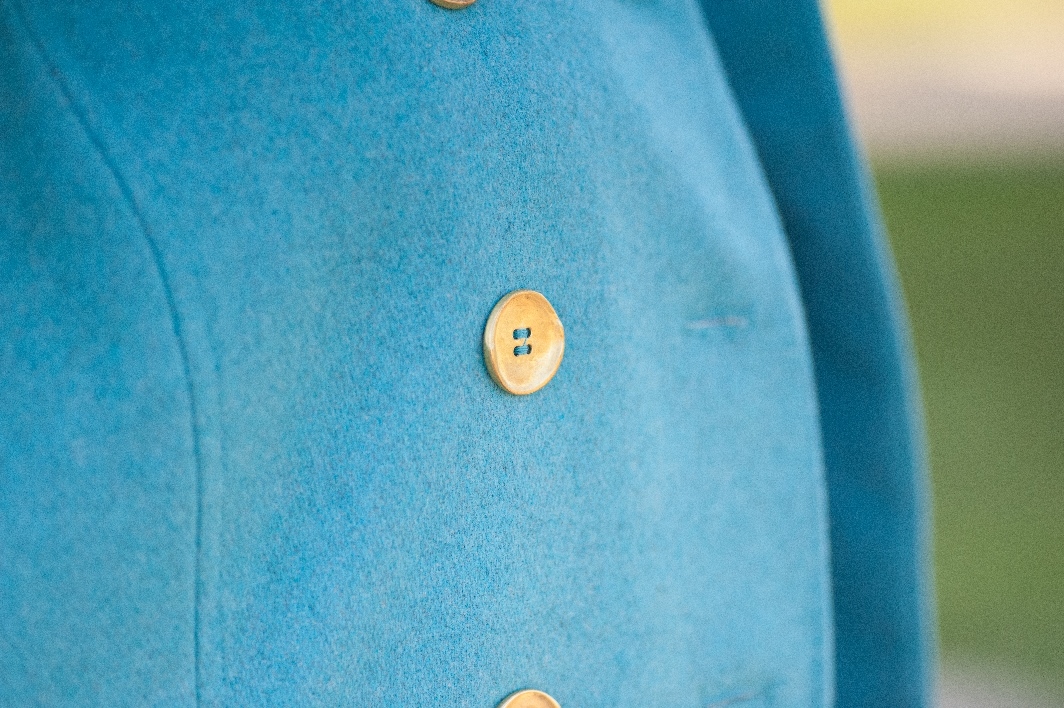
Now to point out the obvious and perhaps you don’t see it but I do.. the button is pulling on the bottom.. why because my silly tale sewed the closure button right through to the opposite side of the jacket through the pocket! I realized it AFTER I wore the jacket and could not put my hand completely in the pocket 🙁 I completely forgot to fix it prior to the photos :-(, so hence you have this mistake. But guess what? My coat is still fabulous, I fixed and I am wearing it LOL as well as onto other coats to make 🙂
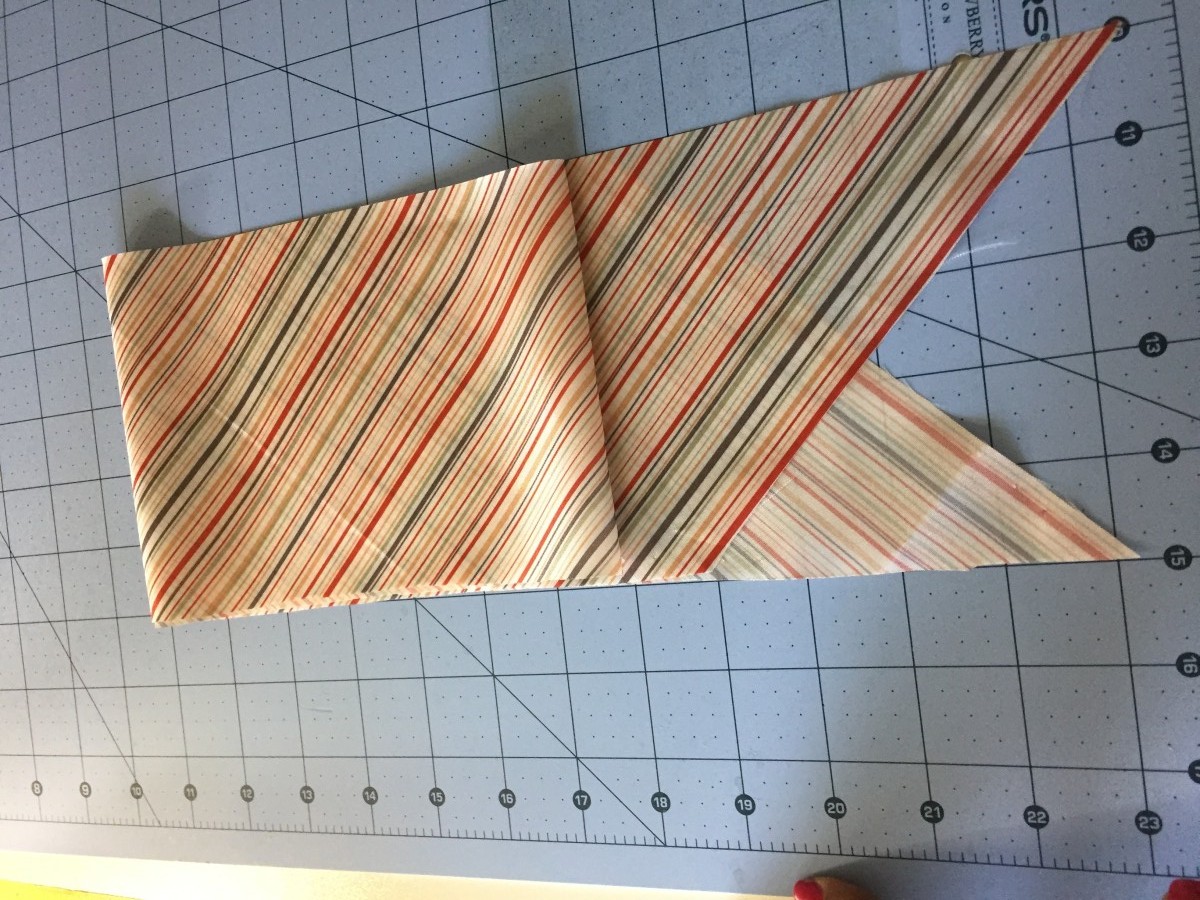
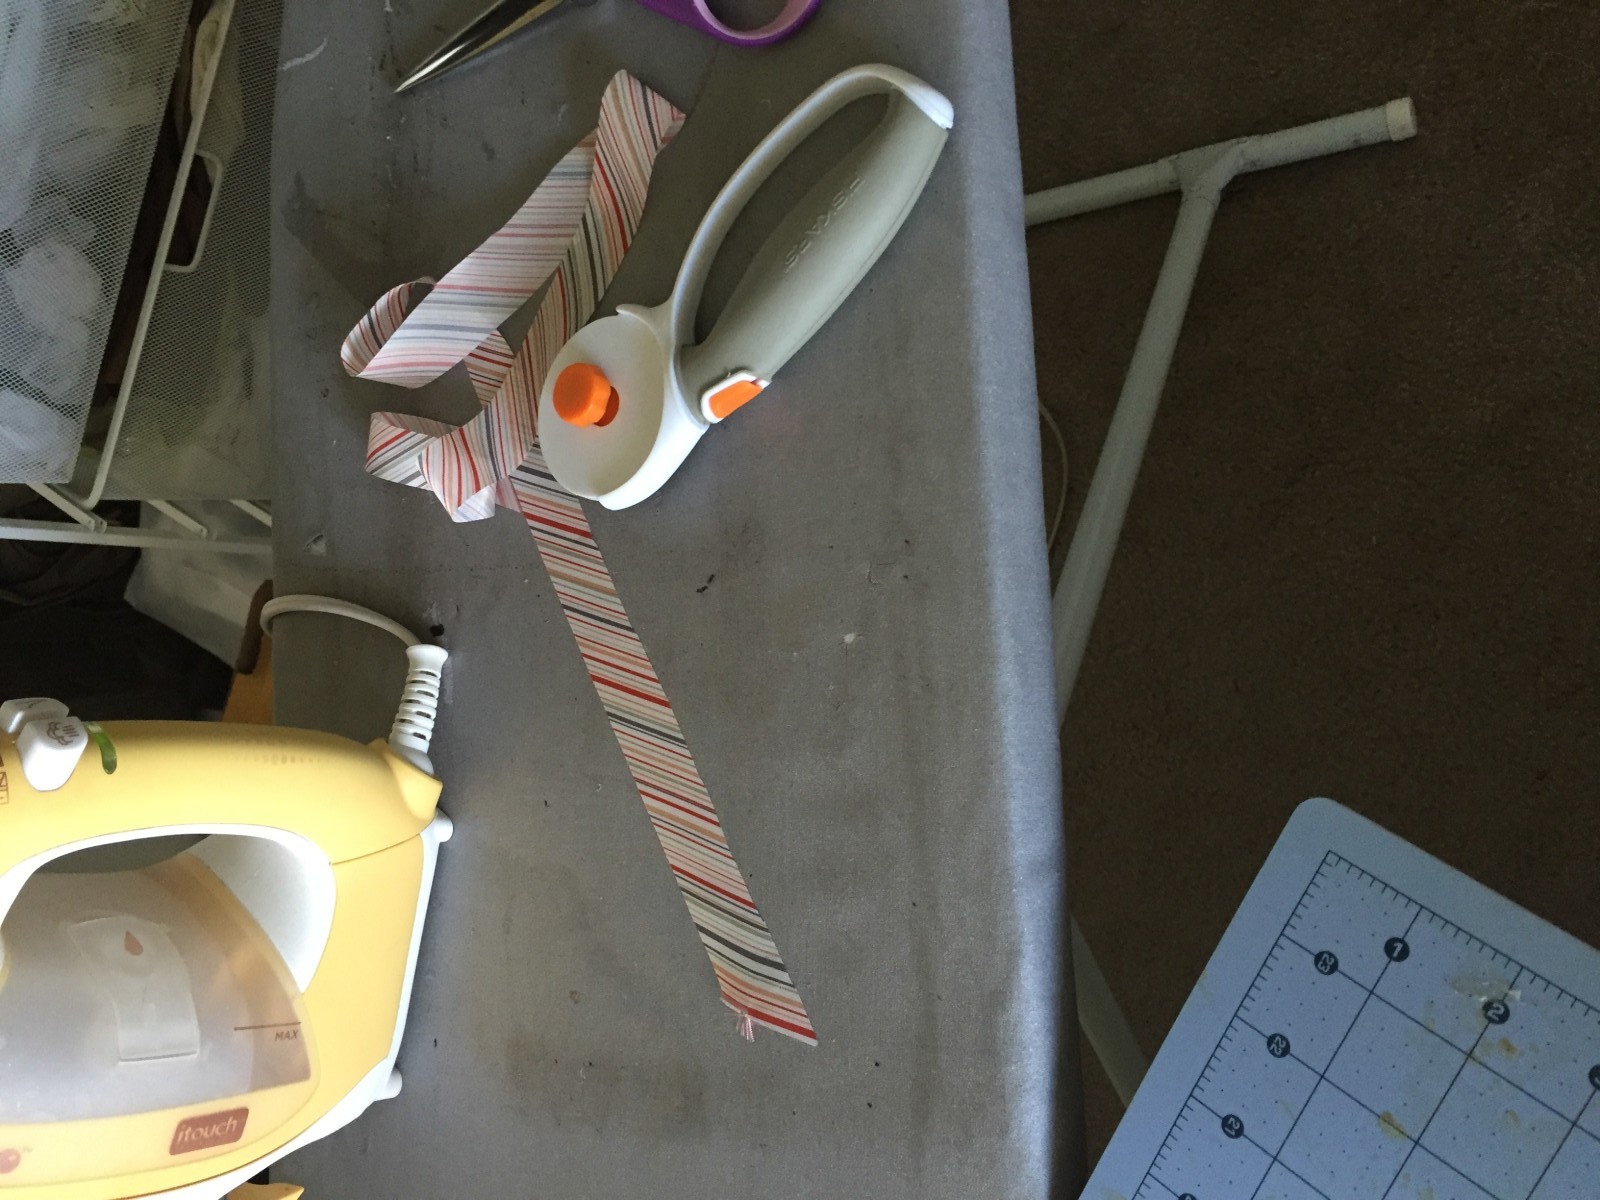
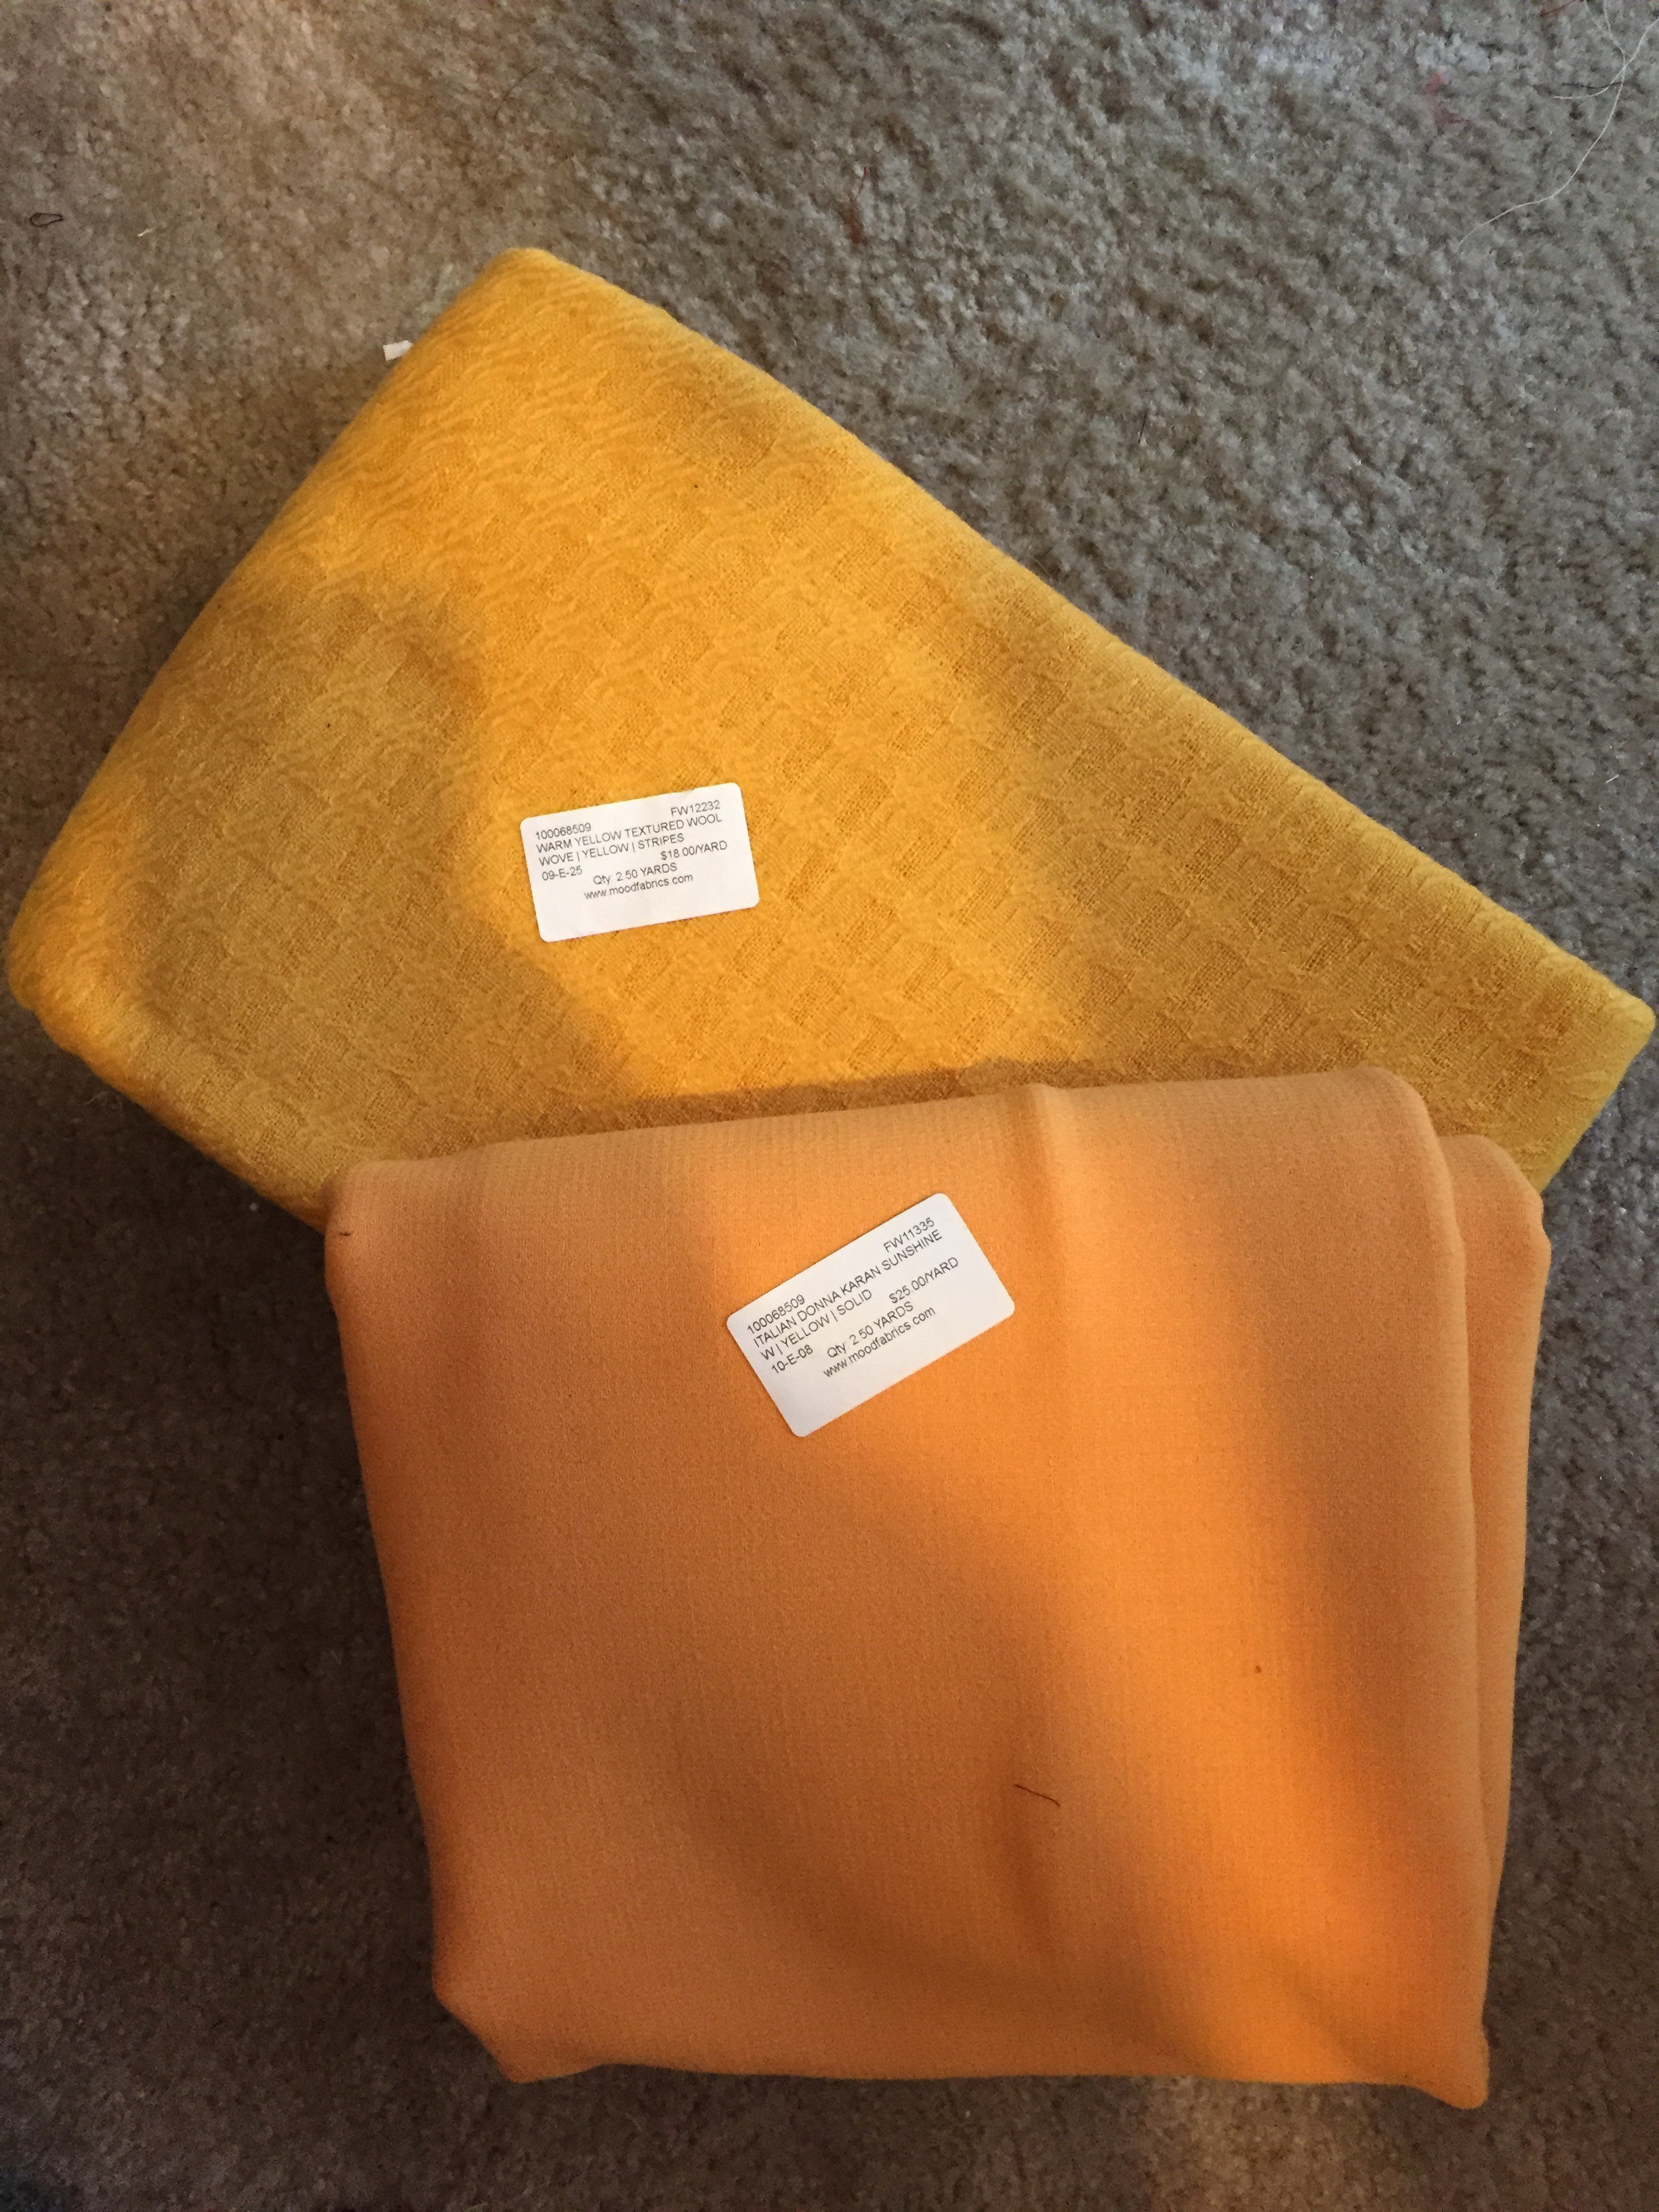
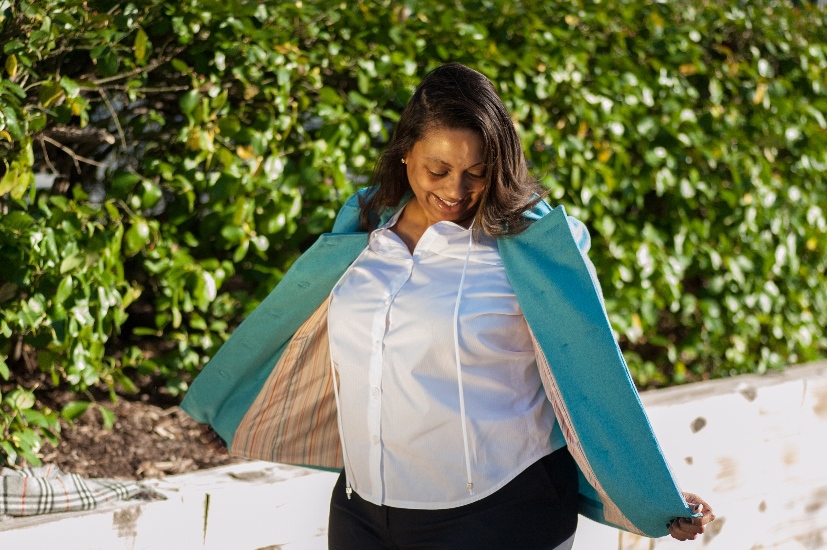
I also made the top and pants too using Vogue 1436. I used the exact notions Vogue used for their shirt sample; the spring snaps, O-Rings, and the silver cord ends on the end of the neck ties! The Anorak Snap Tool Set (and a rubber mallet) was a bit difficult to find and I did find it at JoAnn’s after extensive research. The coat fabric is from Mood and I left links in previous posts, both the shirt and pants fabric came from G-Street. This shirt and pants were fun to make and would definitely use these patterns again.
Below you will see the rest of the photos.
Photos for Viewing!


XXMauhXXX
- Boots are from COACH last year
- Nail Color CHANEL Blue Satin Discontinued
- Burberry Scarf