Category: Cricut

New Retail Store and Instruction Lounge!

New Retail Store and Instruction Lounge!

2020 was filled with quite a few highs and many lows! We made it through tho!

In 2020, I moved my business from my apartment into a studio in Mount Rainier right after loosing my full-time job! The opportunity landed in my lap to move my sewing business to full-time and build my way to a “real store!” This was always a dream of mine.. to leave a legacy for my children.. The studio opened then COVID hit.. urgh.. it was instant mask making time for the next two months!

Mask Making 2020

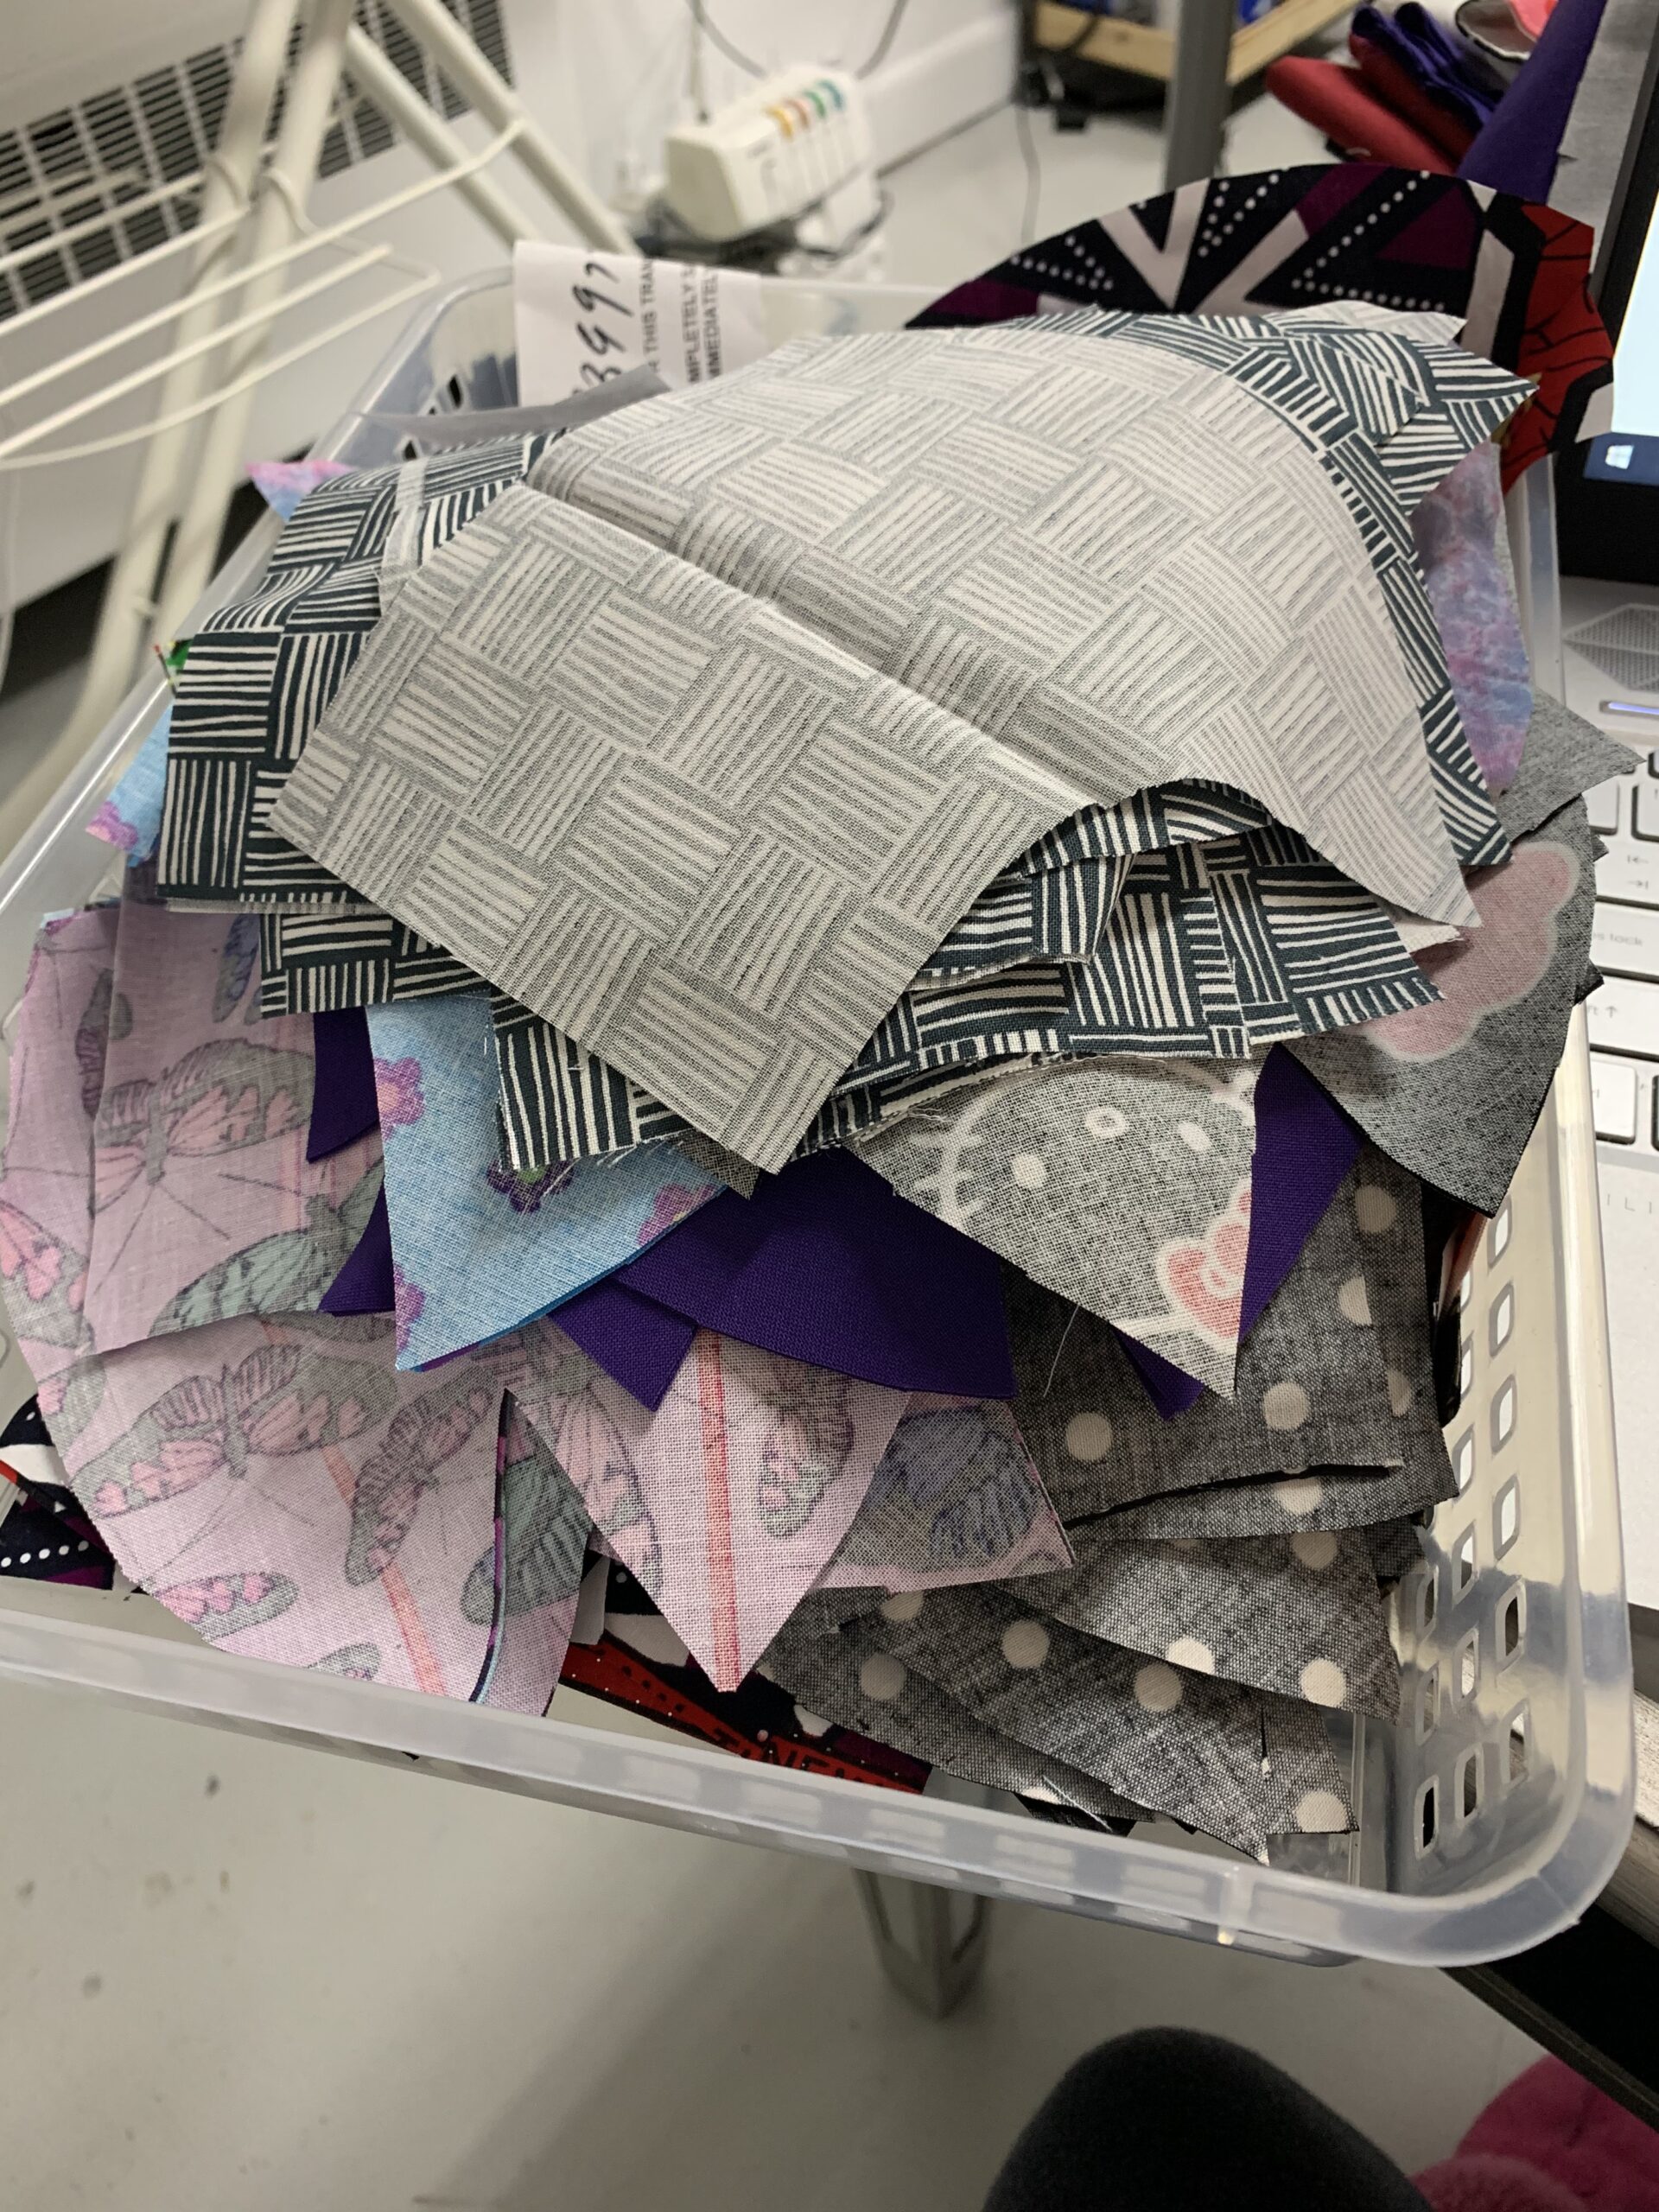
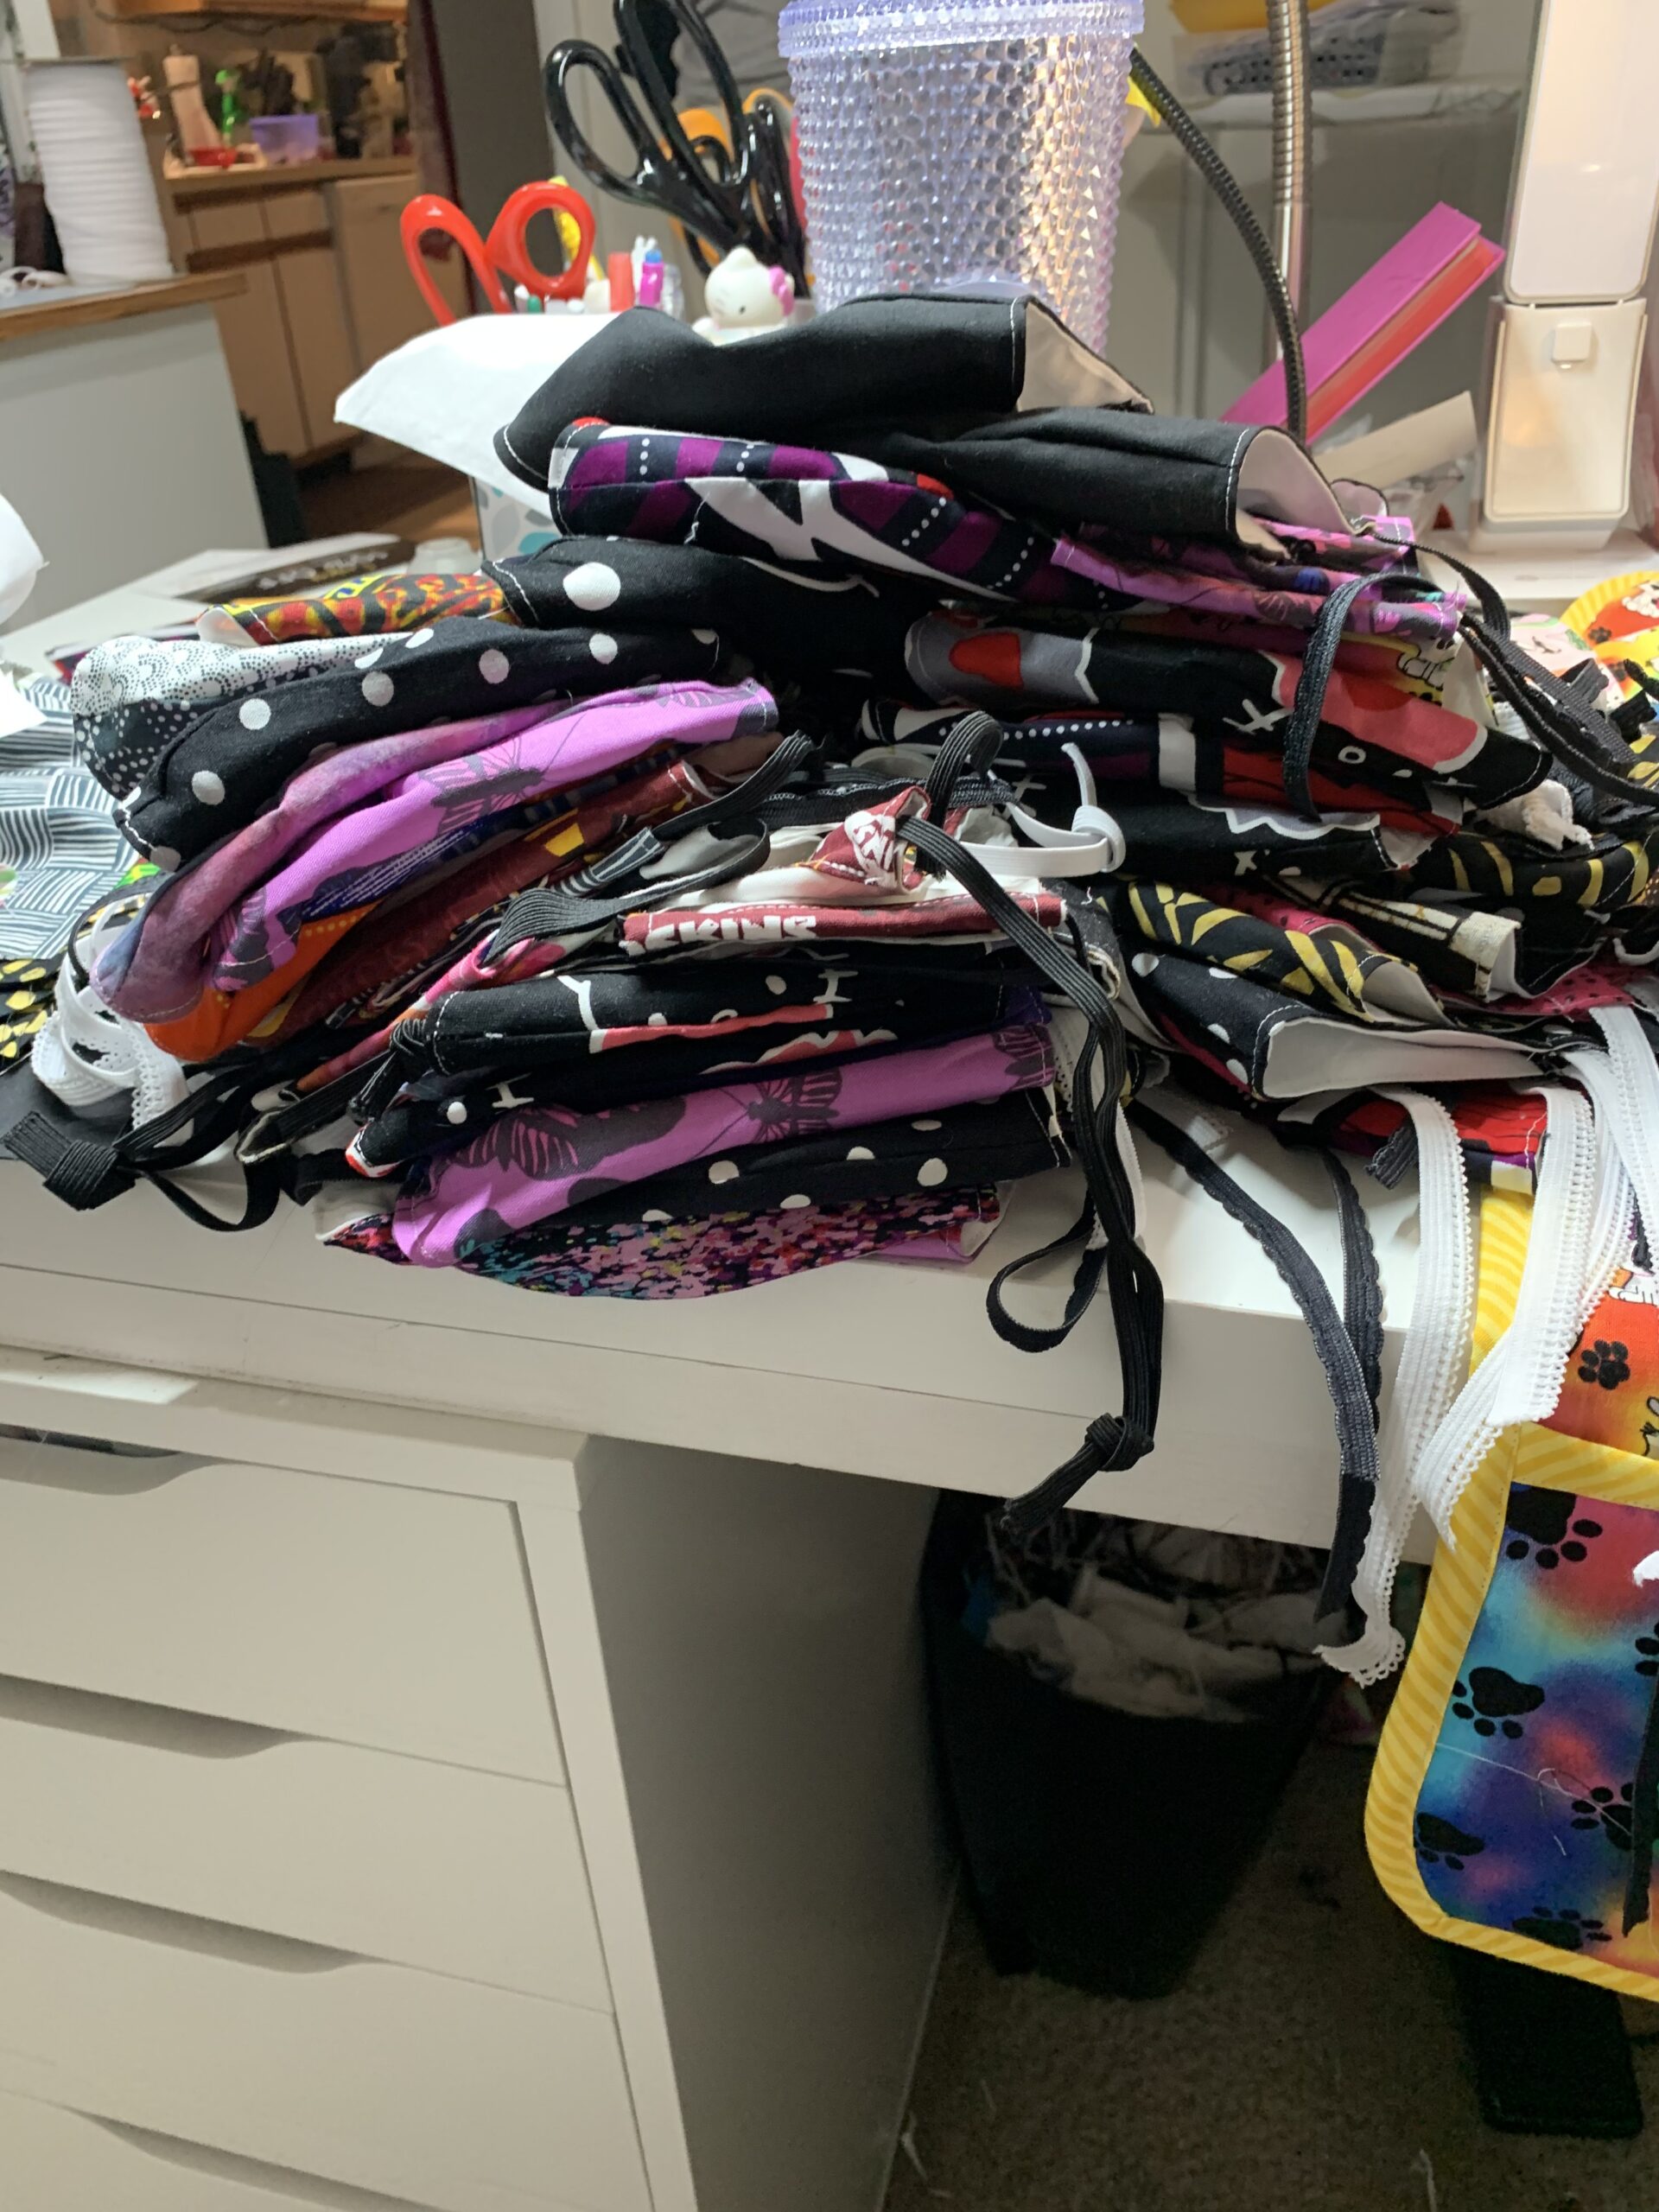
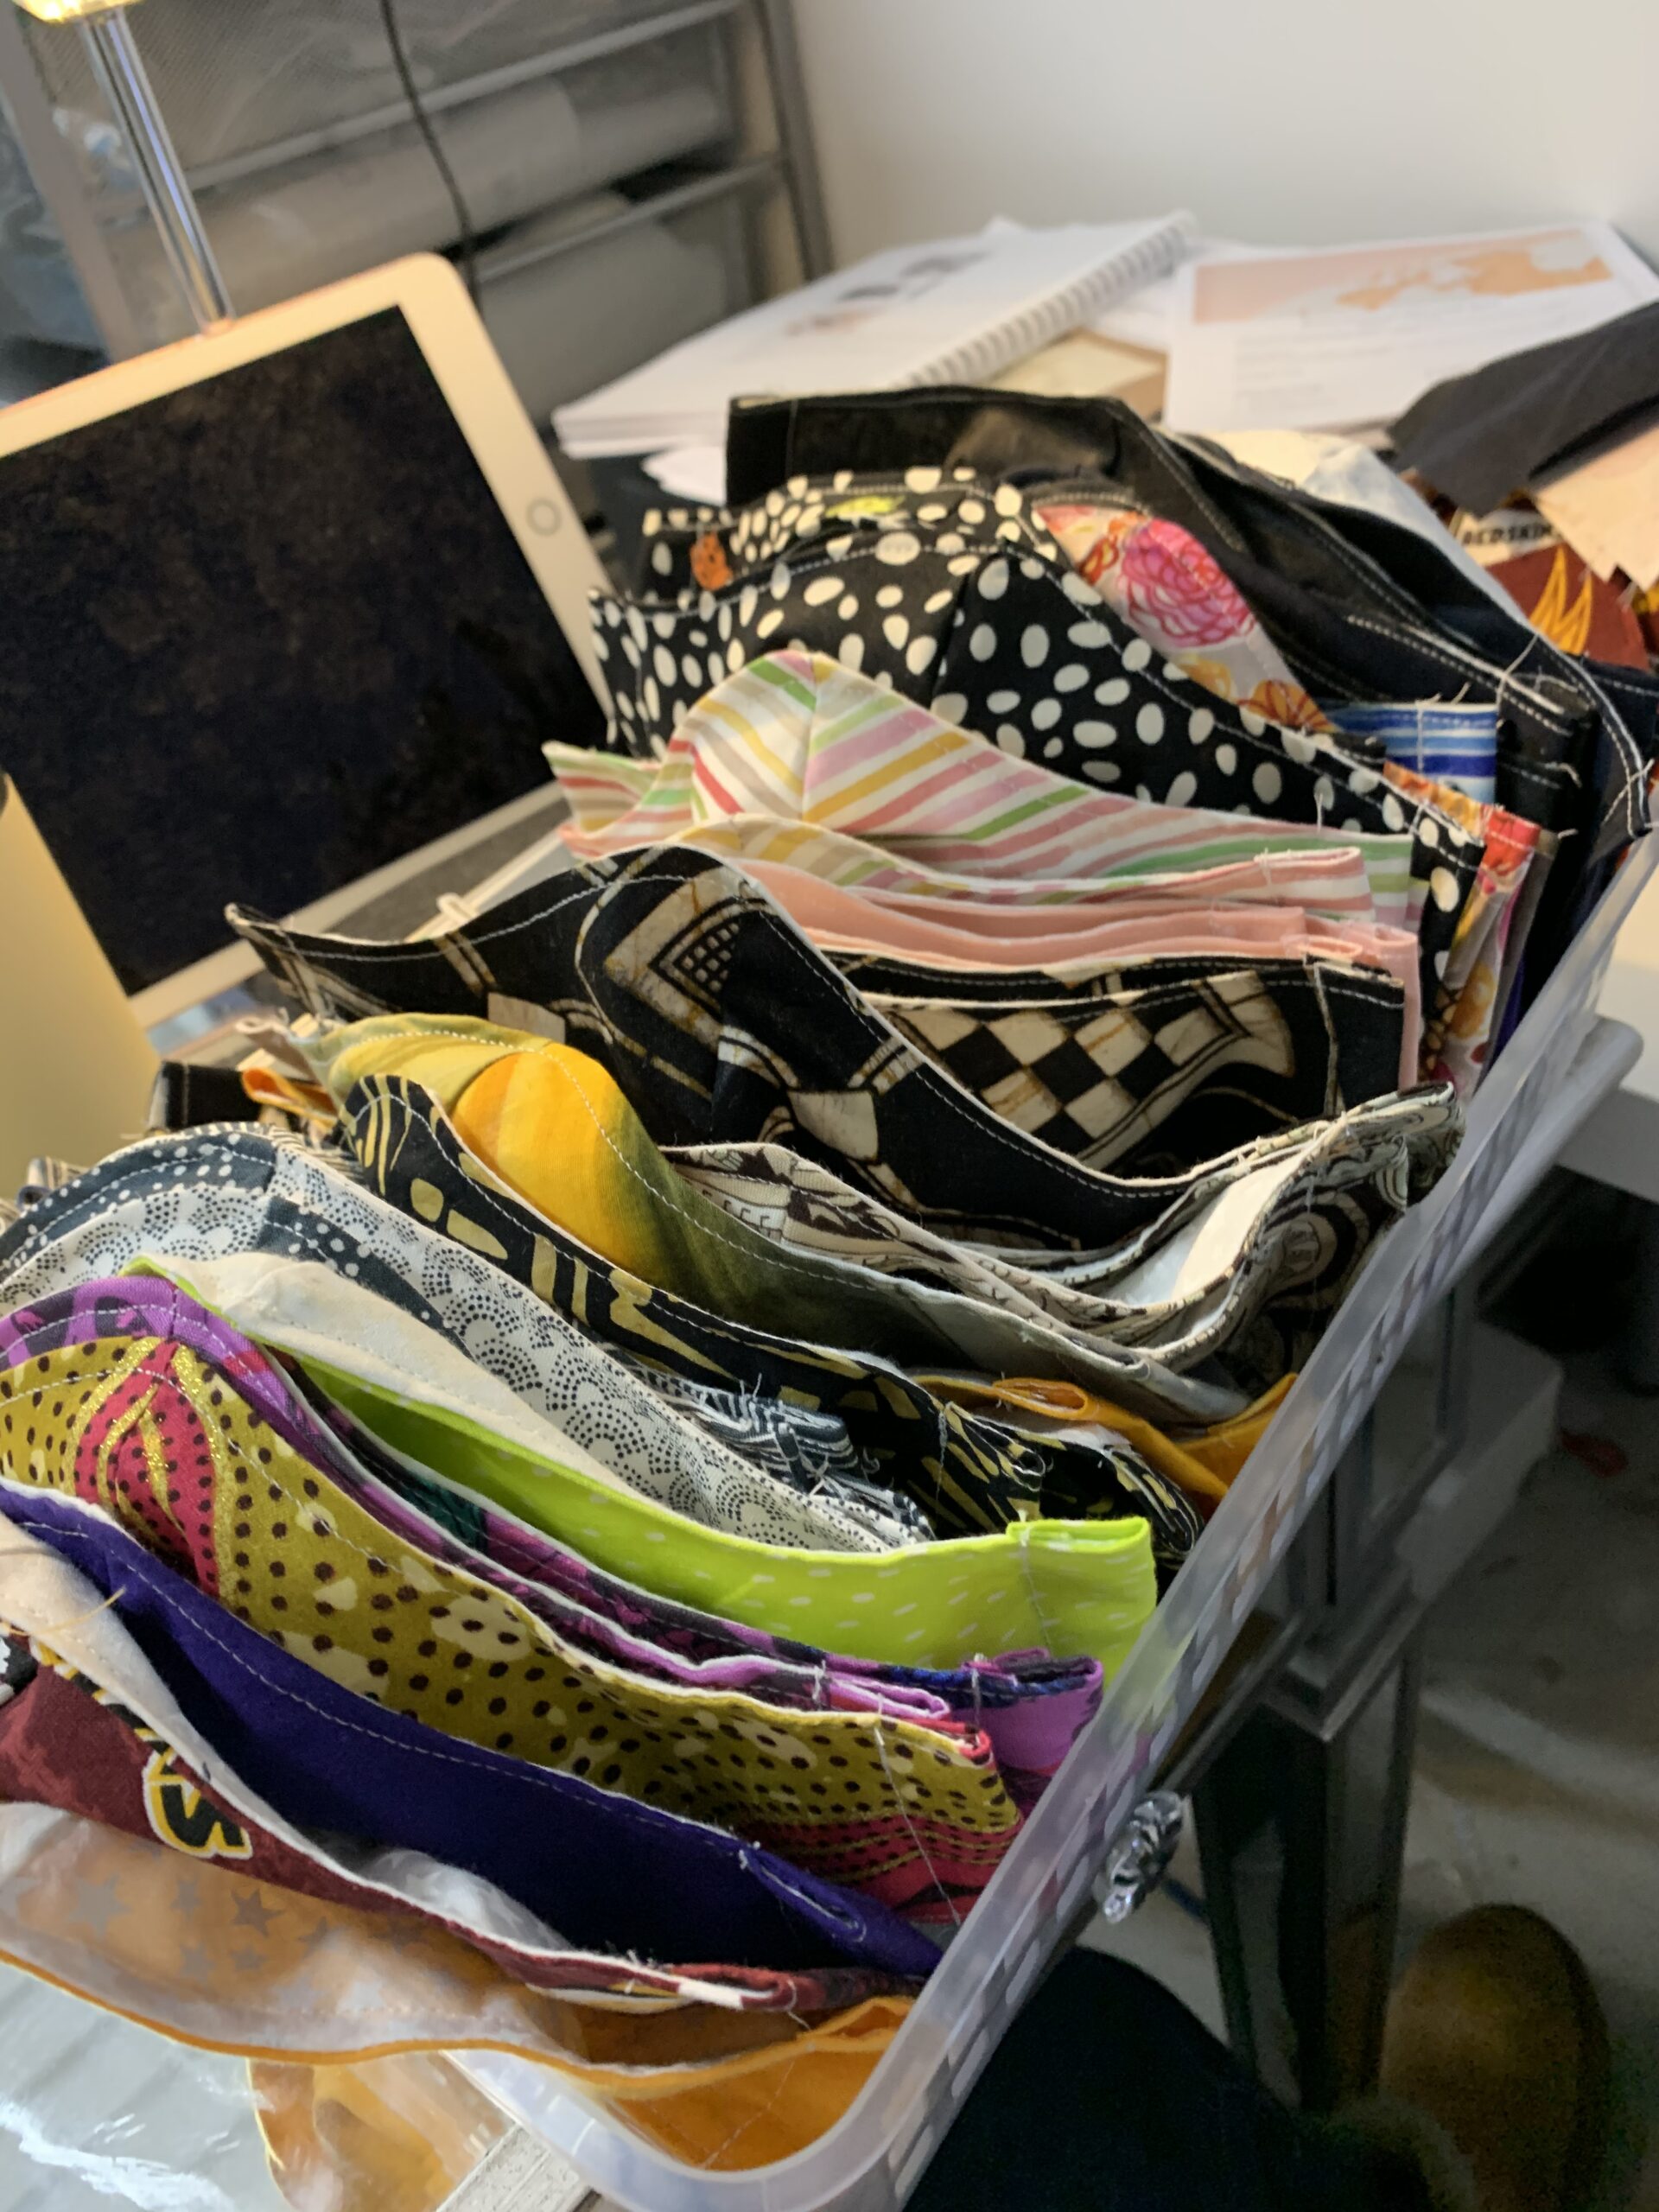
Within those two to three months I made over 1500 masks! It was exhausting.. but I learned a lot in a short amount of time!

As the months wore on I kept building and building.. then in November I received devastating news that I needed to move so the persons I was subleasing from could expand their business.. sure it was fun being evicted in the middle of the pandemic.. but I turned lemons into sweet tea and I also gained a much needed assistant and she kept me sane..

Business Building

In February 2021, almost a year to the date I moved into a new retail space less than one mile away from the studio also located in Mount Rainier… it was exciting and stressful at the same time! I literally ate through all of my savings with deposits, purchasing things, new items for the store and I’m still spending all while there was little no business coming in.. Most classes last weeks and I couldn’t start my students than stop them..

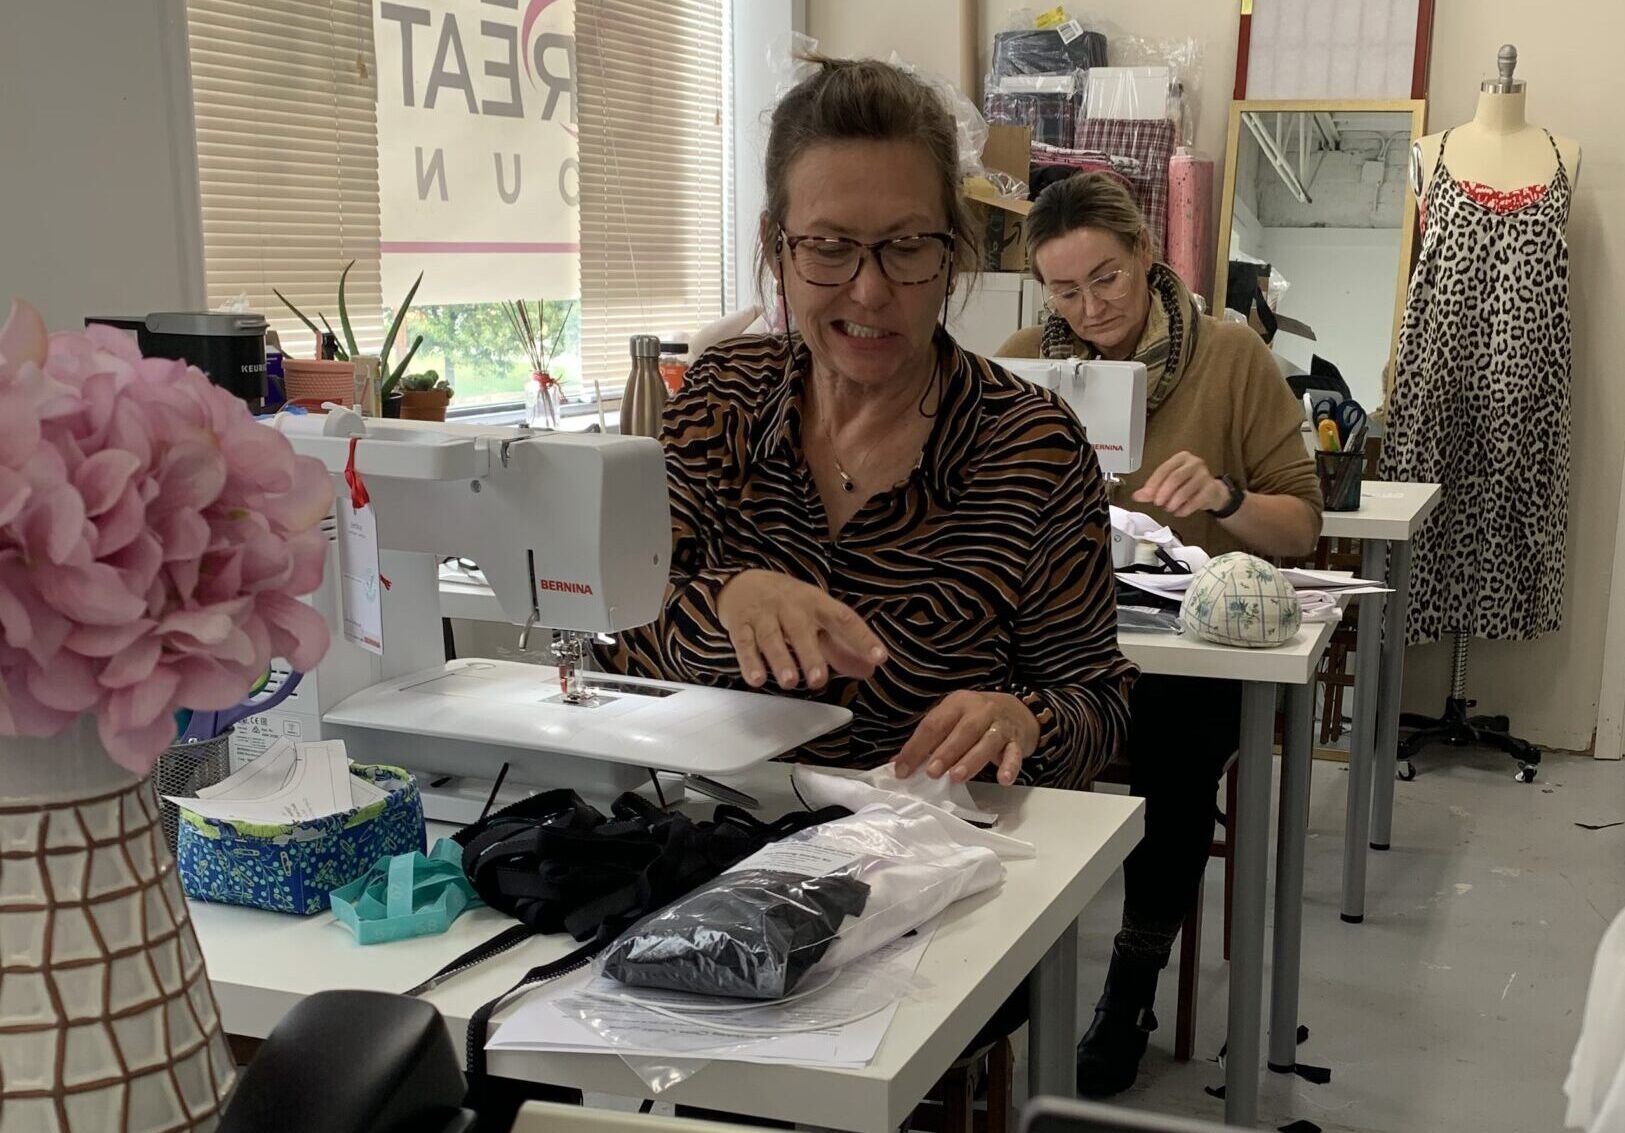
We had to build it all – paint, new shelving, new tables.. refresh the sewing machines.. build the classes and the most difficult part – waiting on Prince George’s County to grant permits 🙁 it took over two months… in fact still waiting on one part of the permit.. but at the very least the city of Mount Rainier has approved our city Use and Occupancy permit!

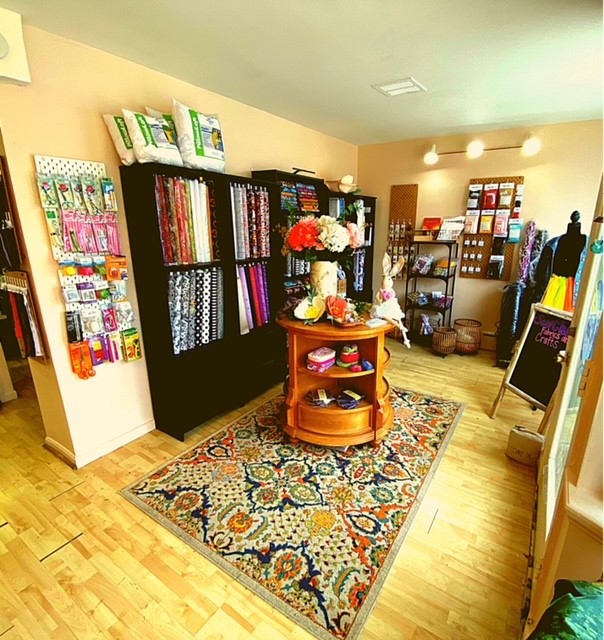
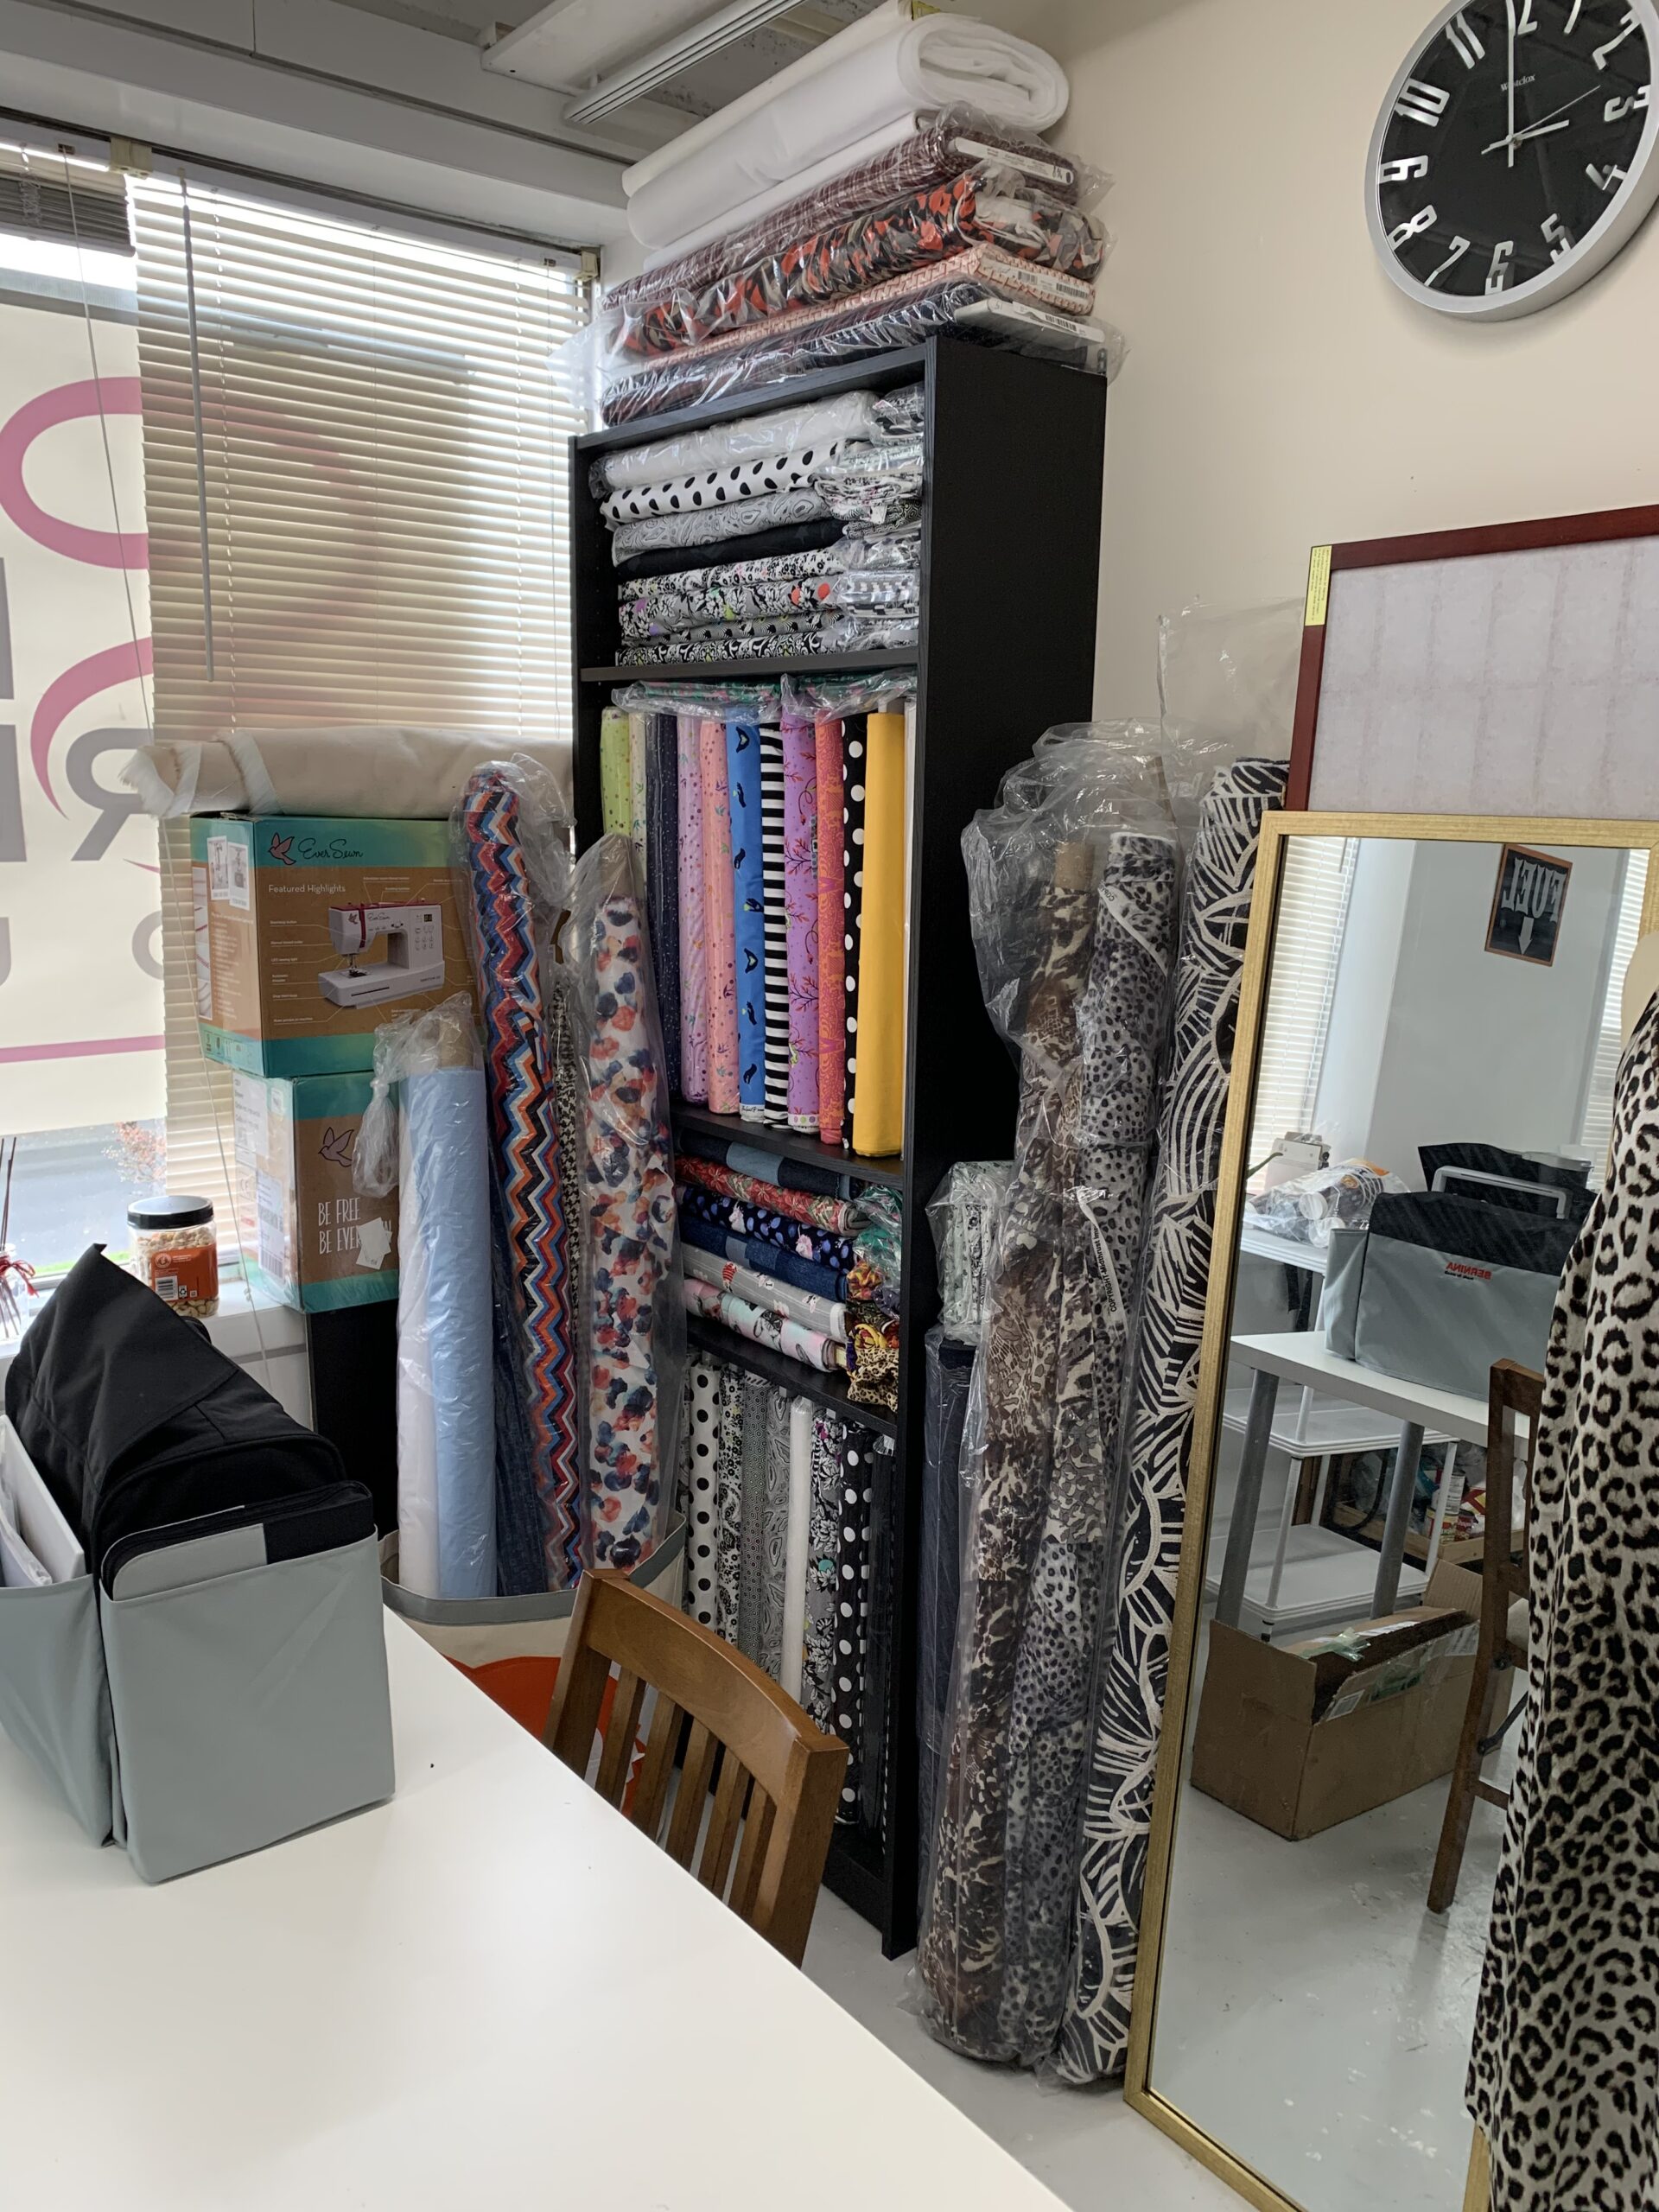
We aren’t done yet.. but here is a snapshot of the inside retail portion of the store.. We are now open for Retail Shopping and to book more classes!

We still need help though as help is still moving slow from the SBA.. and we need to fill classes!

Help Me GIFs | Tenor

We still have private classes and general classes listed below..
Groupon Coupons
Kids / Teen Classes
Bra Making Workshops Day and Weekend Workshops
Jean Making Workshops..
And our regular beginner through intermediate classes – for kids and adults


Thank you for reading and hanging in there with me all these years.. its not easy.. trying to keep up with social media, sewing for myself, and people. I hope the building part is dwindling down so we can get back to promoting and generating sales..

If you are in the area please stop by and say hi! Please share my post with others to let them know I am still here!
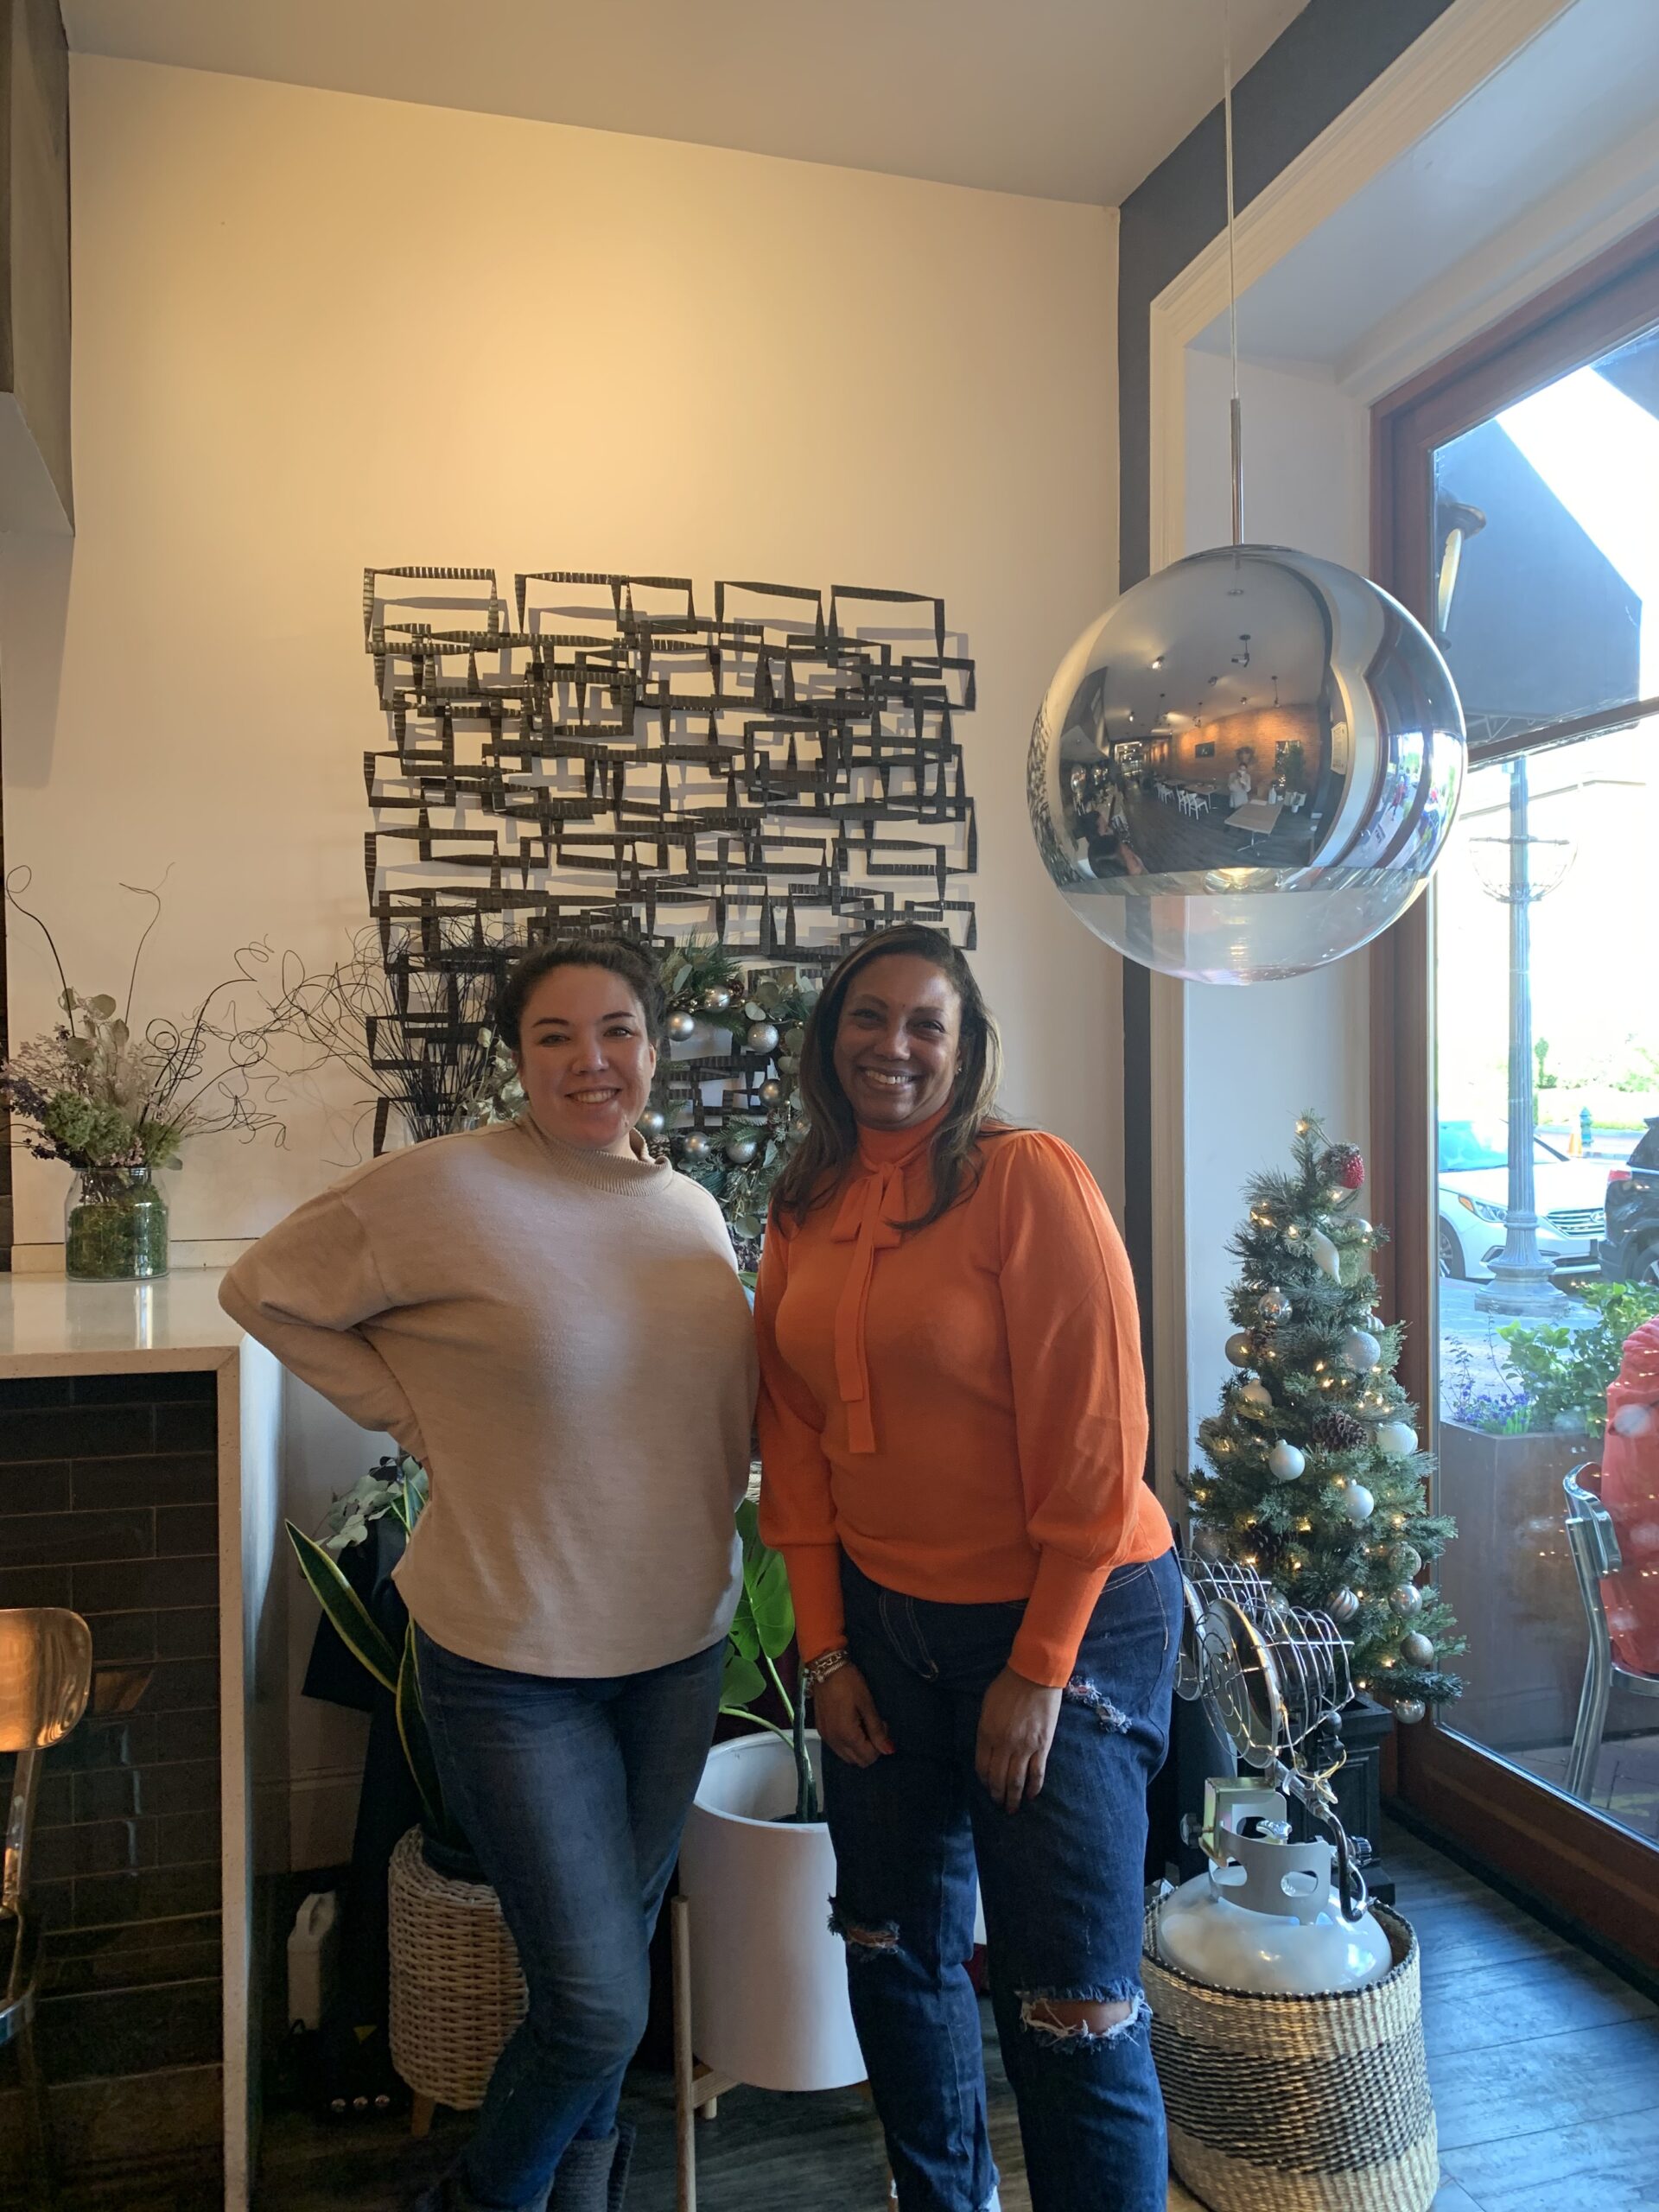
Donna and Liz

XOXOXO

Black History Month and Cricut Infusible Inks

This is a sponsored conversation written by me on behalf of Cricut. The opinions and text are all mine.

Hello and Happy New Year Welcome to 2020 and new decade!

February is  here and a very special month for me as an African-American as we celebrate Black History. Although I celebrate all year long there is extra emphasis in February.  This year I was chosen to partner with Cricut in celebrating Black History Month with this project using Cricut Infusible Inks!!

The image I chose of of a African-American women celebrating our crowns! This post will also introduce us converting an image to line drawings for use with Cricut Infusible Inks.

Materials Needed for this Project:

Lets Get Started!

1. Open Cricut and choose a new project

2. Once in the new project, navigate to the left and choose images

3. In the images search bar type in your search keywords mine are “Black History Month”

4. I choose the image “My Hair My Life My History” – I also went to templates and choose a T-shirt to see exactly how it would fit on the T-shirt.
5. Size you image to fit on the Laser paper, I sized mine to be 7.25 x 8.5.

6. Once the image is in place navigate to the menu bar and locate “Linetype”

7. In the drop down chose “Line type” and it instantly changes your drawing into line drawing.


8. Save it then send it to “Make”
9. Change your canvas size to 8.5” x 11” and mirror your image


10. Turn your machine on then click continue. Let your machine connect then choose copy paper.

11. Insert the Infusible Ink black .04 point pen into the first on the Cricut Maker and Press Go. The pen will create an outline of the image above that you can then color in with the other Infusible Inks that you wish.

12. One the image is done carefully peel the copy paper and the image off the mat. Place the paper face down and peel the mat versus peeling the paper from the mat.

13. Color in your image as you wish.. (Do not be afraid to apply color. The more the color is applied the richer your image will be. Also let it sit and go back over your colors for more saturation.)

14. Once you are done with color turn on your EasyPress 2 – in the 9 x 9 size as it’s the perfect size for T-shirts. If you forget the settings you can go to the Cricut Website Here and choose your materials and medium and it will reveal the settings: https://cricut.com/en_us/heatguide

15. For the most successful transfer there is a stacking order:
Place the EasyPress Mat down first on a heat proof setting preferably your iron board.
Inside Cricut T-shirt Blank:
Place a piece of White Cardstock (80 lb) or 4 layers butcher paper (the cardstock absorbs the ink)
Infusible Ink Pen / Marker design, face down
Butcher paper – Absorbs the ink (alternatively you can use brown paper, you will not be able to re-use it) – Results once your image is pressed

Cricut EasyPress 2

16. Be sure to use the specific recommended heat setting for each material you use. For instance: the heat settings are 385 degrees and 40 seconds and light pressure for a shirt but the settings are 400 degrees and 240 second and no pressure for the ceramic coasters.

17. Once the image has cooled you may lift the butcher paper and reveal your beautiful project!

I did some coasters as well!

Friendly Tips and Reminders!

  • Do not hesitate to read the instructions several times
  • Do use the specific materials as indicated – laser paper, Cricut Infusible Inks, Cricut shirt, butcher paper (or brown paper), card stock, and Cricut EasyPress 2.


“This blog accepts forms of cash advertising, sponsorship, paid insertions, and / or other forms of compensation. The compensation received may influence the content, topics or posts made in this blog. All advertising is in the form of advertisements generated by a third party ad network. Those advertisements will be identified as paid advertisements.”


de945714fa746b54af1f32a46e195ef078cdf643d74fc07dee

Gold Foil, Leather, and a Baby Easy Press 2

Howdy!

Last year when the Cricut Maker arrived on the market, I was chosen to an influencer of the brand because I am a seamstress and I blog about it. Previously, I have done quick projects on Instagram and Facebook but now I am venturing into other ways to promote myself as well as the brand!

The Cricut Maker is a phenomenal little machine! This amazing machine can cut all sorts of mediums from tissue paper to wood (yes wood with the knife blade) to fabric (with out backing) to leather — Yes you heard me leather!

Today’s post will combine all efforts of the Cricut Maker, the NEW EASY PRESS 2, and some of Cricut’s useful tools.

The Easy Press 2 comes in three sizes:
-Small 6”x 7” size I call it the “baby”. Uses would be think Onesies, baby bibs, cosmetic bags, etc.
-The original 9”x 9” size; think uses T-shirts and tote bags, and;
-Large 10”x 12” size, think BIG uses for it blankets, beach umbrellas, and banners!

In this blog post we will create a small leather clutch using the small size Easy Press, the Cricut Maker, and add Cricut’s Iron-On Foil as an added personalization.

Having your items Personalized now is all the rage! Everyone wants something unique to represent their lifestyle, family, or even their name. Its a good way to learn new techniques and have something all your own and they make good gifts as well.

Here is what the final project will look similar to this once we are done.

You will need the following supplies for this project:

Cricut Maker
Easy Press Small
Small Leather Hide 4-5 ounce weight
Cricut Iron-On Foil
Cricut Heavy Grip Mat
Cricut Knife Blade
Rotary Cutter or Knife
Optional: Tweezers for removing Leather
Teflon Mat (option: cotton cloth)
7″ Metal Zipper
Leather Glue
This Cricut File (will only work on Cricut)

Next, take your piece of leather and cut it to size 8″ x 12″ and place it on the heavy grip mat.

You can add tape to the top and bottom of the mat to secure it in place.

Open the Cricut File, it should already be set up to look like this

If the Main File (clutch) is set-up to size 7.5″ to 5.5″ you just need to proceed with adding the personalization of your name or initials.. In this case to receive the best result you will use the Font – Impact with a size height of about .75 and reducing the letter spacing to 0.2 and the font size of about 30 – the complete set-up is below:

Once done with both you can hide the text and proceed to set-up the cutting mat, here you will change your blade to the knife blade and choose Genuine Leather.  If you aren’t aware on how to do that here is a quick 31 video to show you:

I would test out my cut first on card stock — Just to see how it cuts.. You don’t want to ruin your piece of leather if you have a limited supply.  Here is a sample cut:

Now you can cut the real thing..

Once your cut is complete you may see the following message:

You can proceed to cut your personalized foil as you will apply the foil to one side of the clutch prior to the zipper and sewing the whole unit together:

Weed your Foil, get out your Easy Press, and Mat

We will now place the cut on in the middle of one of the leather pieces and measure about .75 or 3/4″ from the top and mark the center very lightly.

You will now Easy Press the foil onto the leather. Cover with the cotton piece, then the Teflon piece. Set your heat press to 375 degrees and 30 seconds. You may need to press this TWICE. Let the foil and the leather cool between each PRESS. You may see a slight bit of steam but don’t be alarmed.


Your foiled piece will appear like this on the leather:

You can now place the zipper, center it right at the mark you made on you clutch. Then add a few dots of the leather glue on the zipper tape staying clear of the teeth.  Adhere the zipper leather over top of the teeth, align both sides, let it dry for about 10 minutes, then proceed with sewing your clutch together:

Use your zipper foot and align the edge of the foot right with the edge of the leather, when you get close to the top of the zipper; unzip it a bit so you have a smooth sewing area of the zipper. Flip it over and sew the other side the same way.

Once you are done with that, close the clutch right sides together and begin sewing each side right at the zipper tape using the same zipper foot. Be careful around the curve and be sure you leave enough seam allowance to trim and turn. Once you have the seams sewn, you will want to pound the edges a bit so the

Be very careful clipping the rounded corners, you don’t want to snip a thread — Guess who did that the first time 🙁

Anyway when you are done clipping and turning your final result will look similar.  Don’t worry if your is not exactly like mine — leather can be challenging but not difficult. You need to sew slower than with regular fabric. Leather is thicker and it can drag a bit but just sew slow and you will have a beautiful product to keep or give as a gift!

You leather will soften over time of use and wear.. right now its pretty new so the seams are stiff..

Congrats on working with your first piece of leather!


This is a sponsored conversation written by me on behalf of Cricut. The opinions and text are all mine.

Verified by ExactMetrics