Tag: #sewing

Gold Foil, Leather, and a Baby Easy Press 2

Howdy!

Last year when the Cricut Maker arrived on the market, I was chosen to an influencer of the brand because I am a seamstress and I blog about it. Previously, I have done quick projects on Instagram and Facebook but now I am venturing into other ways to promote myself as well as the brand!
The Cricut Maker is a phenomenal little machine! This amazing machine can cut all sorts of mediums from tissue paper to wood (yes wood with the knife blade) to fabric (with out backing) to leather — Yes you heard me leather!

Today’s post will combine all efforts of the Cricut Maker, the NEW EASY PRESS 2, and some of Cricut’s useful tools.

The Easy Press 2 comes in three sizes:
-Small 6”x 7” size I call it the “baby”. Uses would be think Onesies, baby bibs, cosmetic bags, etc.
-The original 9”x 9” size; think uses T-shirts and tote bags, and;
-Large 10”x 12” size, think BIG uses for it blankets, beach umbrellas, and banners!
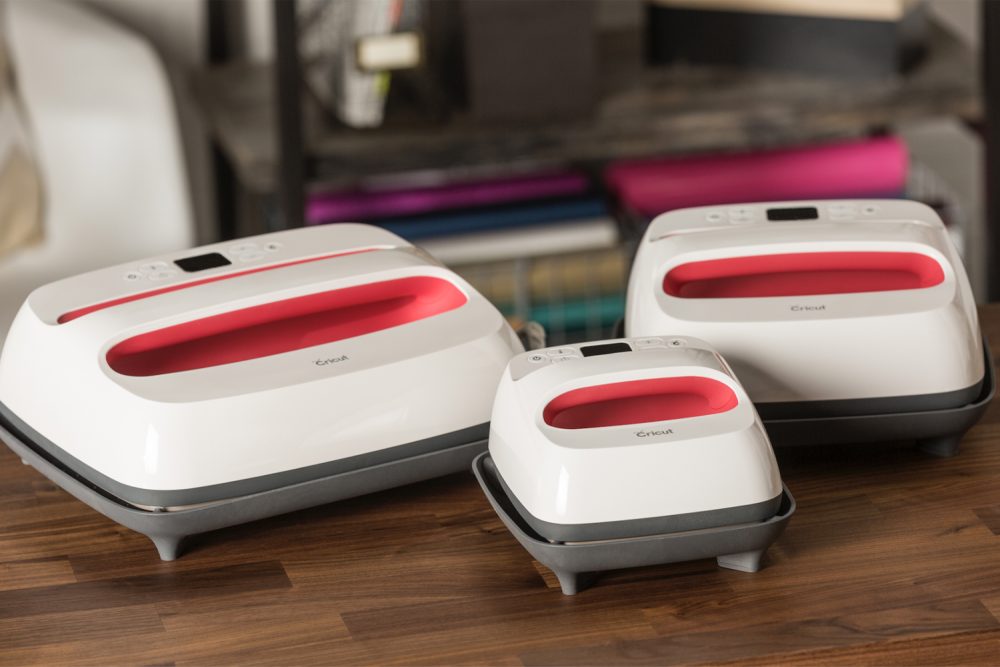
In this blog post we will create a small leather clutch using the small size Easy Press, the Cricut Maker, and add Cricut’s Iron-On Foil as an added personalization.

Having your items Personalized now is all the rage! Everyone wants something unique to represent their lifestyle, family, or even their name. Its a good way to learn new techniques and have something all your own and they make good gifts as well.

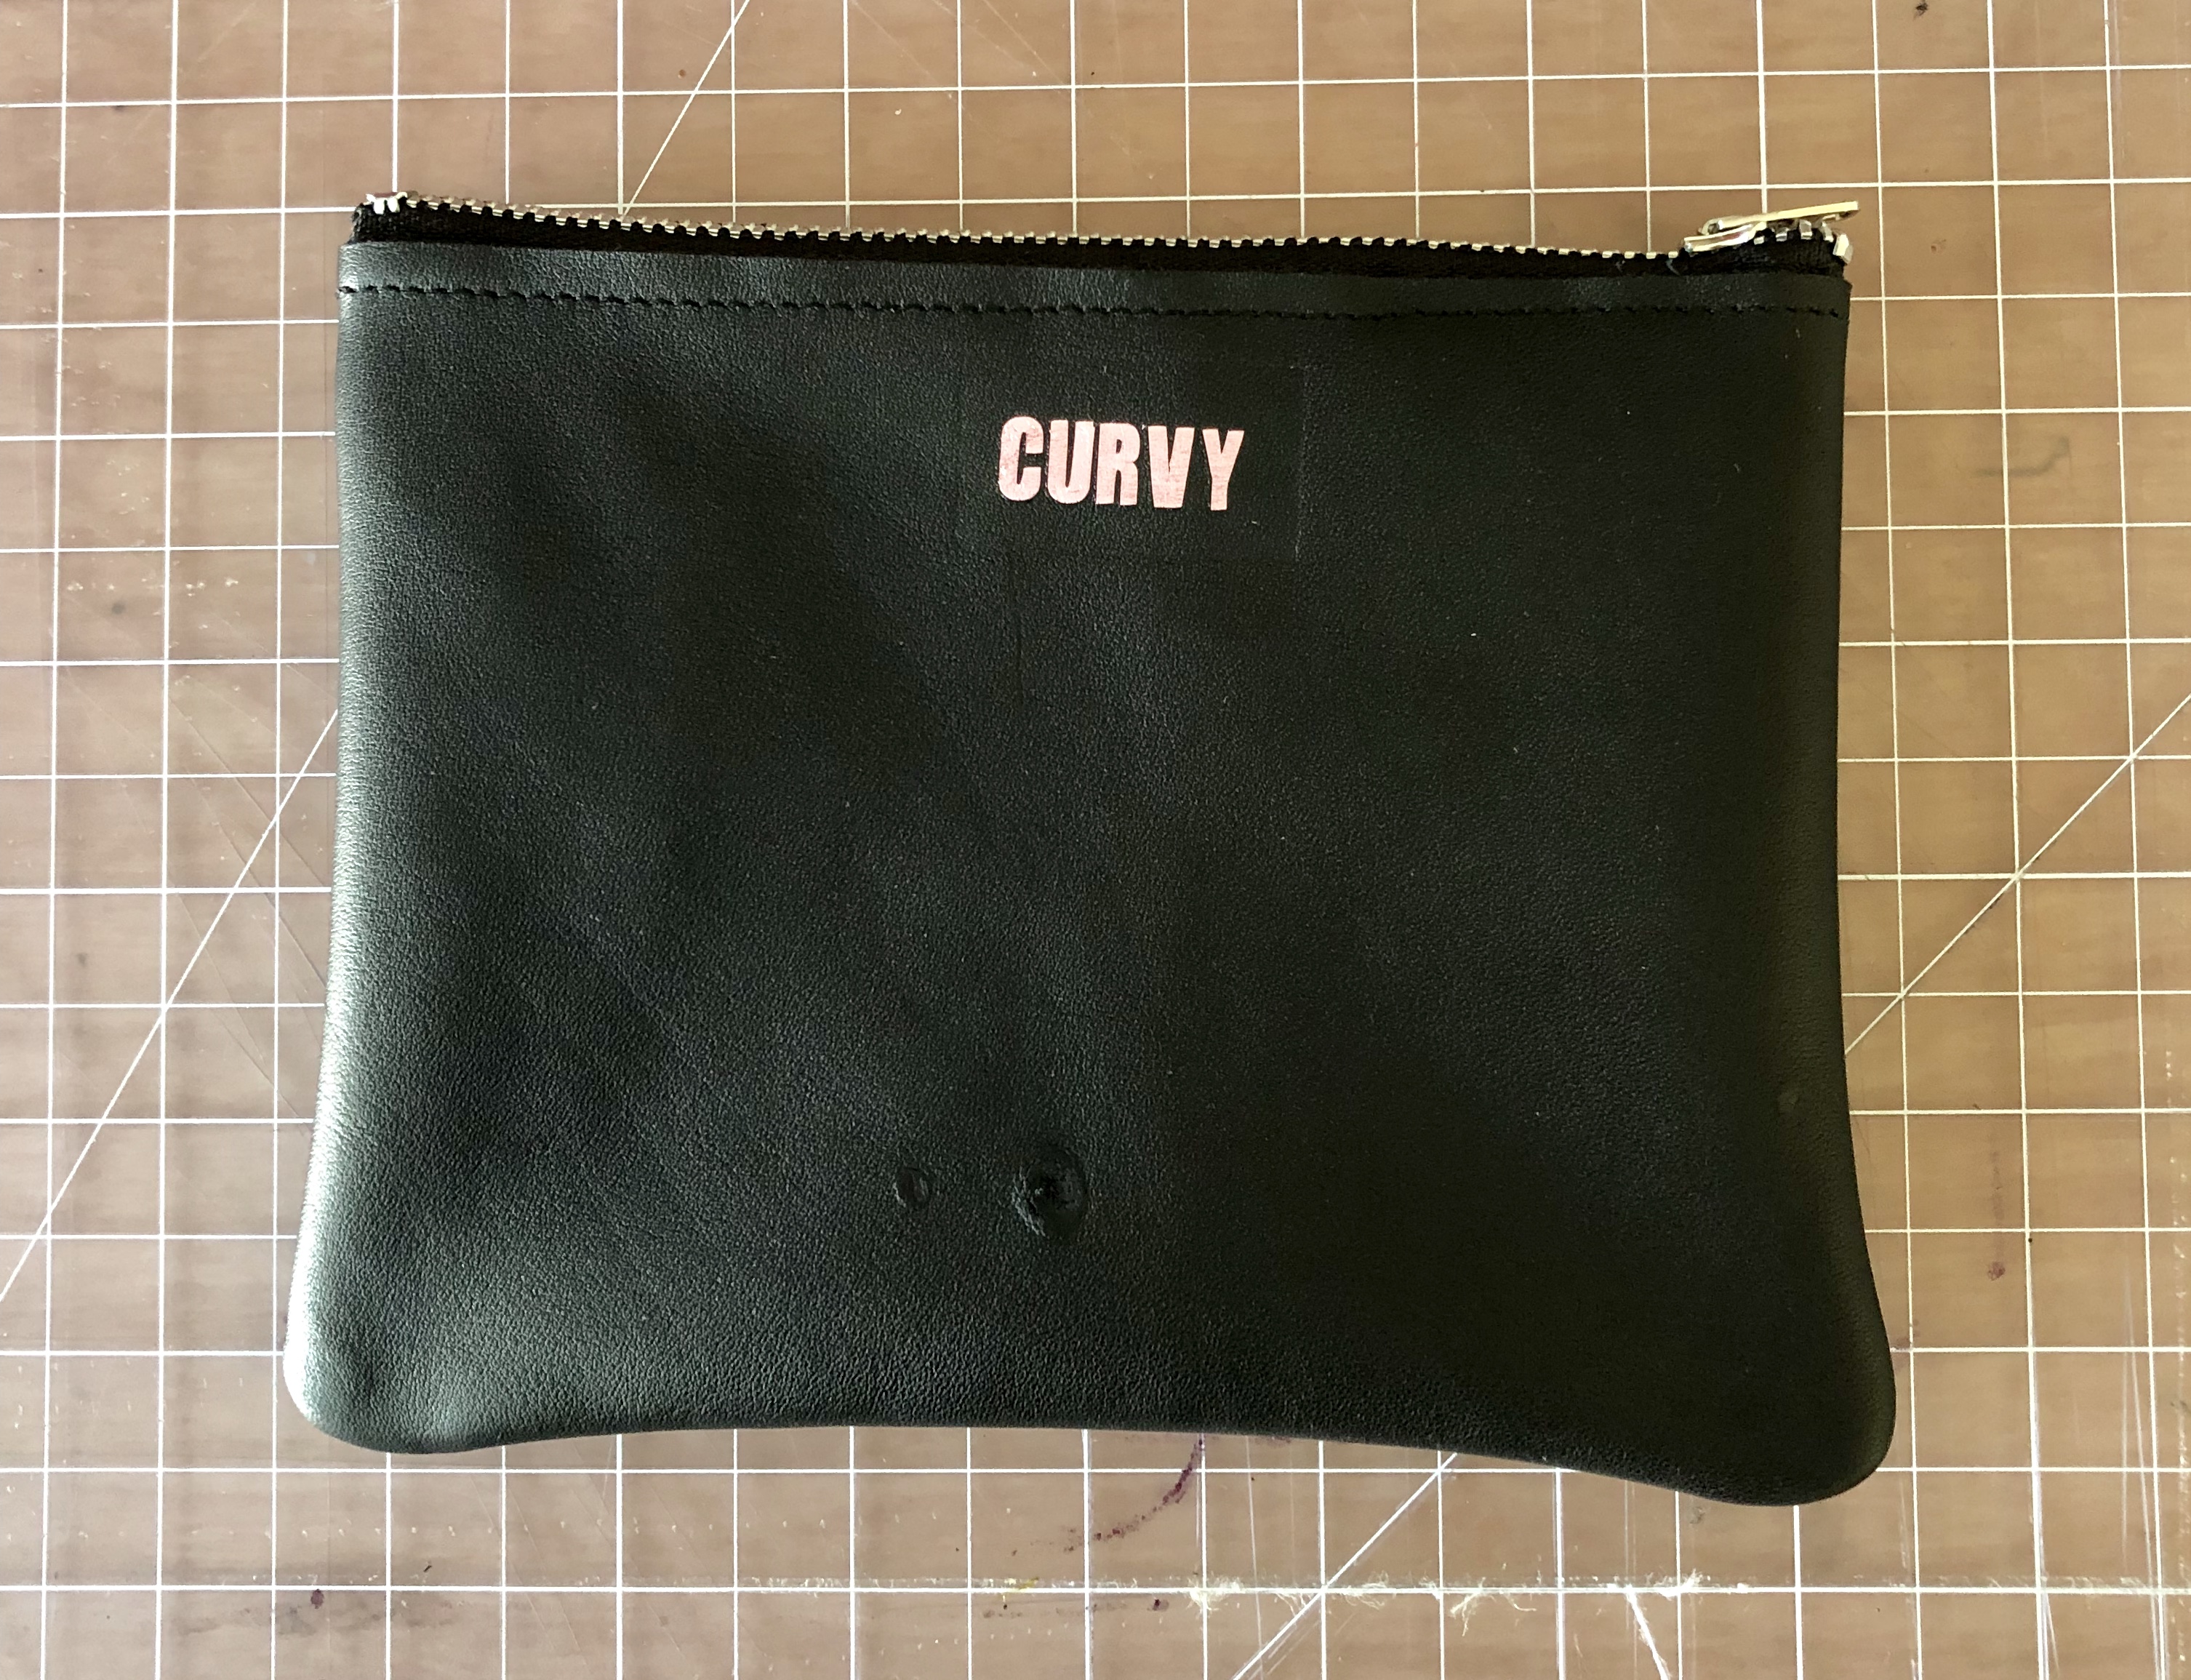
Here is what the final project will look similar to this once we are done.
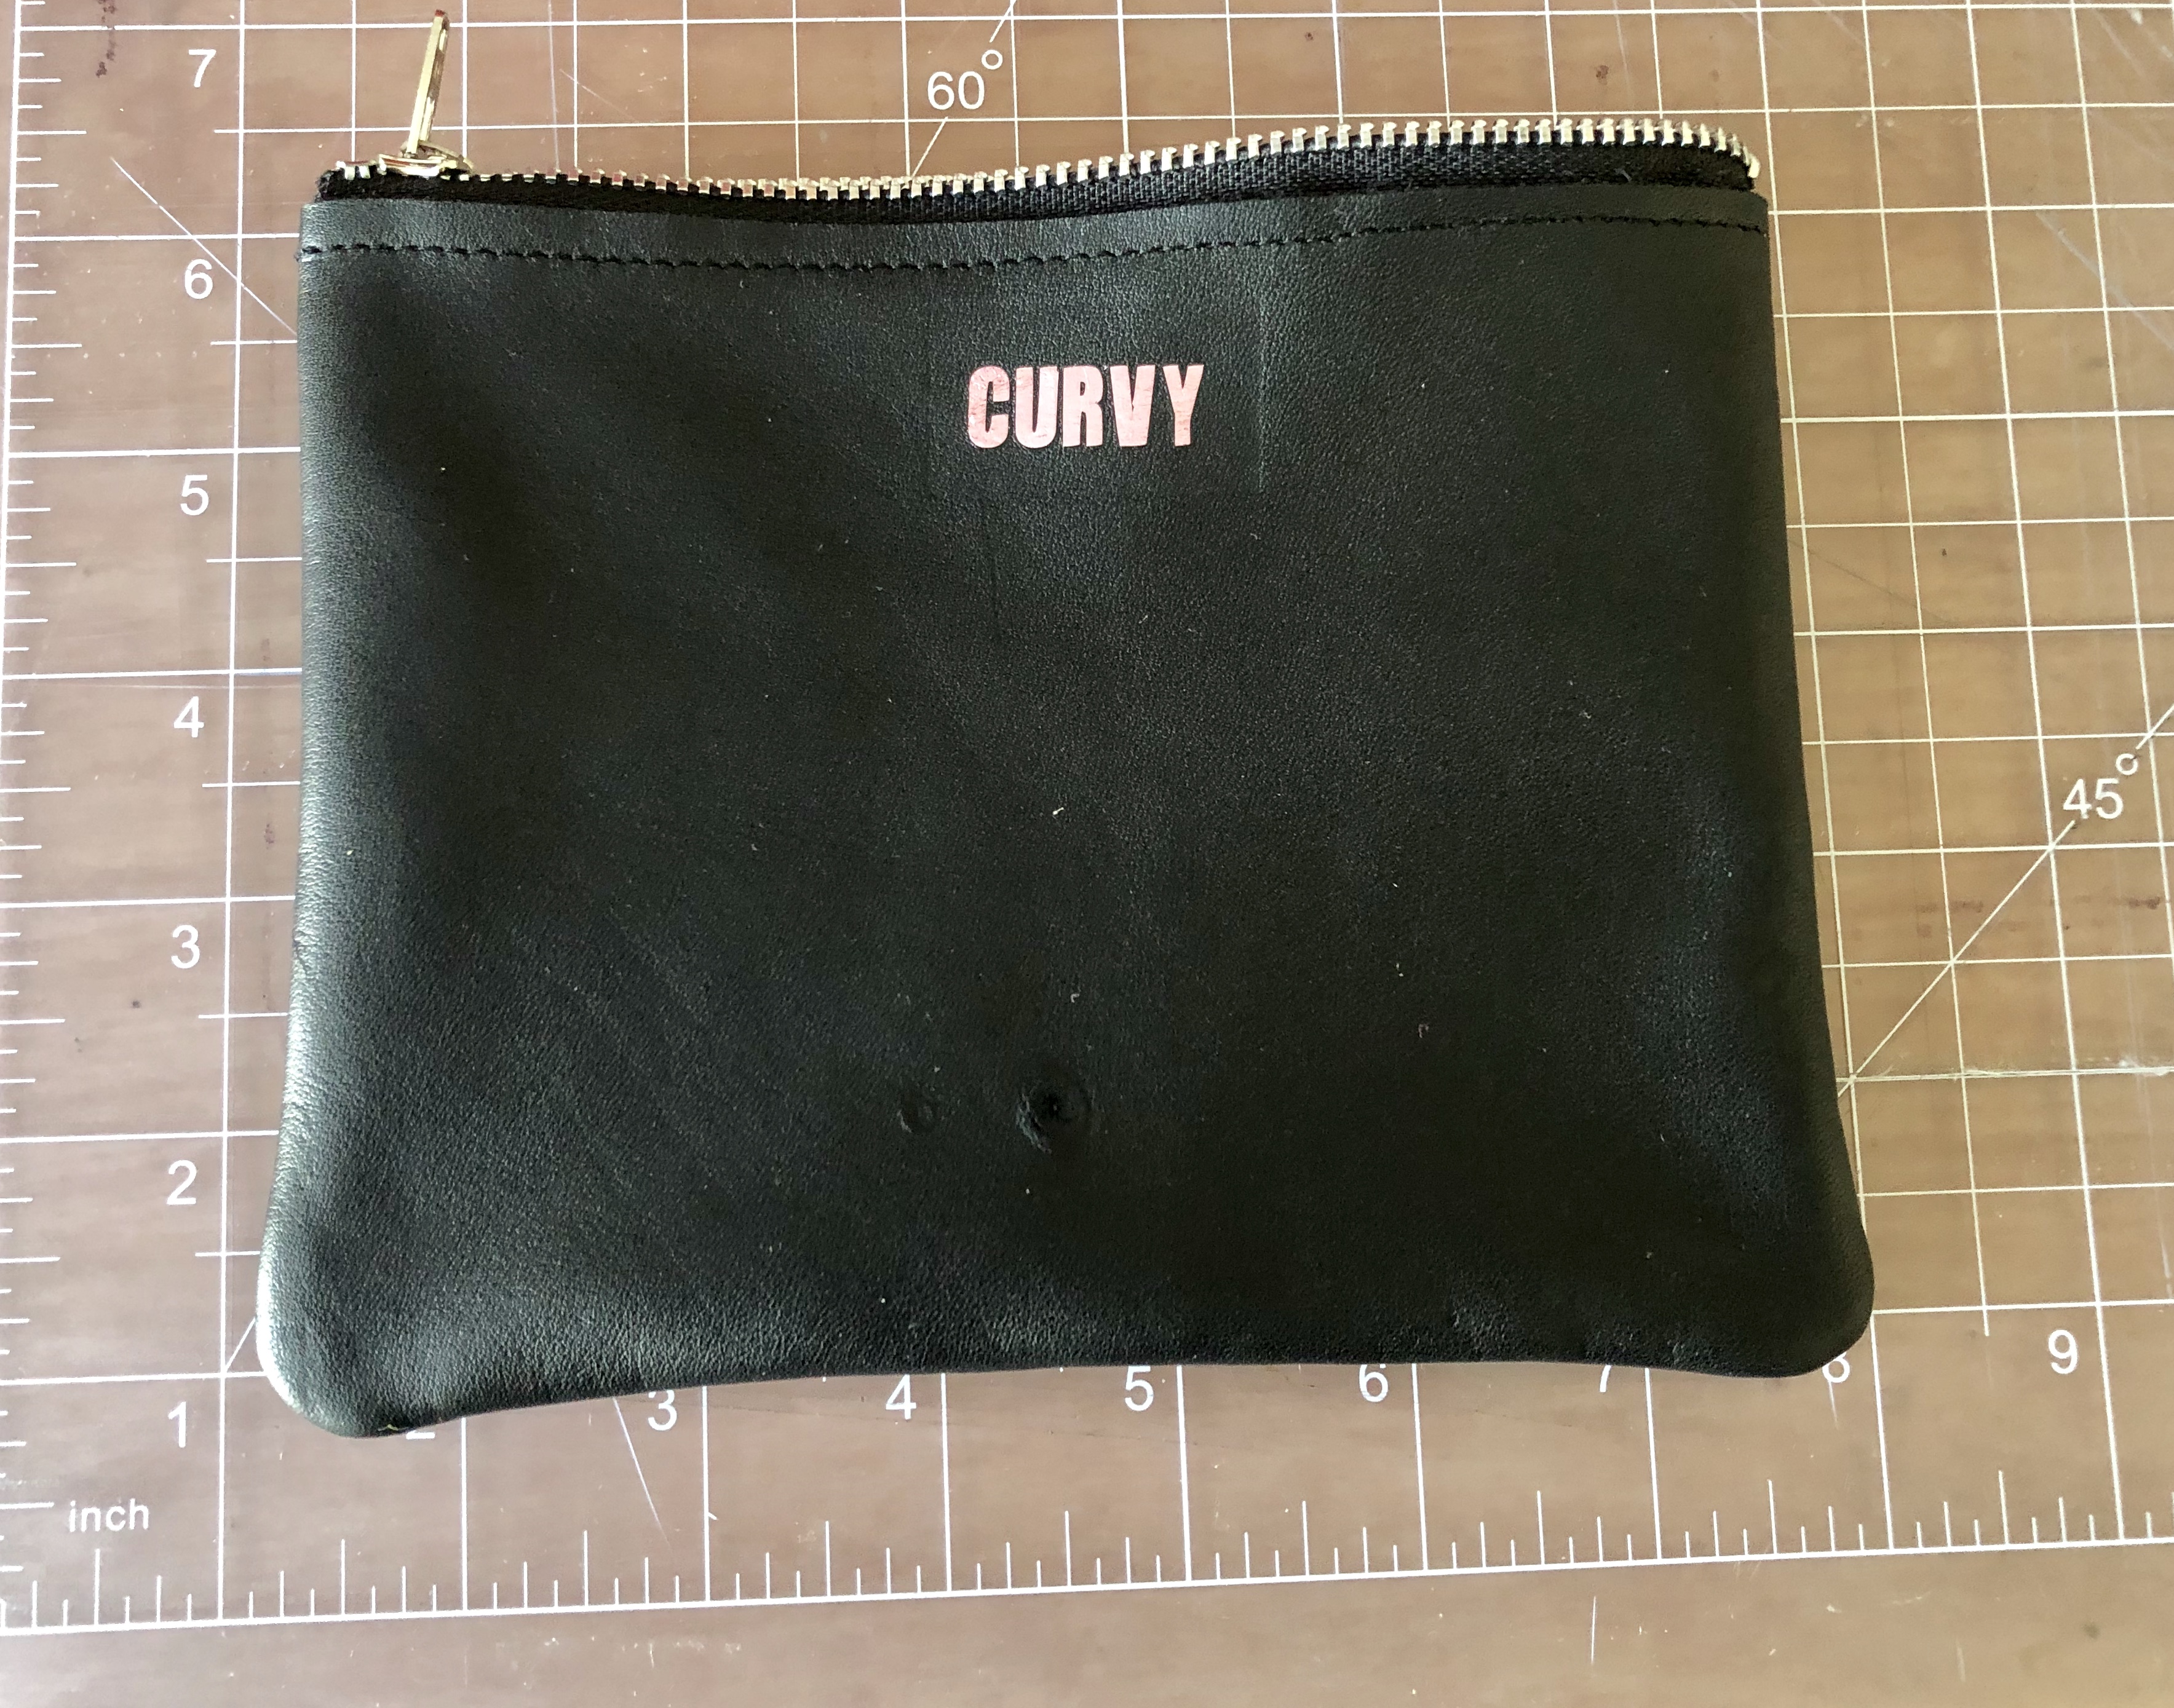
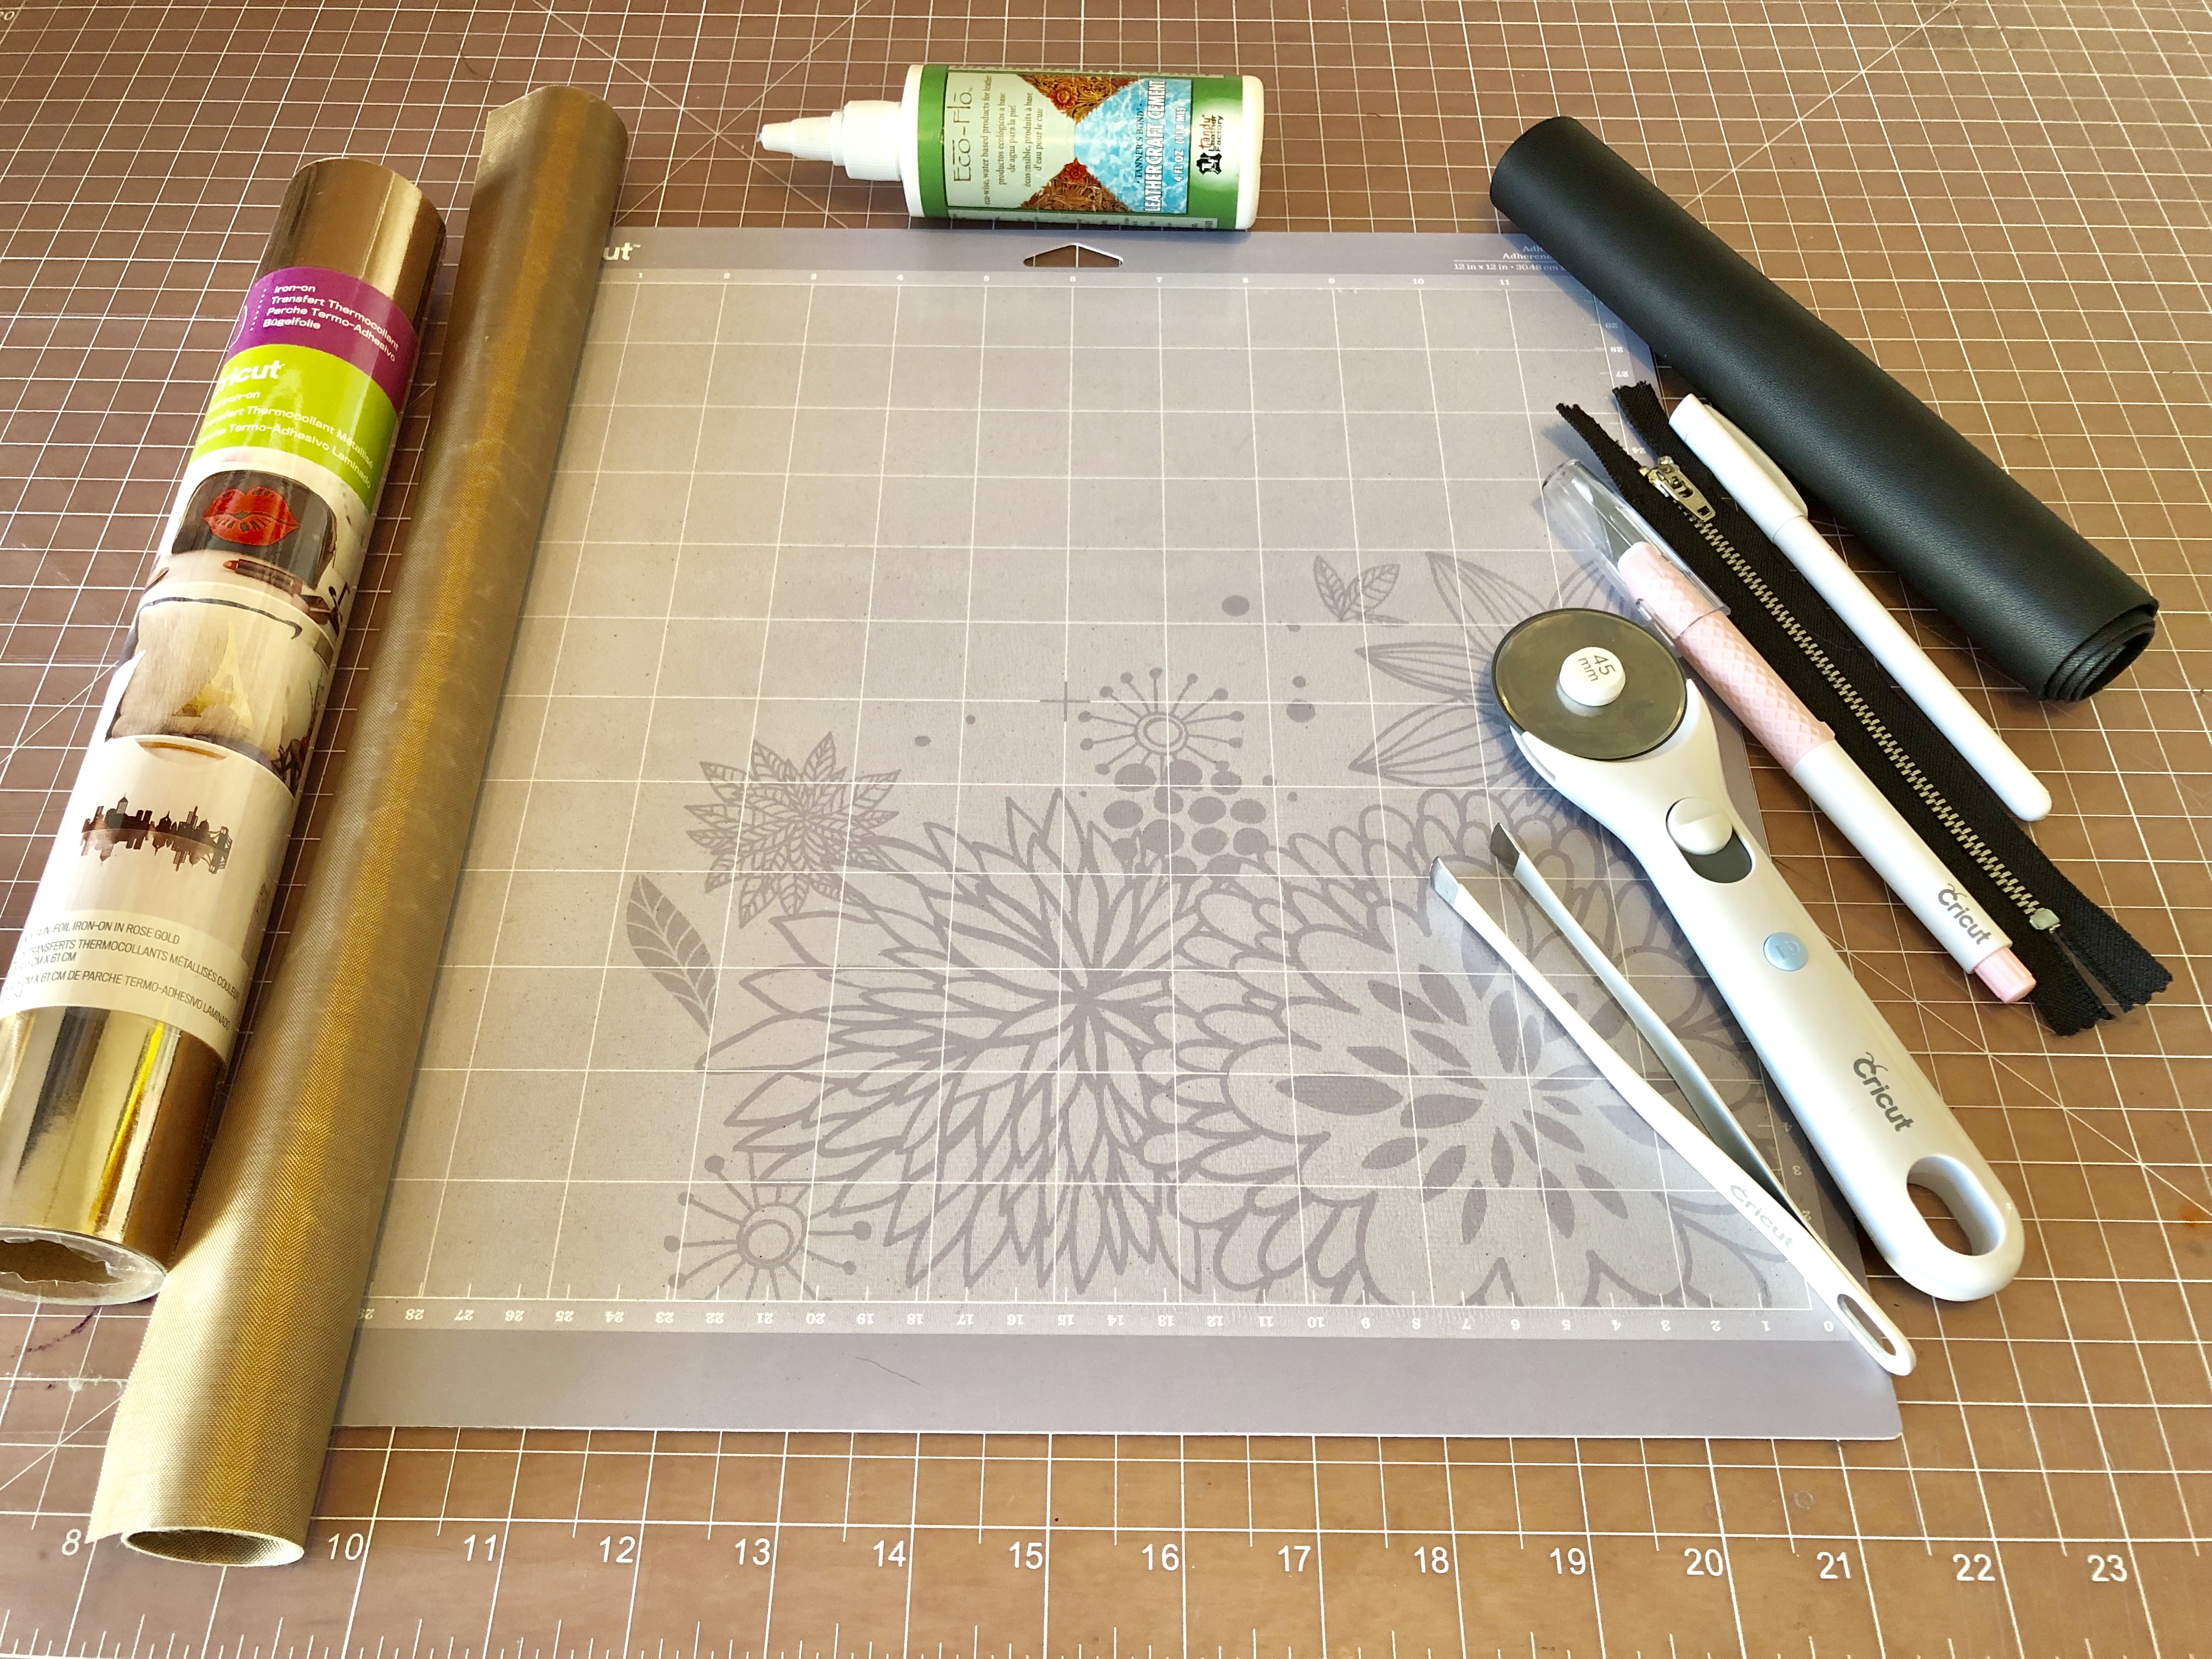
You will need the following supplies for this project:

Cricut Maker
Easy Press Small
Small Leather Hide 4-5 ounce weight
Cricut Iron-On Foil
Cricut Heavy Grip Mat
Cricut Knife Blade
Rotary Cutter or Knife
Optional: Tweezers for removing Leather
Teflon Mat (option: cotton cloth)
7″ Metal Zipper
Leather Glue
This Cricut File (will only work on Cricut)
Next, take your piece of leather and cut it to size 8″ x 12″ and place it on the heavy grip mat.
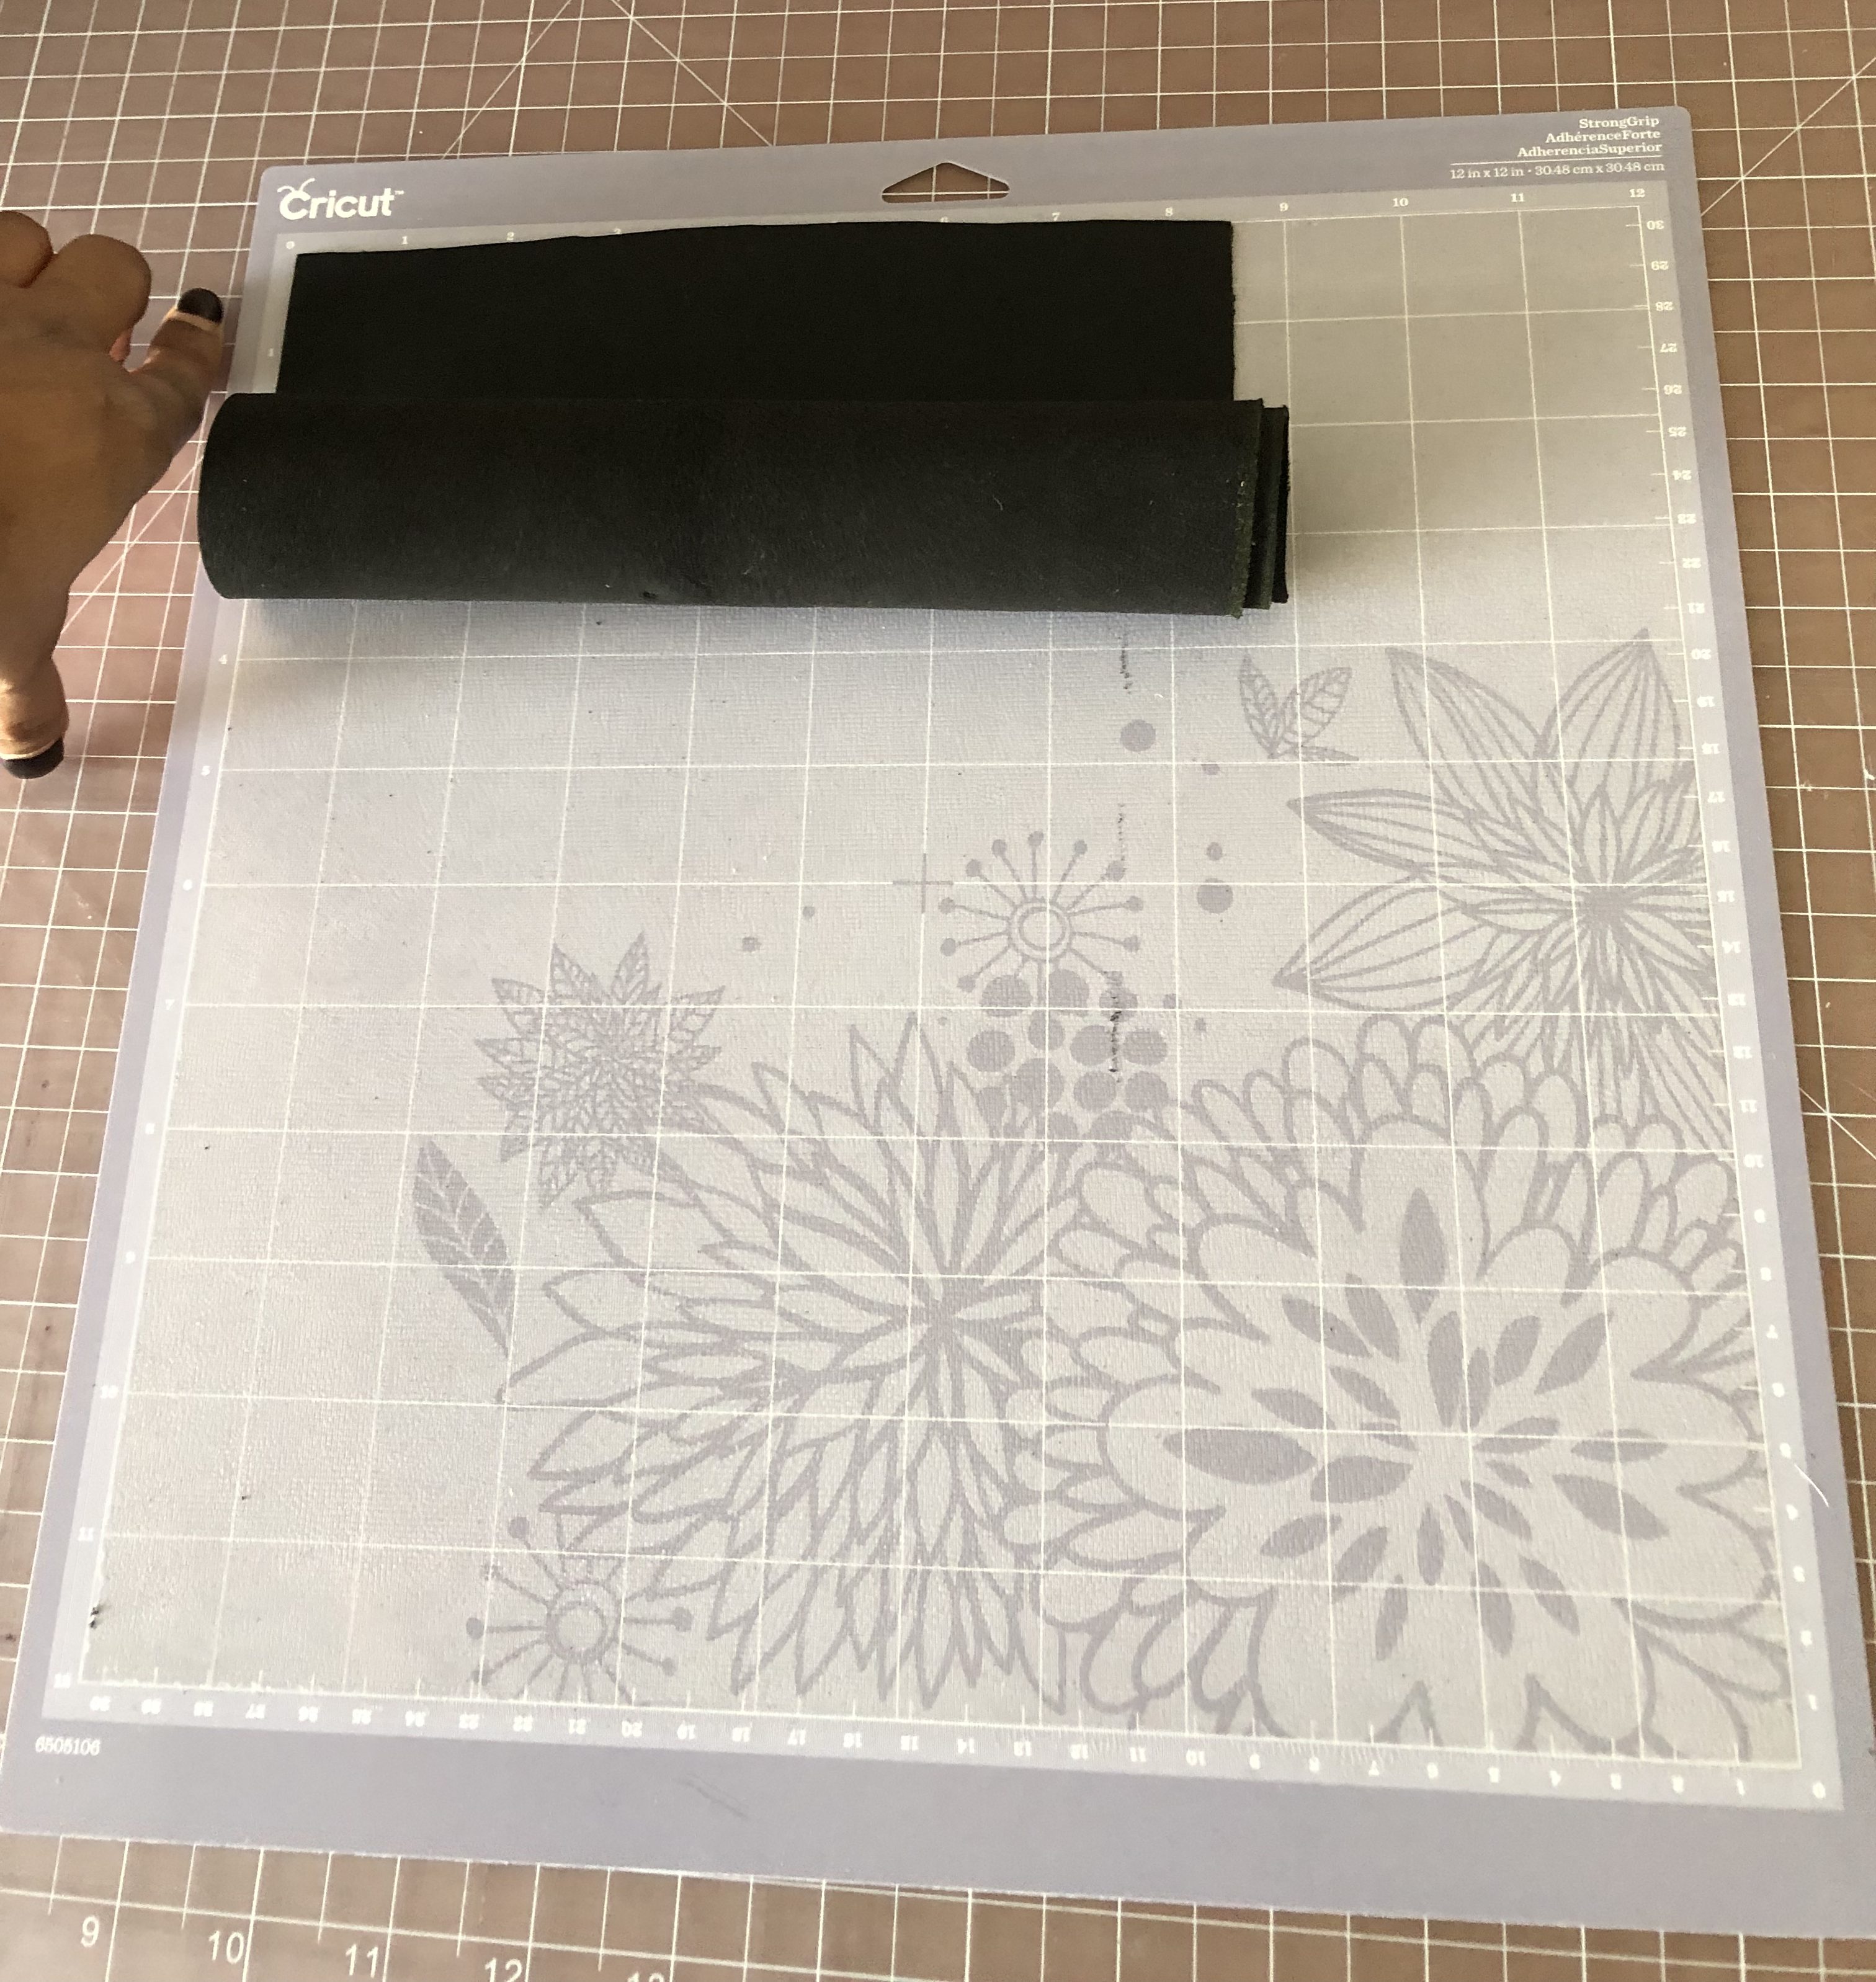
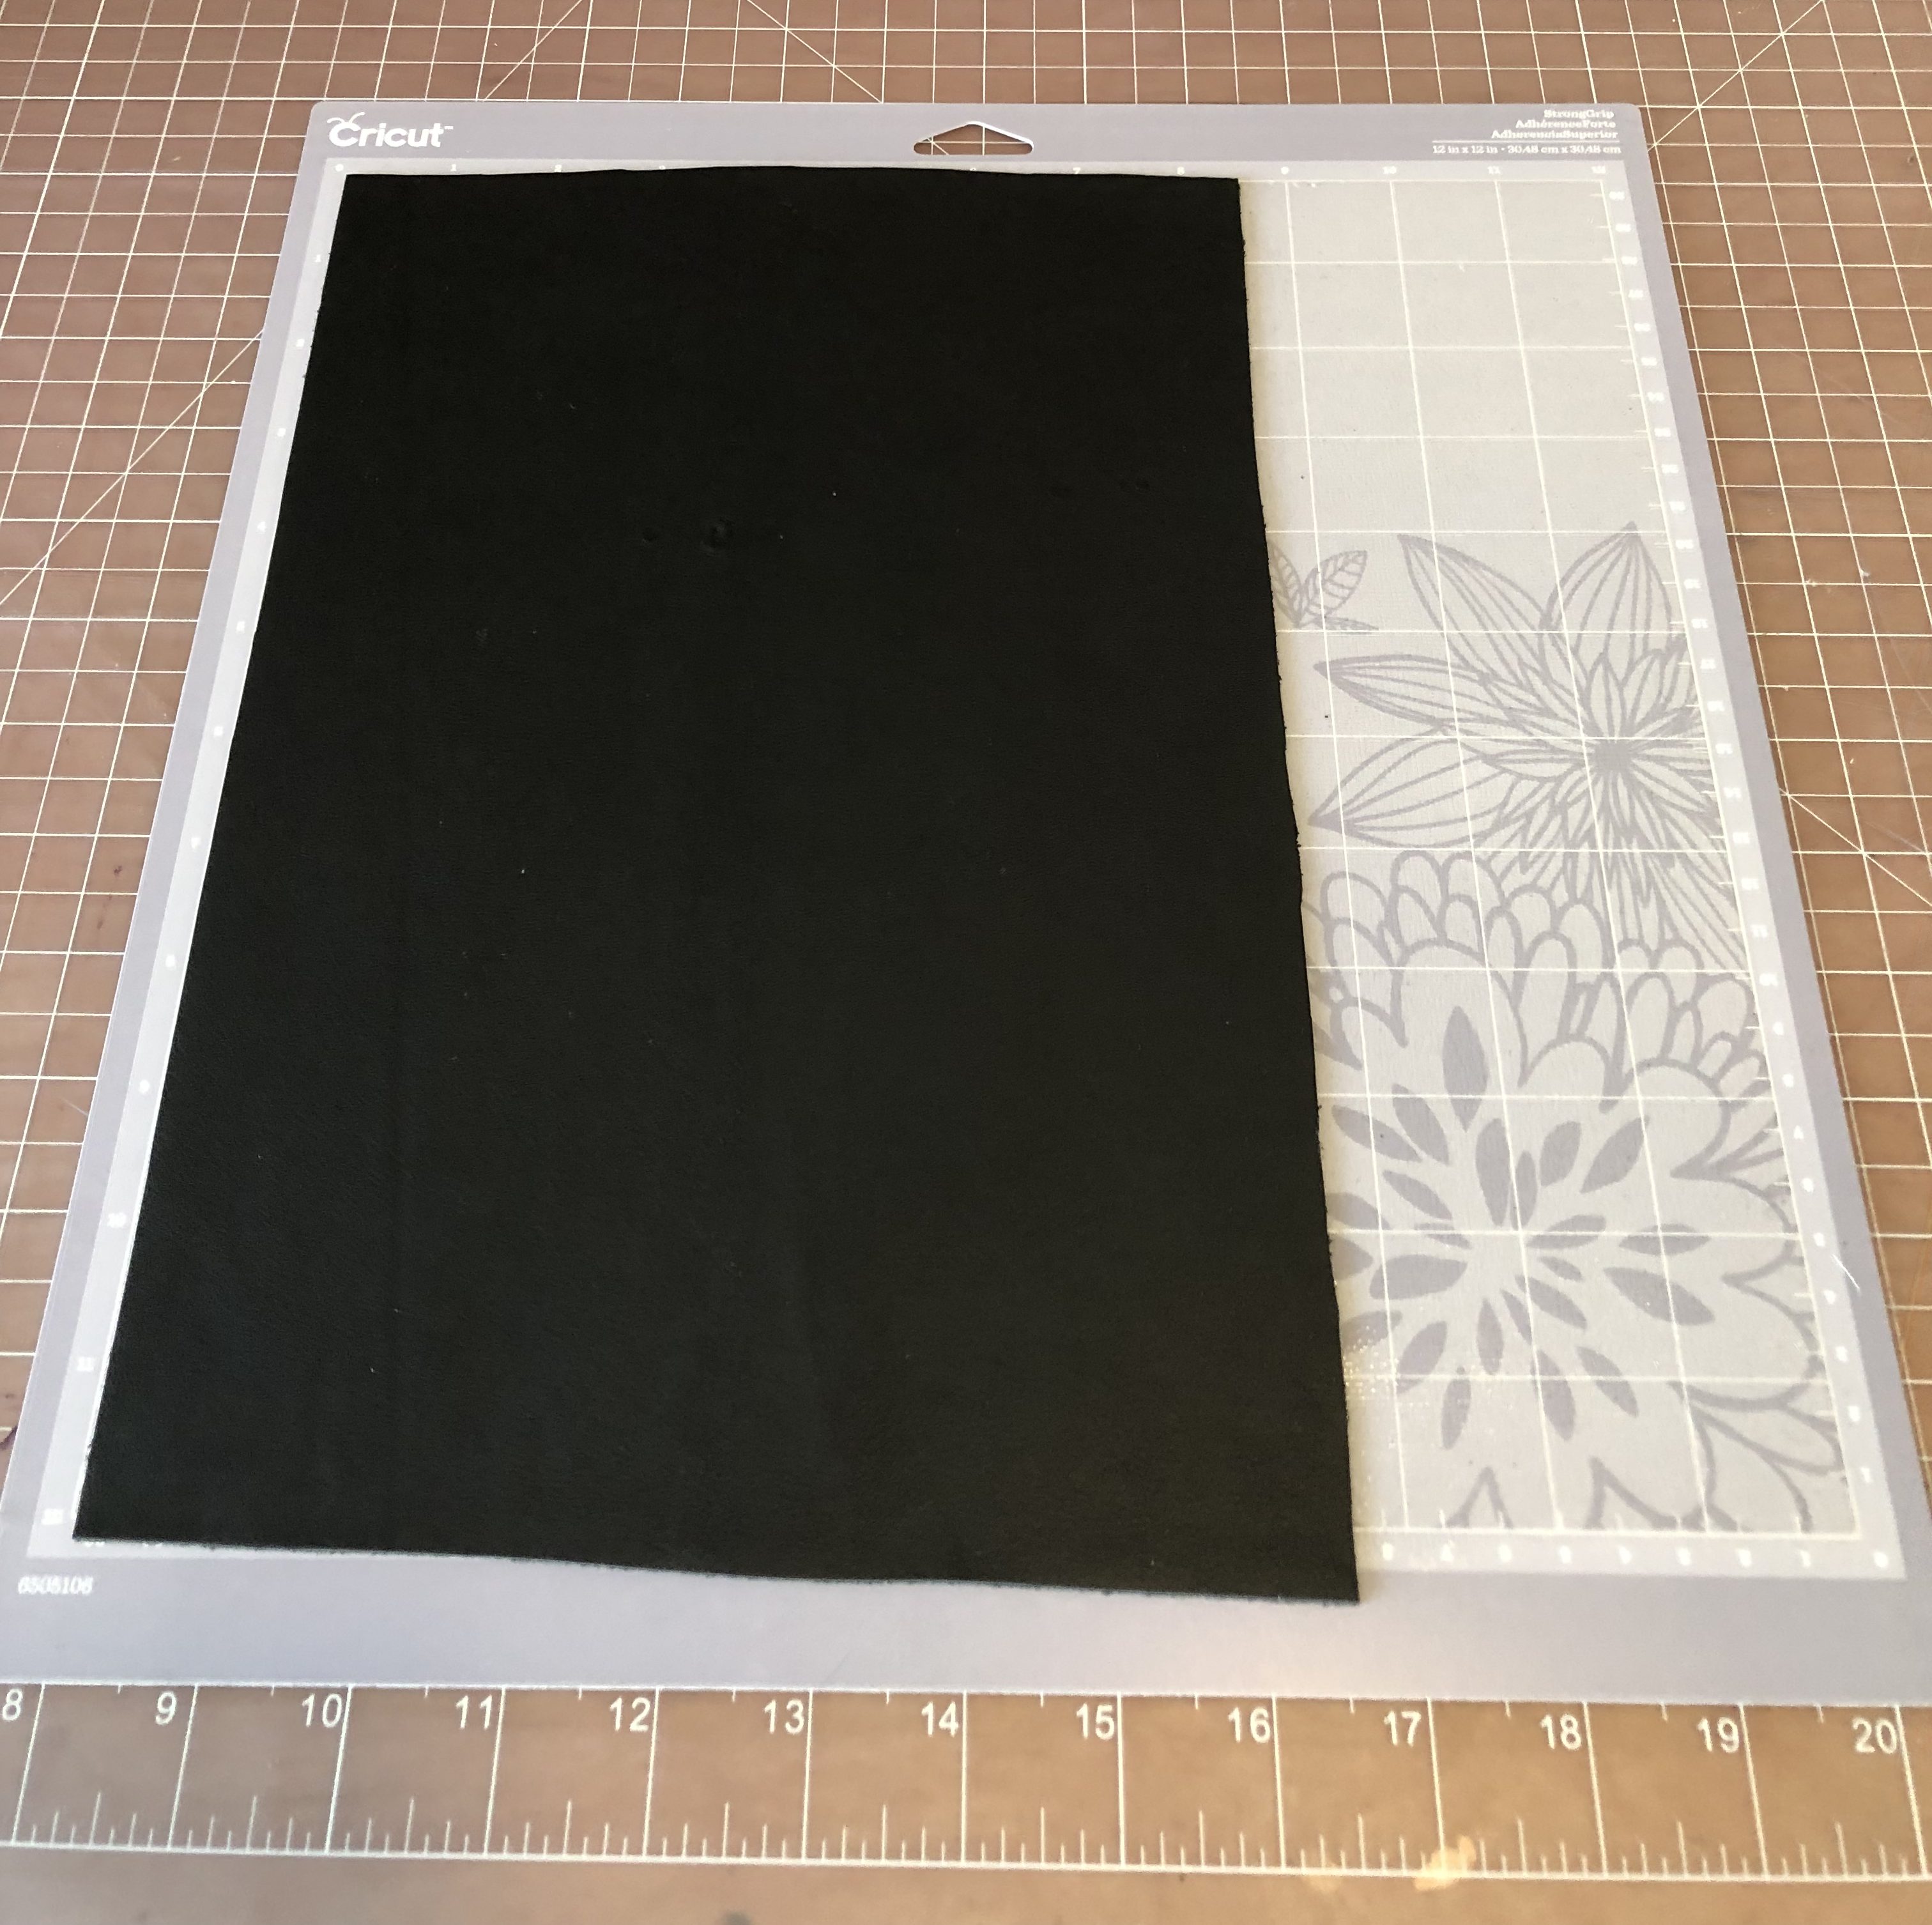
You can add tape to the top and bottom of the mat to secure it in place.

Open the Cricut File, it should already be set up to look like this
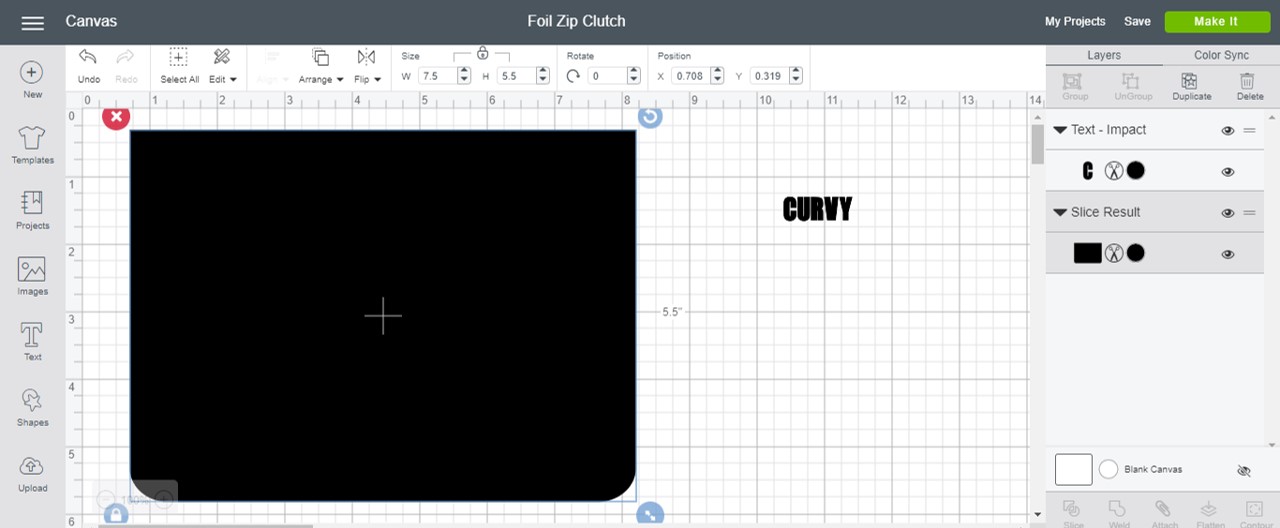
If the Main File (clutch) is set-up to size 7.5″ to 5.5″ you just need to proceed with adding the personalization of your name or initials.. In this case to receive the best result you will use the Font – Impact with a size height of about .75 and reducing the letter spacing to 0.2 and the font size of about 30 – the complete set-up is below:

Once done with both you can hide the text and proceed to set-up the cutting mat, here you will change your blade to the knife blade and choose Genuine Leather.  If you aren’t aware on how to do that here is a quick 31 video to show you:

I would test out my cut first on card stock — Just to see how it cuts.. You don’t want to ruin your piece of leather if you have a limited supply.  Here is a sample cut:
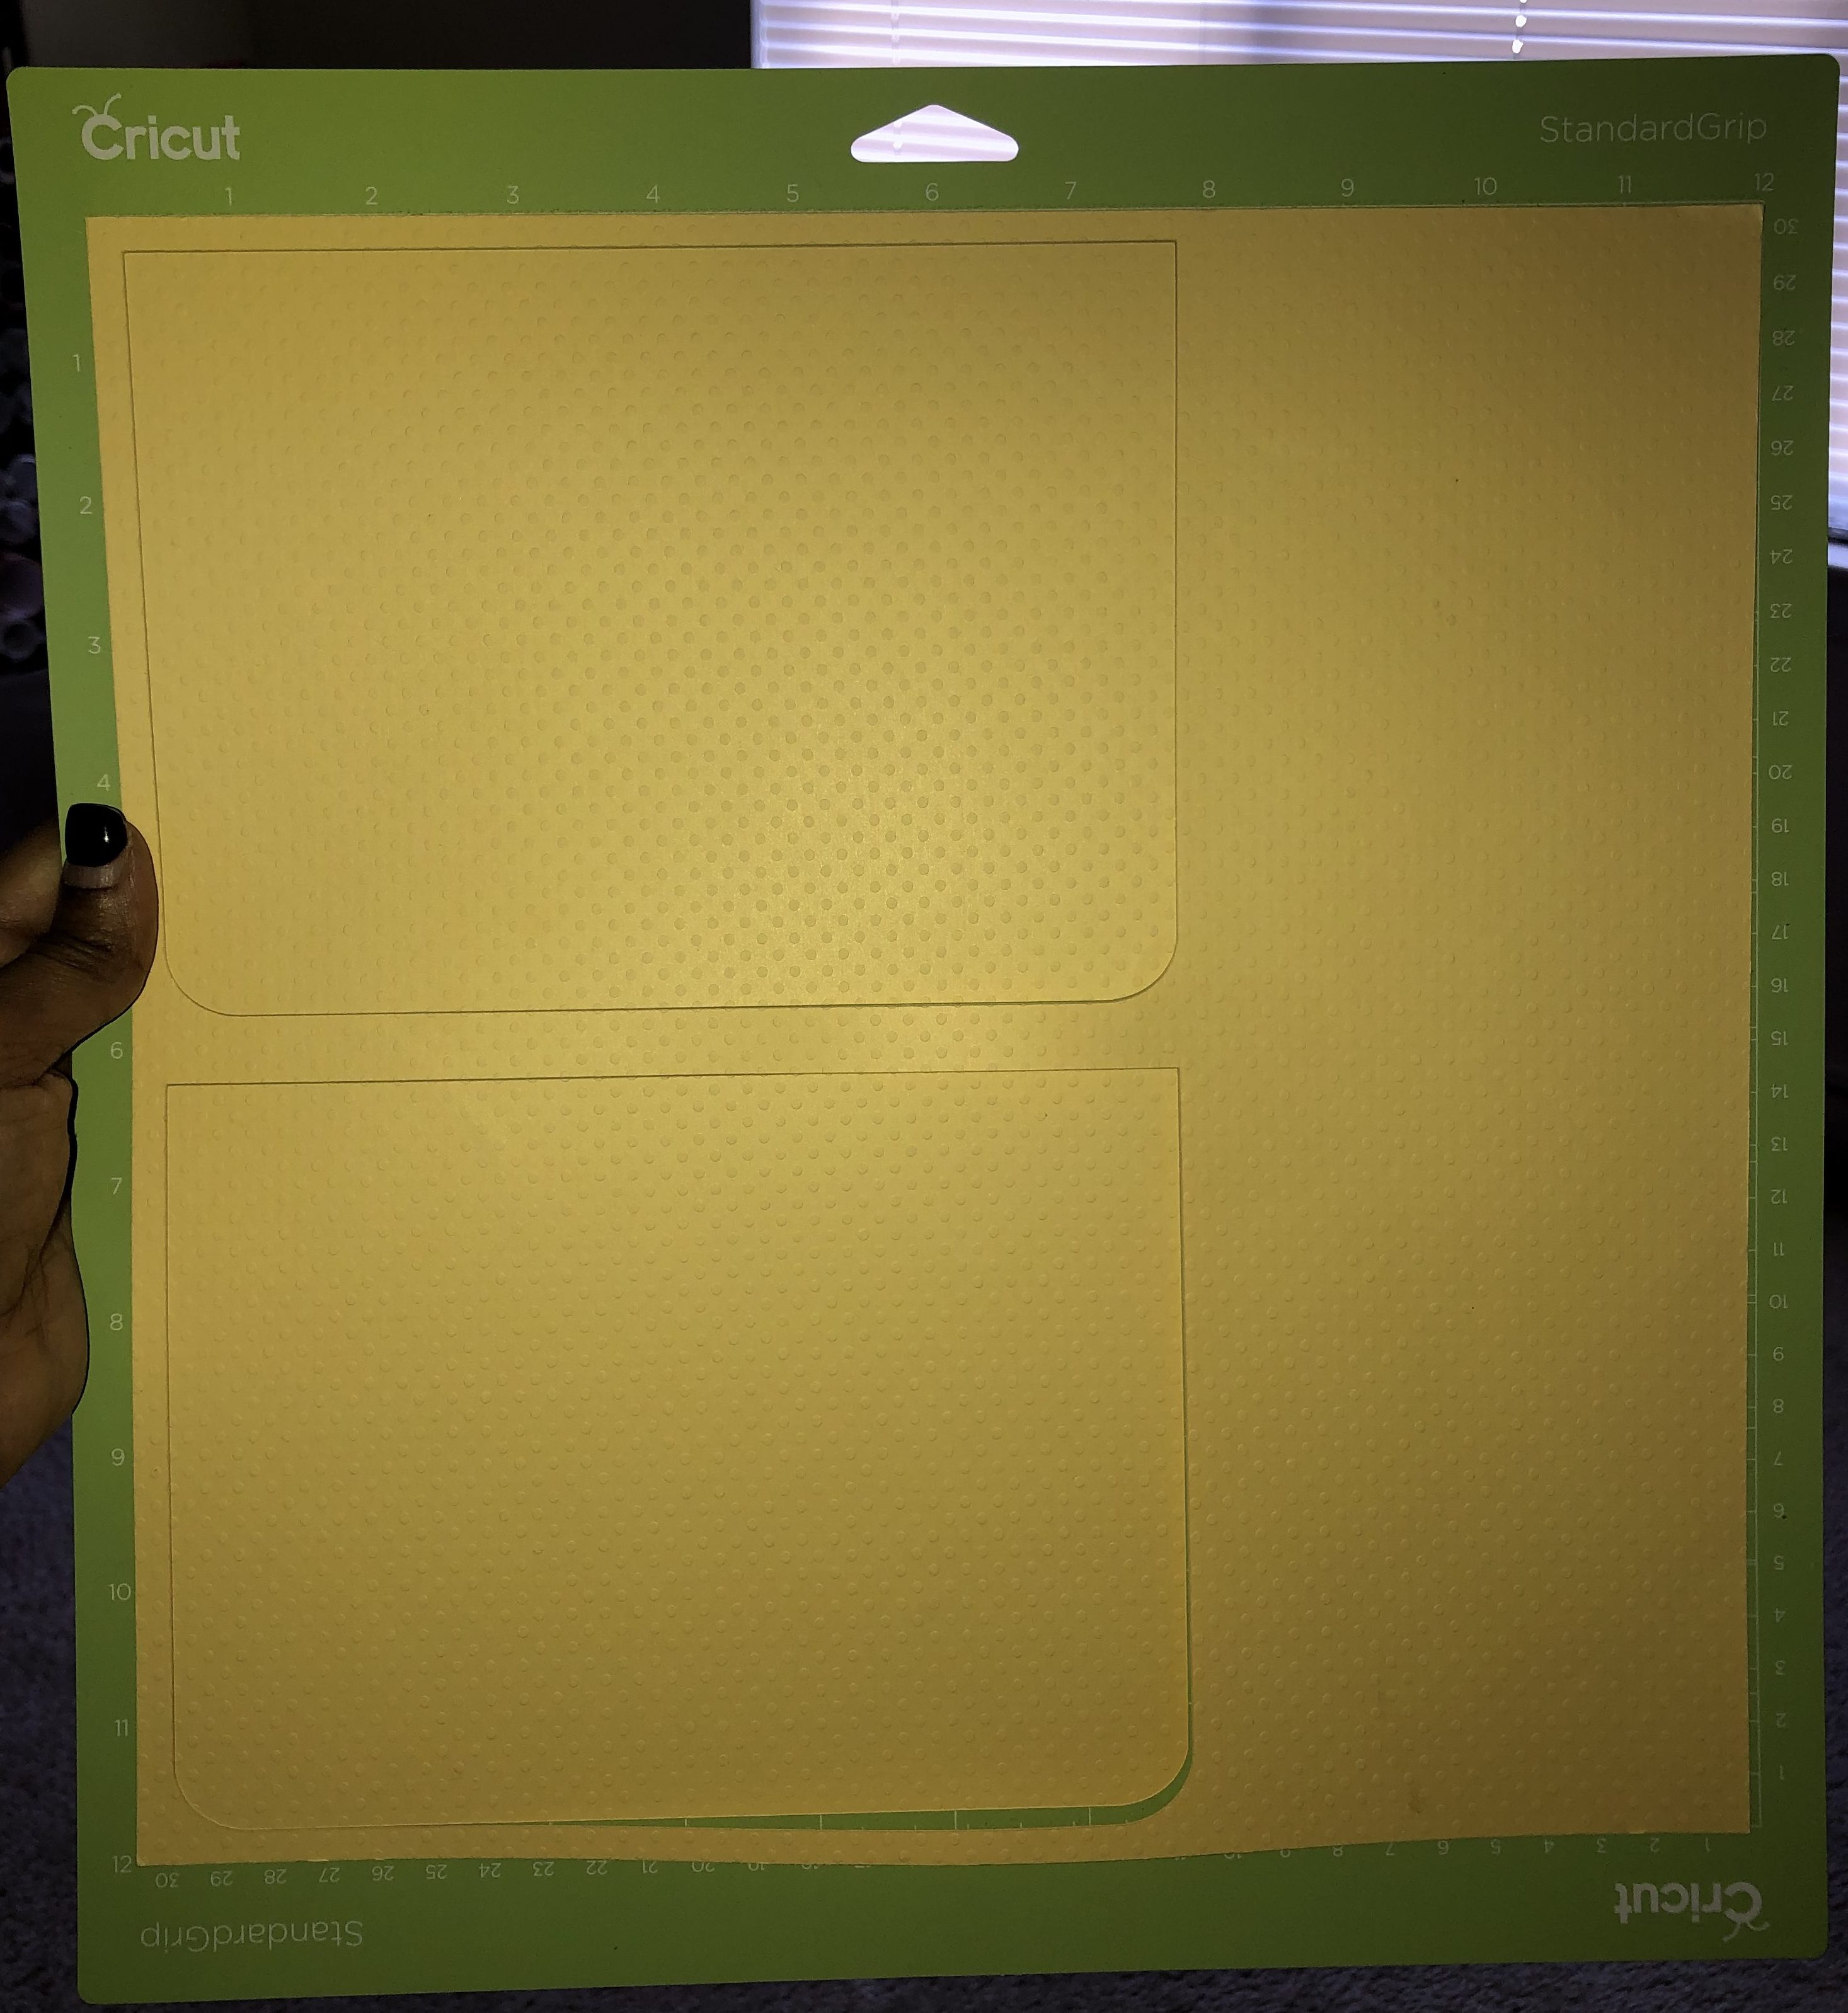
Now you can cut the real thing..

Once your cut is complete you may see the following message:

You can proceed to cut your personalized foil as you will apply the foil to one side of the clutch prior to the zipper and sewing the whole unit together:
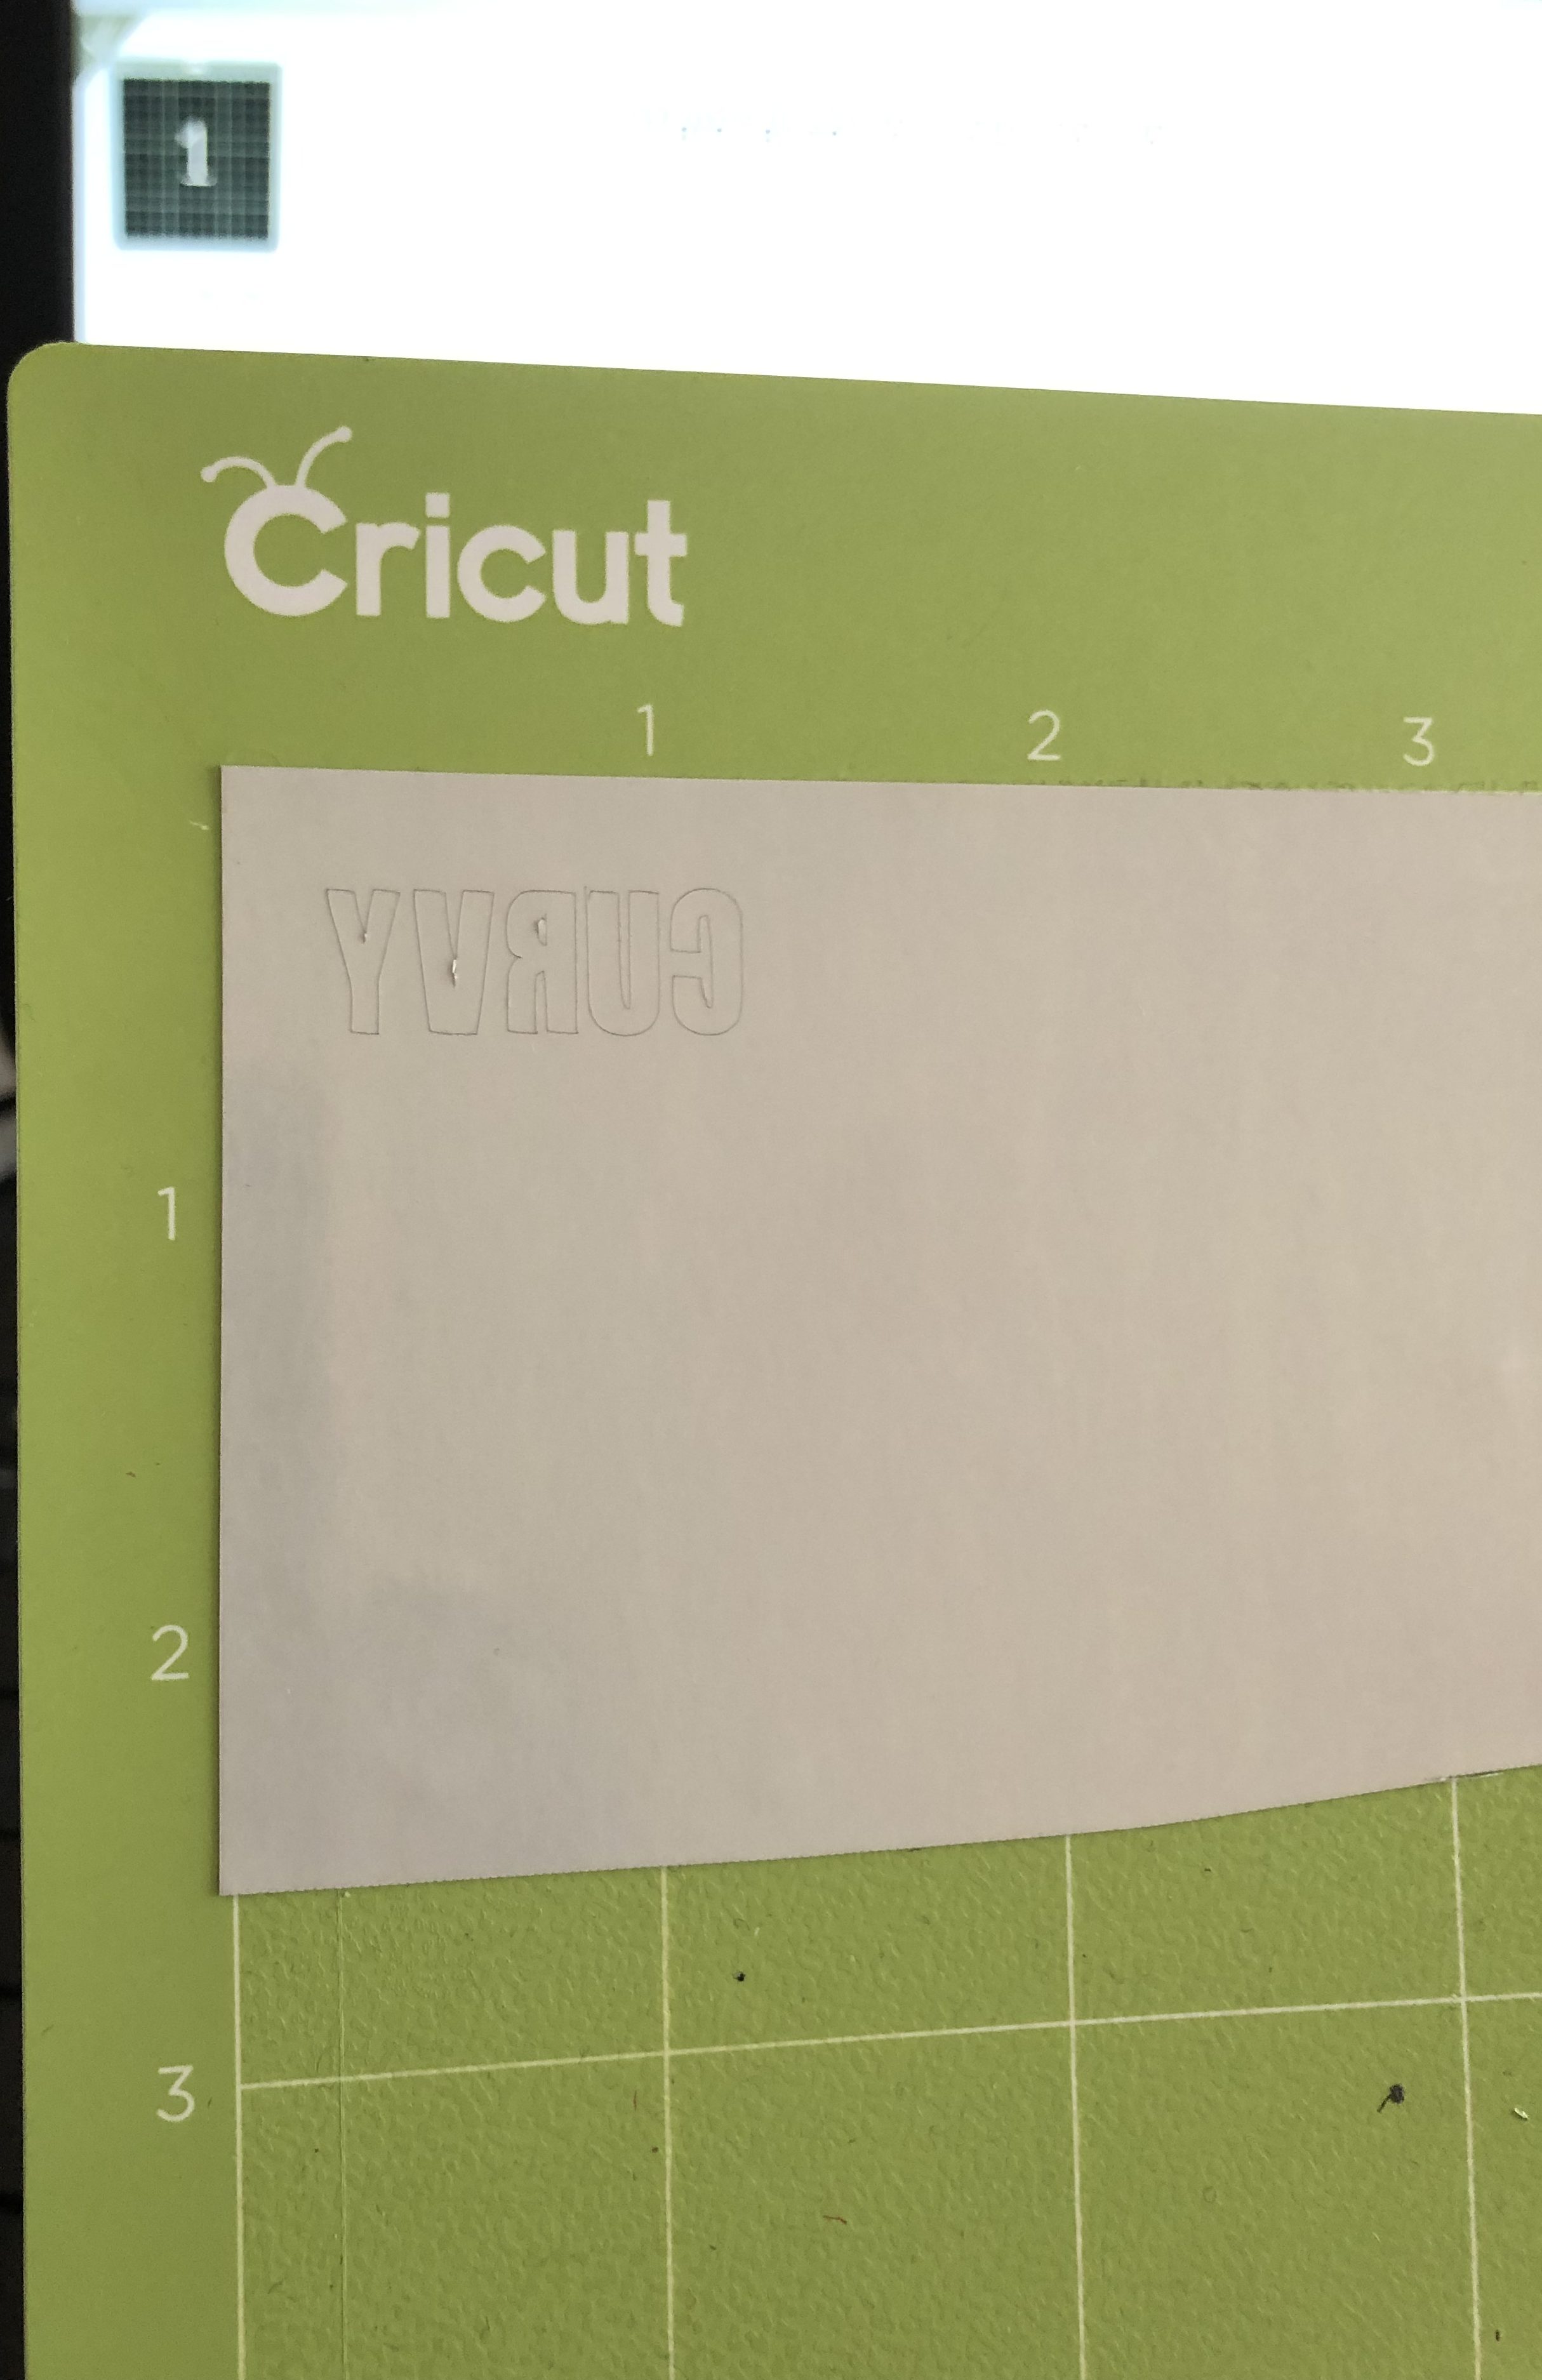
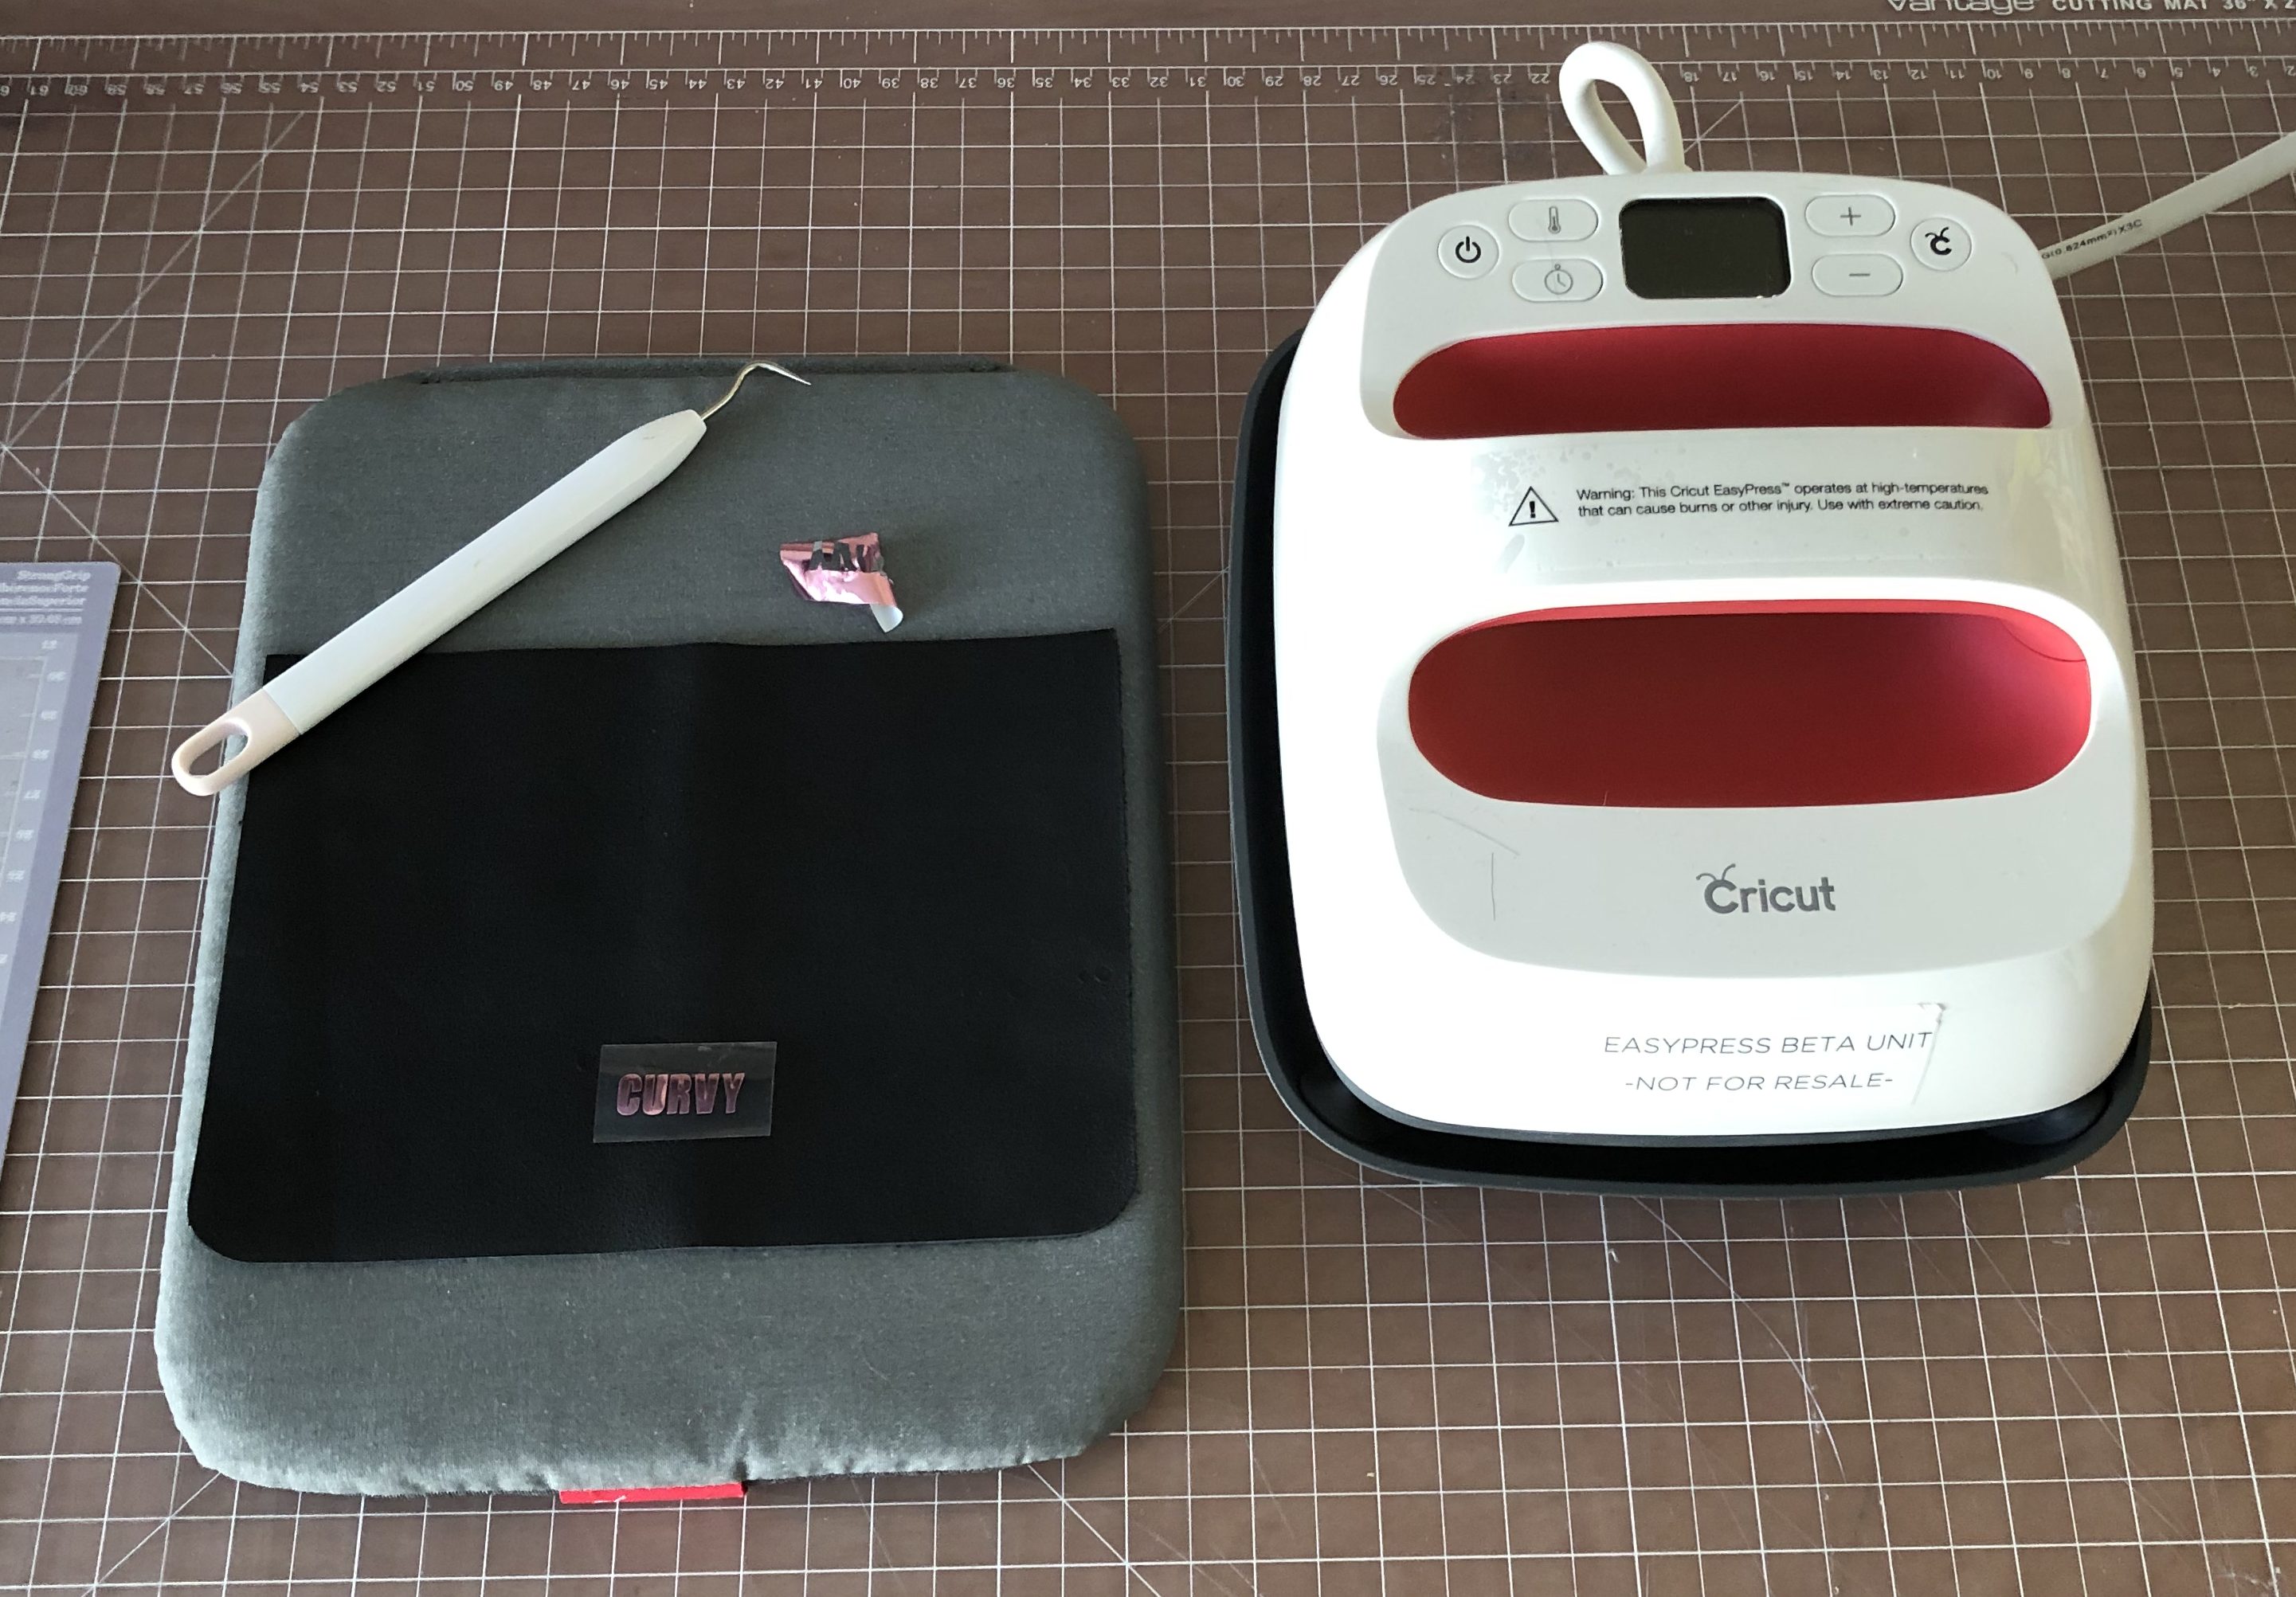
Weed your Foil, get out your Easy Press, and Mat
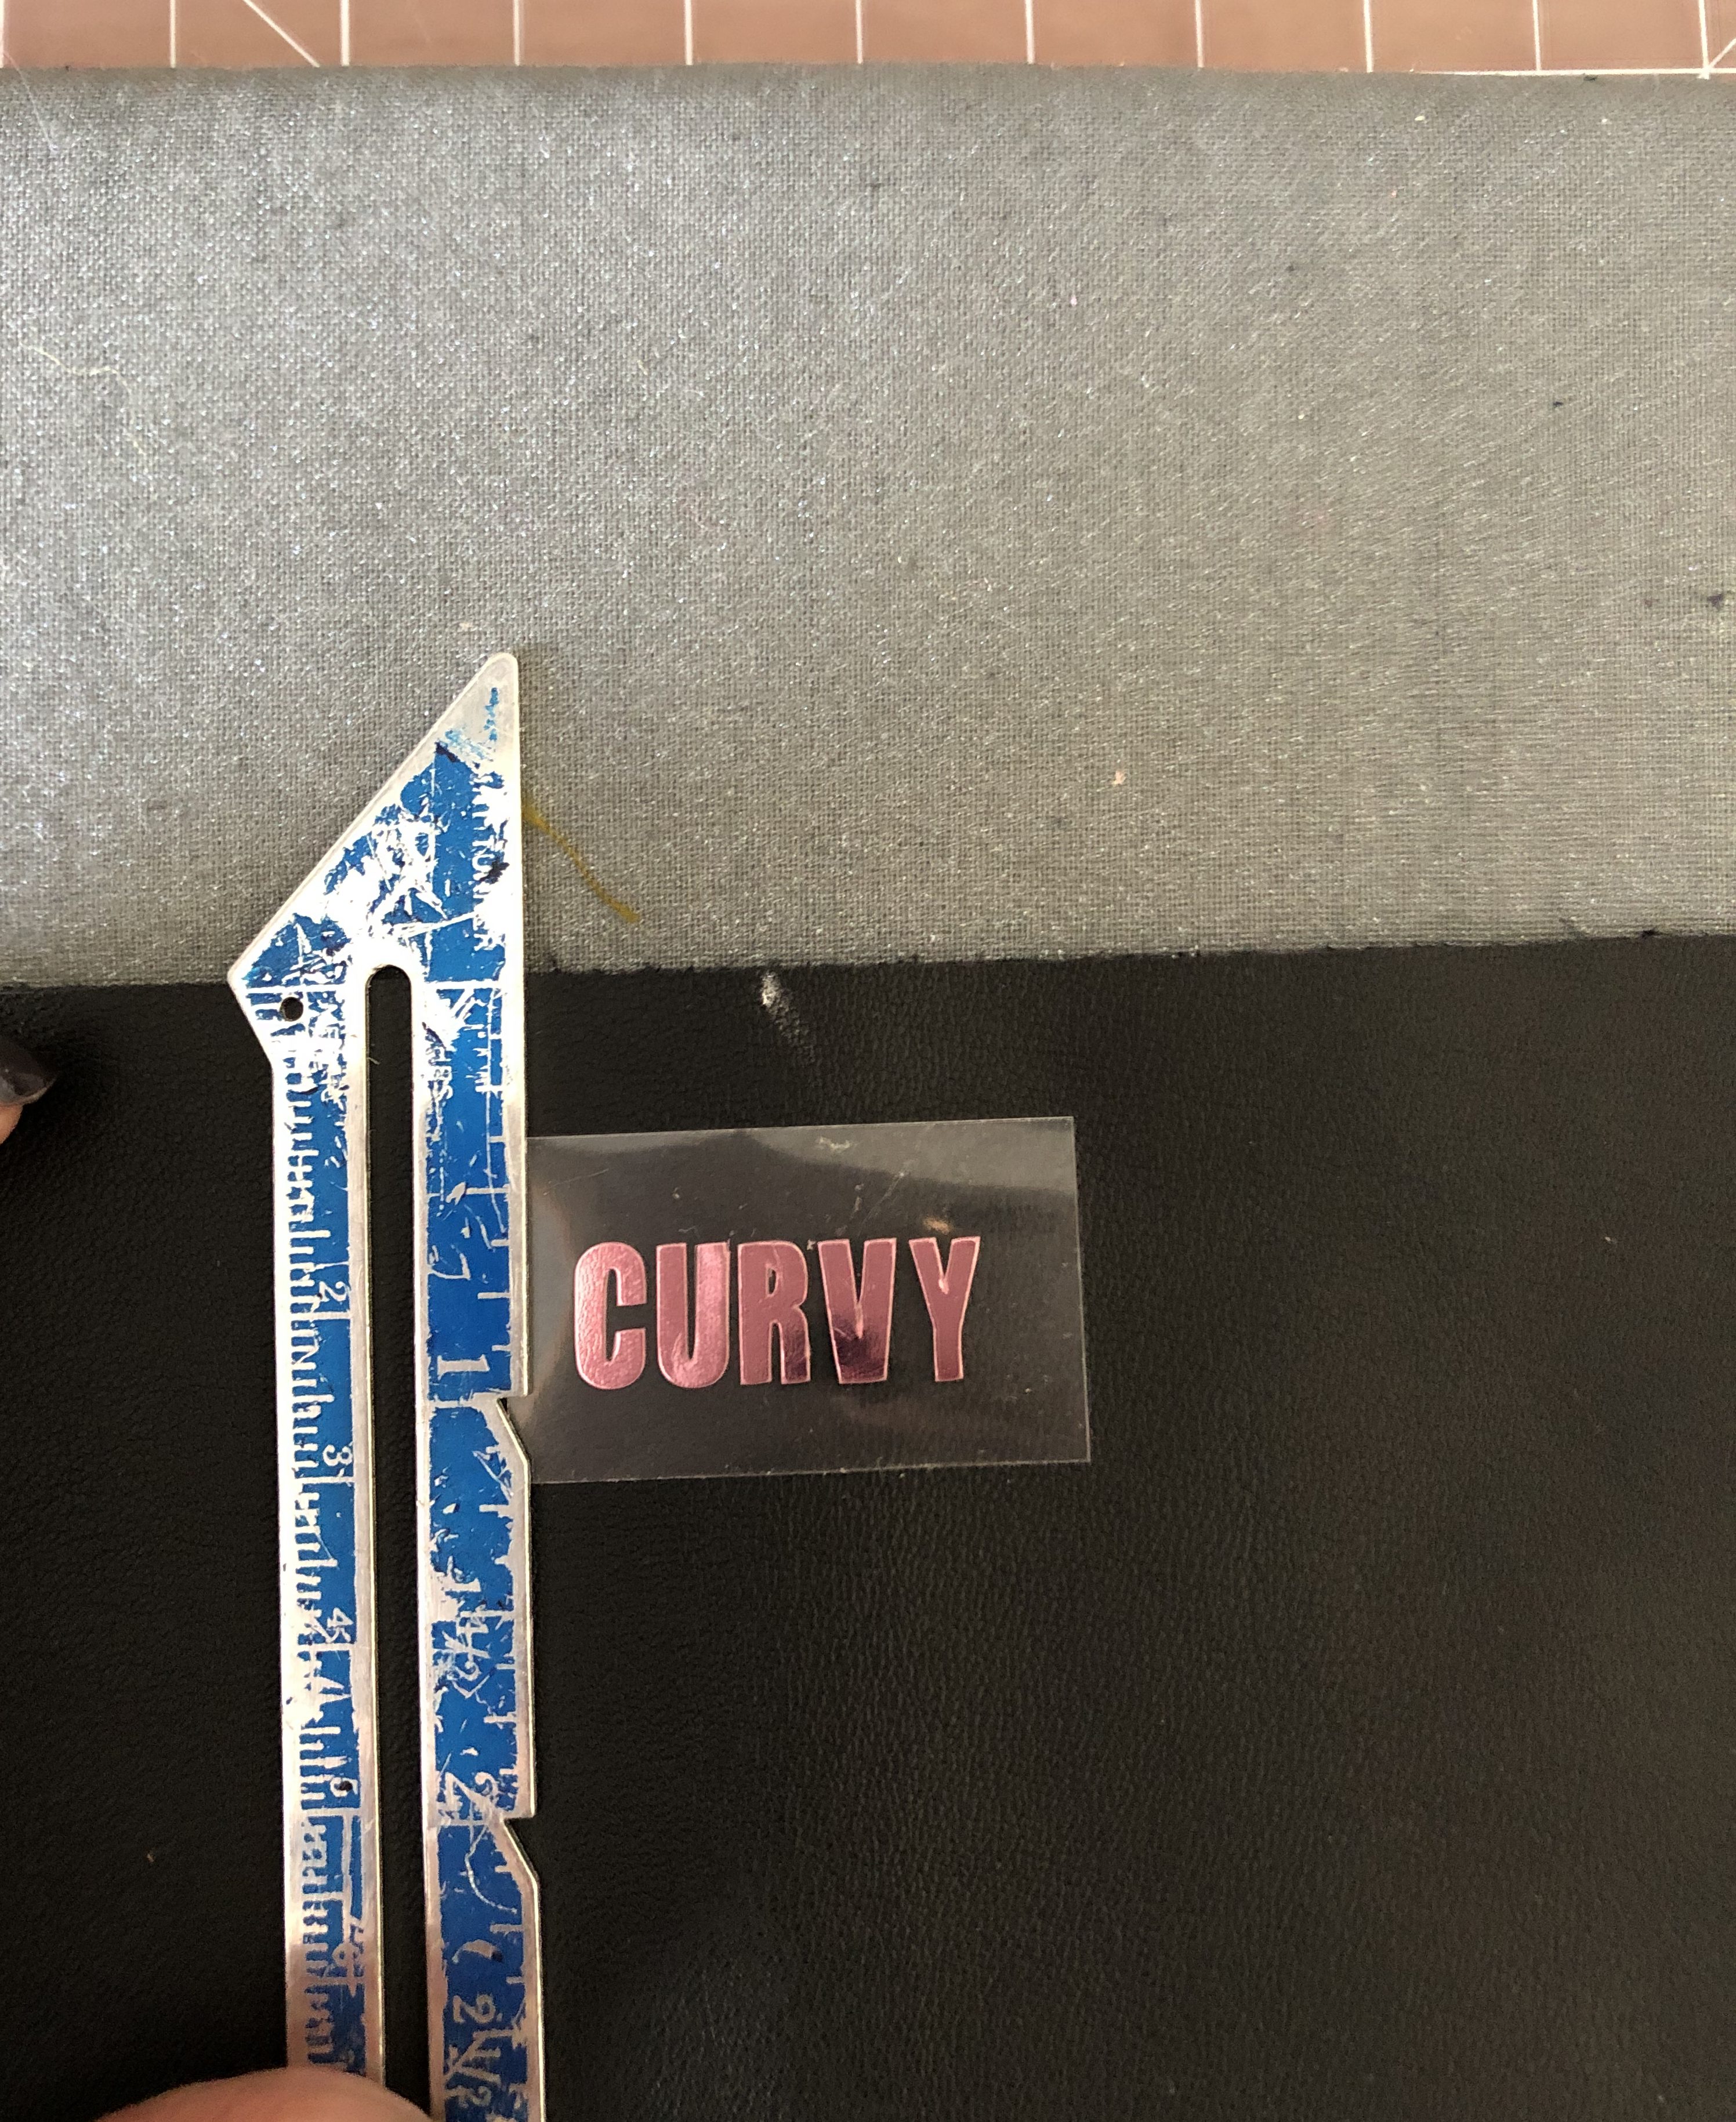
We will now place the cut on in the middle of one of the leather pieces and measure about .75 or 3/4″ from the top and mark the center very lightly.
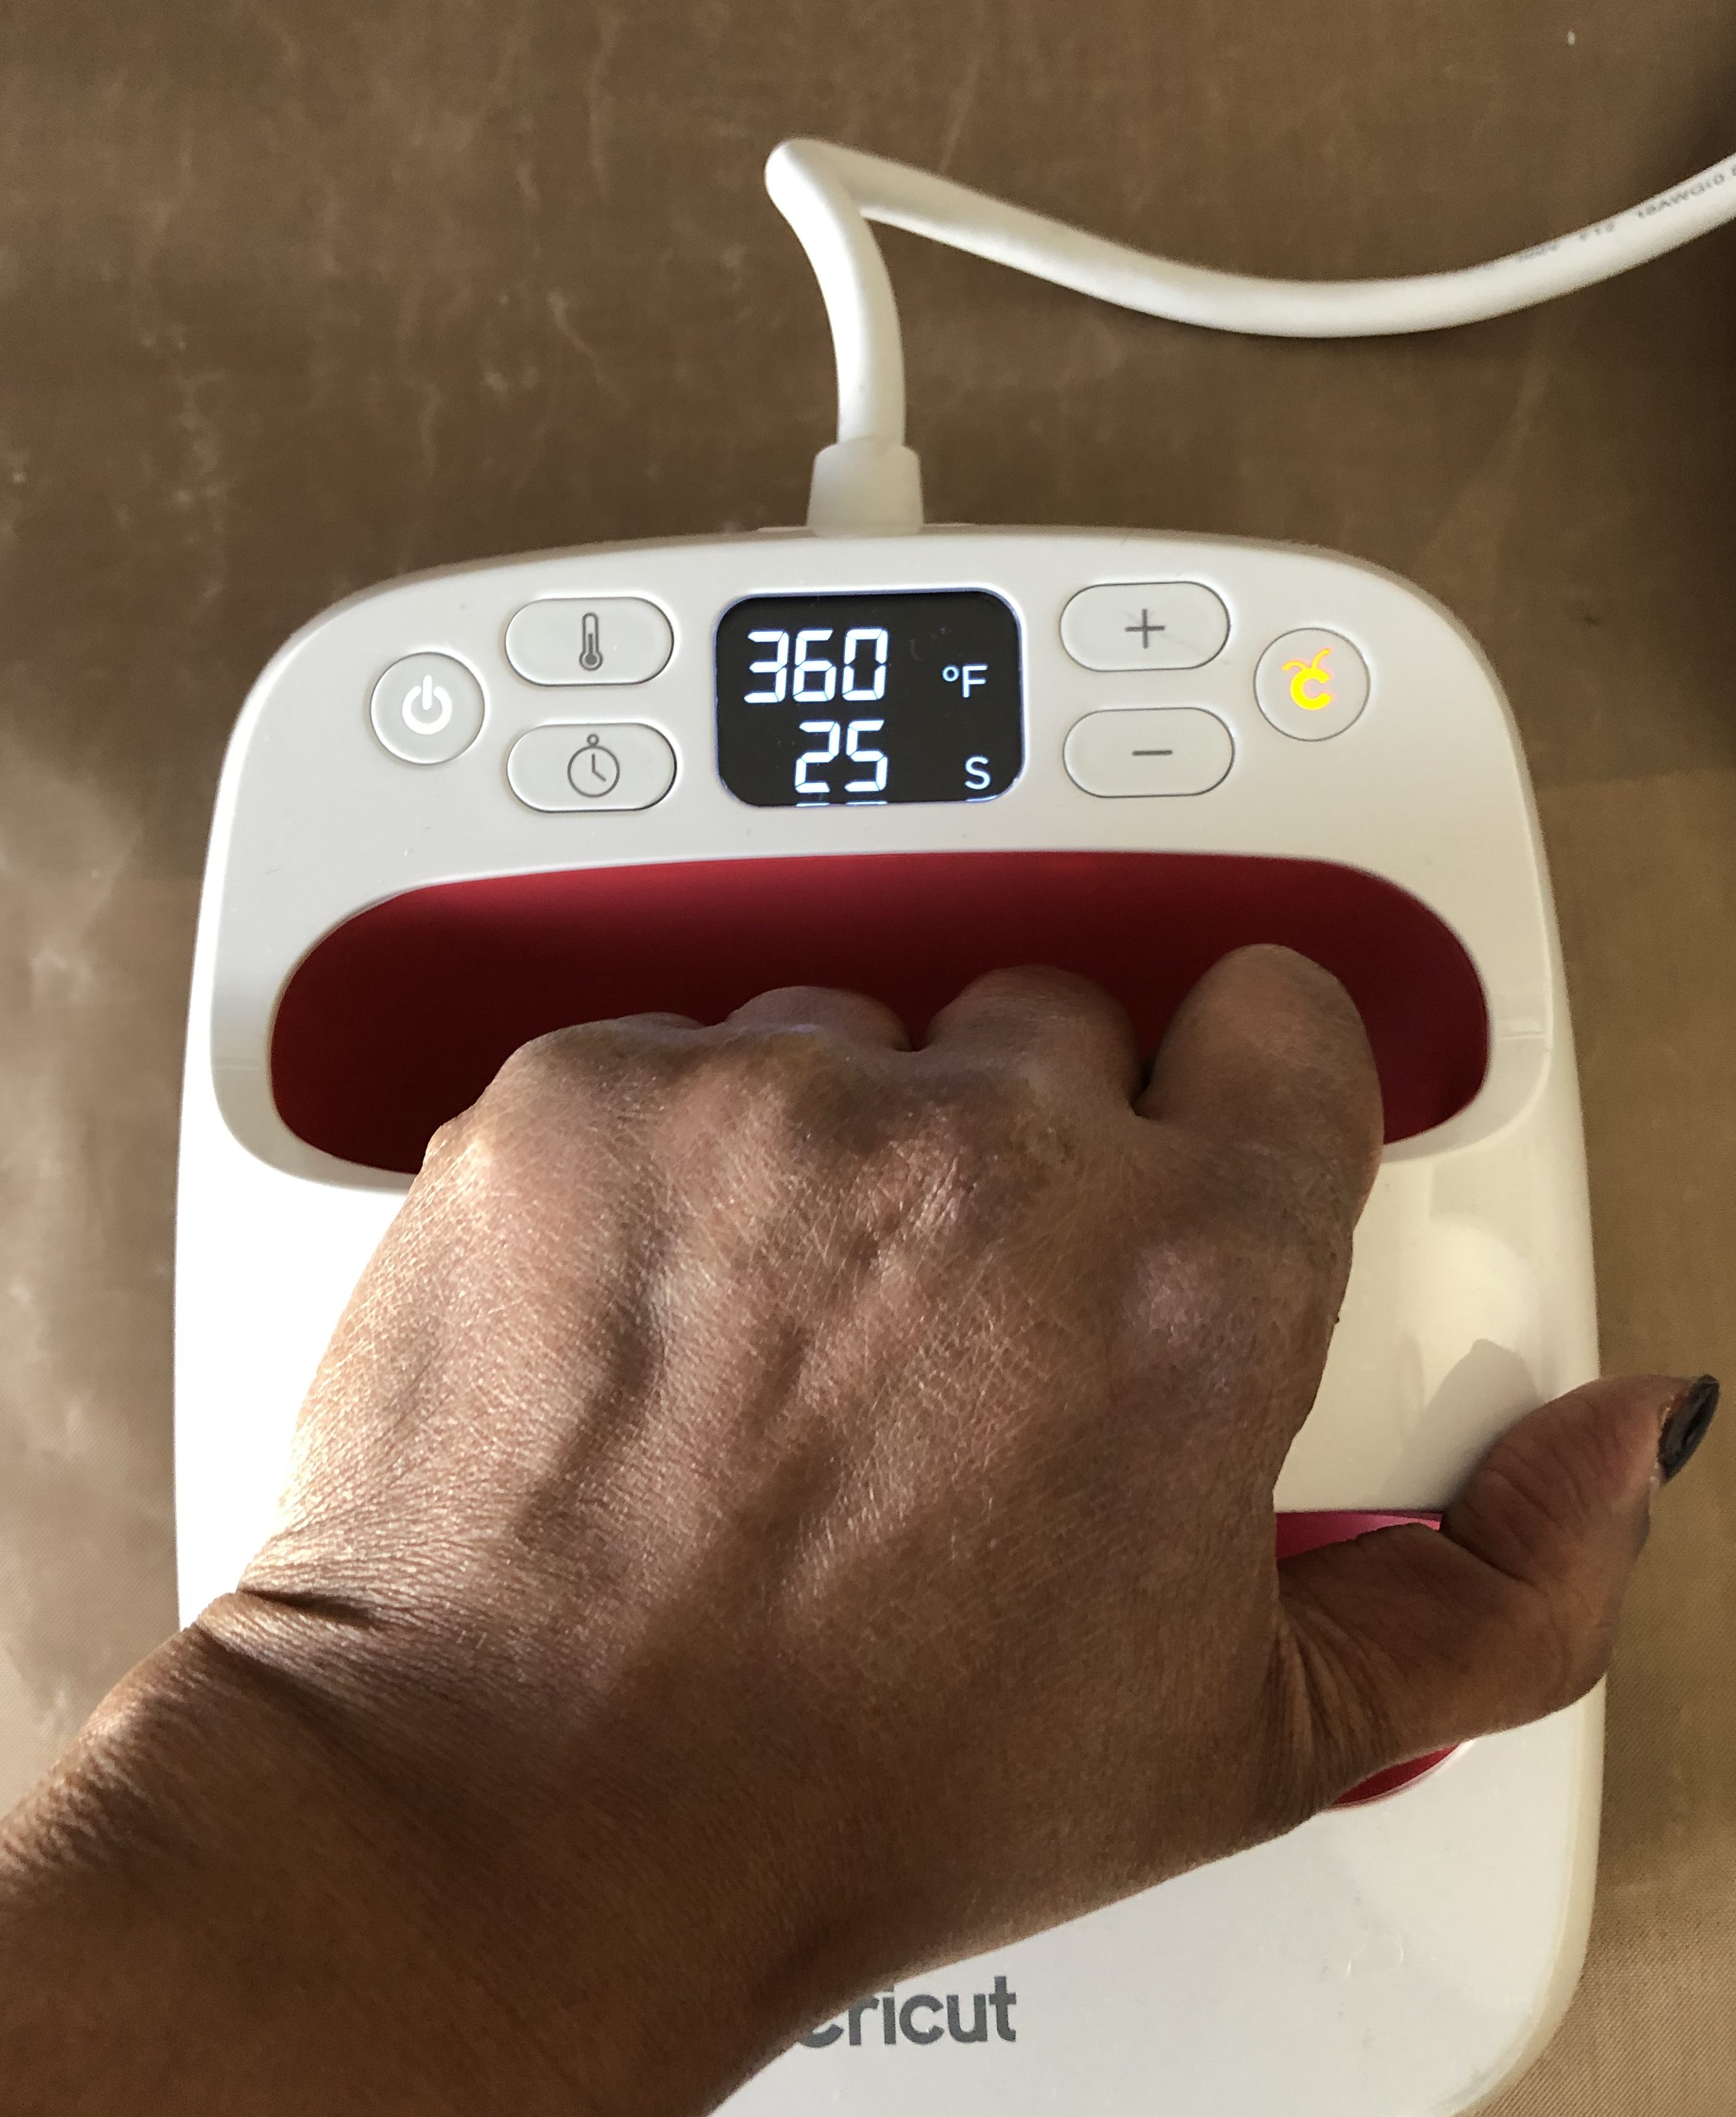
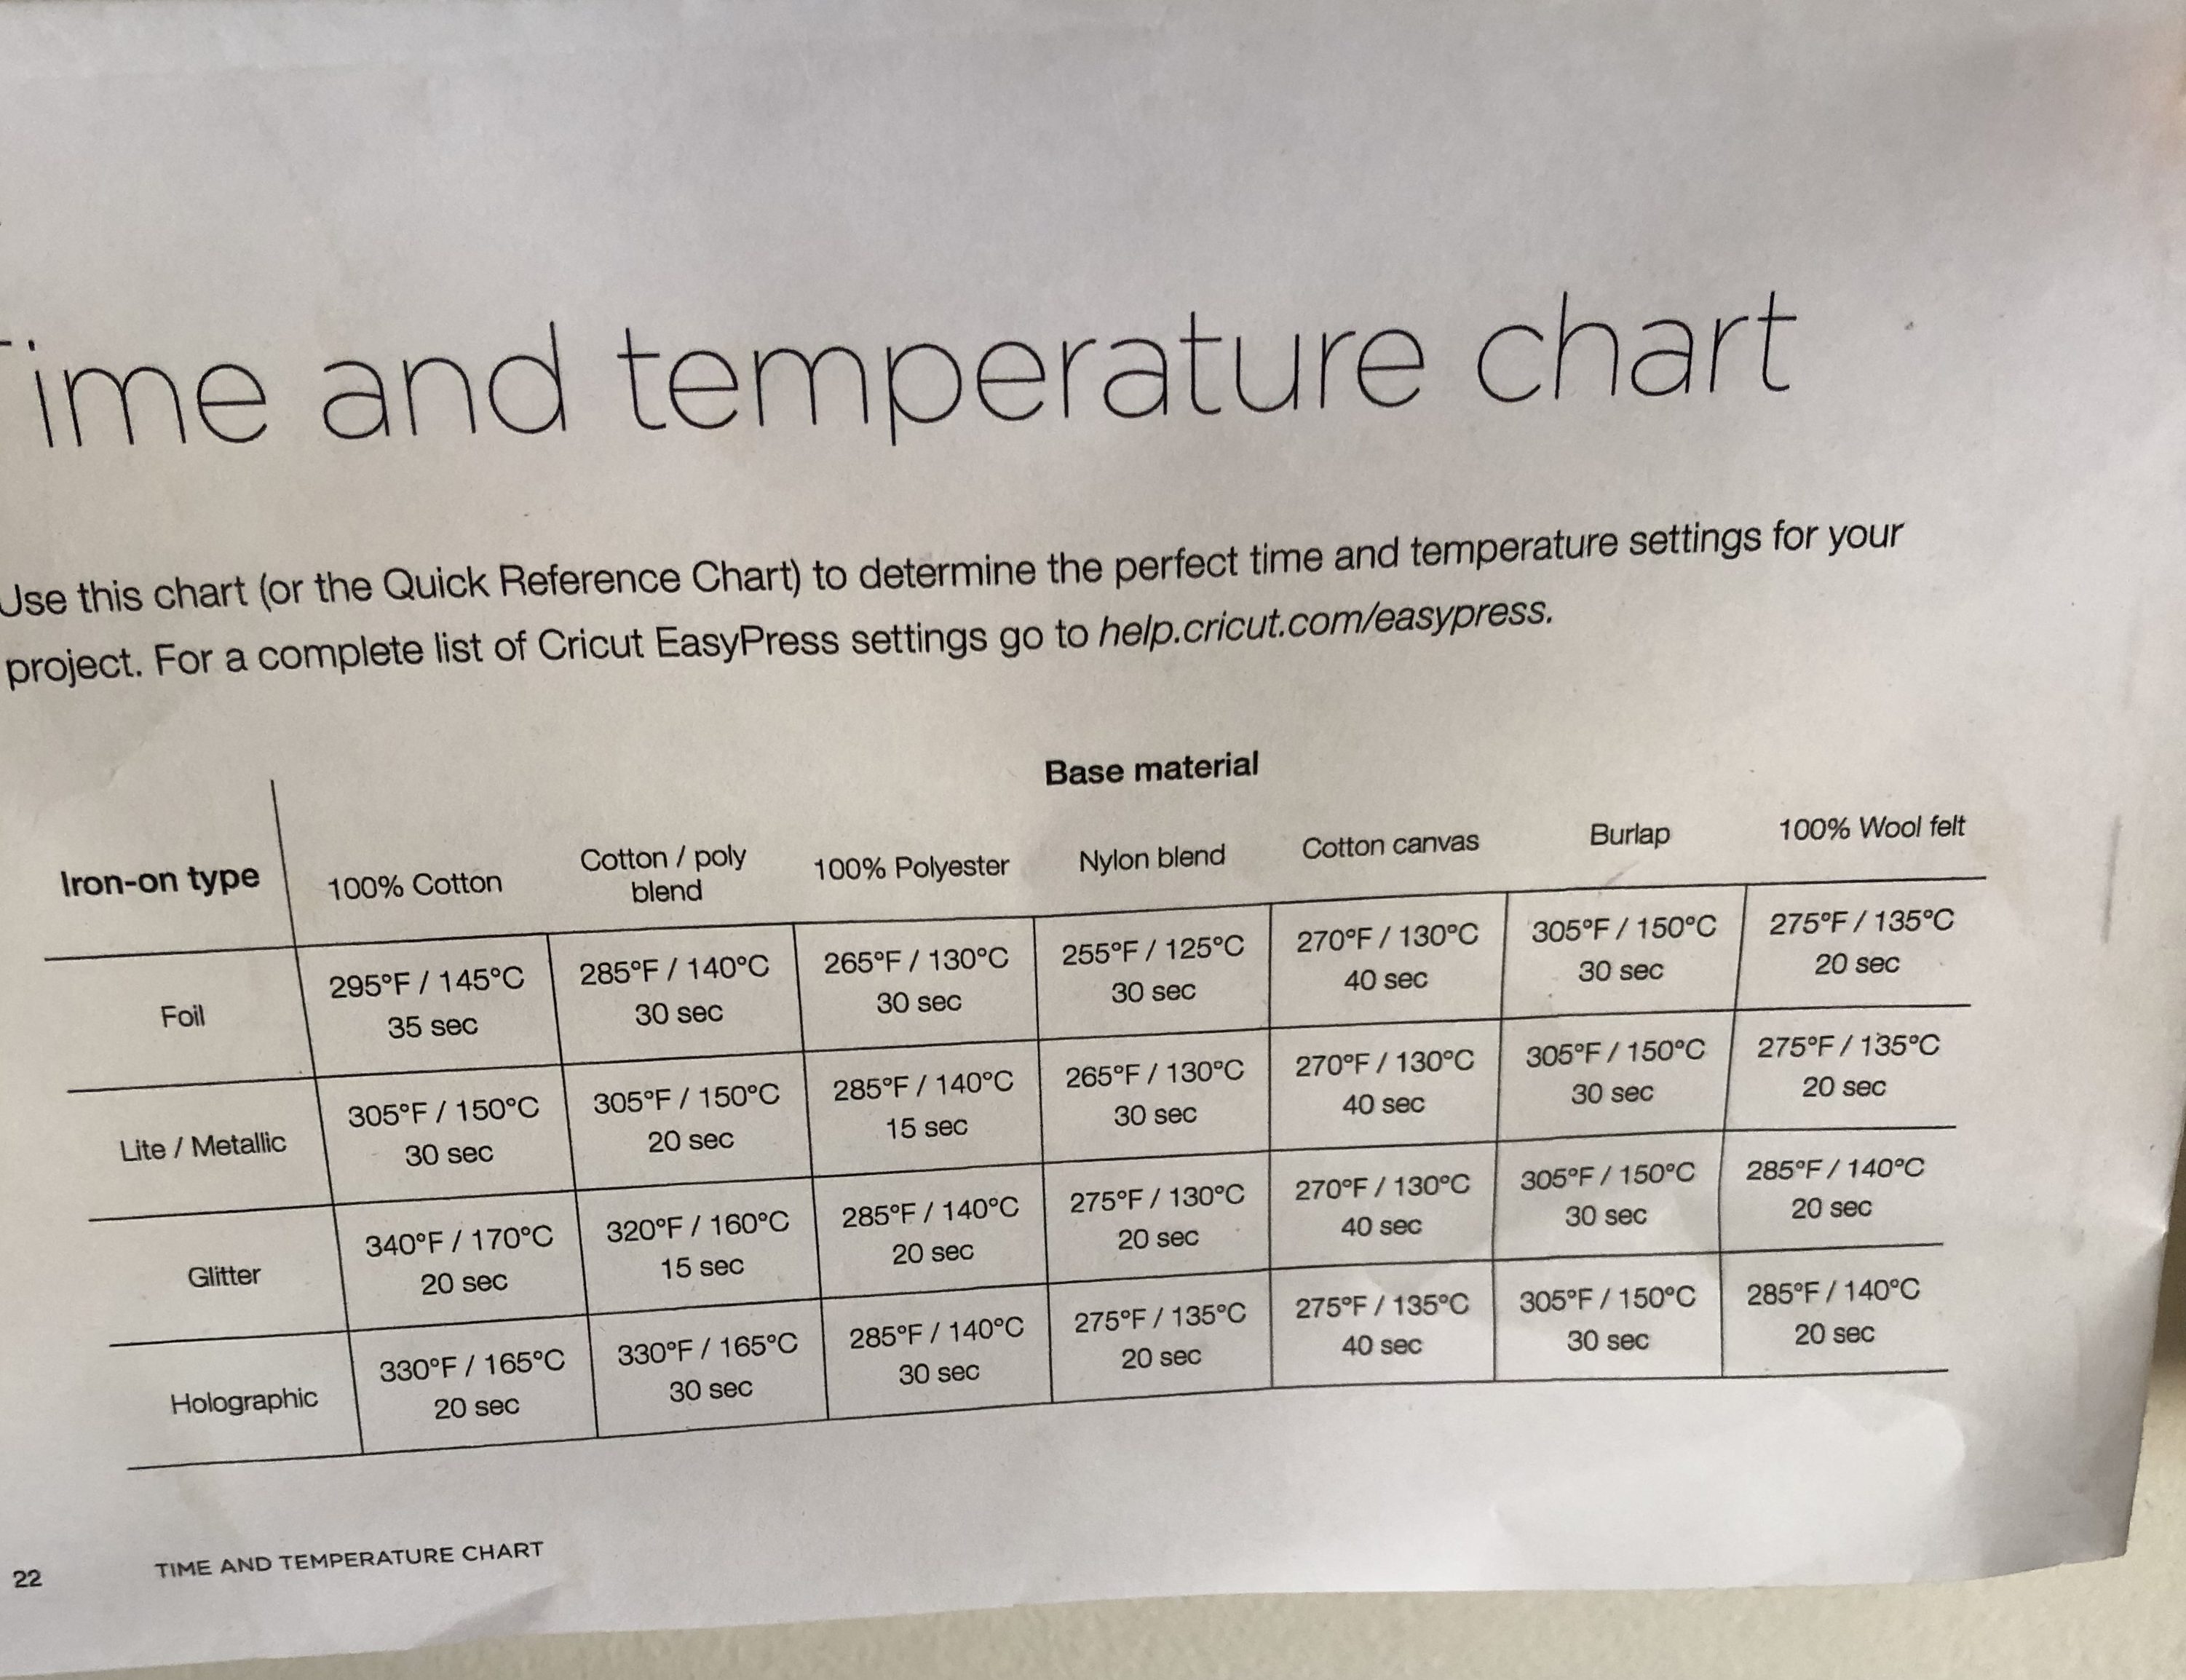
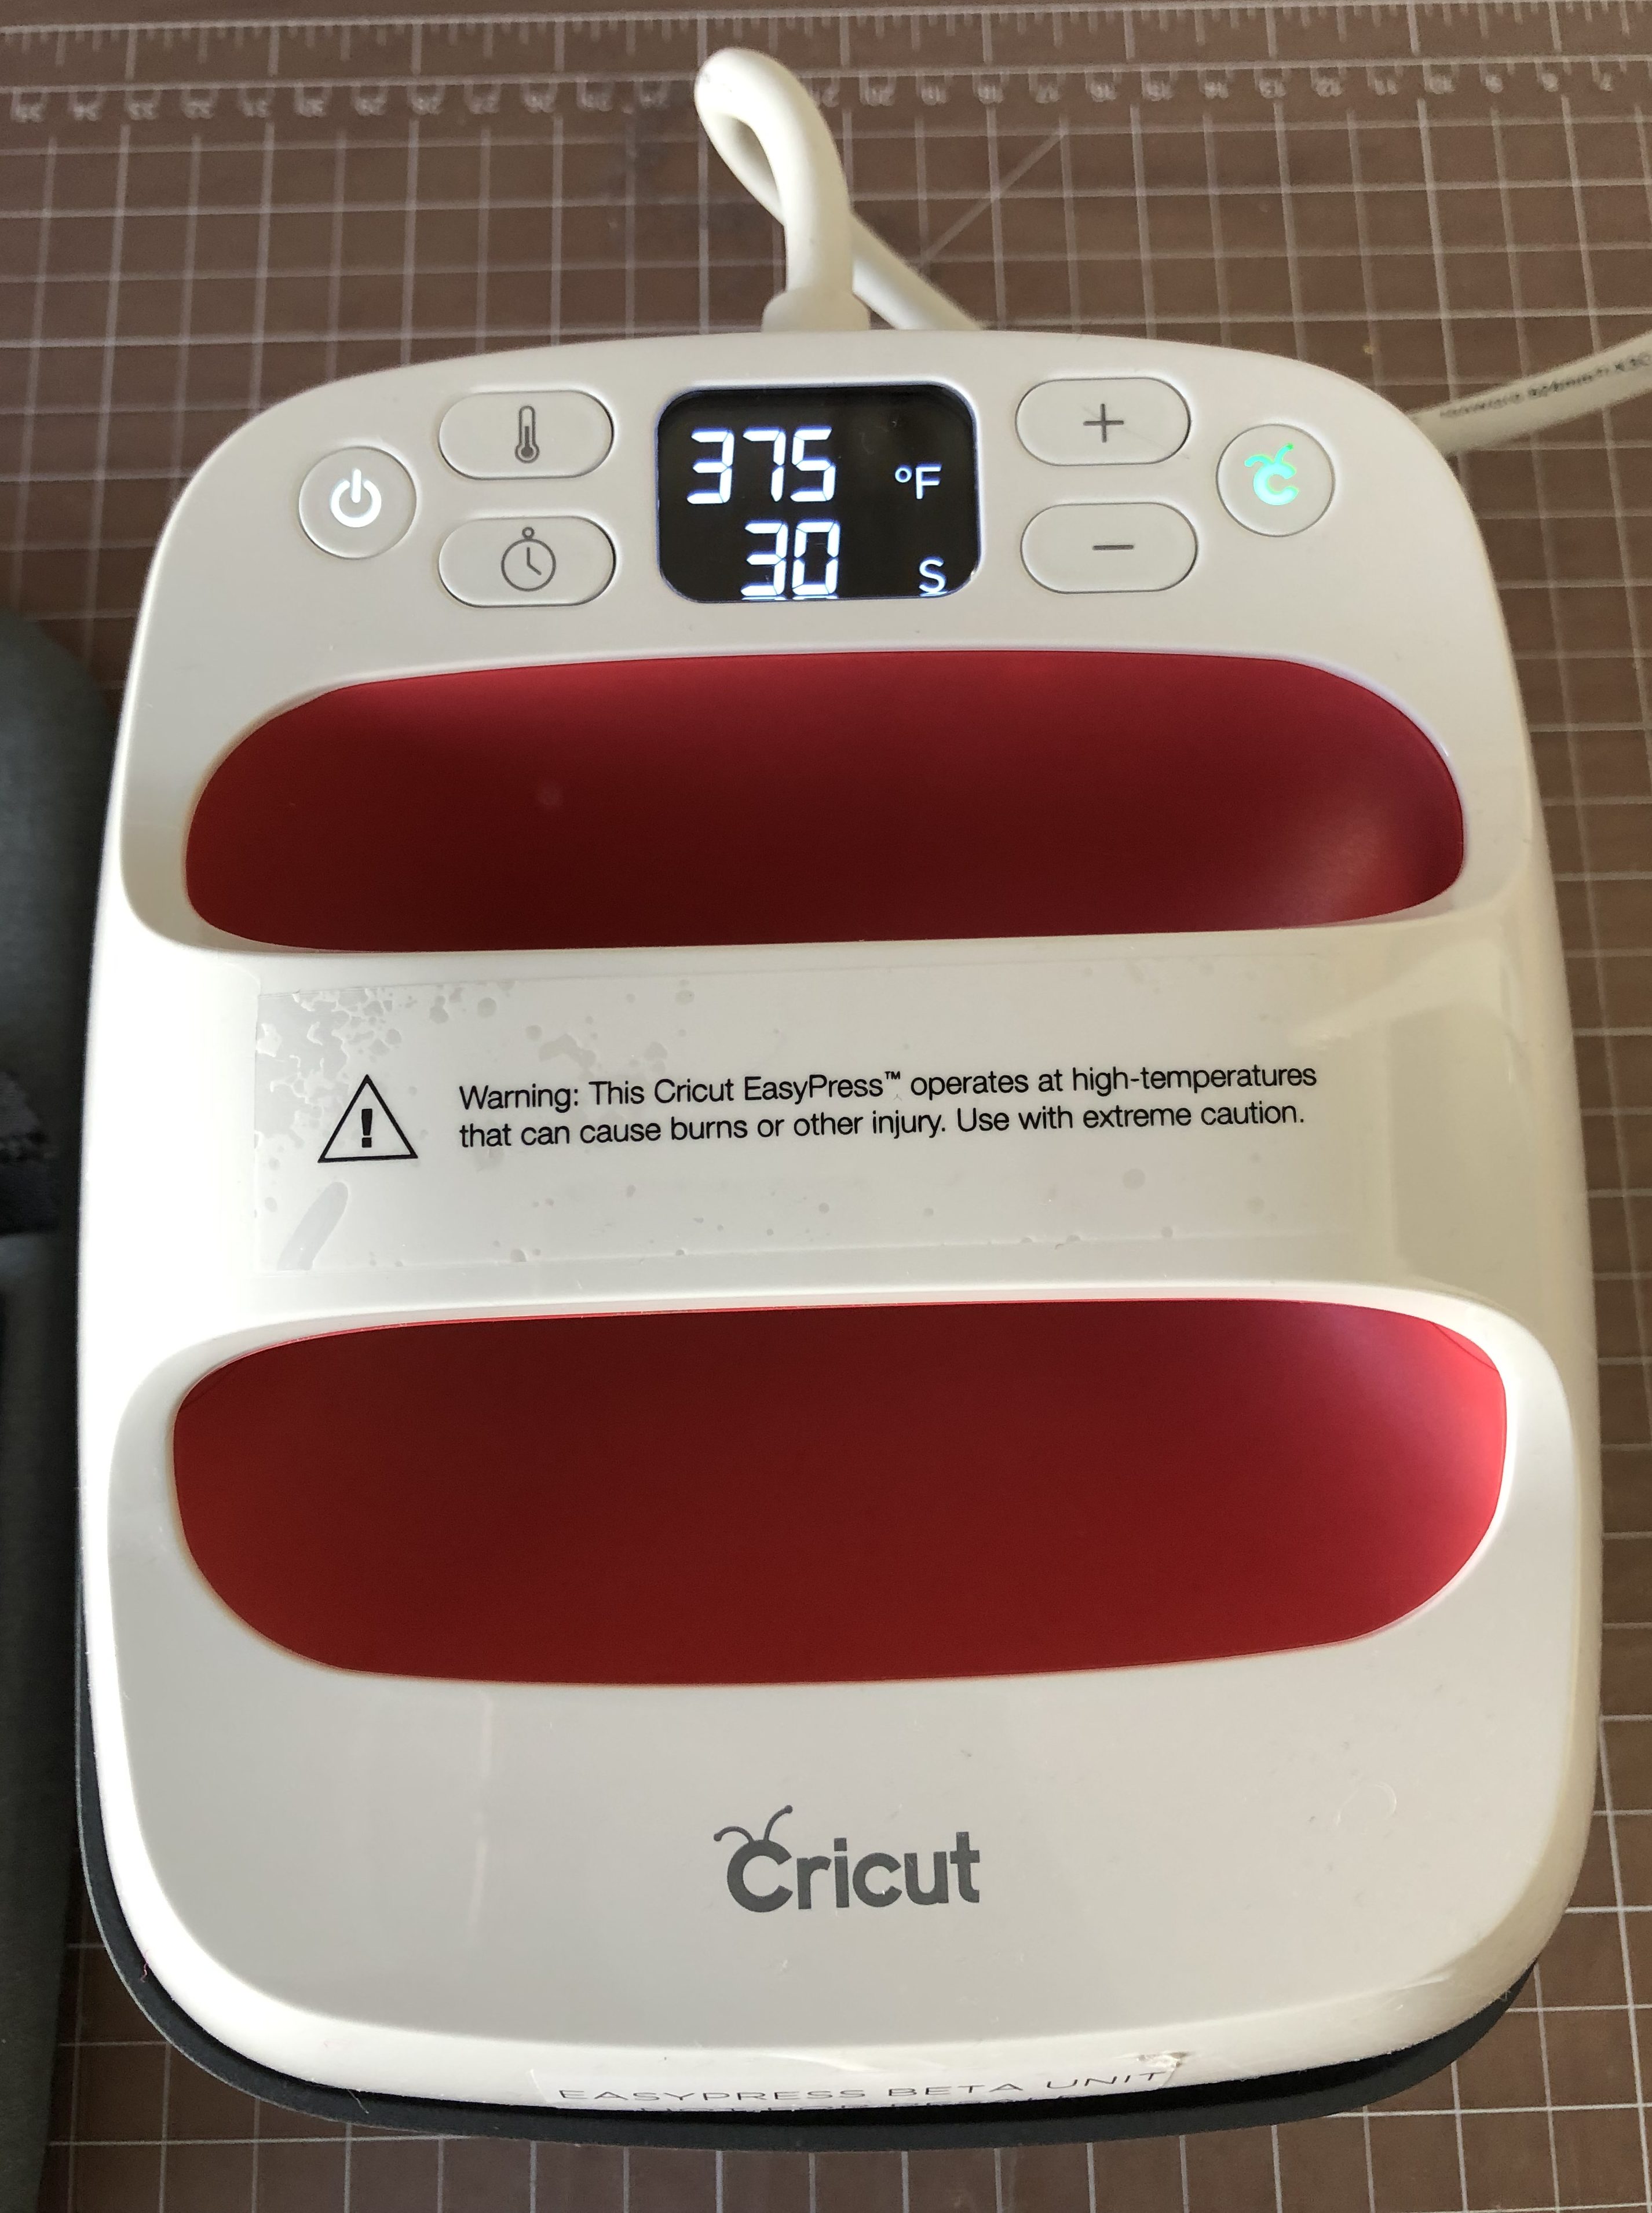
You will now Easy Press the foil onto the leather. Cover with the cotton piece, then the Teflon piece. Set your heat press to 375 degrees and 30 seconds. You may need to press this TWICE. Let the foil and the leather cool between each PRESS. You may see a slight bit of steam but don’t be alarmed.
 

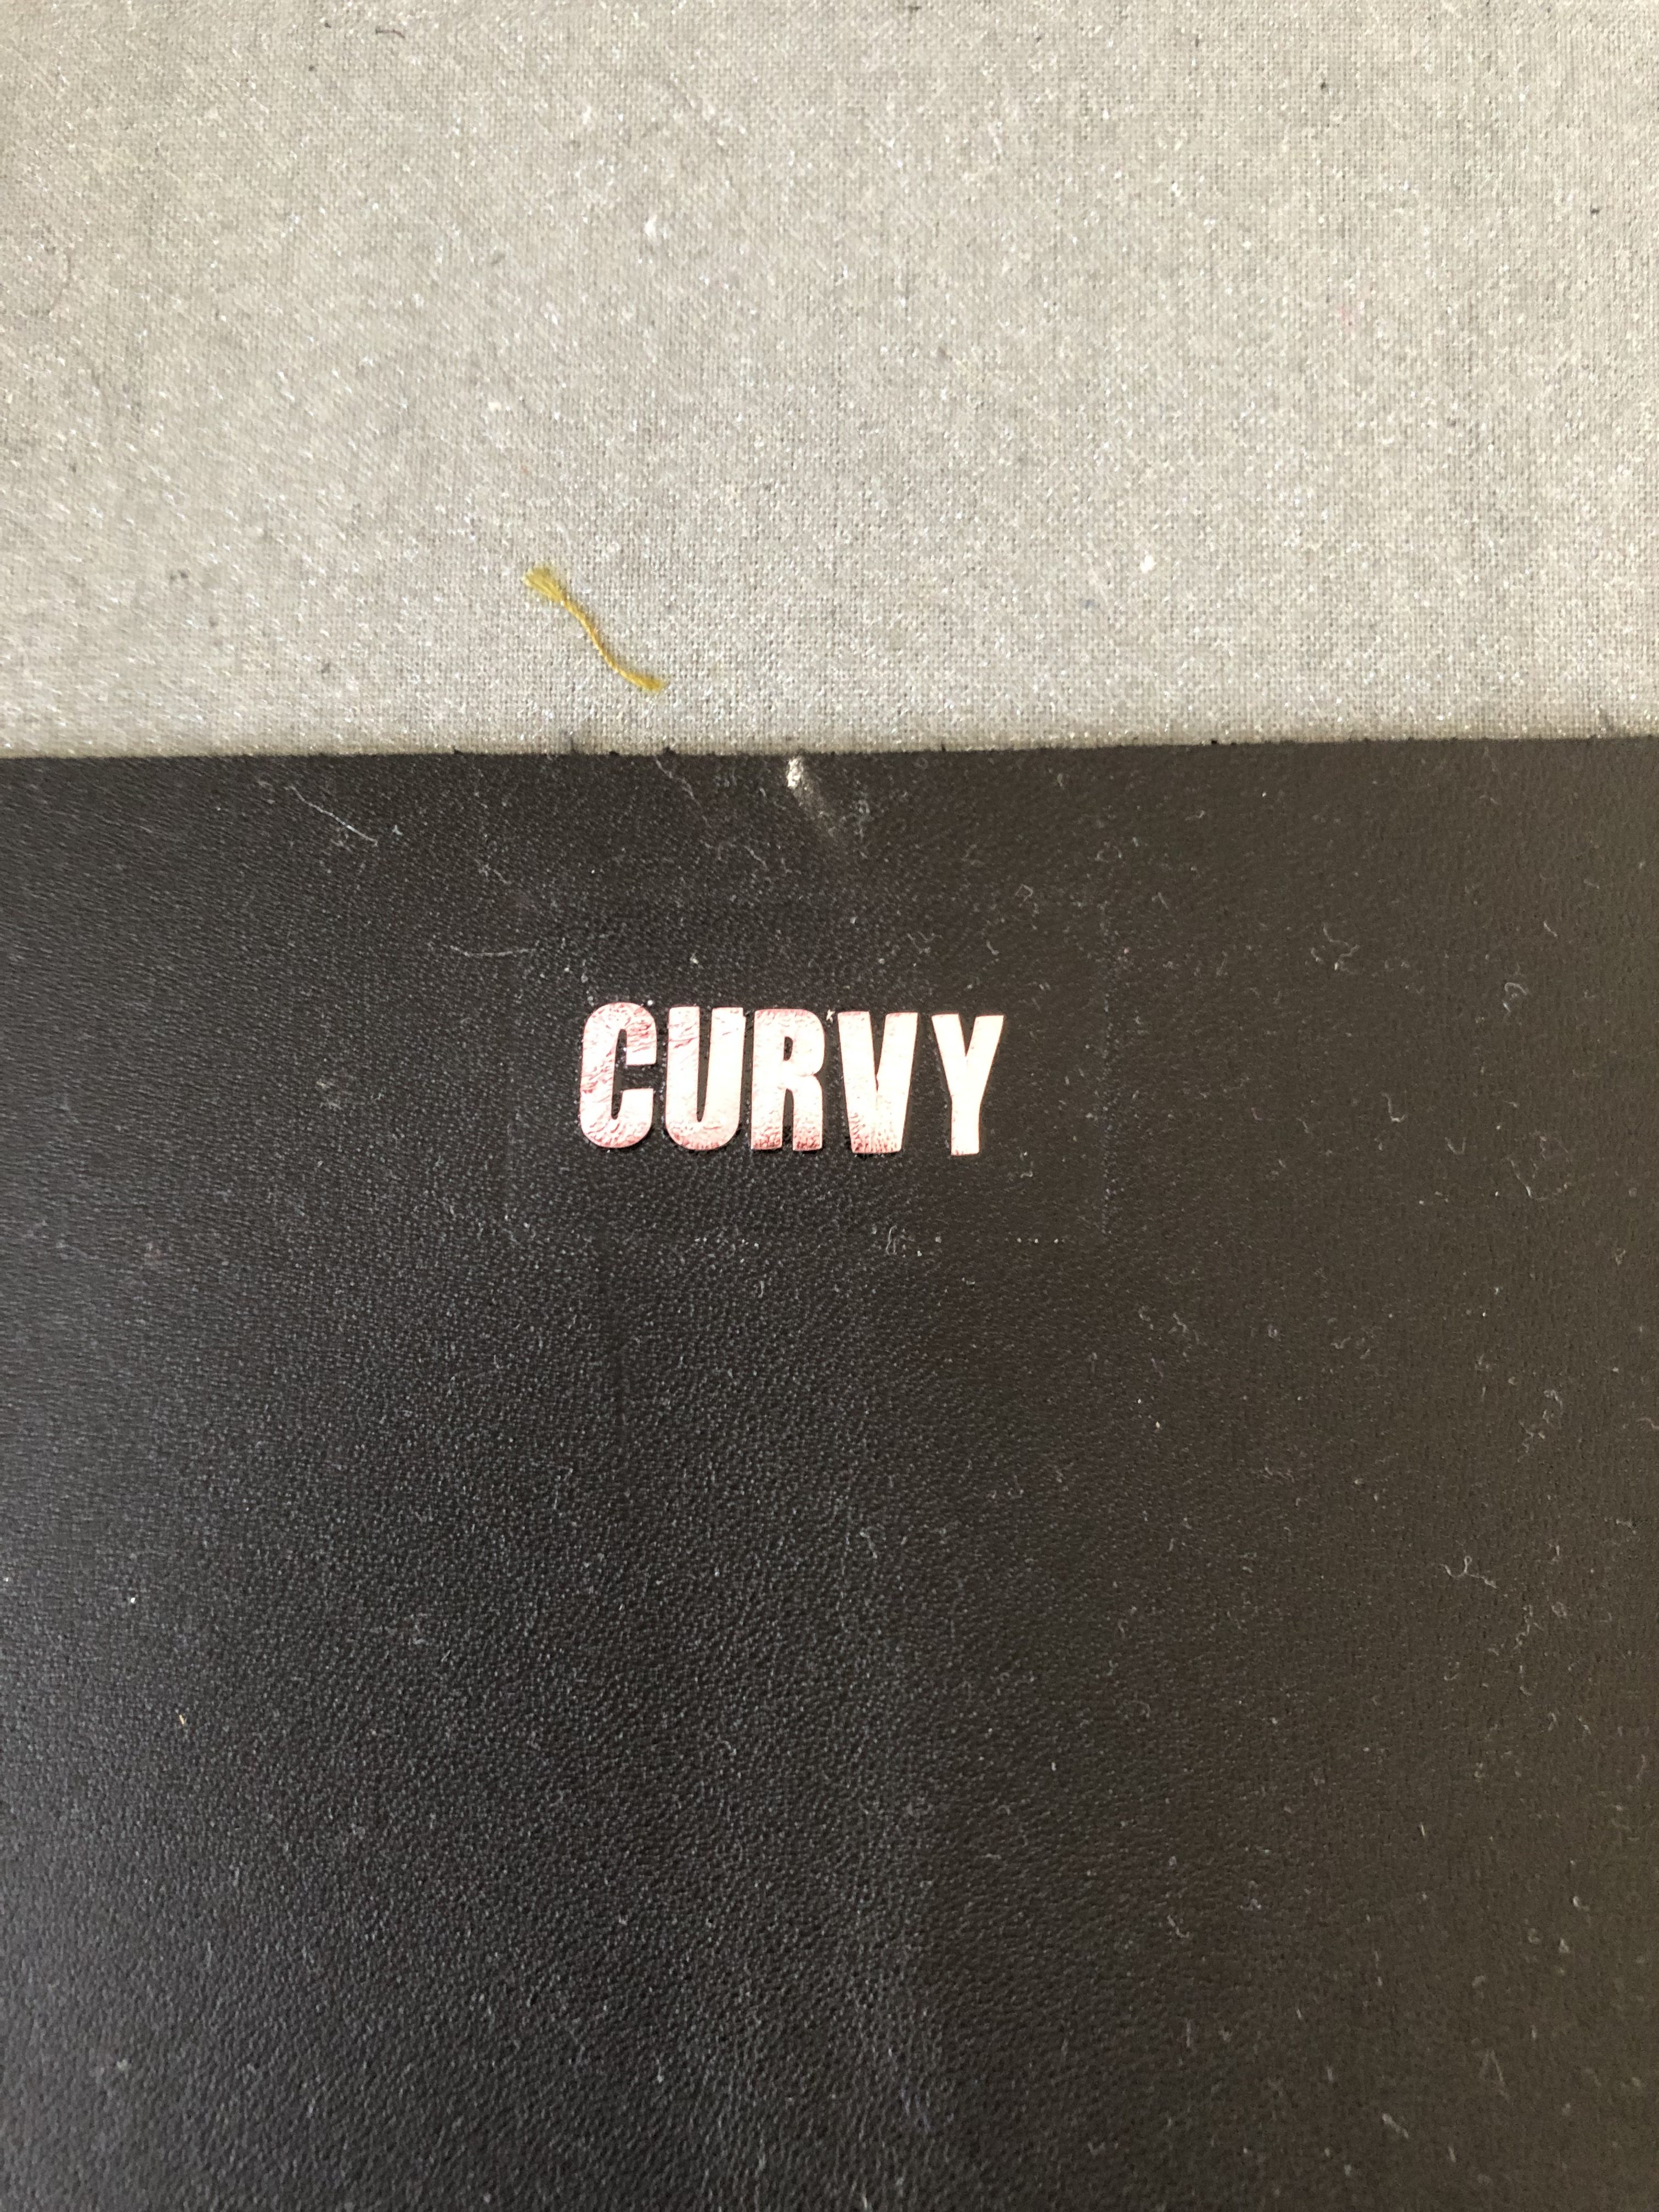
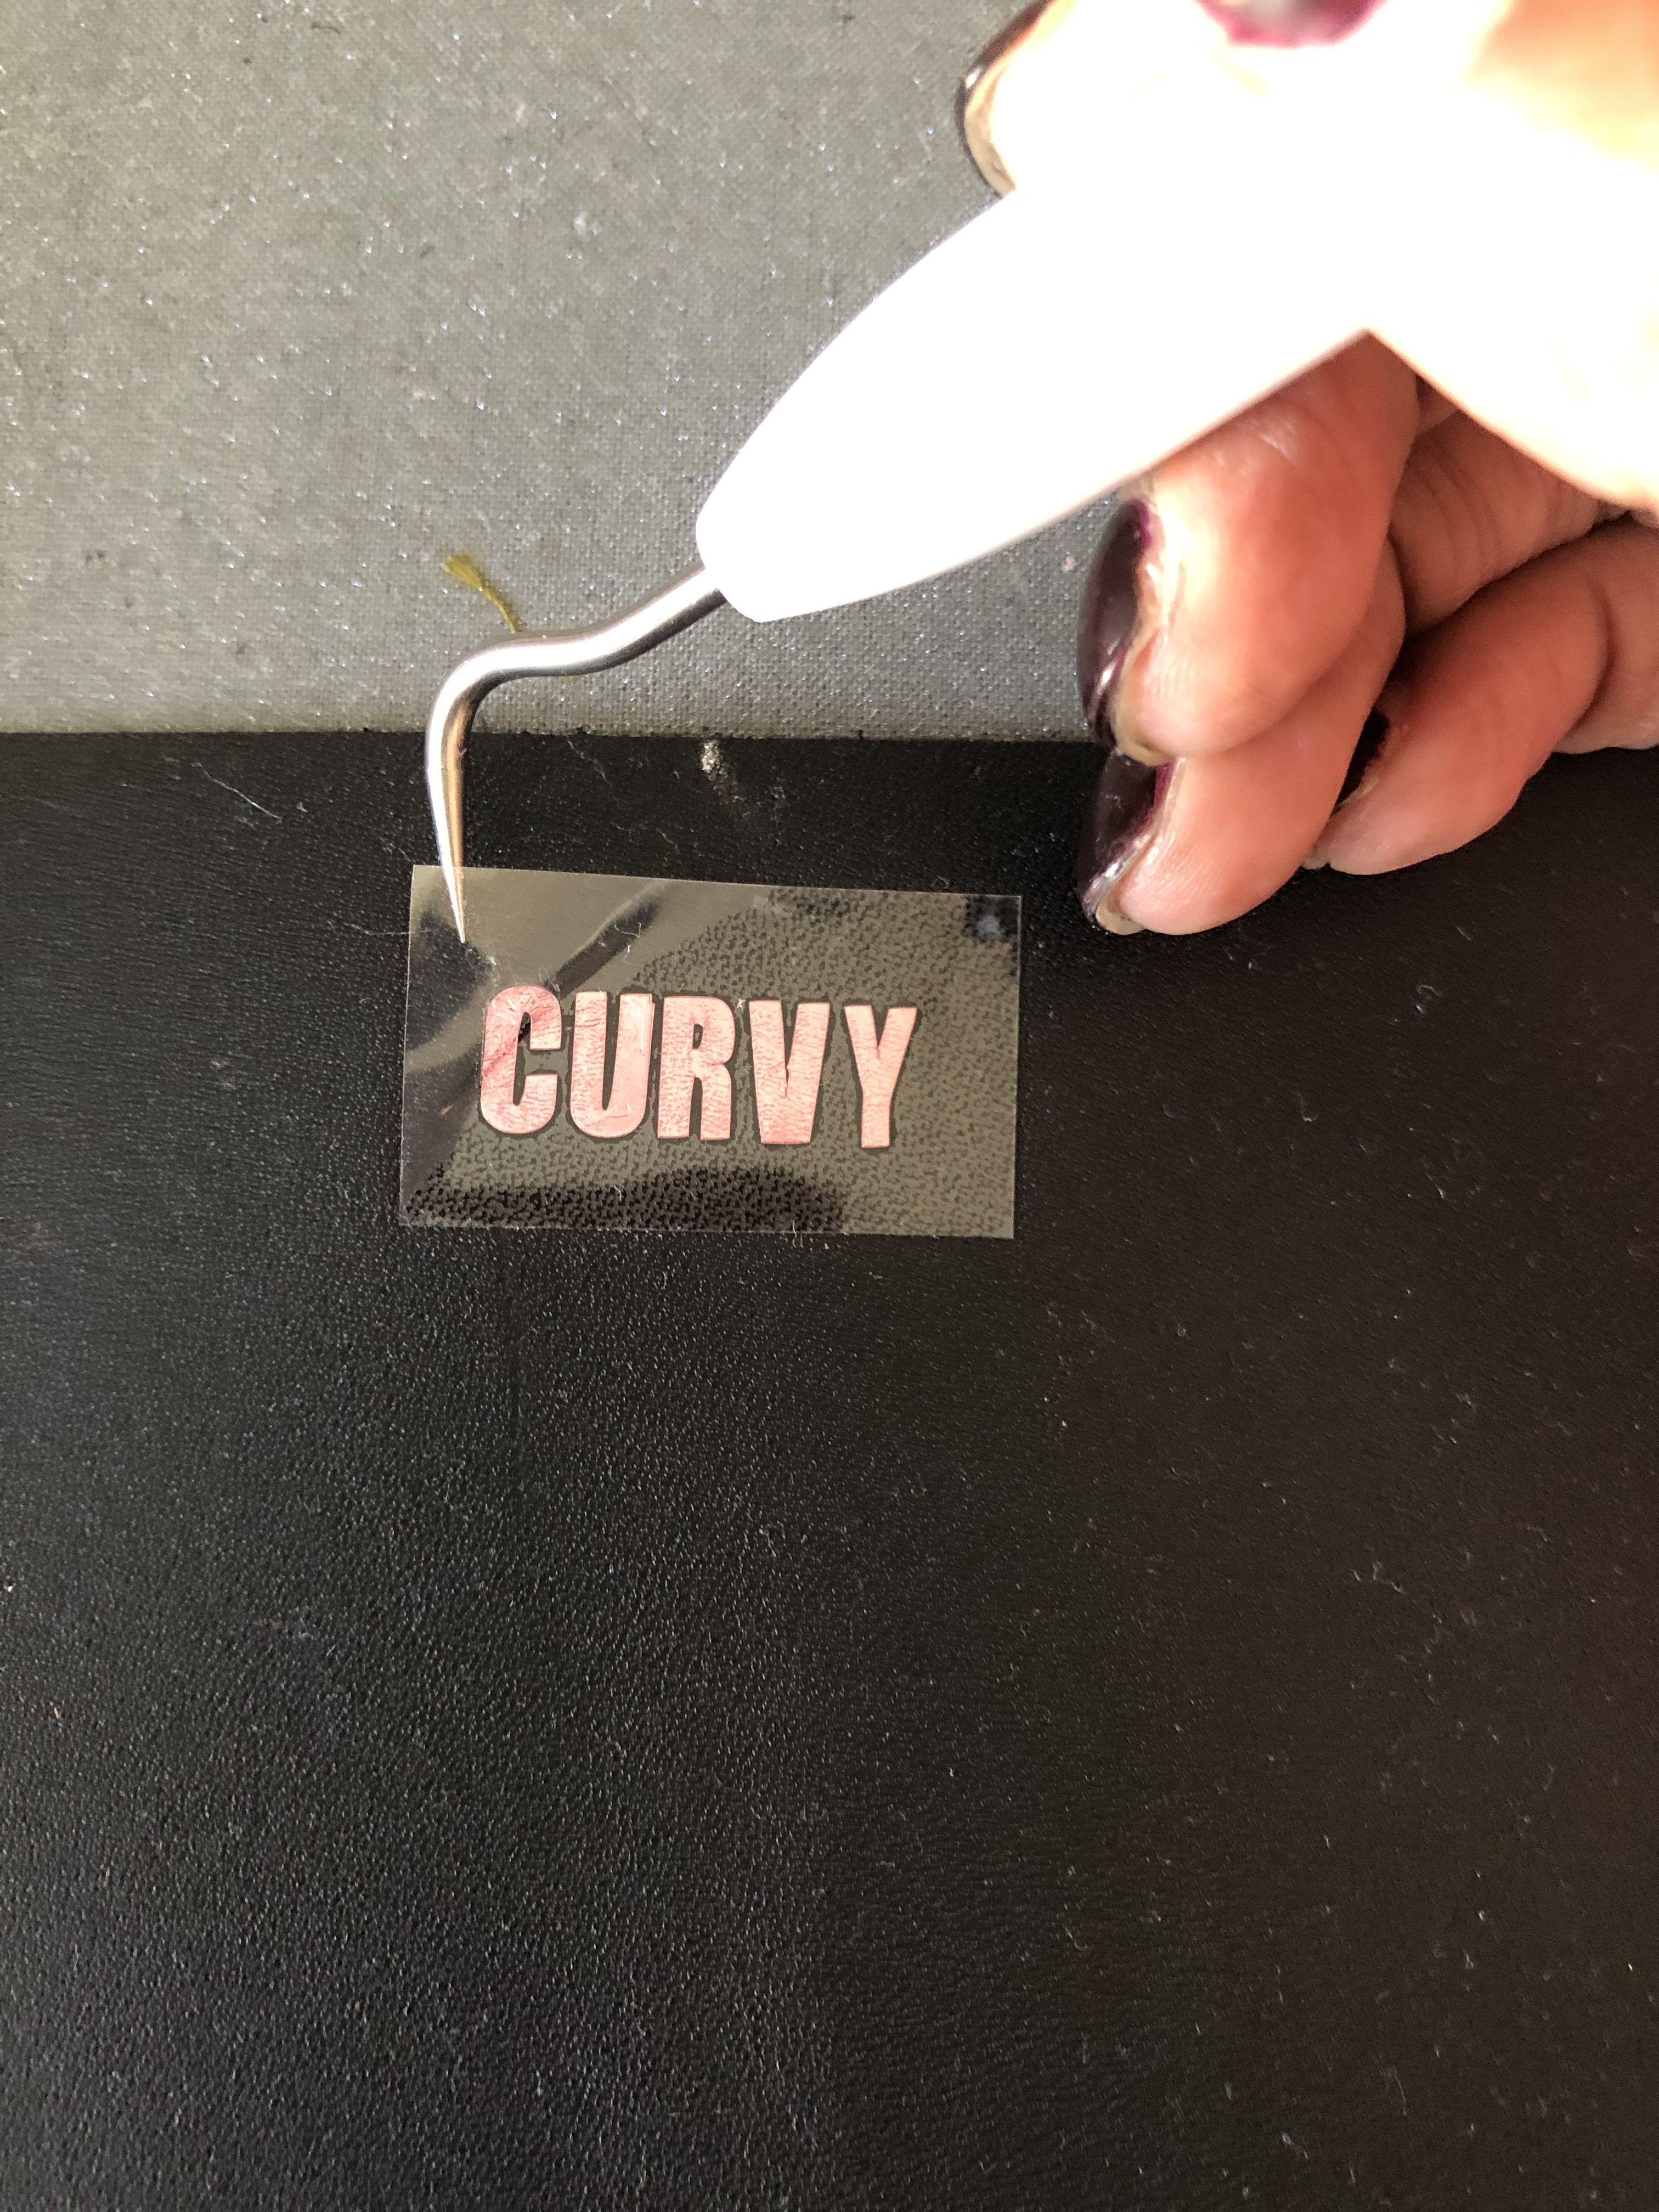
Your foiled piece will appear like this on the leather:
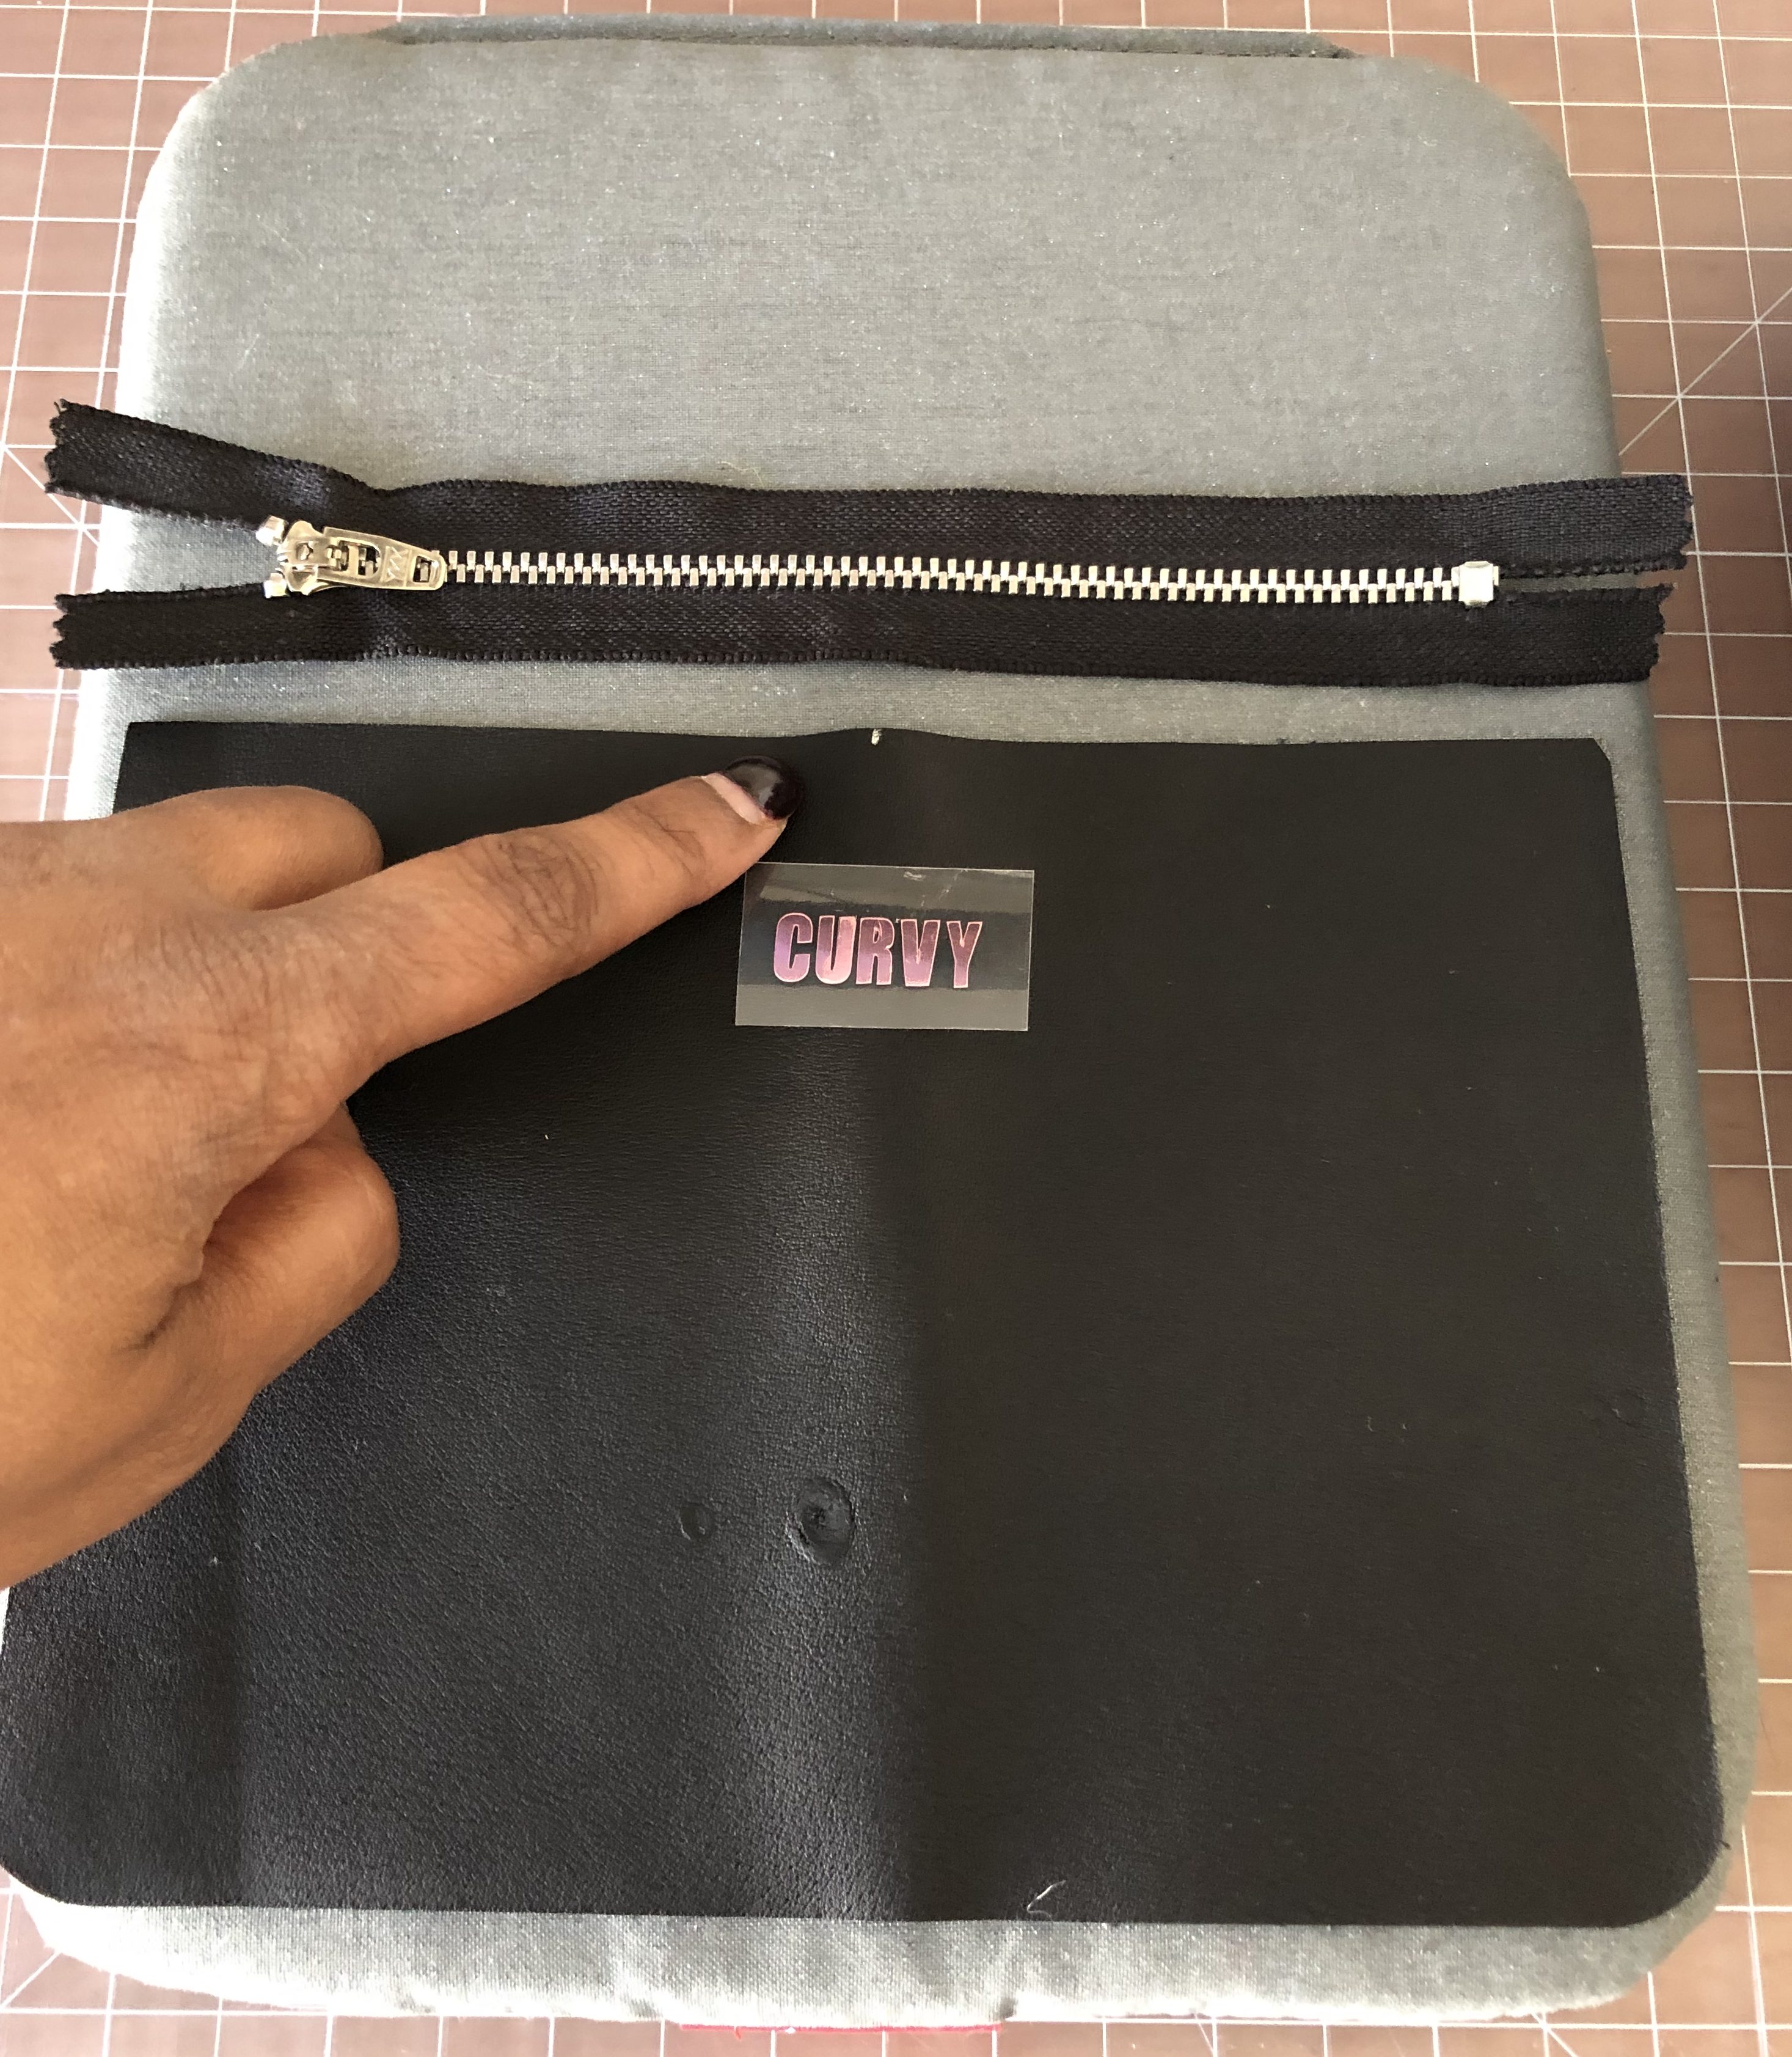
You can now place the zipper, center it right at the mark you made on you clutch. Then add a few dots of the leather glue on the zipper tape staying clear of the teeth.  Adhere the zipper leather over top of the teeth, align both sides, let it dry for about 10 minutes, then proceed with sewing your clutch together:
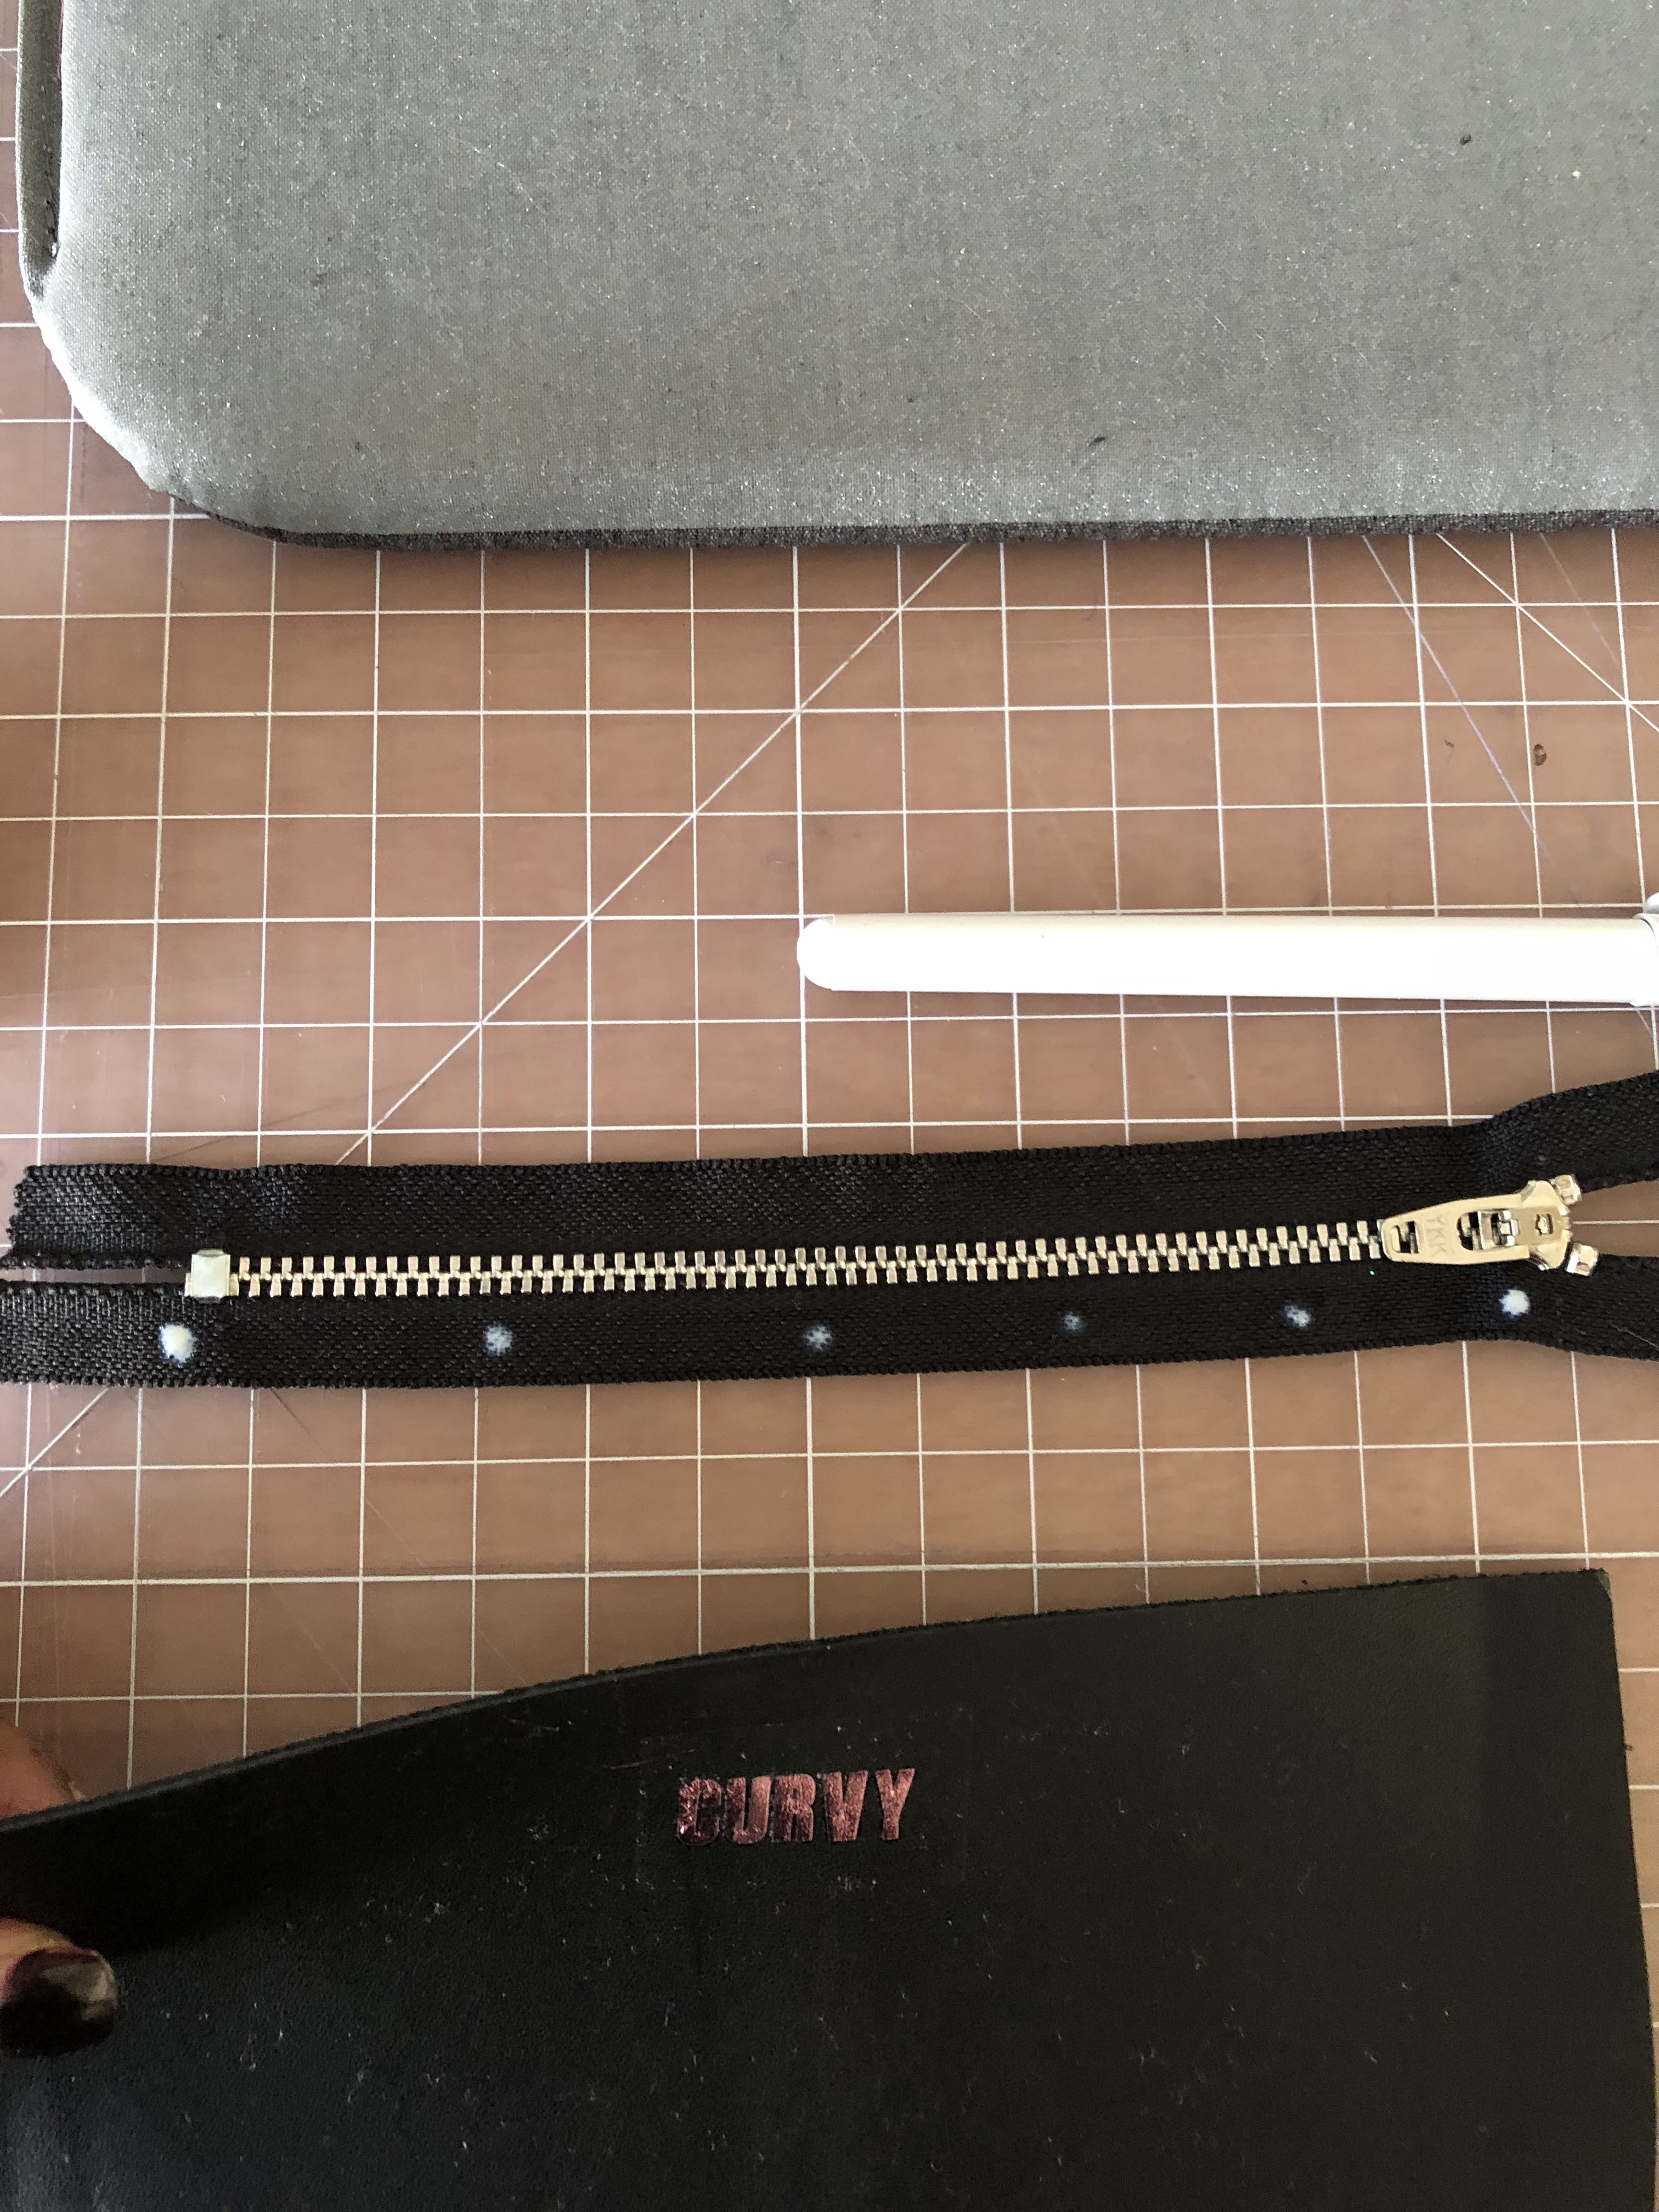
Use your zipper foot and align the edge of the foot right with the edge of the leather, when you get close to the top of the zipper; unzip it a bit so you have a smooth sewing area of the zipper. Flip it over and sew the other side the same way.

Once you are done with that, close the clutch right sides together and begin sewing each side right at the zipper tape using the same zipper foot. Be careful around the curve and be sure you leave enough seam allowance to trim and turn. Once you have the seams sewn, you will want to pound the edges a bit so the
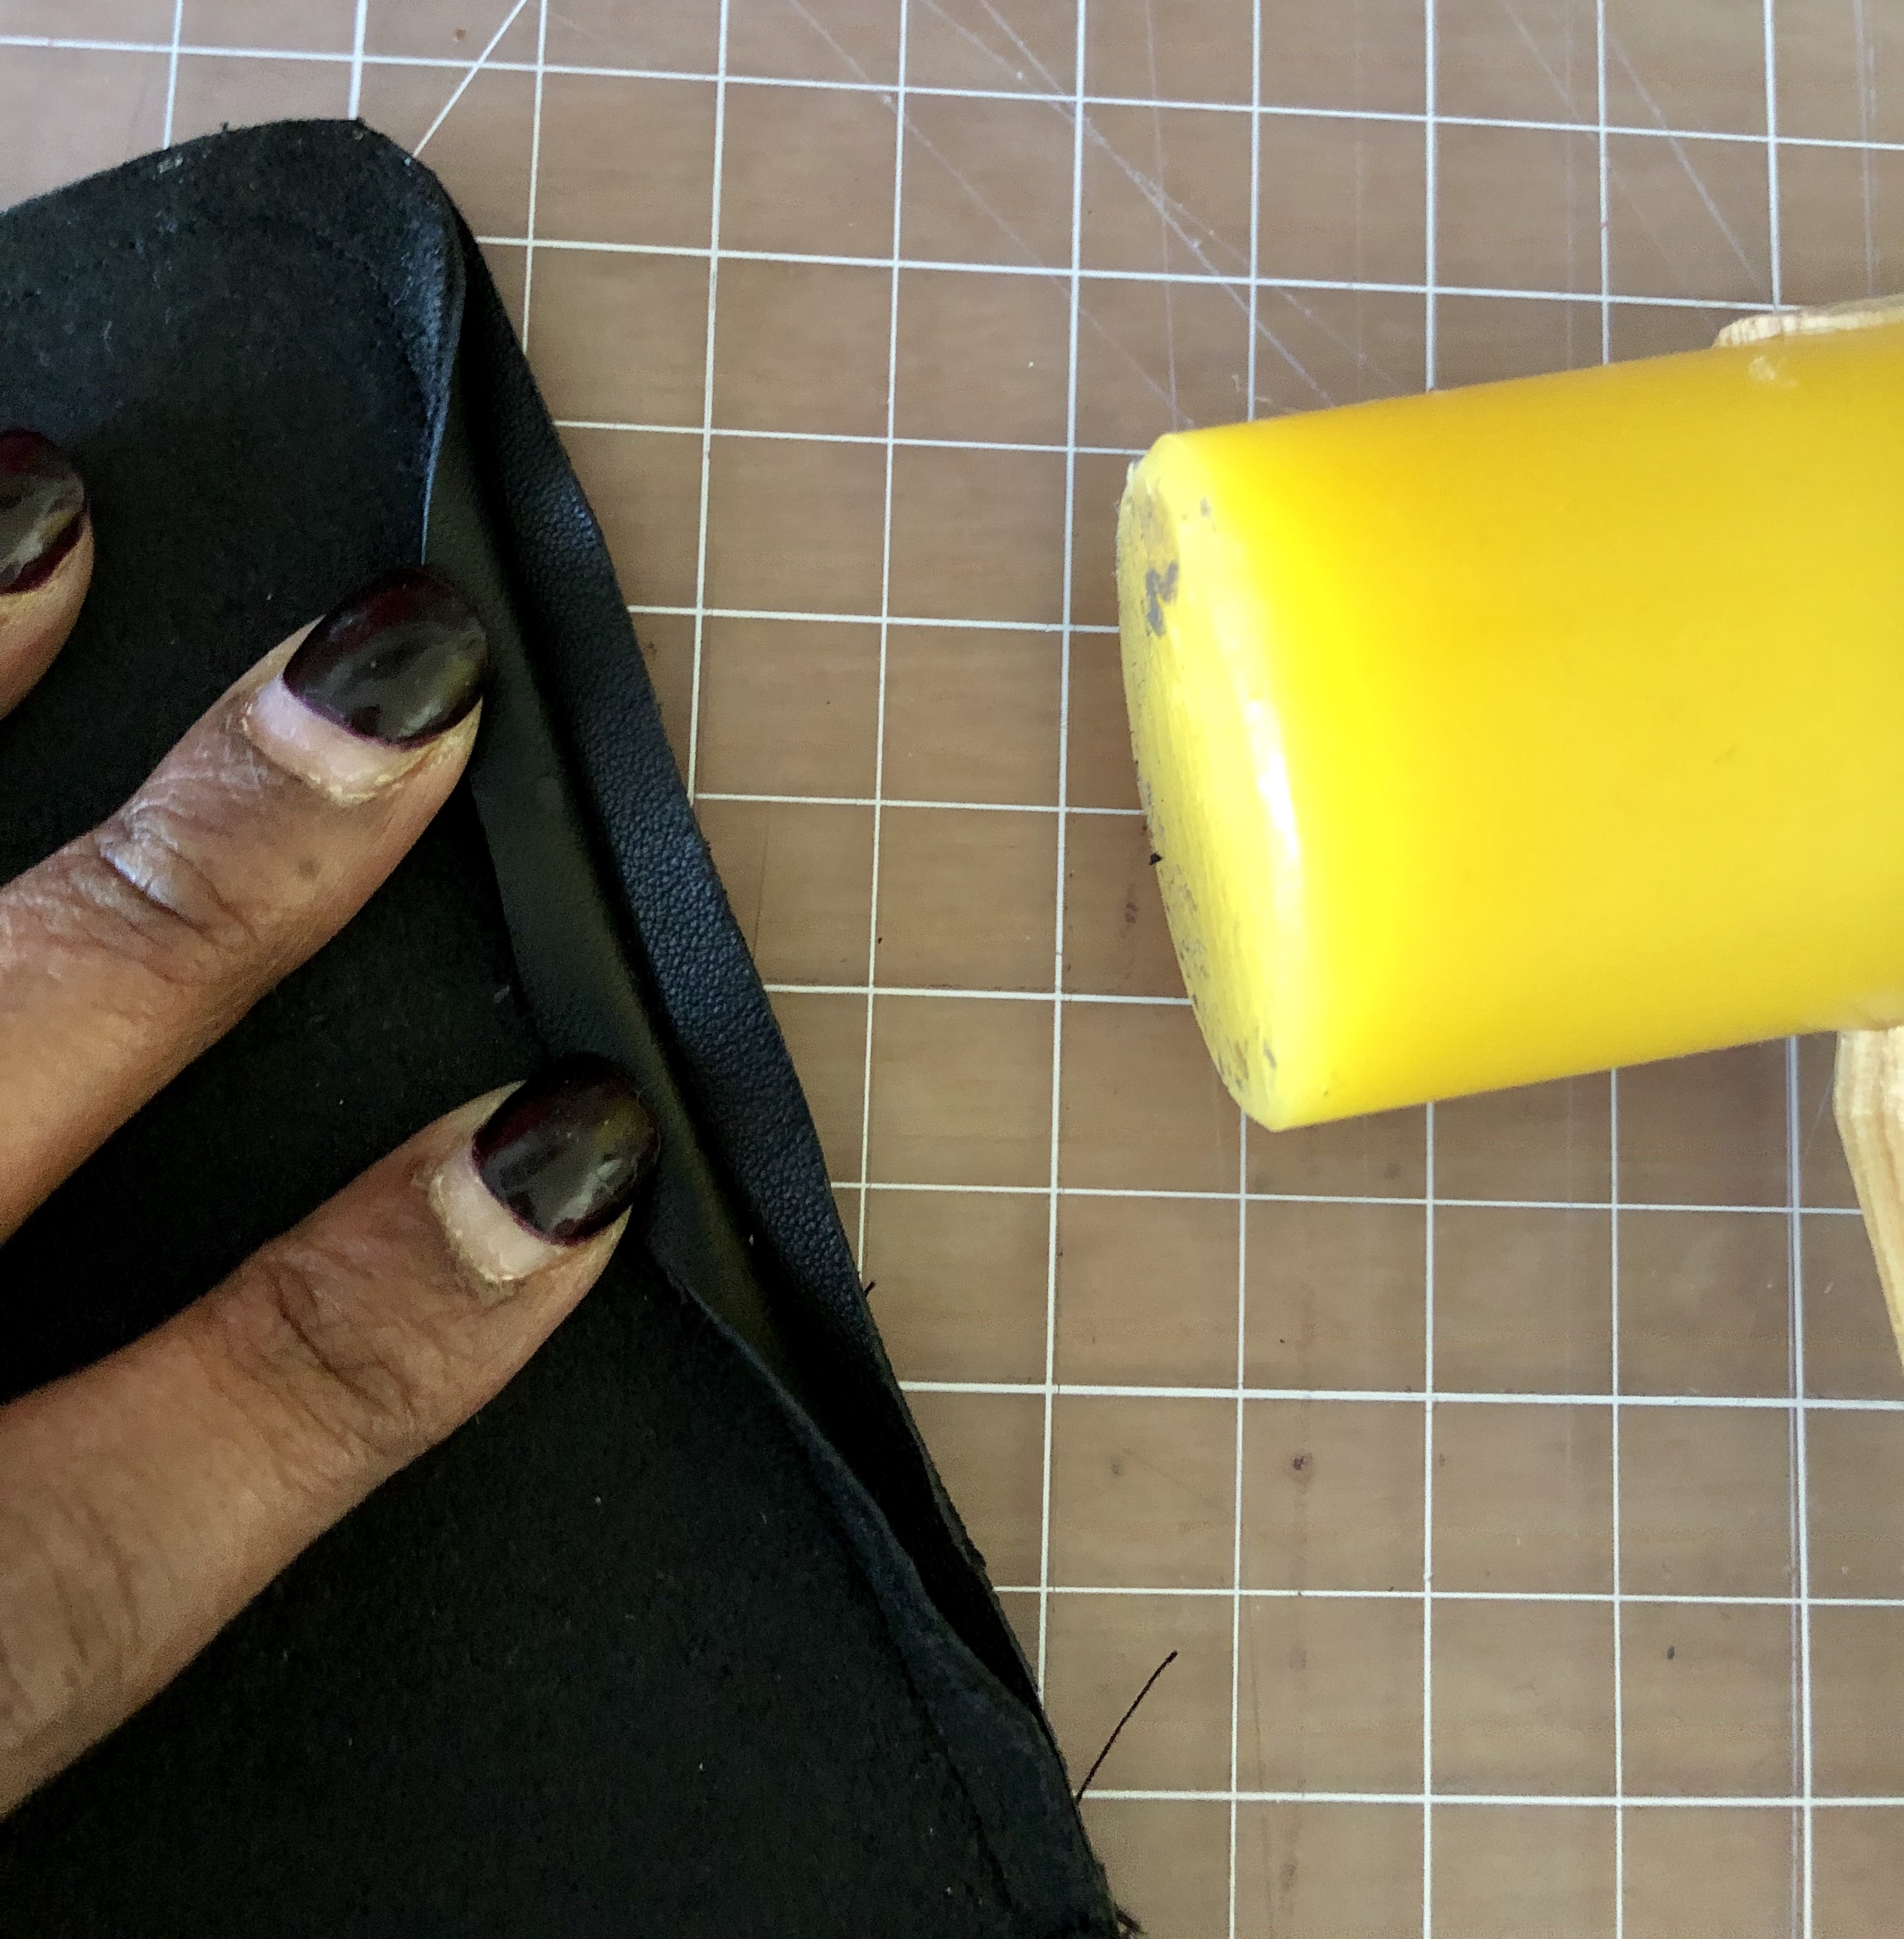
Be very careful clipping the rounded corners, you don’t want to snip a thread — Guess who did that the first time 🙁

Anyway when you are done clipping and turning your final result will look similar.  Don’t worry if your is not exactly like mine — leather can be challenging but not difficult. You need to sew slower than with regular fabric. Leather is thicker and it can drag a bit but just sew slow and you will have a beautiful product to keep or give as a gift!

You leather will soften over time of use and wear.. right now its pretty new so the seams are stiff..

Congrats on working with your first piece of leather!


This is a sponsored conversation written by me on behalf of Cricut. The opinions and text are all mine.
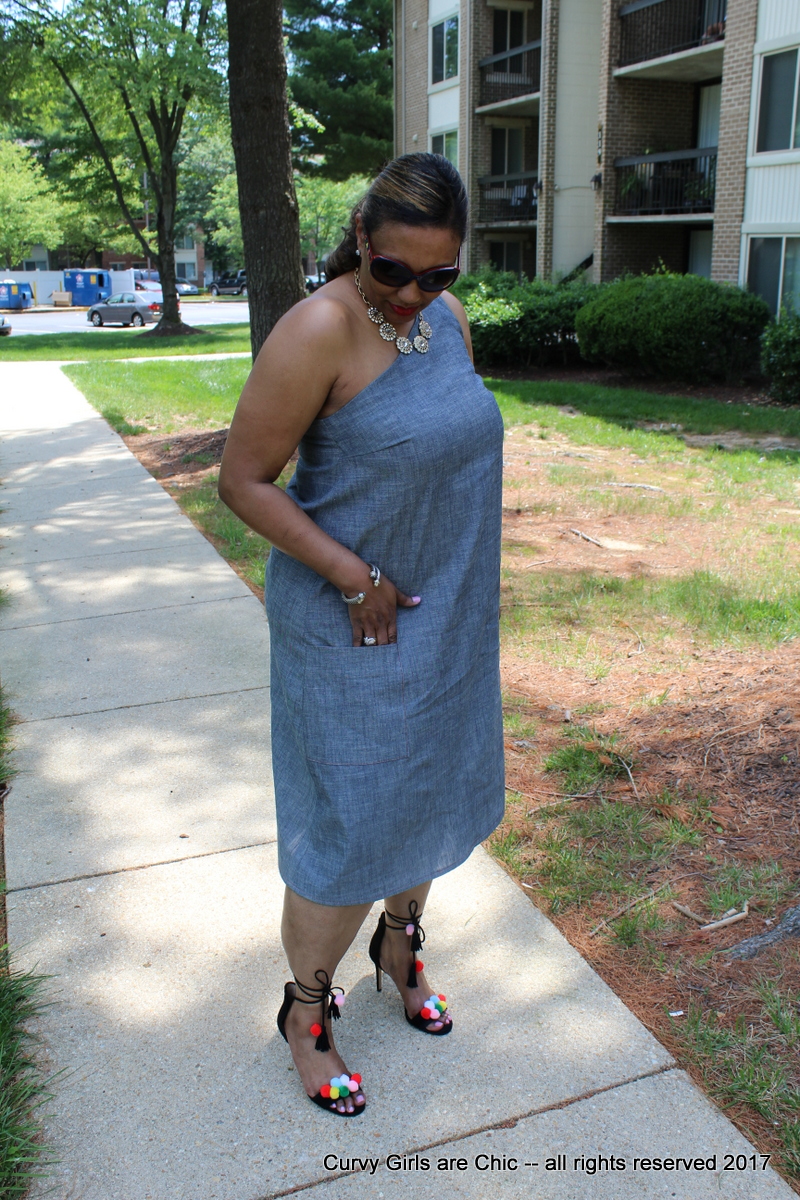
DIY Aquazzura Like Pom Pom Sandals


For the past few seasons, pom pom sandals have been the rave! Luckily, it does not appear this rave will go away anytime soon! We.simply.love.them! They are a great addition to any wardrobe whether they are flats, mid-heel, or high heels.

Aquazzura was one of the first designers to re-introduce these to the fashion world followed by Sam Edelmen with a lower price. I purchased the Sam Edelman flats in the neutral color last season, here they are shown in a sailor blue.  I purchased them last year for $100 bucks and they were worth it.

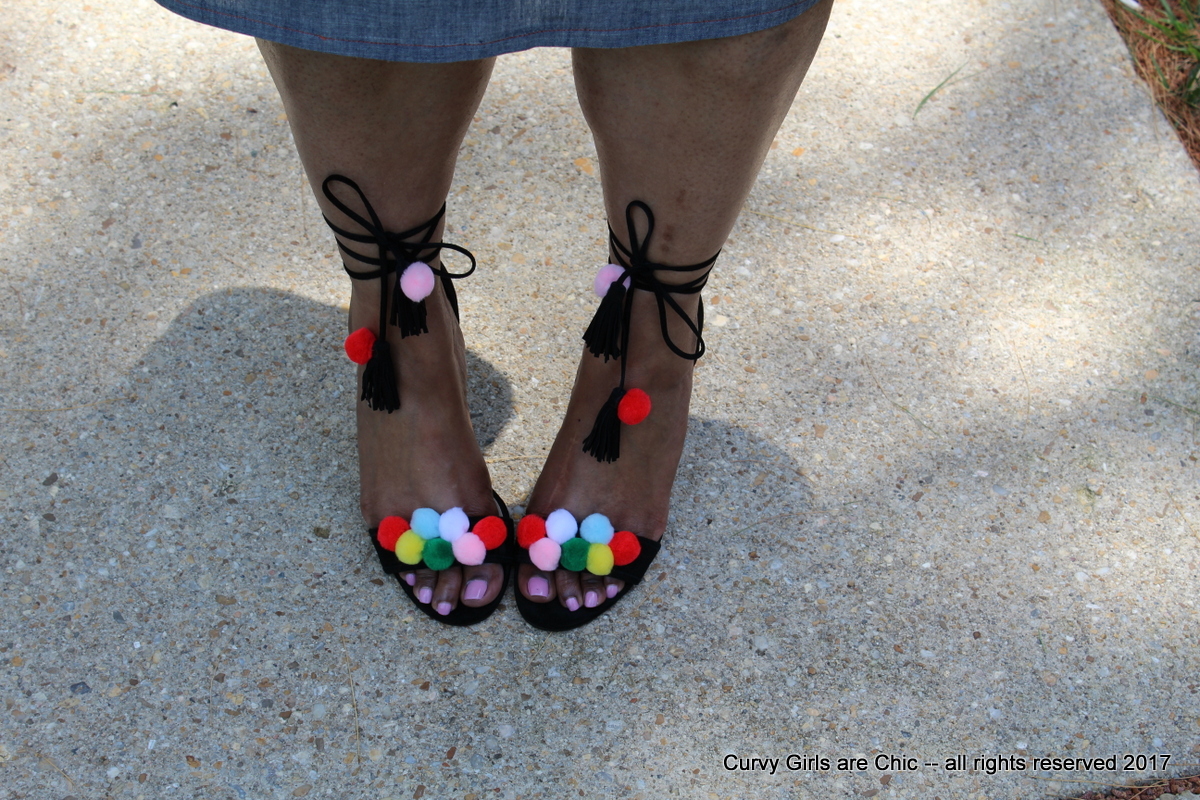
This Spring, I looked at a pompom in a slightly higher heel and did not find quite what I was looking for without spending fabric money! So I thought, why couldn’t I do this myself? I mean I am the Do it Yourself Queen and all Queens must wear the crown proudly. I skimmed a few blogs and YouTube videos for the “DIY” versions and it is so super simple — just some glue and some pom poms! Follow the instructions below so you can have a pair as well!

Do it Yourself Instructions

Goop Adhesive
Pom Pom Any Size You Like any Color (I used primary colors)
Ann Taylor Pumps (Now Sold Out) similar here and here


How to Create the Pom Pom Sandal

You don’t have to prepare your shoe for anything special. The Goop glue adheres to just about any surface.  Make sure you have a damp cloth near by and some alcohol swabs as the glue may leave stray marks on the shoe or your hands. Dab some glue directly to the pompom or directly on the shoe and press down on the surface. You can do a random pattern or a color coordinated pattern.

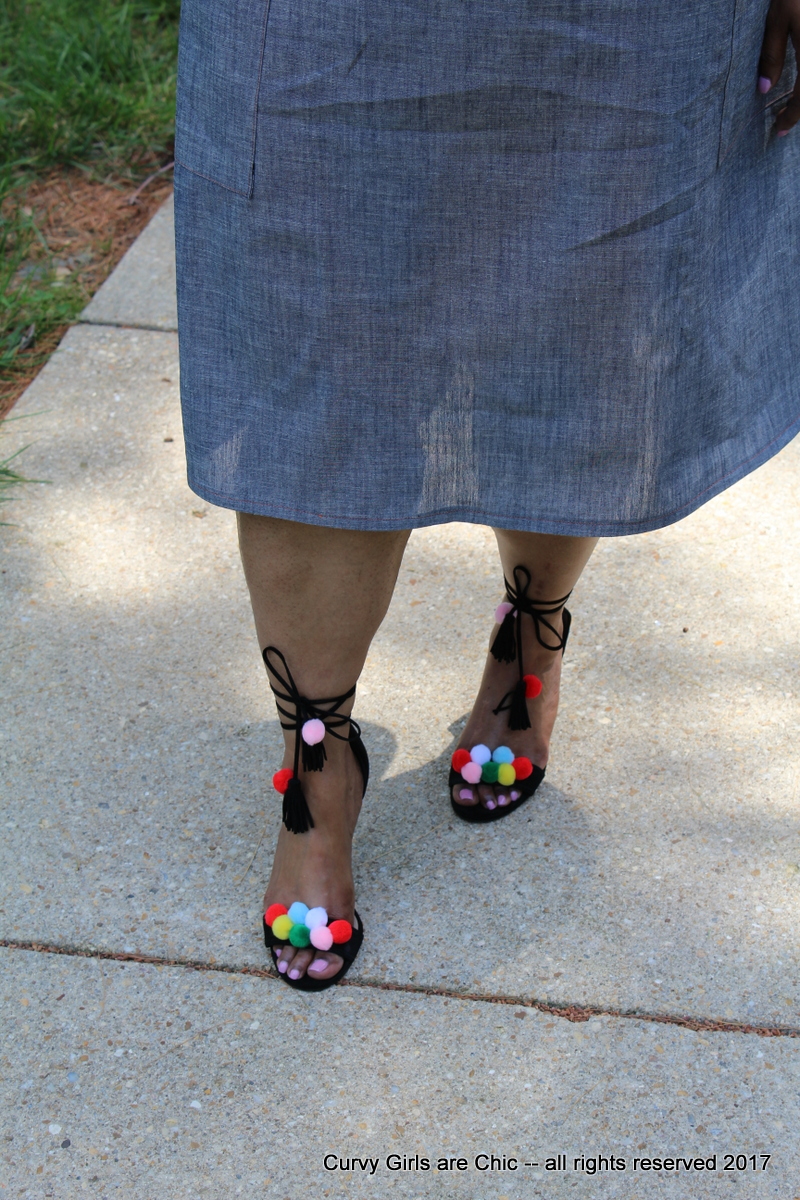
It dries in no time. I did wait a few days before I wore the shoes or moved them as I did want it be completely dry. I also added different color pom poms to the tassel for extra flair!


Eazy Peezy!

More Details!

Dress Pattern: Burda 7225 OOP
Fabric: light-weight denim in my stash


Let me know how you like my shoes xoxoxo!

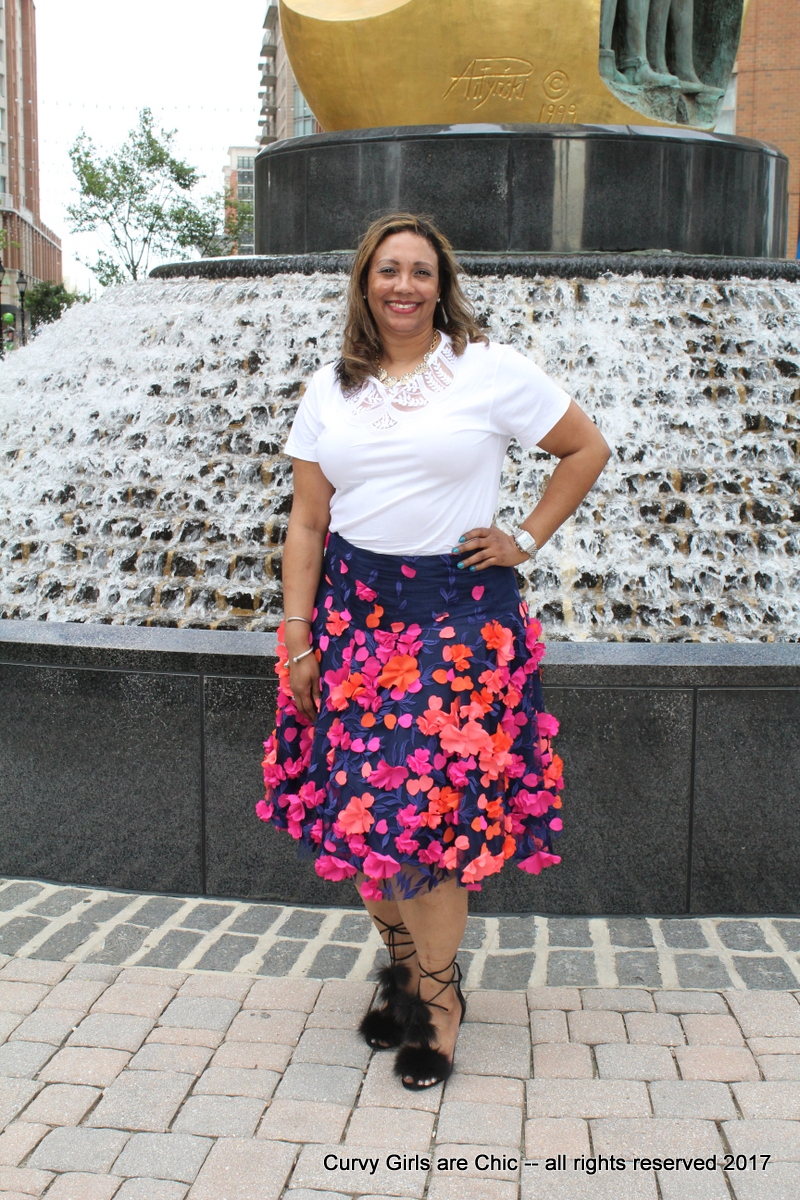
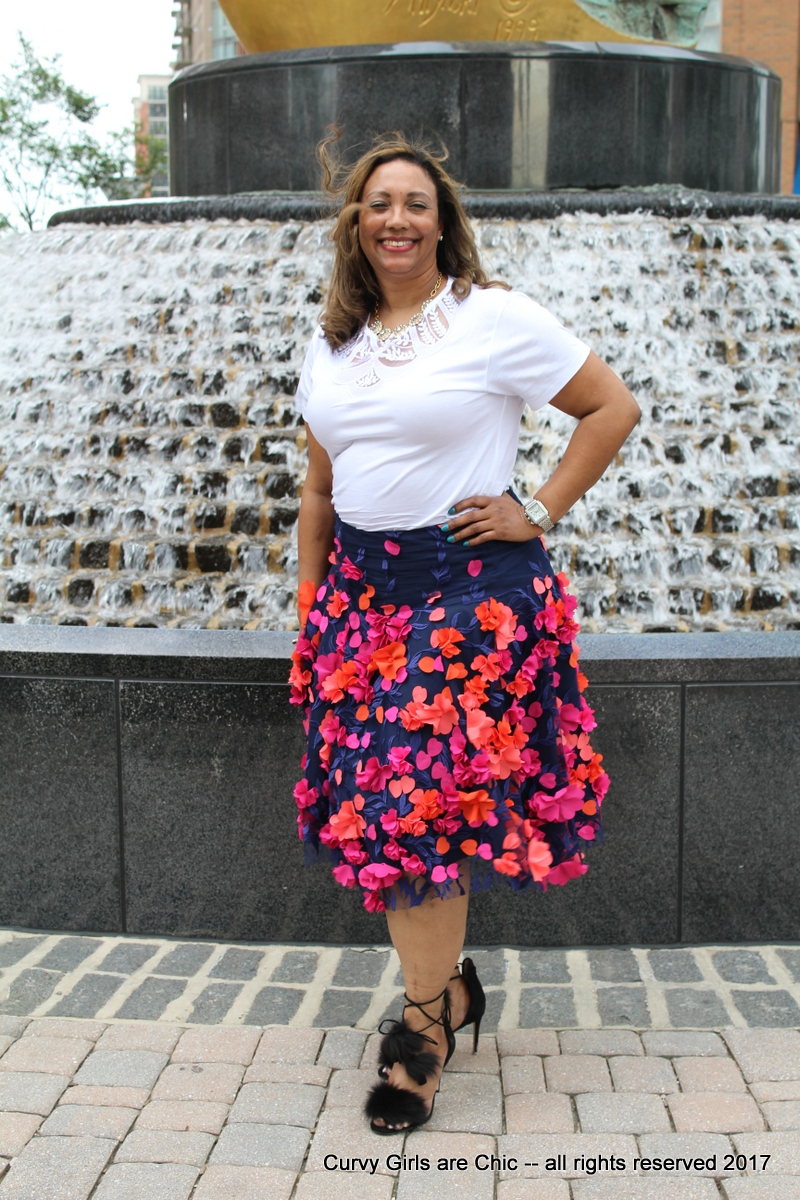
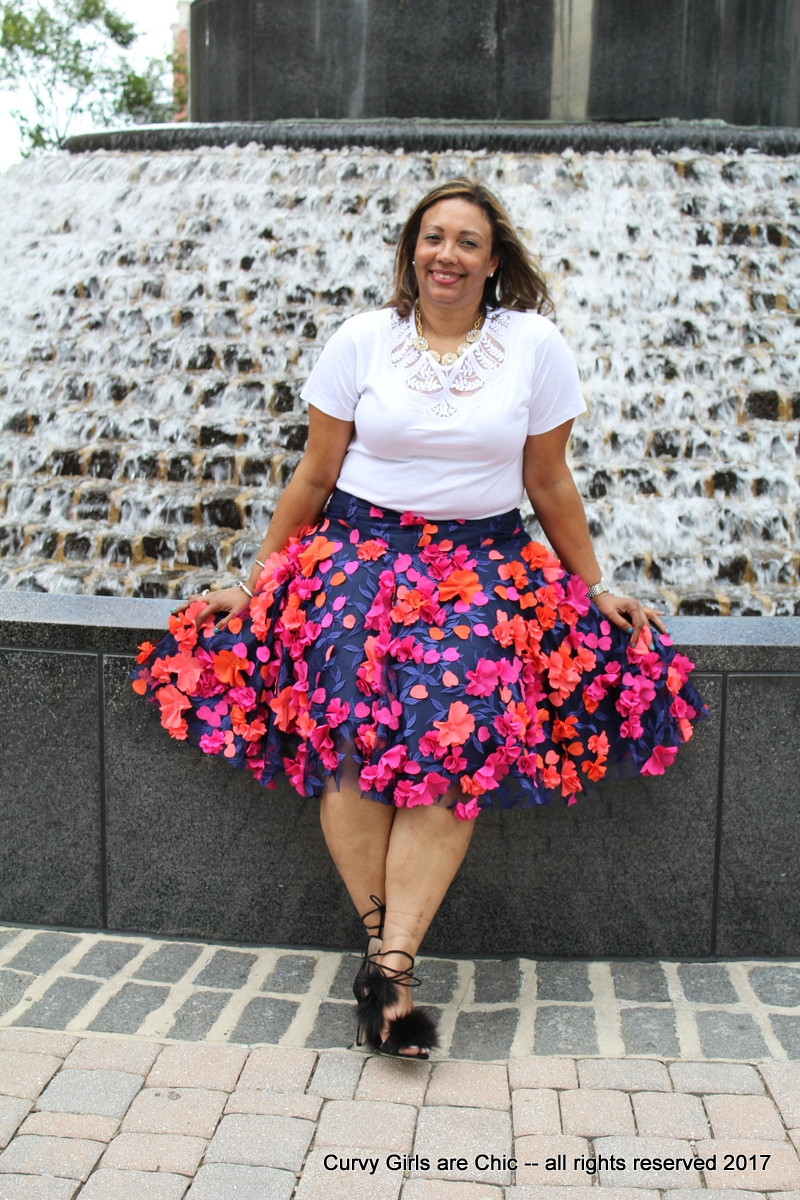
Mother’s Day Skirt McCalls M6842

Happy Mother’s Day!

Flower Skirt M6842

Mother’s Day Skirt M6842

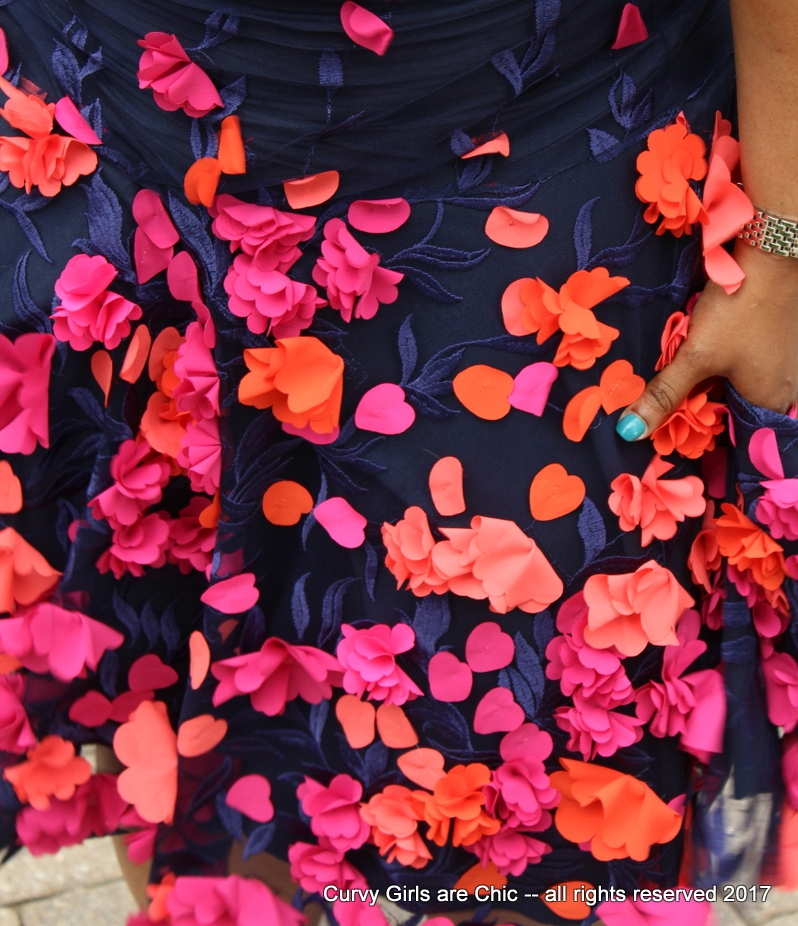
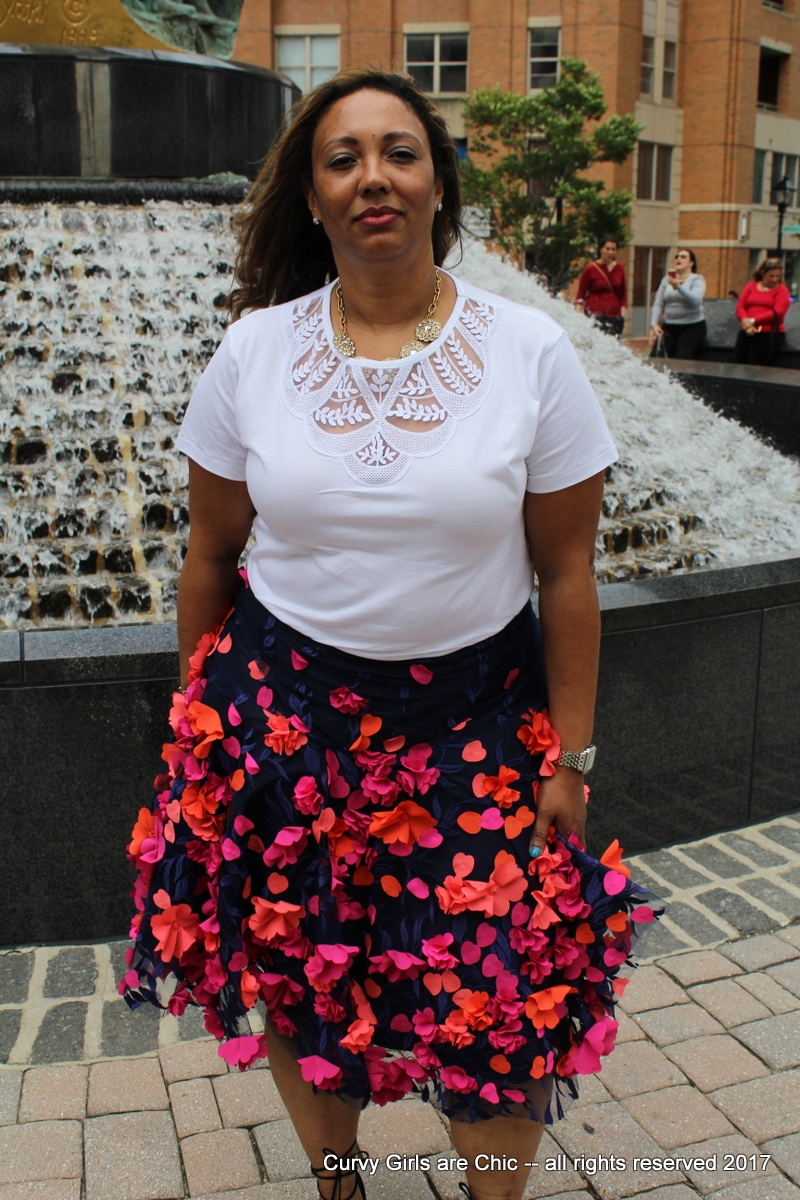
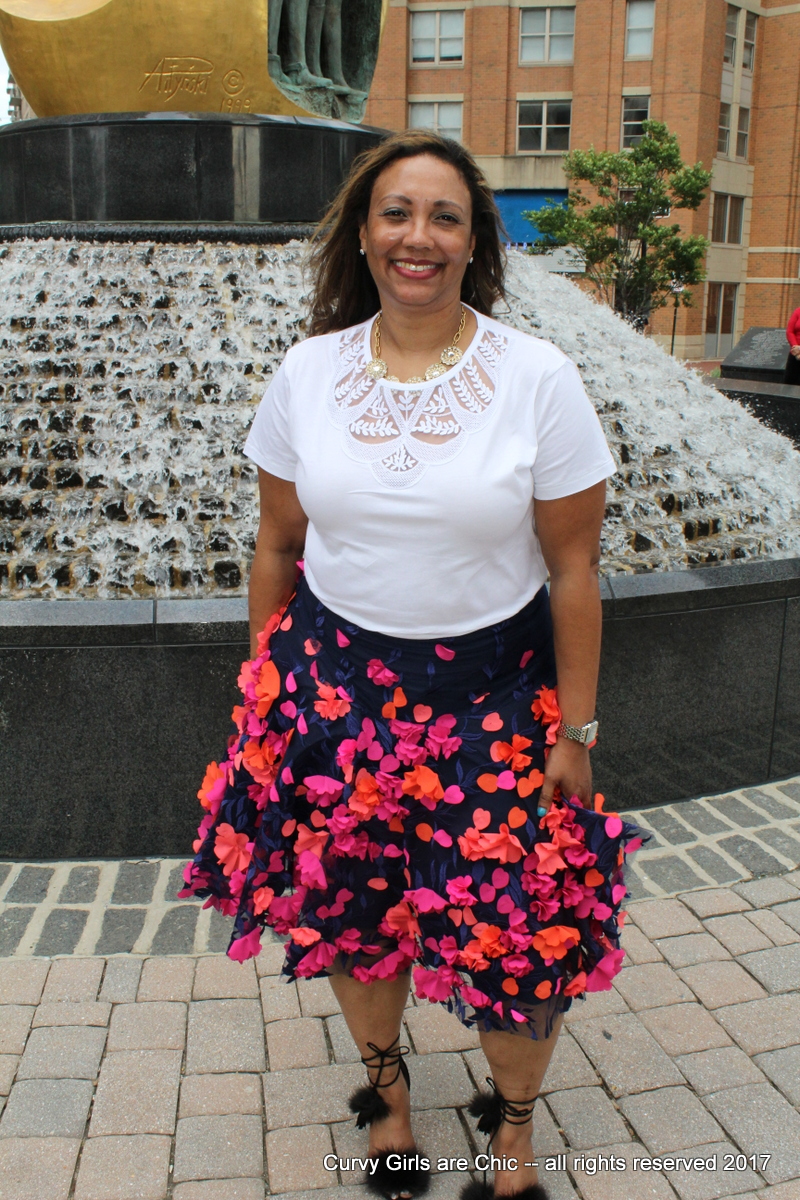
For this project, I used two fabrics.  The fabric used is from A Fabric Place in Baltimore. The bottom layer of fabric is navy blue taffeta.  The top layer of fabric is an embroidered tulle with 3-D flowers in red, pink, and orange. When I saw this fabric a few weeks ago I had to have it. I also did a preview of this fabric on Instagram when Sewing Design School did a monthly photohop and asked us to post #fabrictoafraidtocut!

I generally do not have a fear to cut fabric, it’s fabric, I control it I won’t let it control me! The only part that I did have a slight fear of is wasting the precious petals of the fabric and or cutting it in the correct direction.  I used the larger group of petal pieces as they actually went across the grain of the fabric. The more cascading petals were near the end of the fabric on the left side of it. I have a good portion of pieces left over that I refuse to discard. Perhaps I will add them to a clutch or a cool T-shirt to add some flare!

Here are more photos!

As you can see I did not hem the tulle, it does not fray.  However, the placement of the petals are uneven throughout the fabric it was almost impossible to hem as I would remove a great deal of the petals!

Close up of the embroidery on the fabric!

The wind was really whipping after dinner yesterday I am pretty sure quite a few got a peep show downtown Baltimore as my niece took my photos..lol

Do you like my shoes?

I will provide more details on these later this week, they are a combination of a store-bought shoe and a do-it-yourself added accessory!

Pattern McCalls 6842
Fabric: A Fabric Place in Baltimore
Top: Zara
Necklace: JCrew Factory
Lipstick: Tom Ford Cherry Lush Lipstick
Nail Polish: Essie Satin Sister


#ad This post does contain affiliate links, not sponsored links. All recommendations on this post are recommendations of Curvy Girls are Chic and are not sponsor or paid for by any sponsor.

Backless Floral Dress McCalls 3673

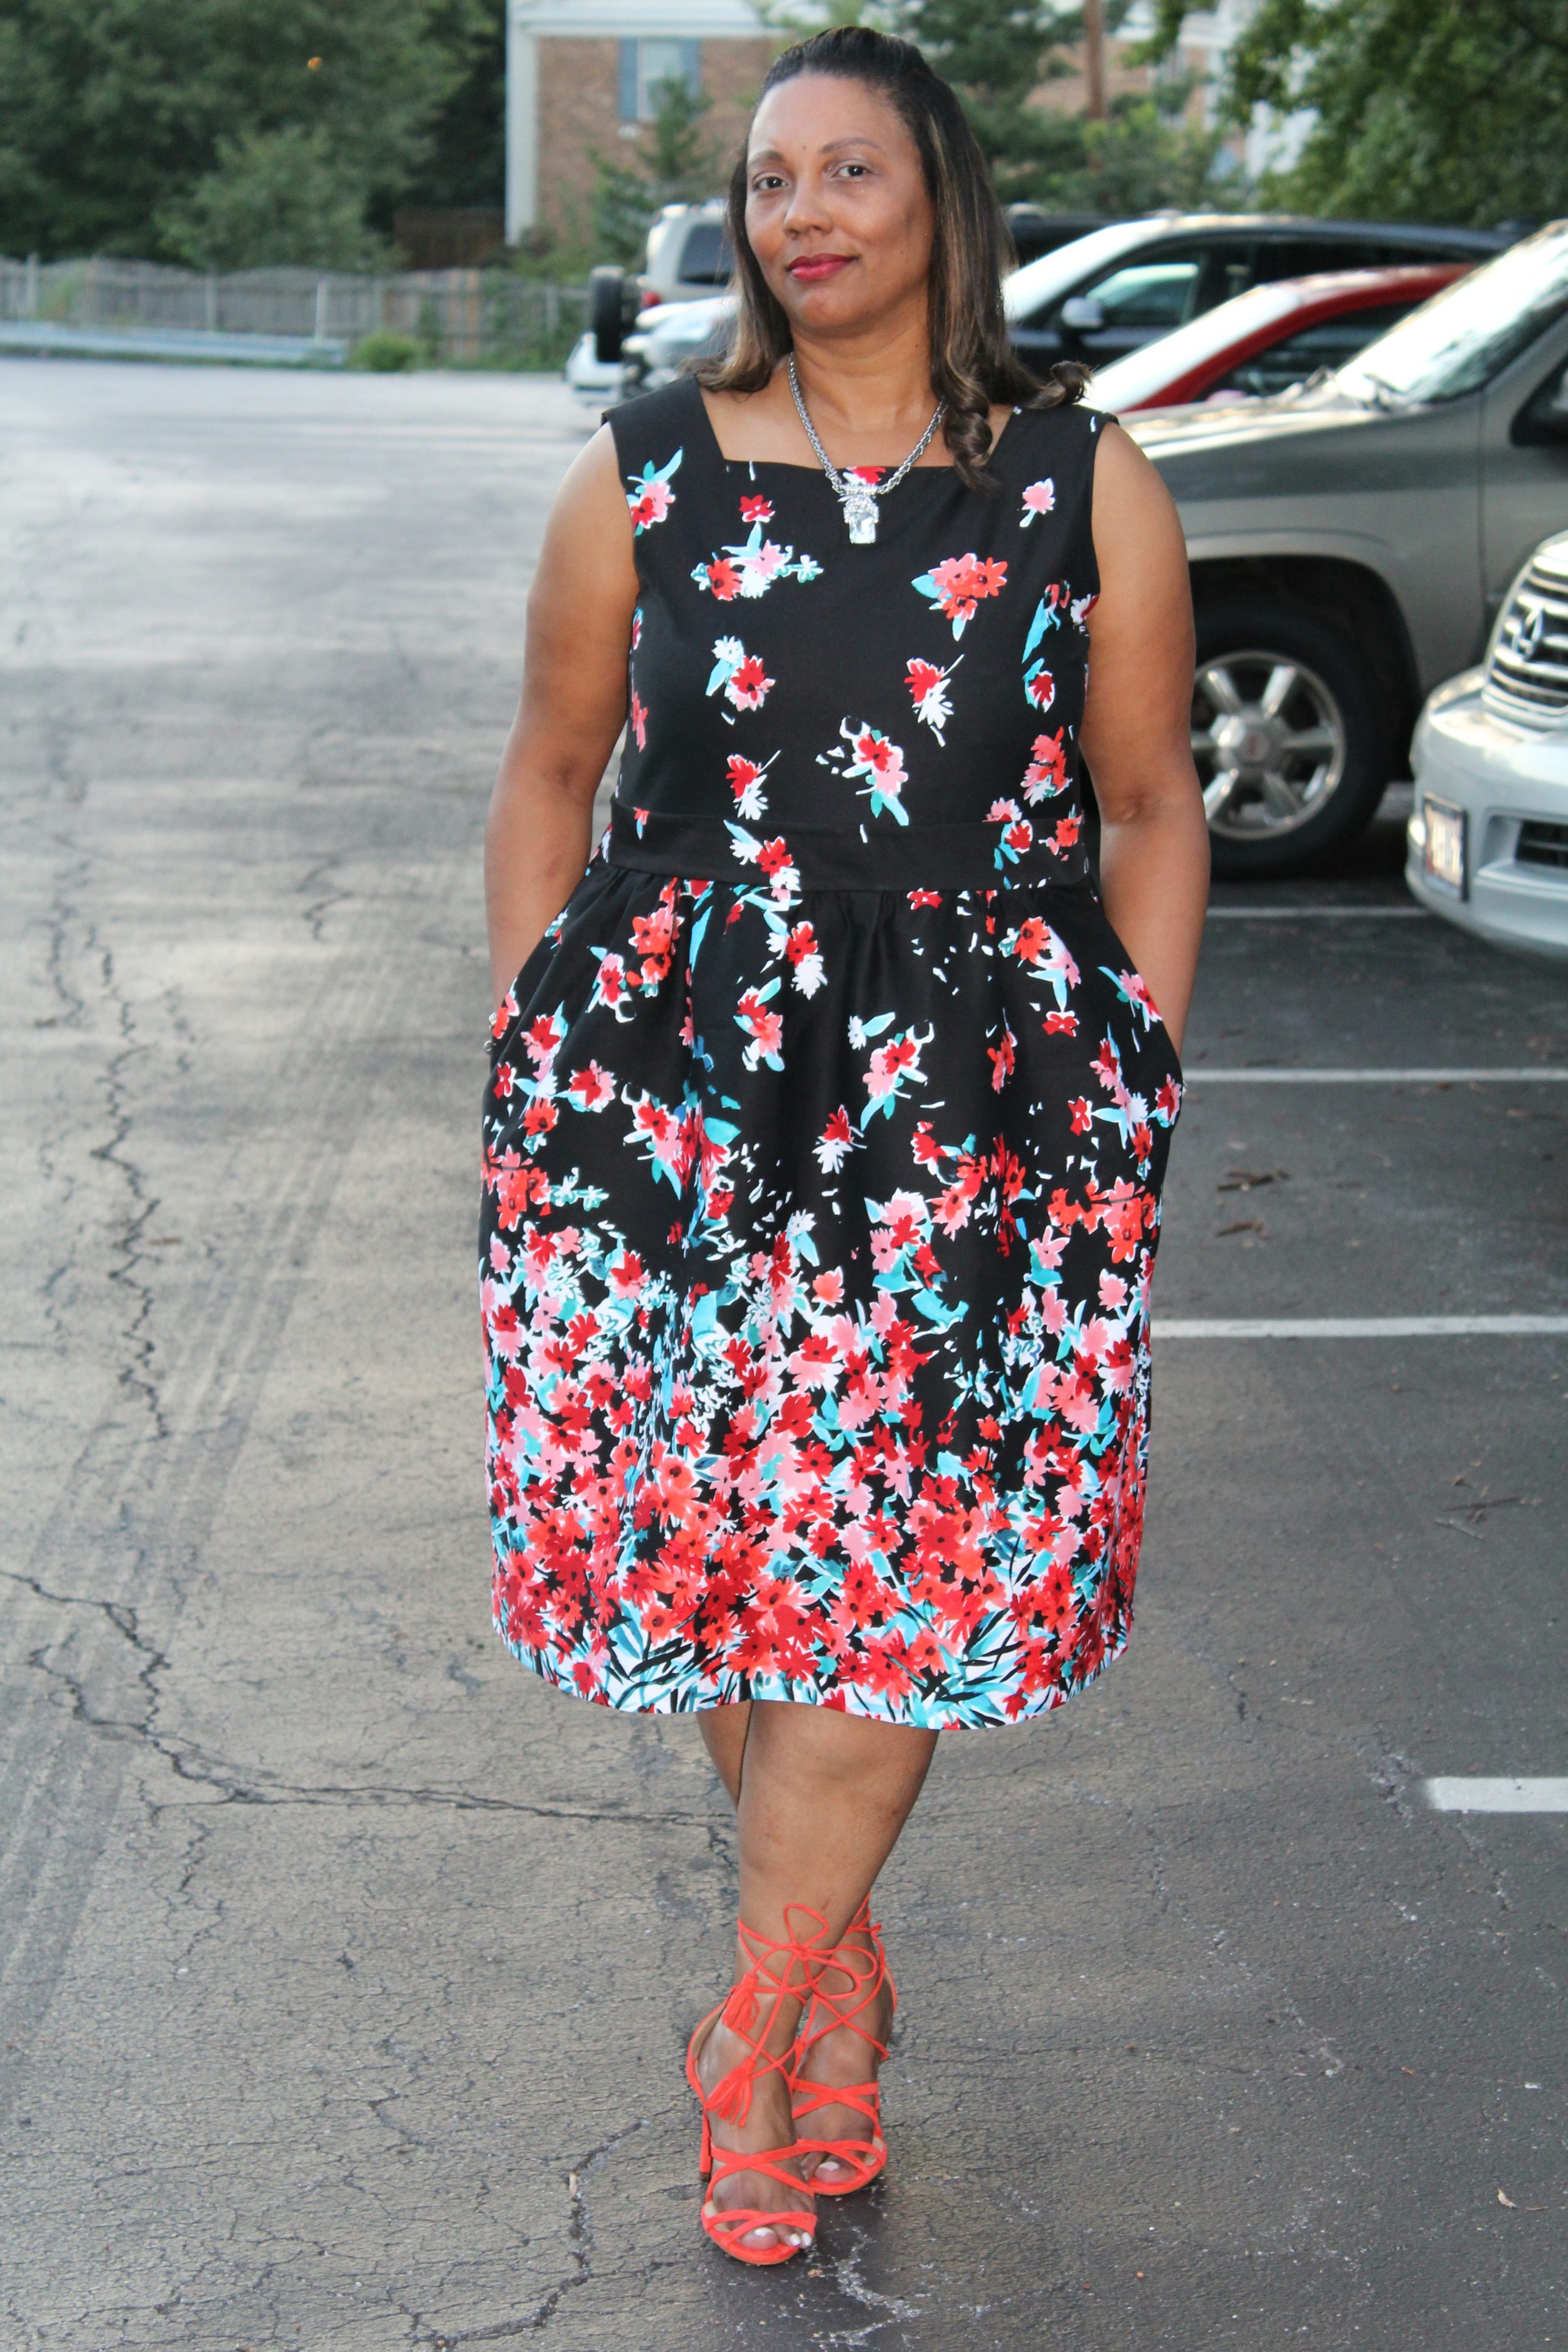
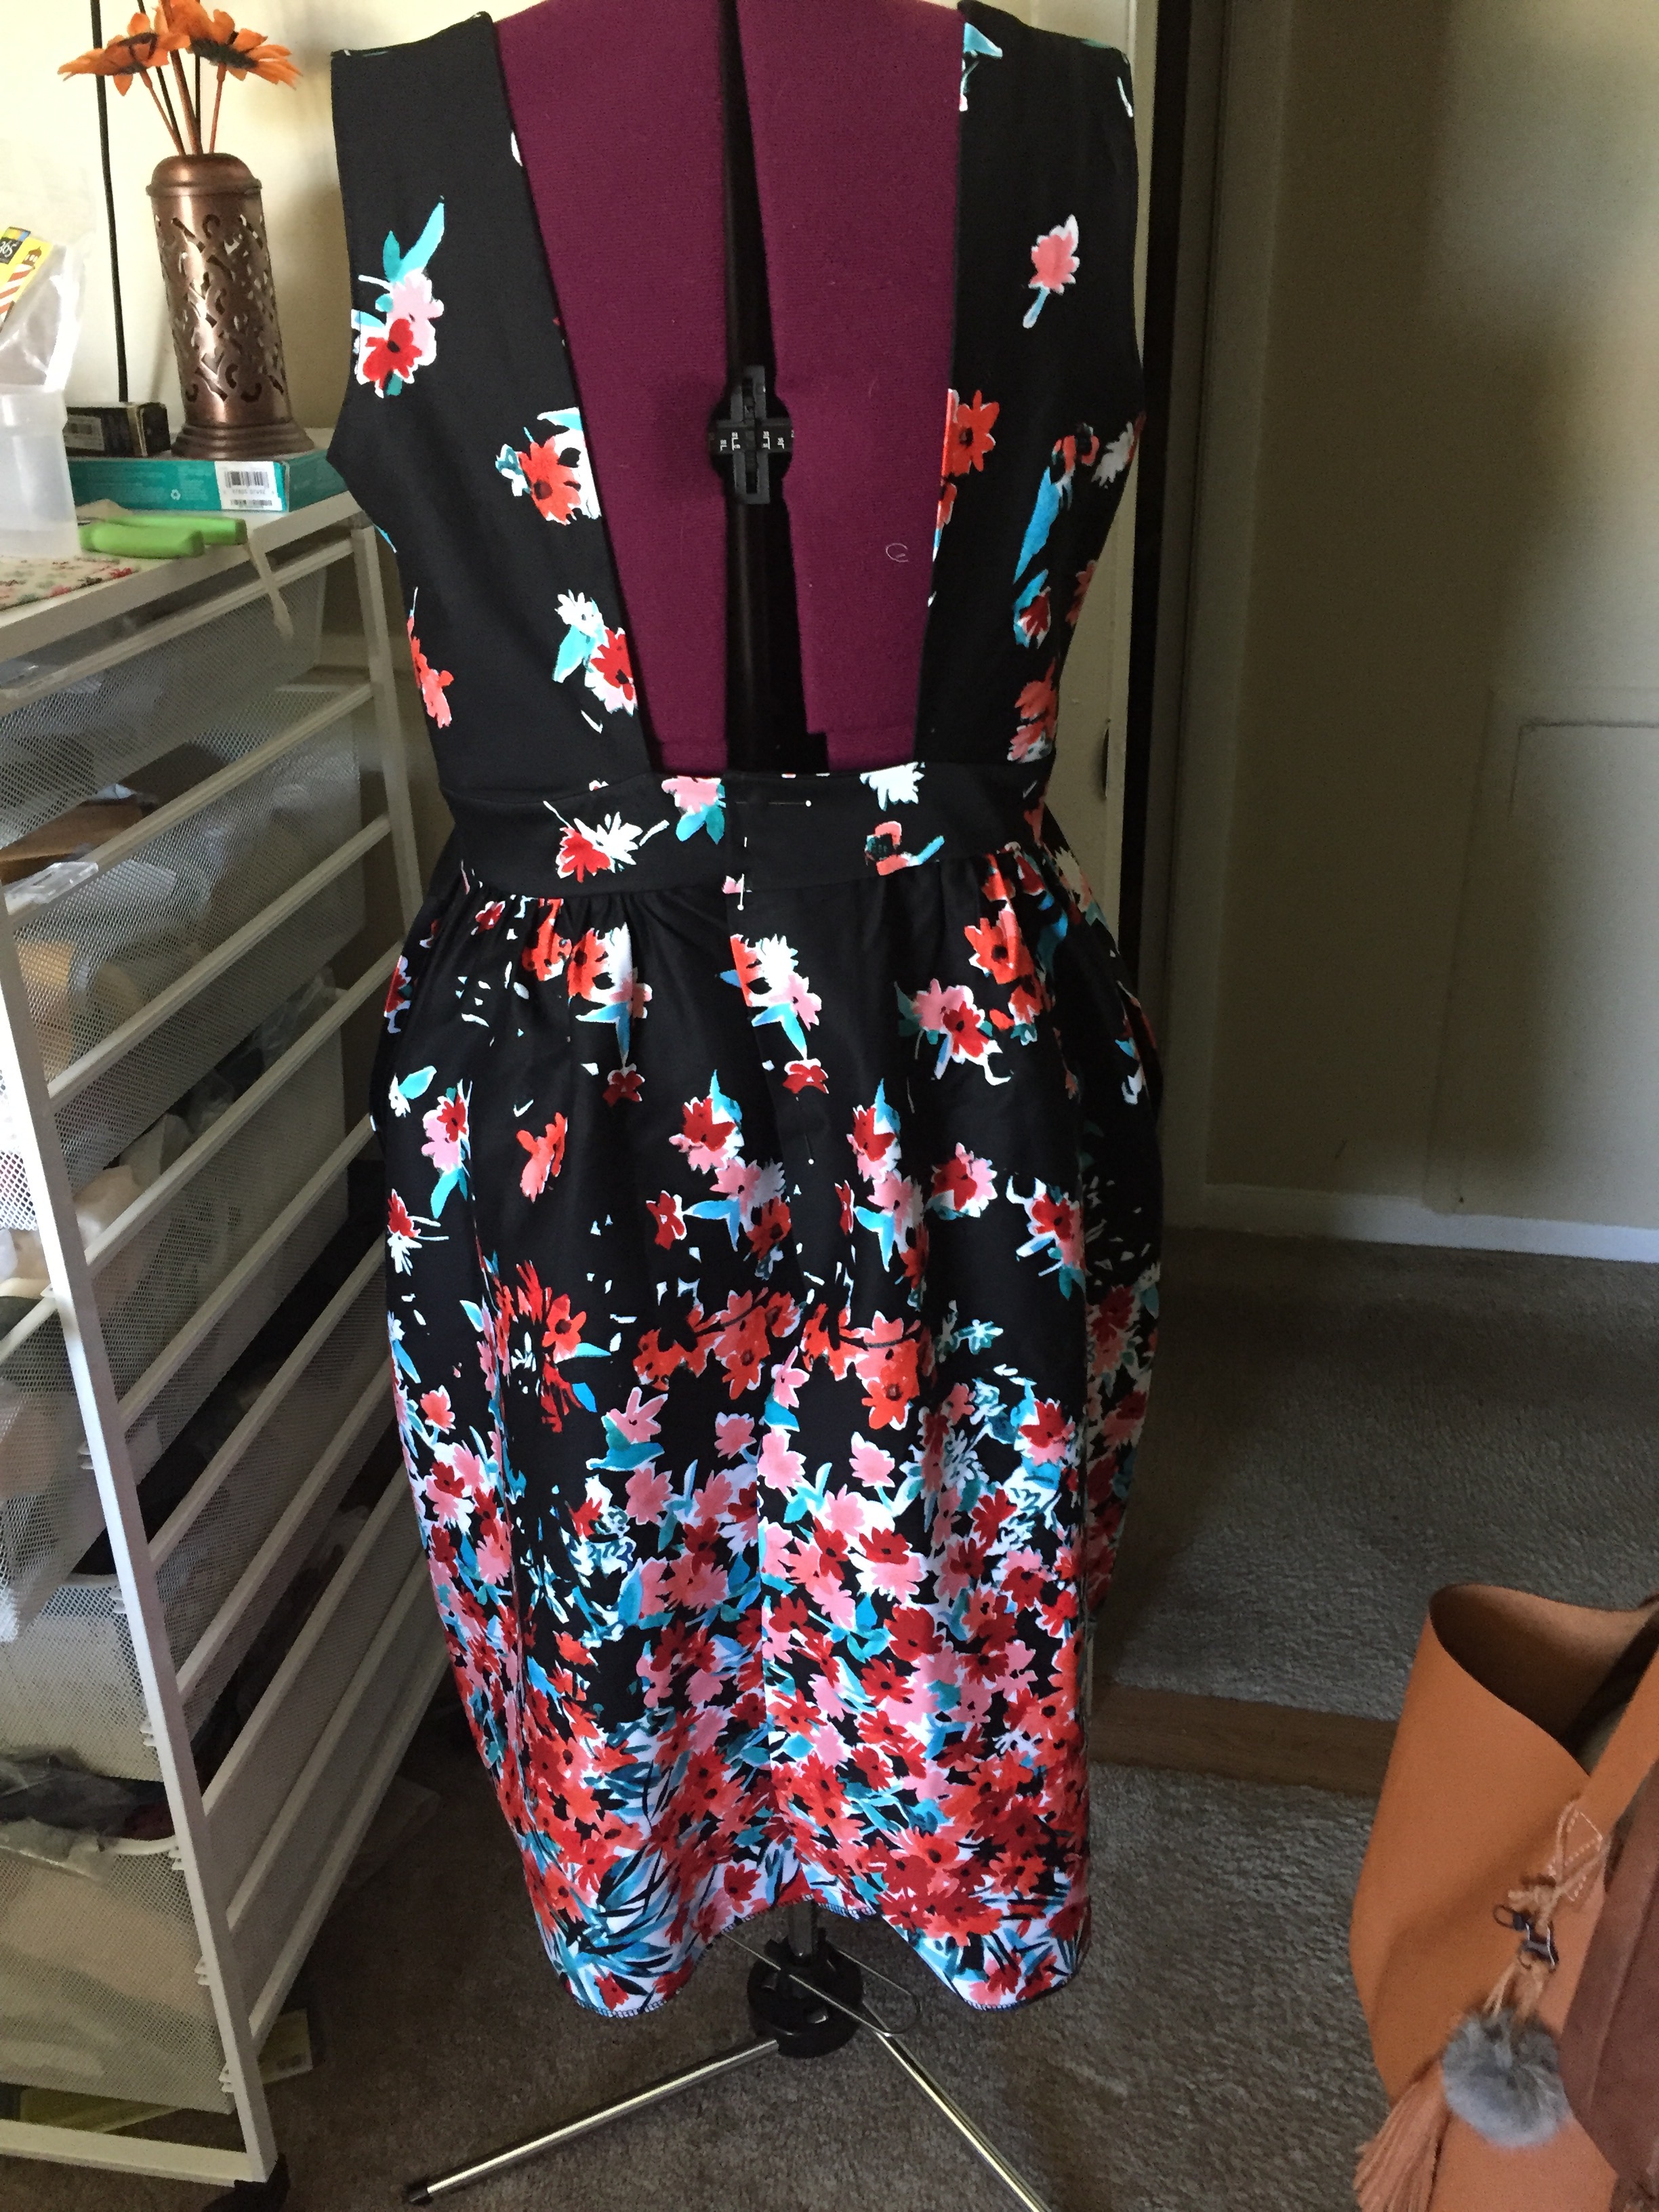
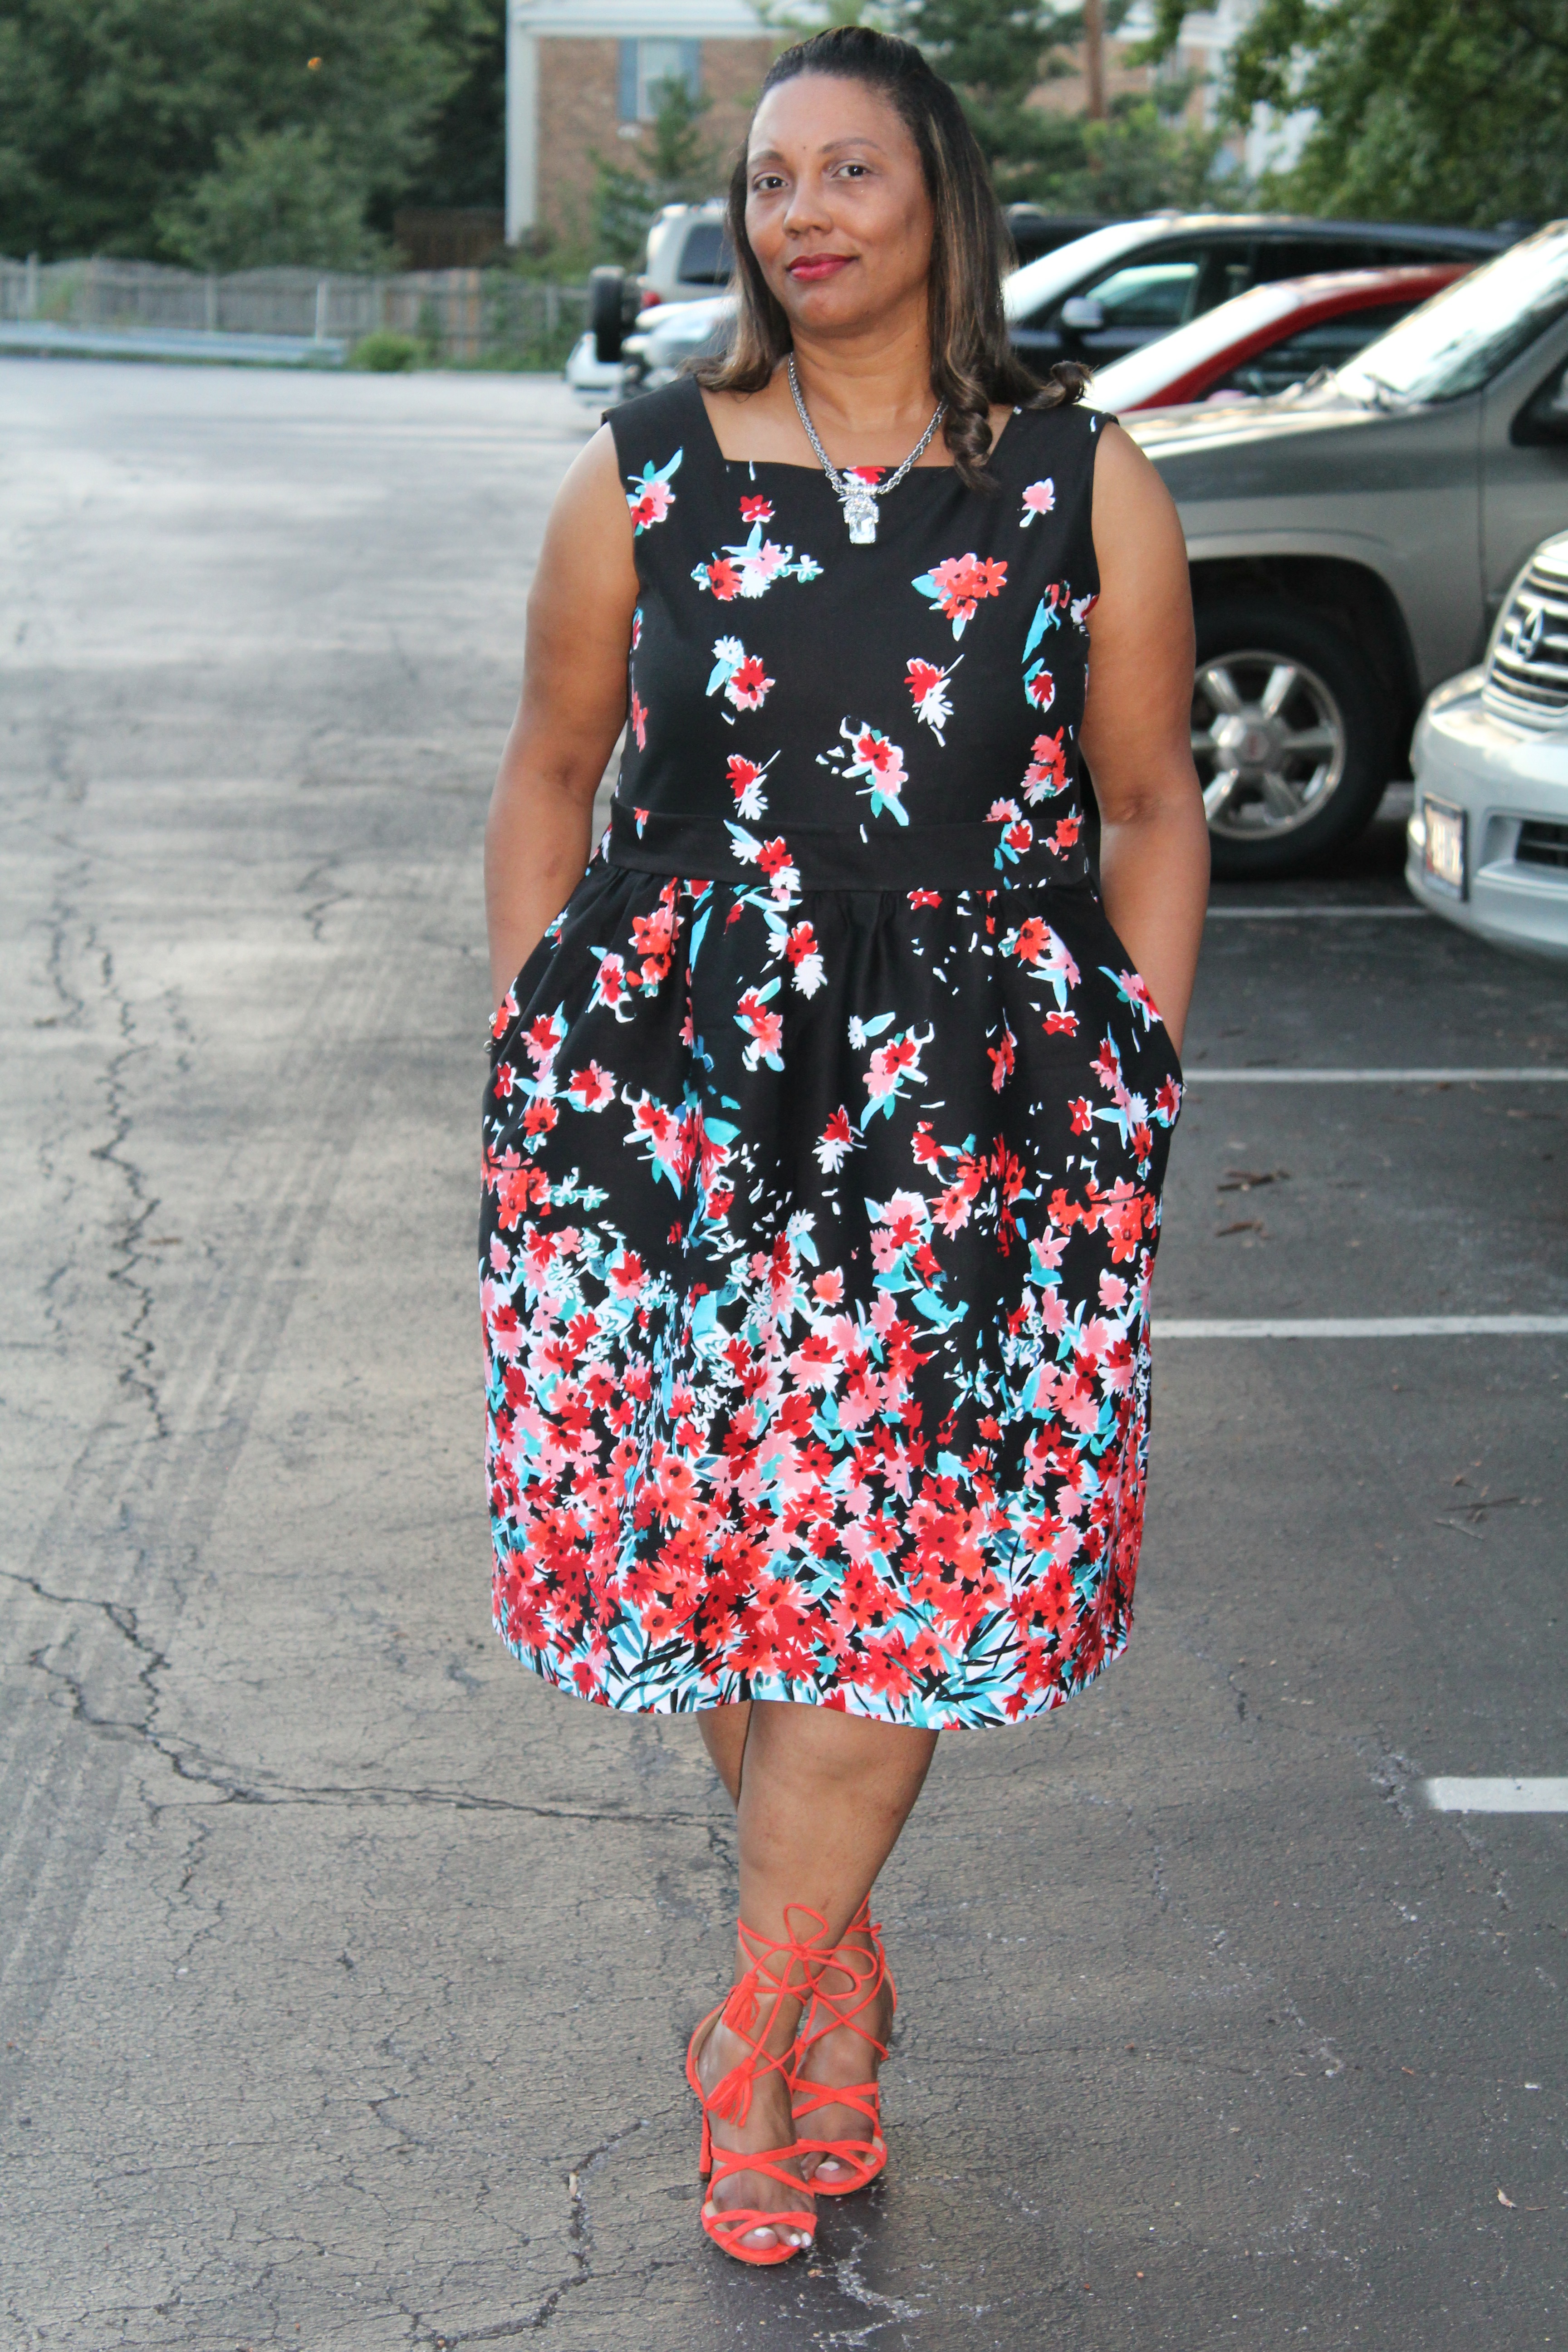
Backless Floral Dress McCall’s 3673.  When I saw this dress and pattern on Beaute Jadore’s blog i knew I had to have it Vintage McCall’s 3673 I was lucky enough to find the pattern in my size on Amazon for a great price!

Floral Dress Back View

I held onto the pattern for a moment but knew I wanted to sew it for a girlfriends 60th Birthday party! However, while this looks cute on the pattern face and the fabric is trey adorable from GStreet.. It need modifications that I totally ignored. This dress has no darts in the bodice.. I really thought I could get away with this — NOT! If you are a D cup this pattern needs major altering. It needs bust darts and a self-bra as finding a totally backless bra for a D cup is close to impossible. If I had (which I generally do) think out such patterns ahead of time I would have consulted my bra making group on the direction for this.

I went on the hunt for the backless bra (insert rolly eyes here) — why don’t we have this — why!

Floral Dress McCalls 3763

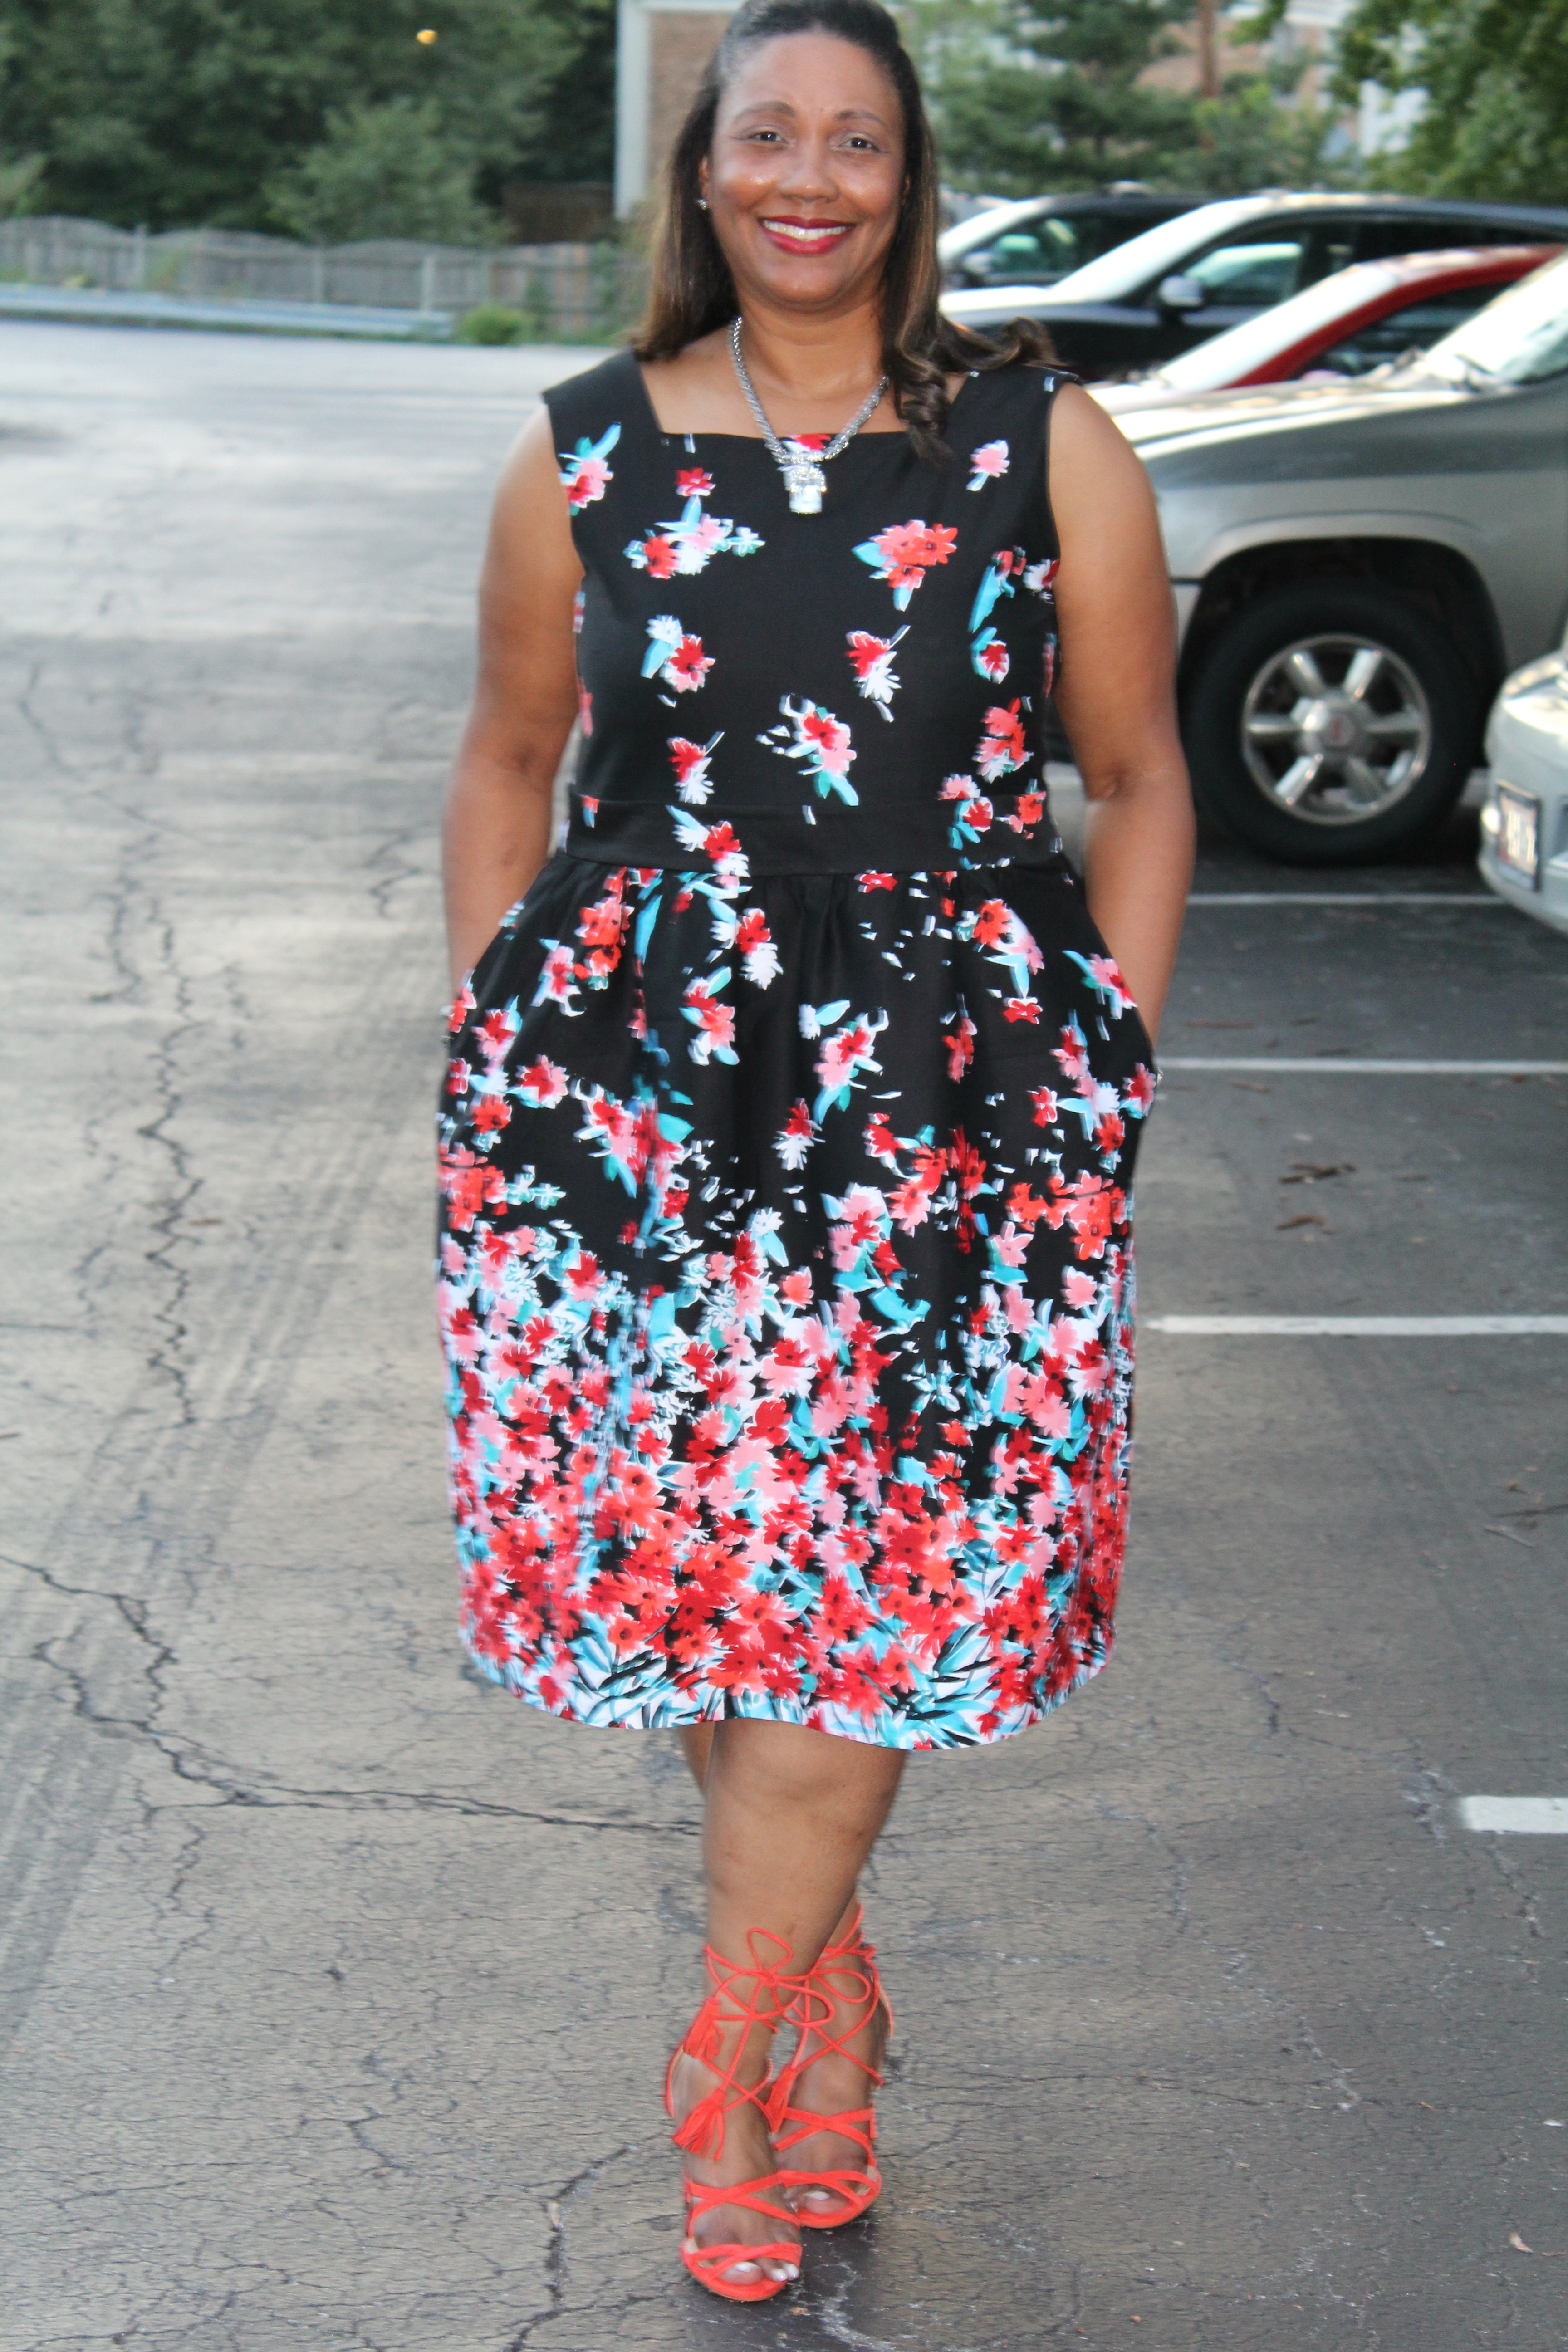
Floral Dress Front View

I will not show the back its not attractive at all.. I don’t do photo embarrassment by any means..

Floral Dress McCalls 3763


As you can see no shape at all in the bodice.. Darts create a shape where there is none and allows for an attractive lift. *lesigh* but I still received lots of complements and that is a good thing!

As you can see “someone” totally forgot their mascara, I got a bit distracted while getting dressed  and was rushing to be on time for her red carpet entrance! We arrived just in time!

Fabric: GStreet, Rockville, MD
Necklace: JCrew Old
Shoes: BCBG – Orange Suede


Learn Bra Making Live Instruction with Ann St. Clair

Learn Bra Making with Live Instruction by Ann St. Clair and hosted by Curvy Girls are Chic on Wednesday, October 5th and Thursday, October 6th, 2016 at Hobby Lobby Laurel, MD.

Anne St. Clair of Needle Nook

Anne St. Clair will instruction and fit for two days October 5th and October 6th, 2016
Agenda forth coming. Cost $130 plus 1 kit –  $75 that can be purchased from Anne.  The kit will make up to three (3) bras.
Continental Breakfast and Lunch and snacks included.
Please note: there will be no recording of this event. Ann teaches live only.

**Students must provide their own sewing machine, scissors, needles, and thread. Some basics can be purchased at Hobby Lobby and a discount code is provided when the class is paid for.
**The Basic Tool Kit list for the class is provided once the class is paid for

If you want to stay overnight let me know so can block rooms.
Tuesday evening with be dinner at Mike’s Crab House (Annapolis or Seaside Crab House (Glen Burnie, Maryland)

Deadline to pay for class is September 26, 2016.  Please use the Pay Pal “Buy it Now Button” below to pay for the class:

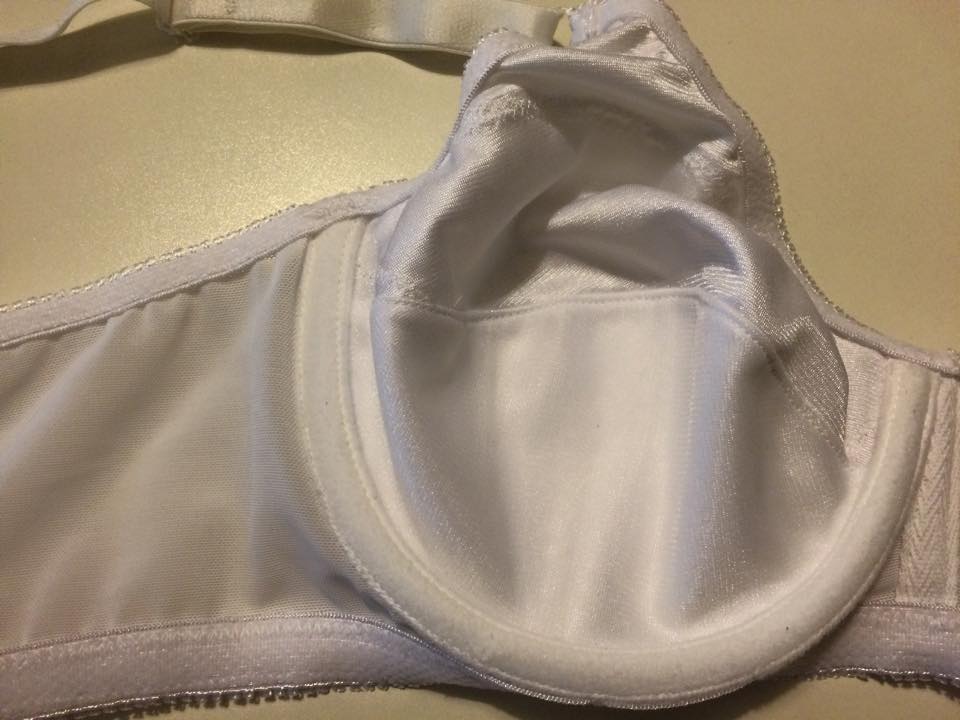
Queen Anne Bra Inside
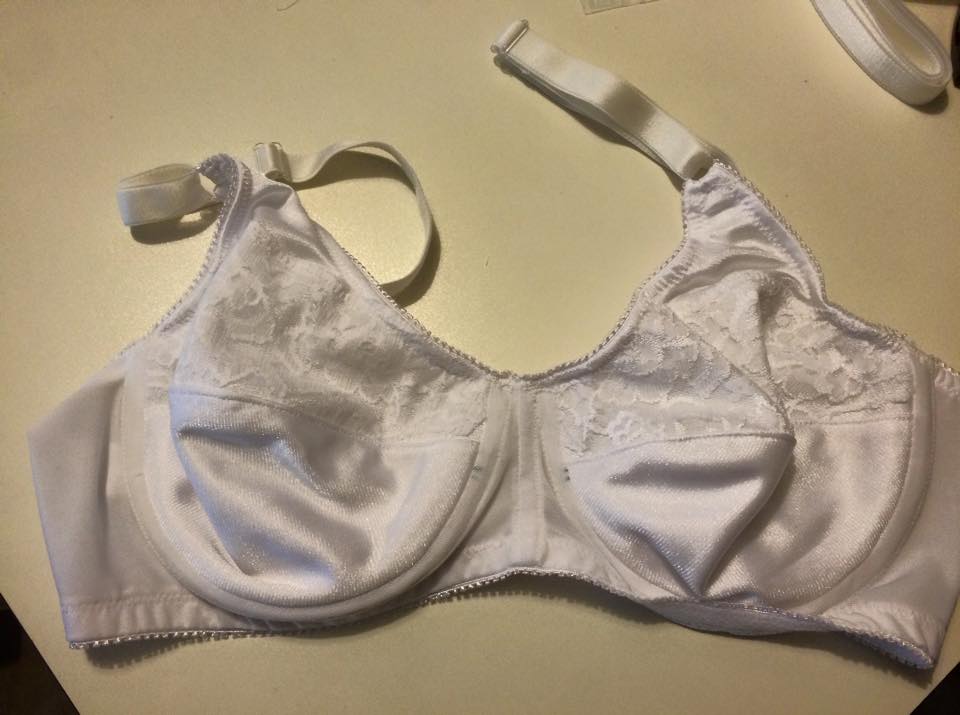
Queen Anne Bra created
Student Created Queen Anne
Queen Ann Bra

Class Payment


Buy Now Button


For More info you can join the Bra Makers – Beginners to Intermediate Facebook Group – Bra Makers – Beginners to Intermediate 101


Rainbows Melanin DIY Off Shoulders Top

Hello Blogger Fam!

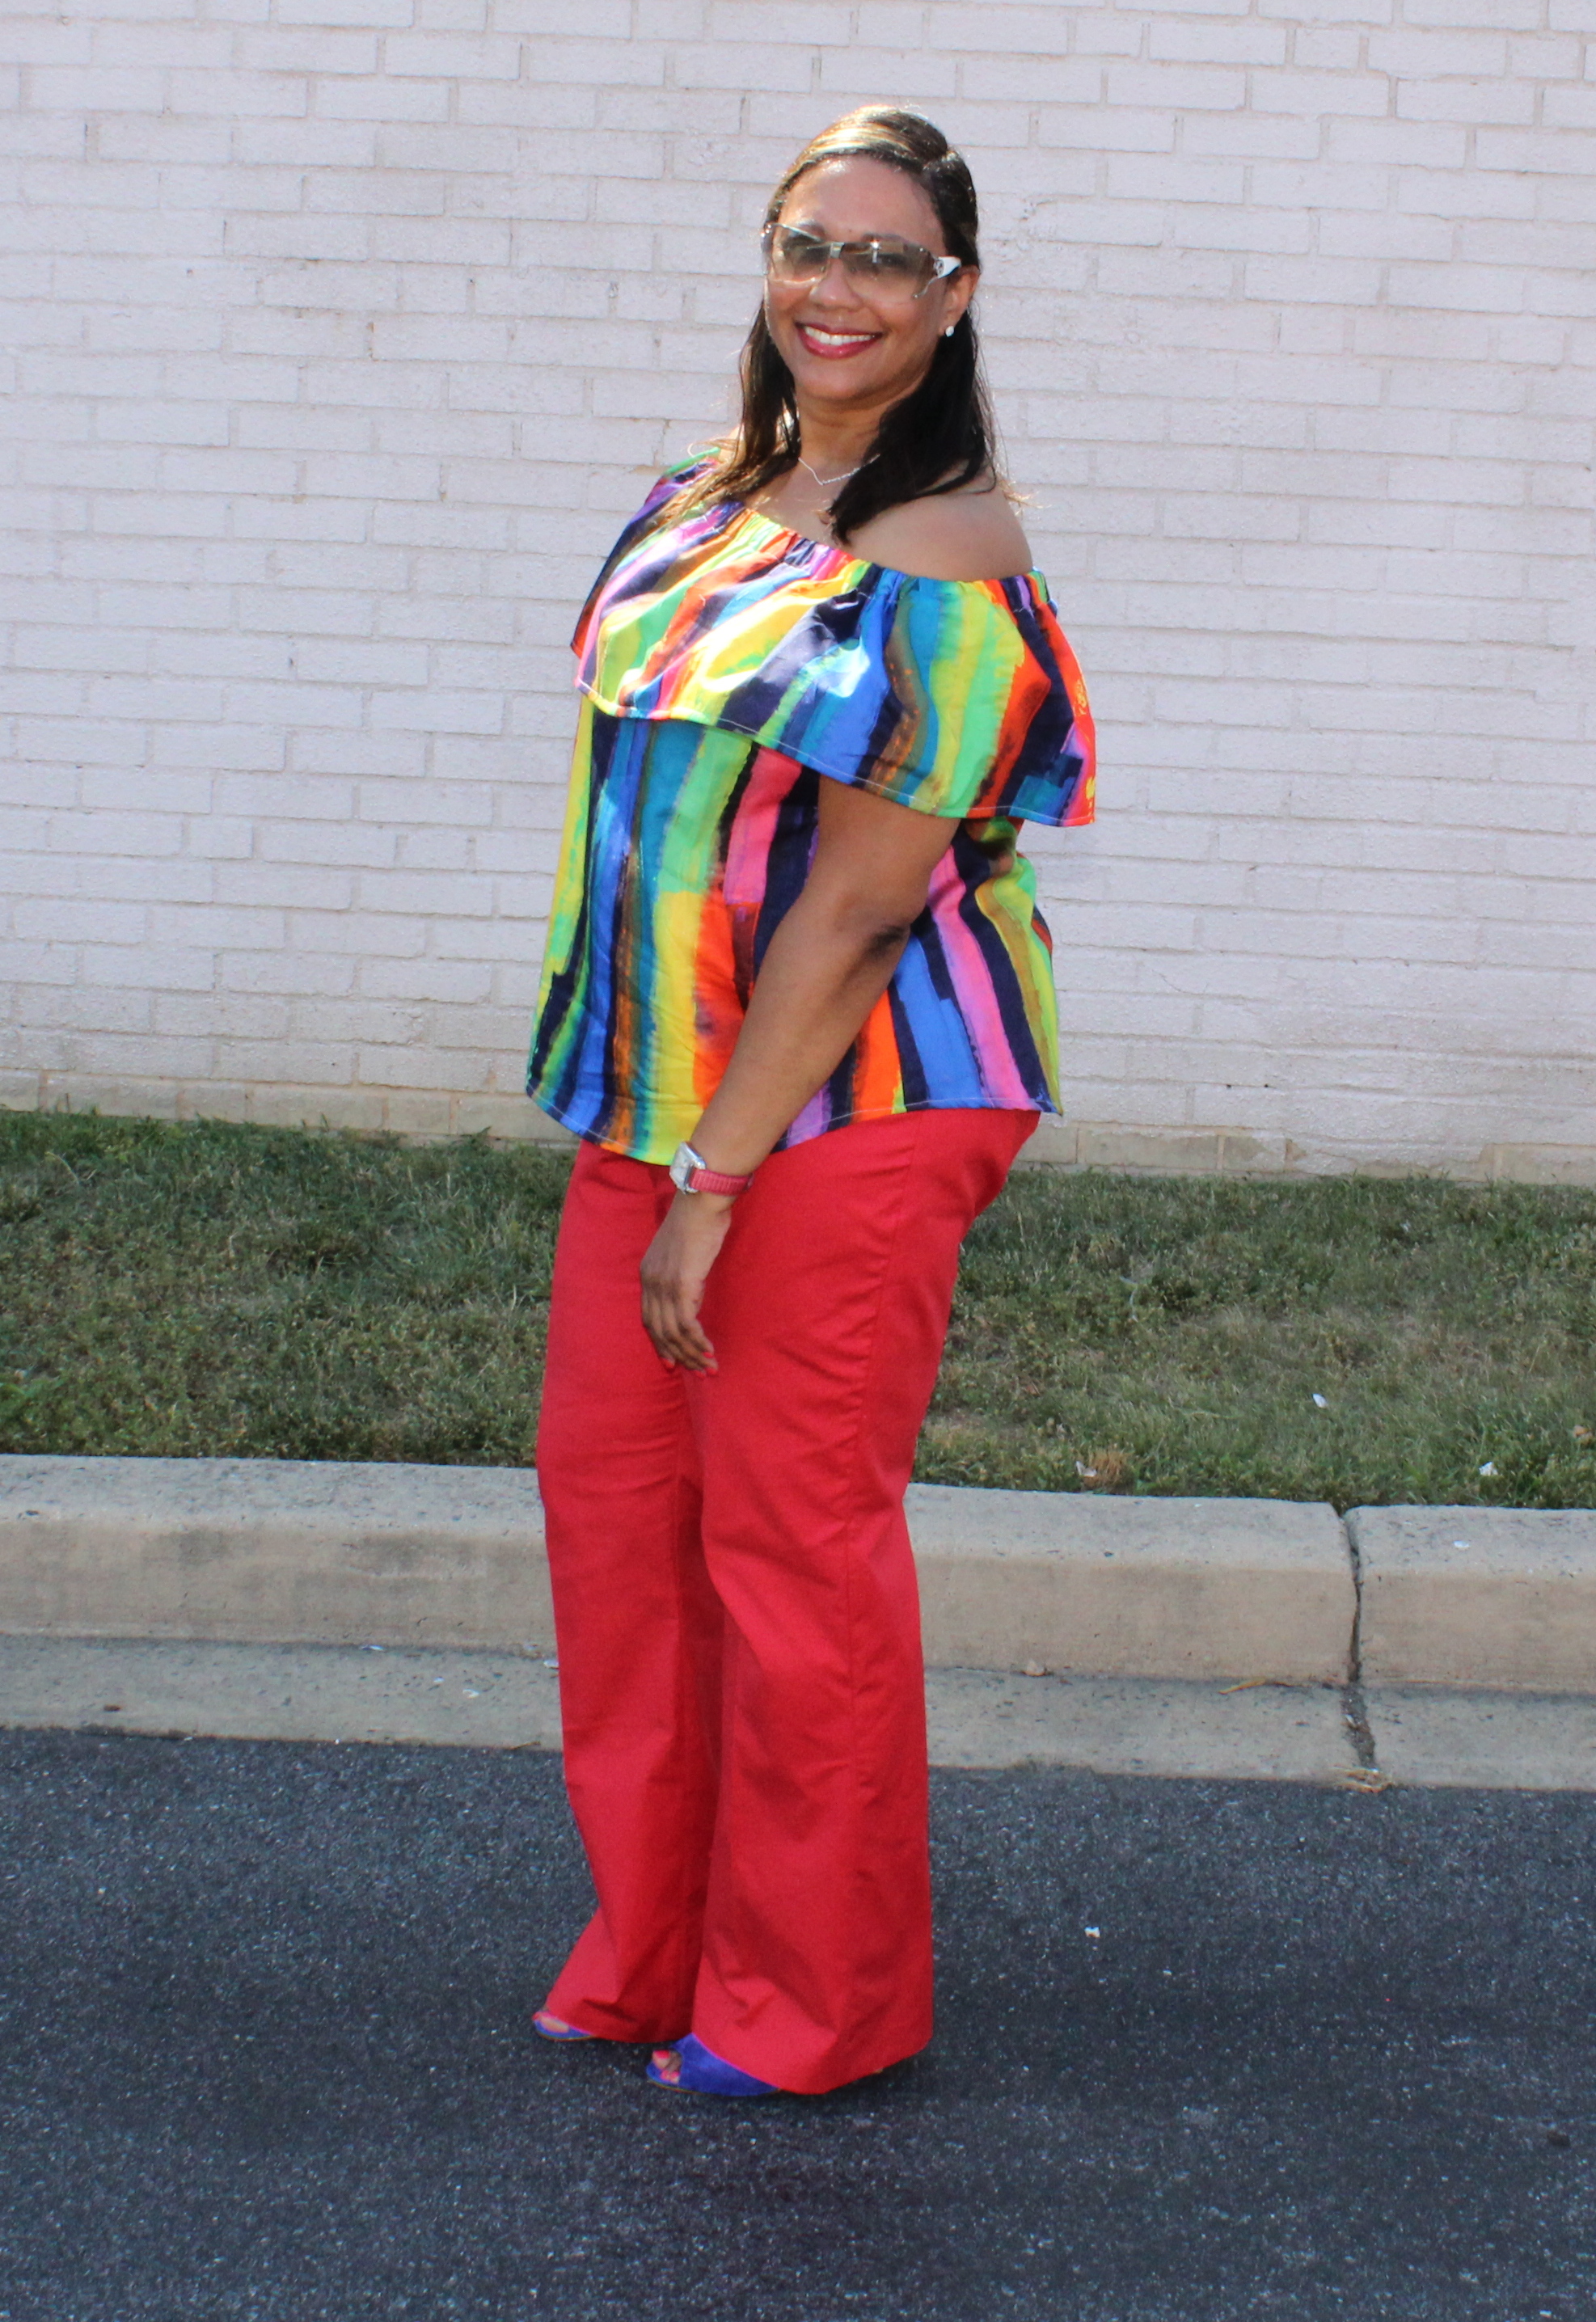
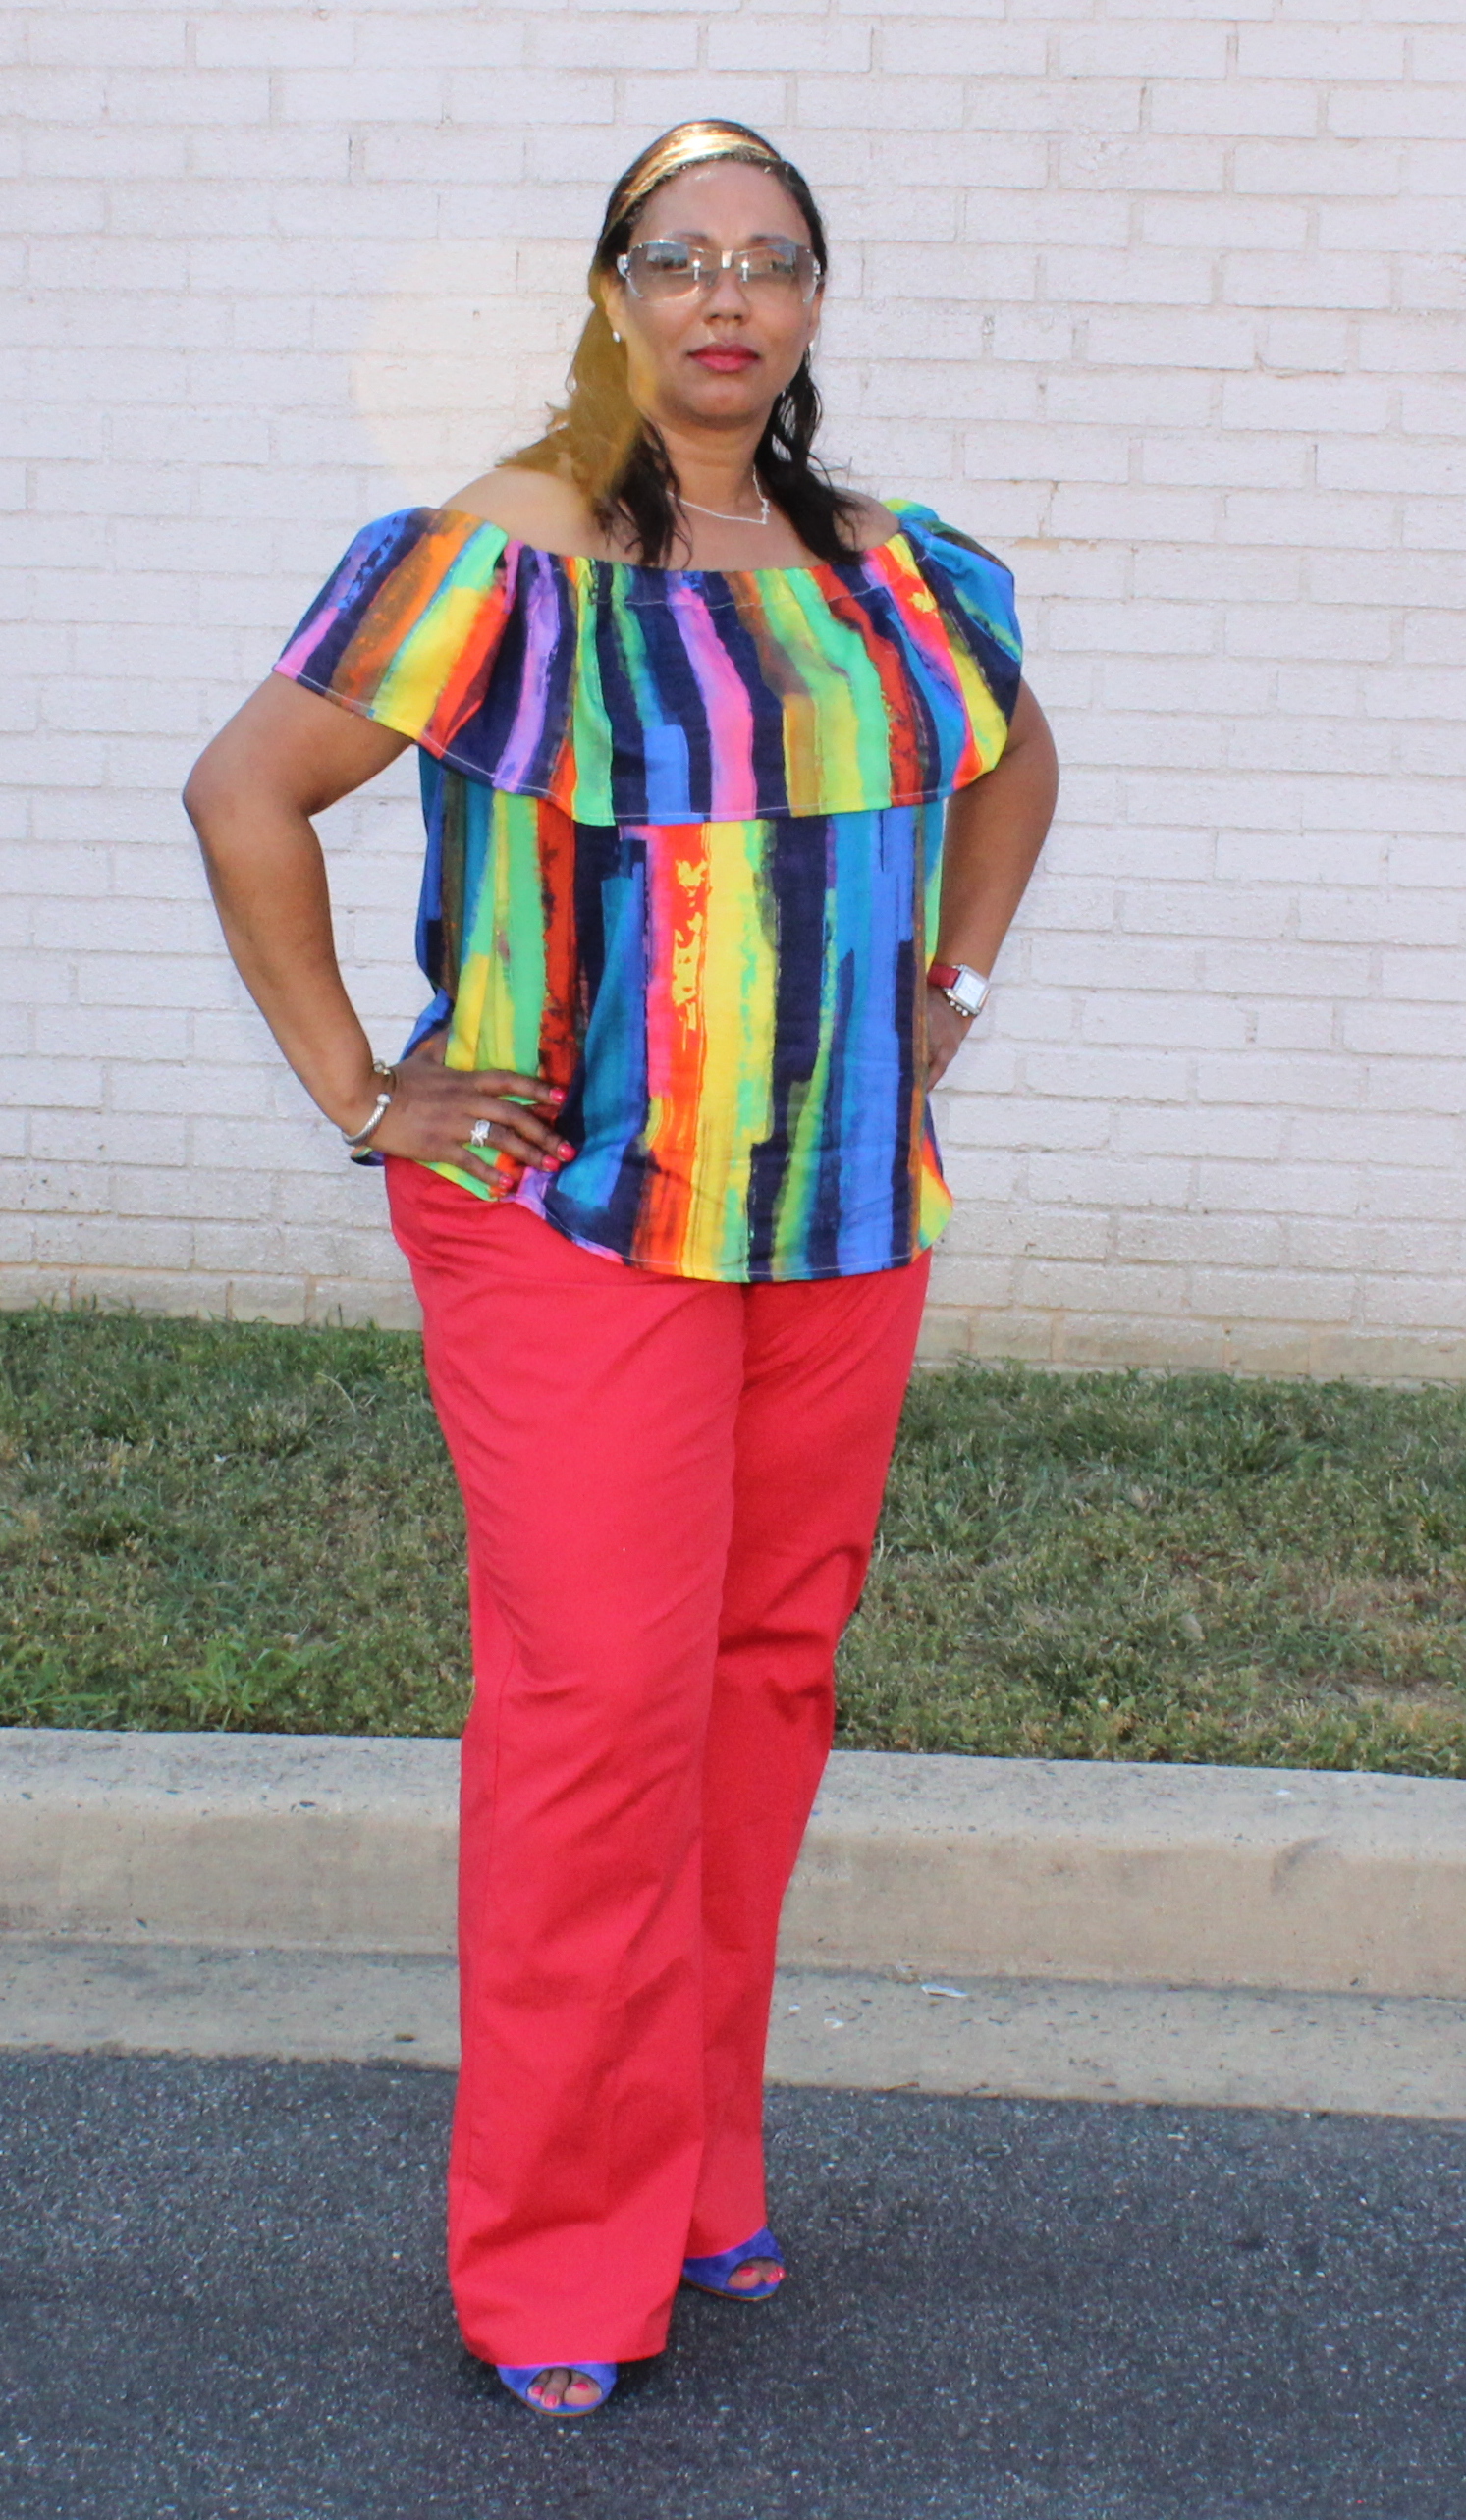
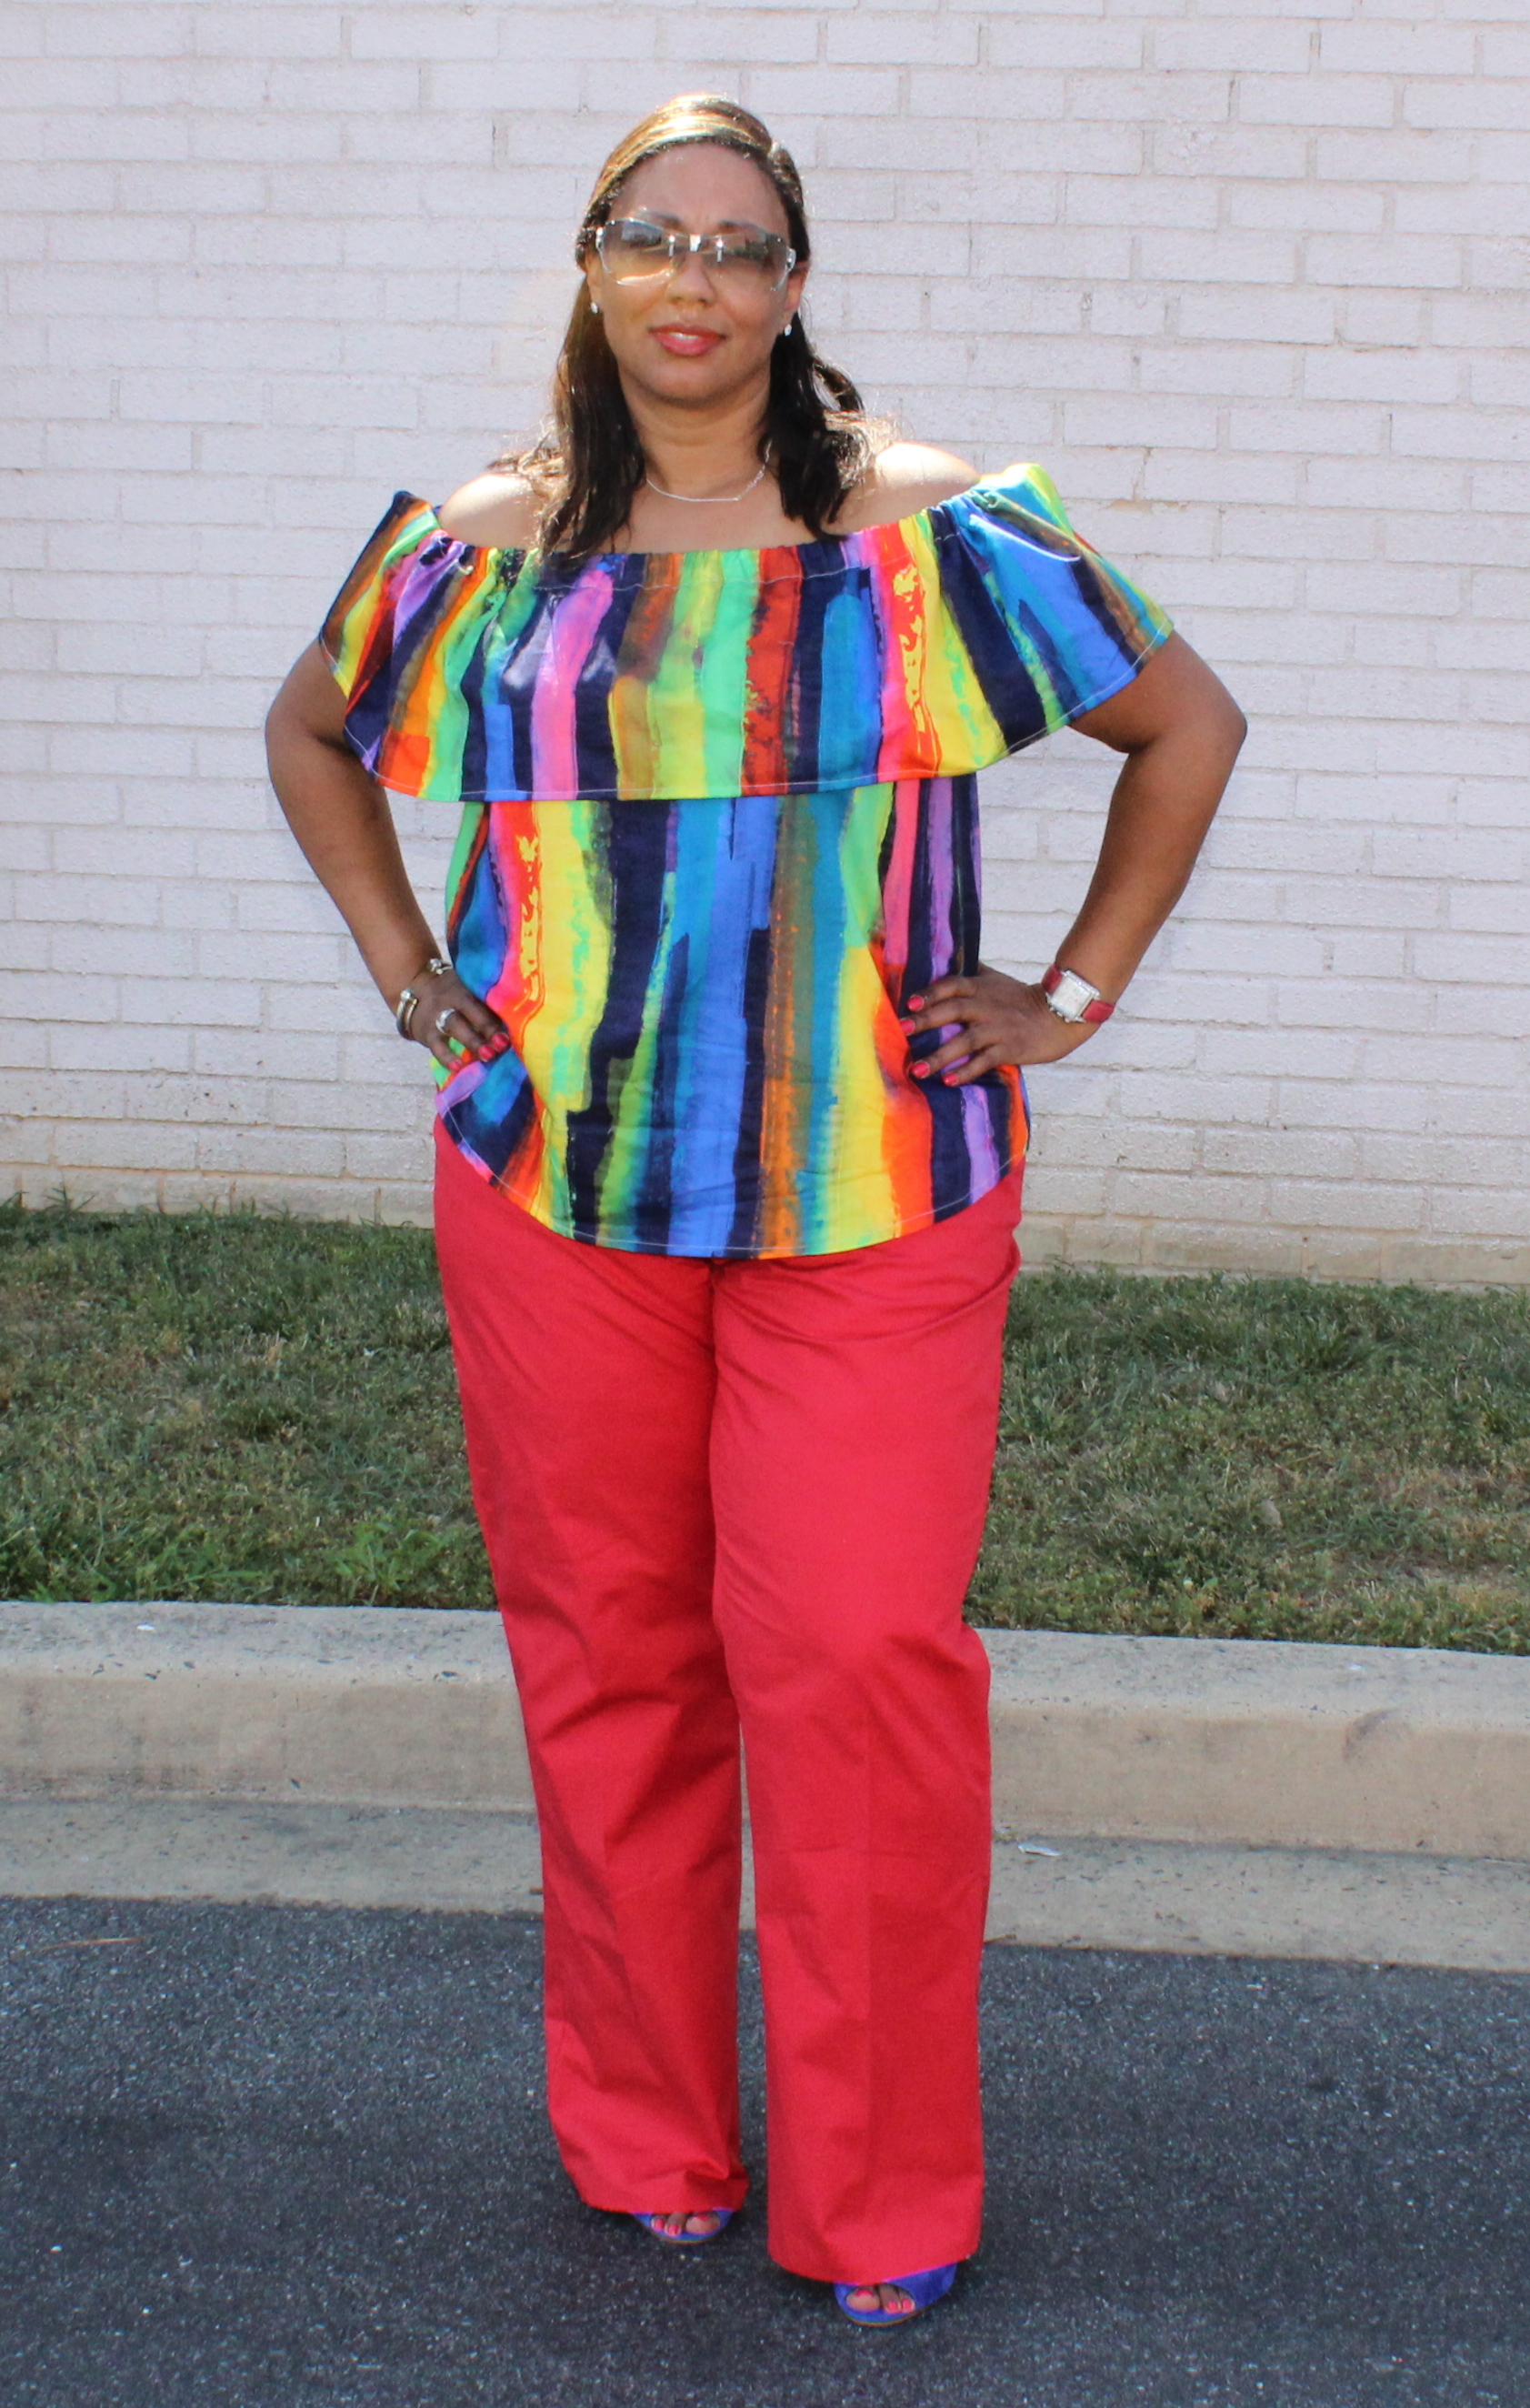
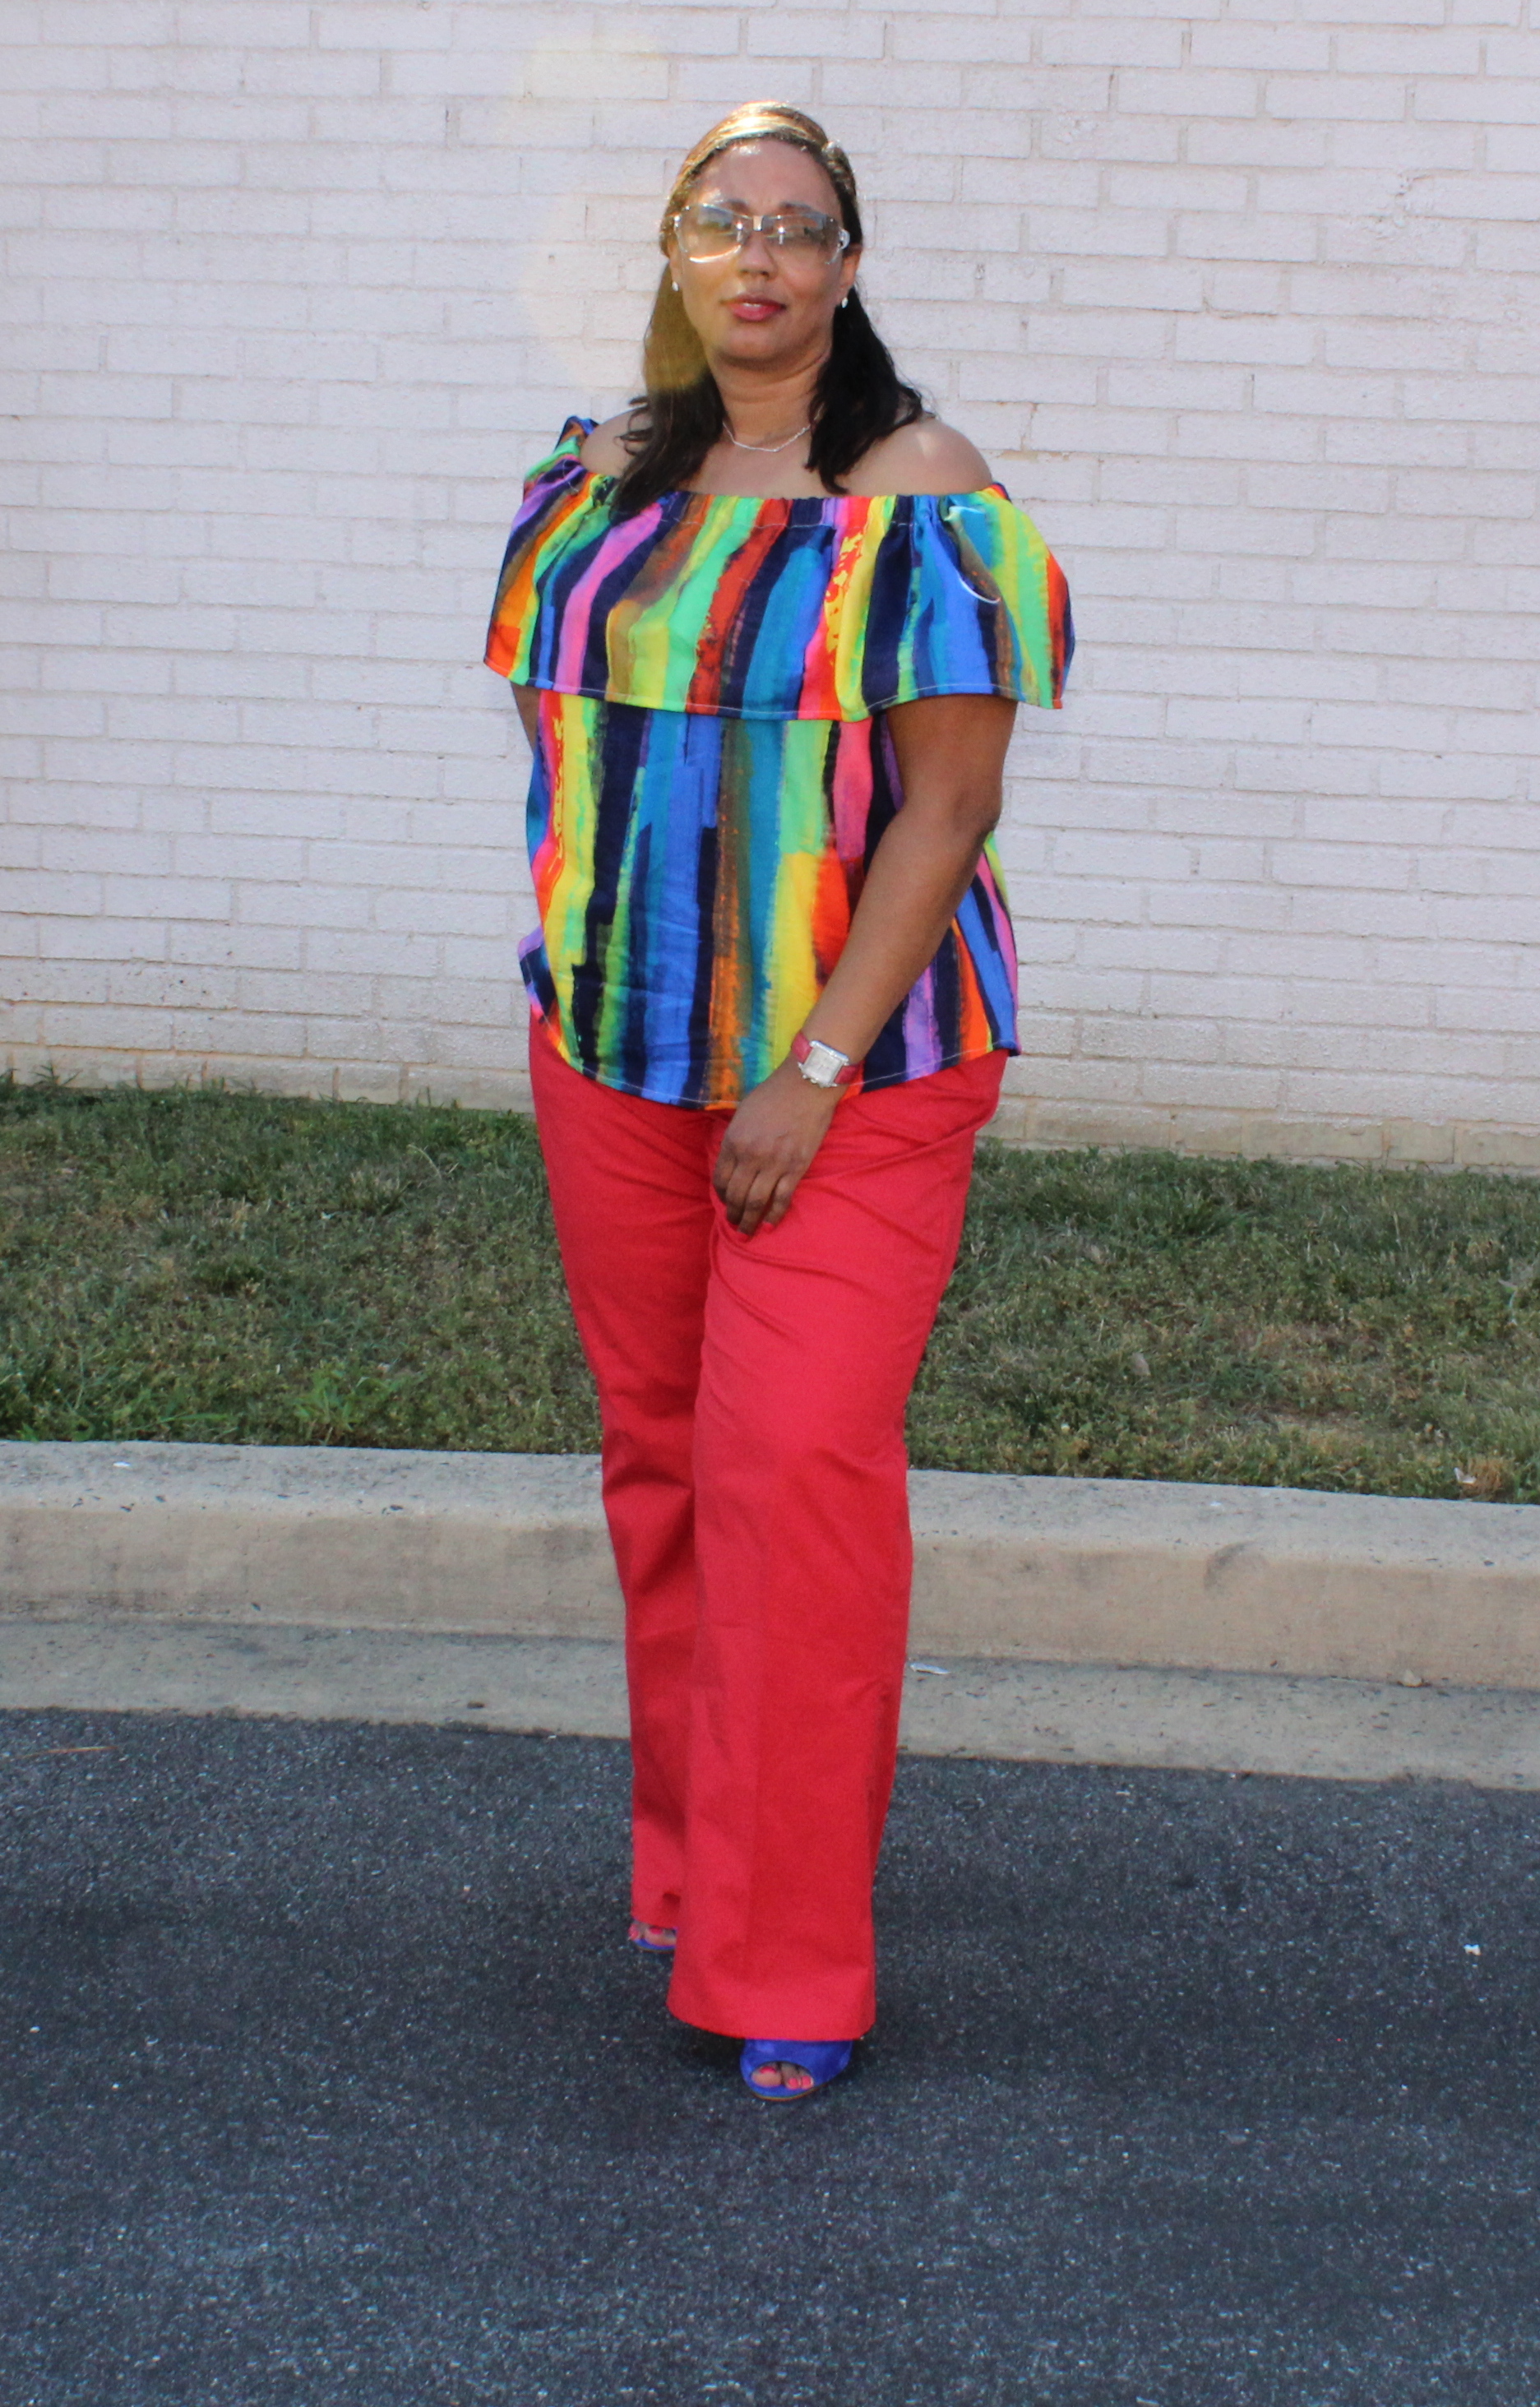
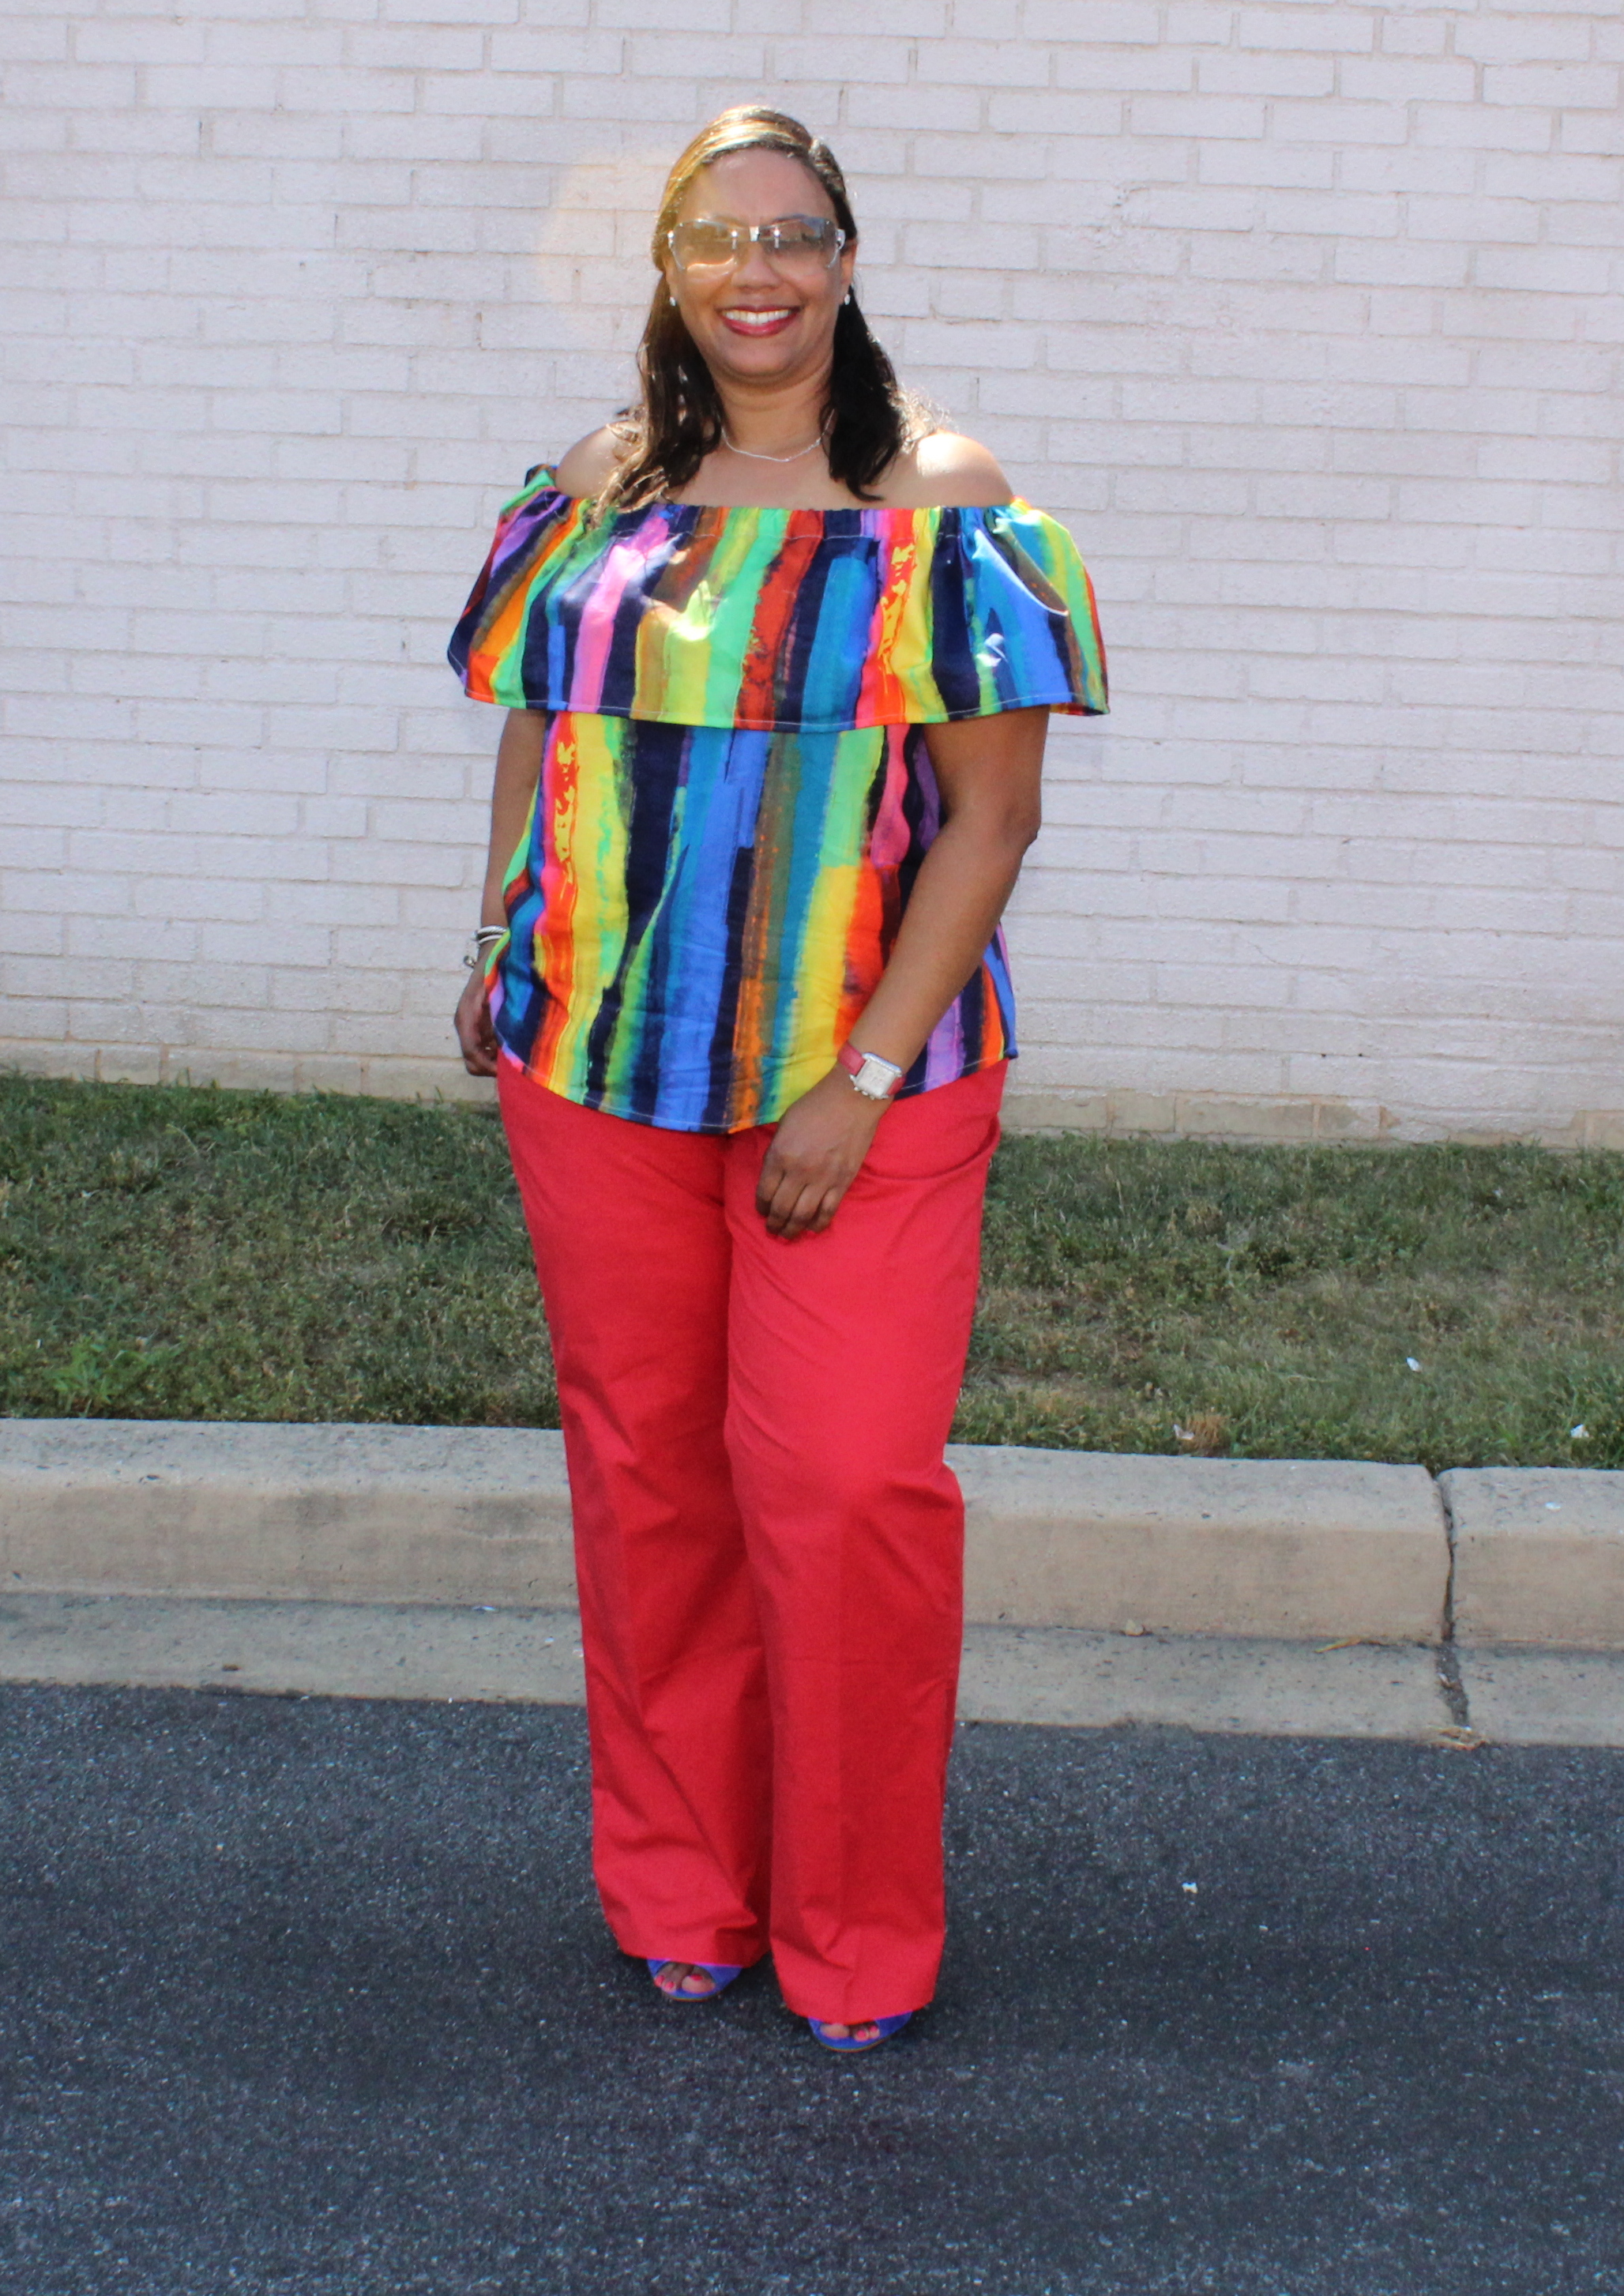
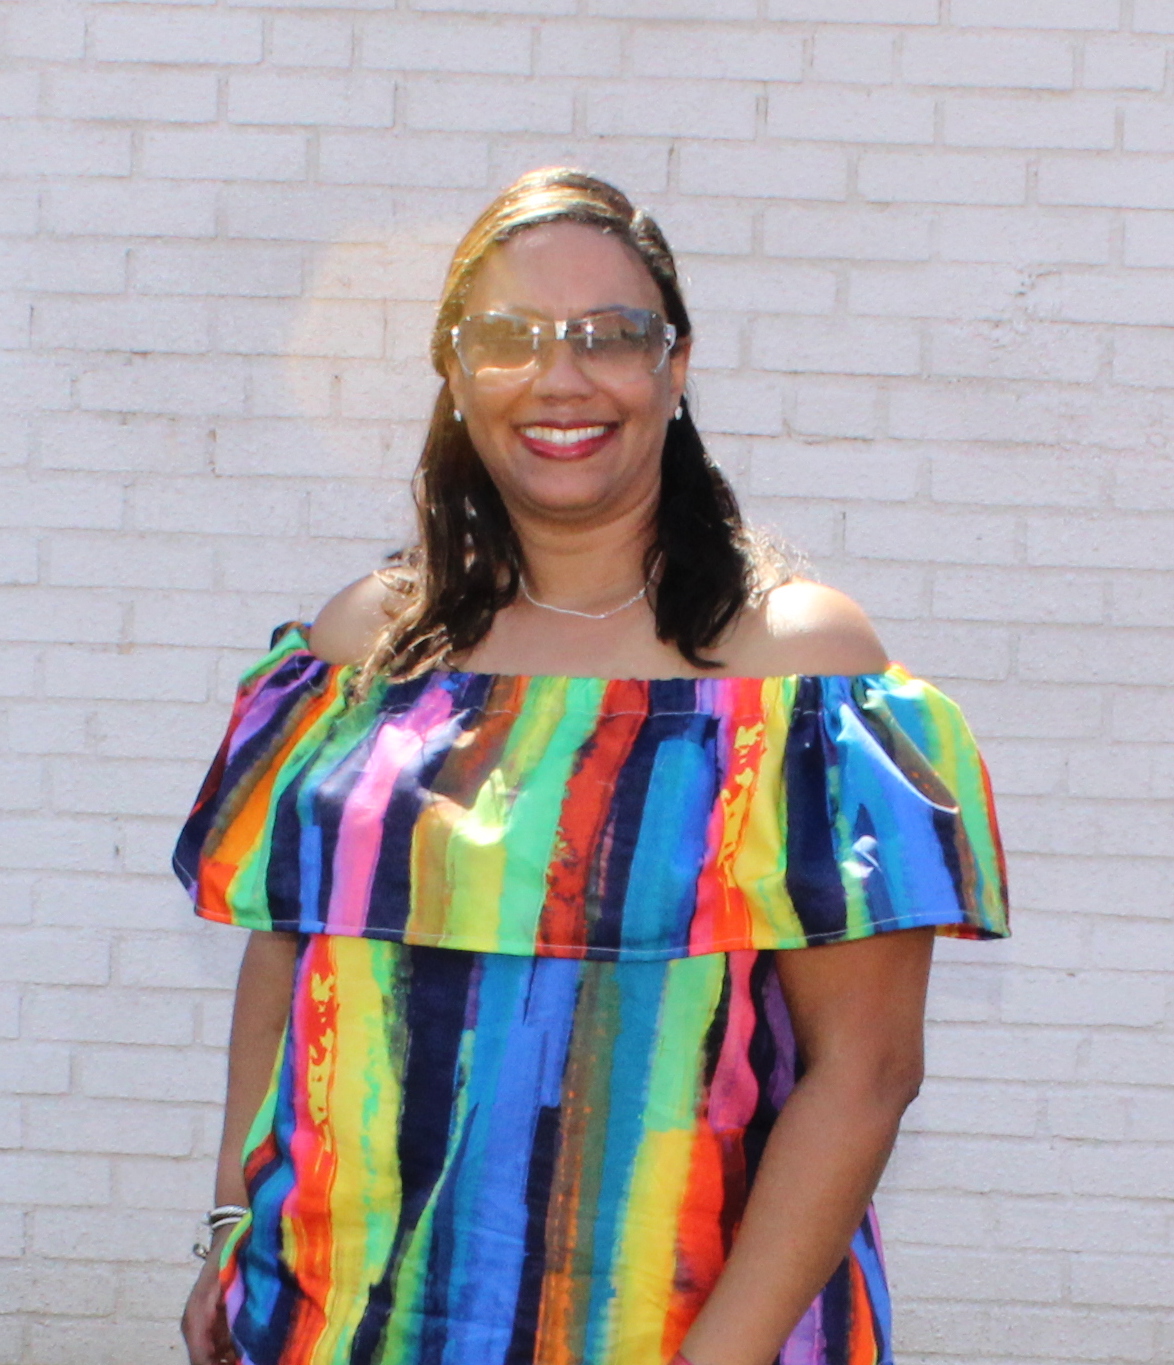
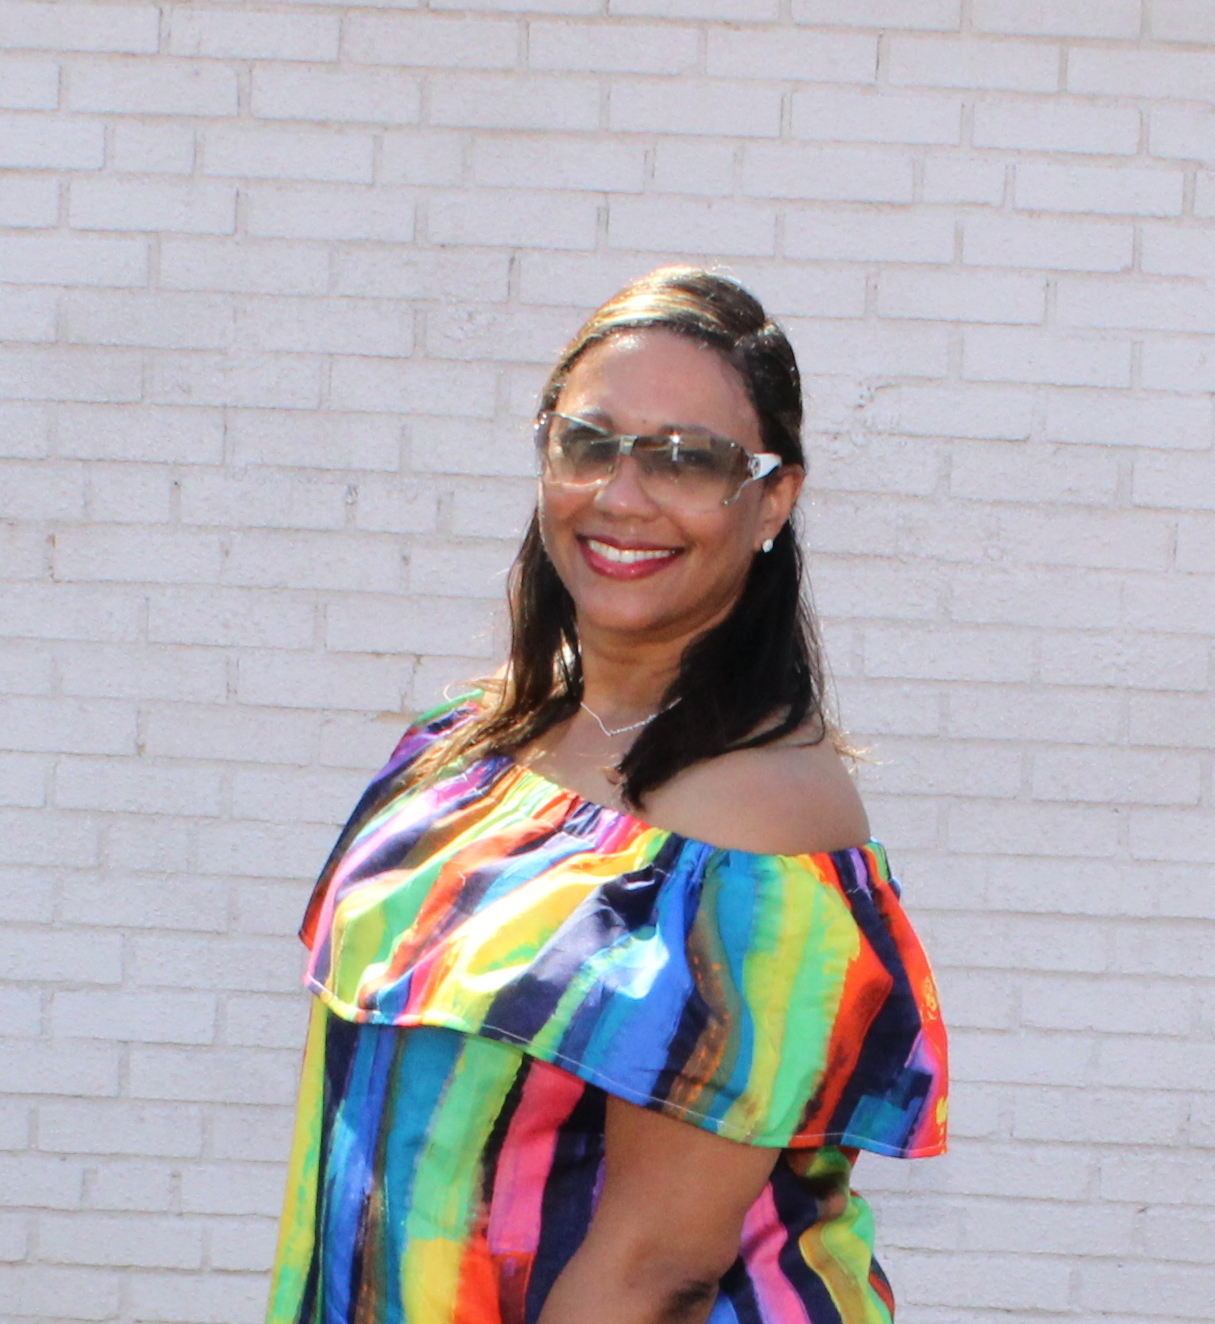
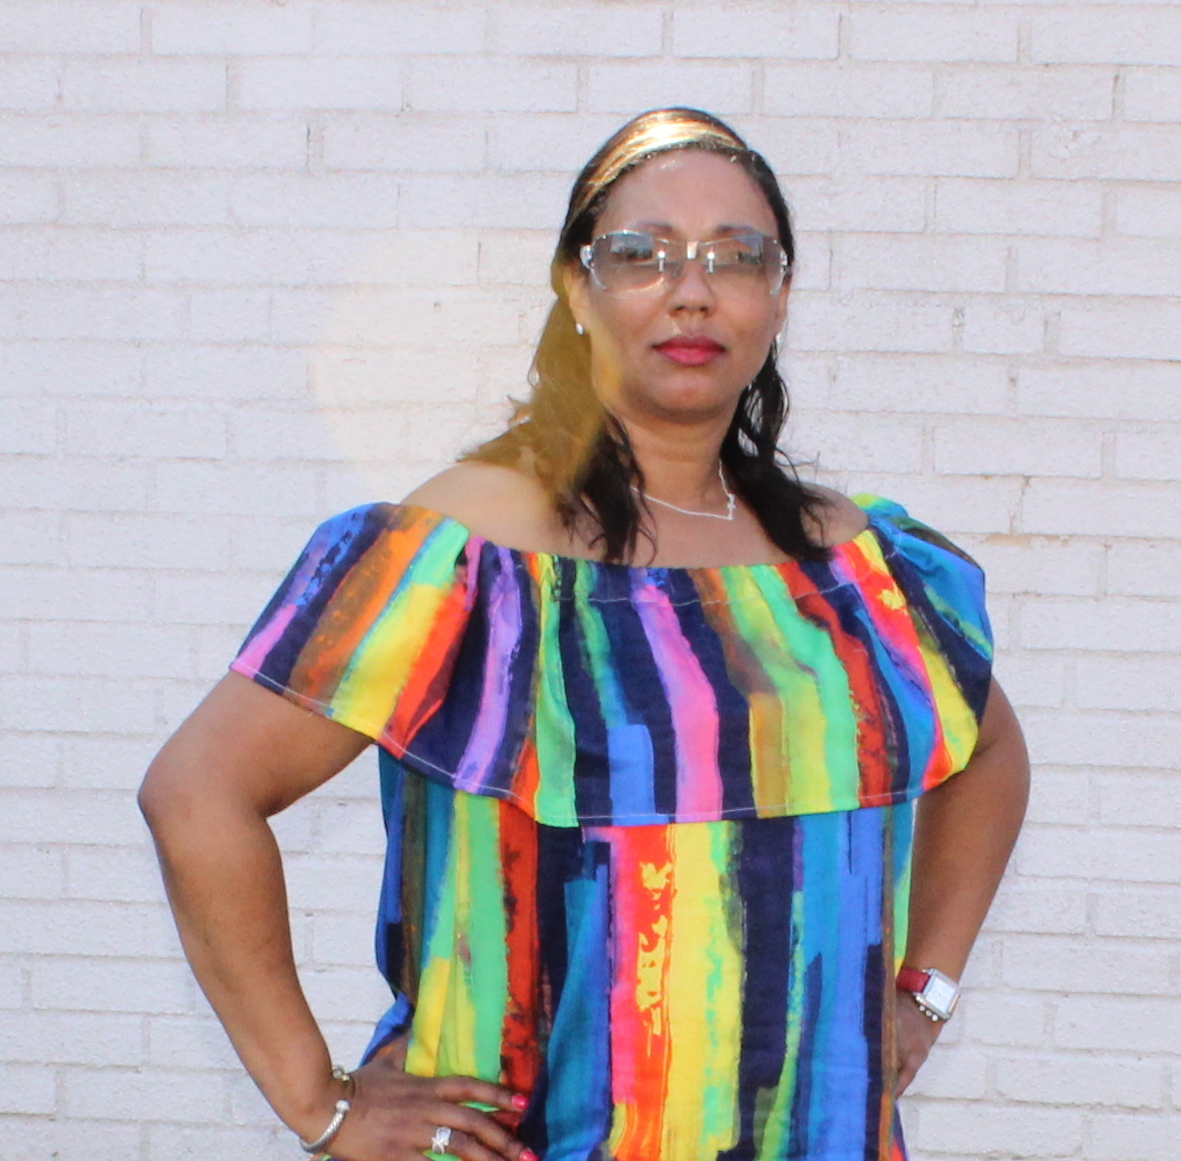
Rainbows Melanin DIY Off-the-Shoulders Top Red Pants. I saw this beautiful cotton fabric at Metro Textiles in New York and I knew I had to have it.  At first I was going to make a pair of pants but then the off the shoulder crazy reinvented itself and I decided to make a quick top, I used McCalls 6558 for the top — I had this pattern for a while but the photos on the outside envelope is hideous. Not sure why I ignored using this pattern but I did.

When everyone began wearing and sewing these tops again I knew I would make a few. I was even shocked by the sticker price of an Off-the-Shoulders dress in JCrew with the grand price of $138! While I love the brand and the simplicity of JCrew’s clothing, I won’t spend $138 a dress that I can make four of at that price.. anyhoo..

Rainbows of Melanin Off Shoulders Top M6558

Rainbow Top M6558 and Vogue 9032
Rainbow Top and Red Pants V6558 and V9032

Rainbow Top M6558 and Vogue 9032

Rainbow Top M6558 and Vogue 9032

Rainbow Top M6558 and Vogue 9032

The Red Pants V9032

The pants were made using Vogue 9032 I have to say I really love this pants pattern as its definitely made for girls with curves. The back fit is probably the most important for me as the back pants pattern is in two pieces and it allows for the shaping of the rear and waist.  I do have a tendency to cut my items bigger than necessary then I need to take inches and inches out 🙁

Rainbow Top M6558 and Vogue 9032

Cropped Front View

About the Camera

These shots were created with my new Canon EOS Rebel T5 and I am in love! I purchased my bundle at Costco but there are better deals to be had at Amazon.  My kit came with two lens which I am still learning, the lens on these shots were done with the a Zoom Lens 18-55mm out on the streets of Baltimore. When I edited these in Picasa I simply cropped out the unnecessary body parts.. The colors were not changed at all.. I wanted to see how the images would come out before I dabbled in any other editing software.

Cropped Face Shot
Rainbow Top M6558

Cropped Face View

Close-up Rainbow Top1

Close-up Rainbow Top Side 1

Close-up Rainbow Top

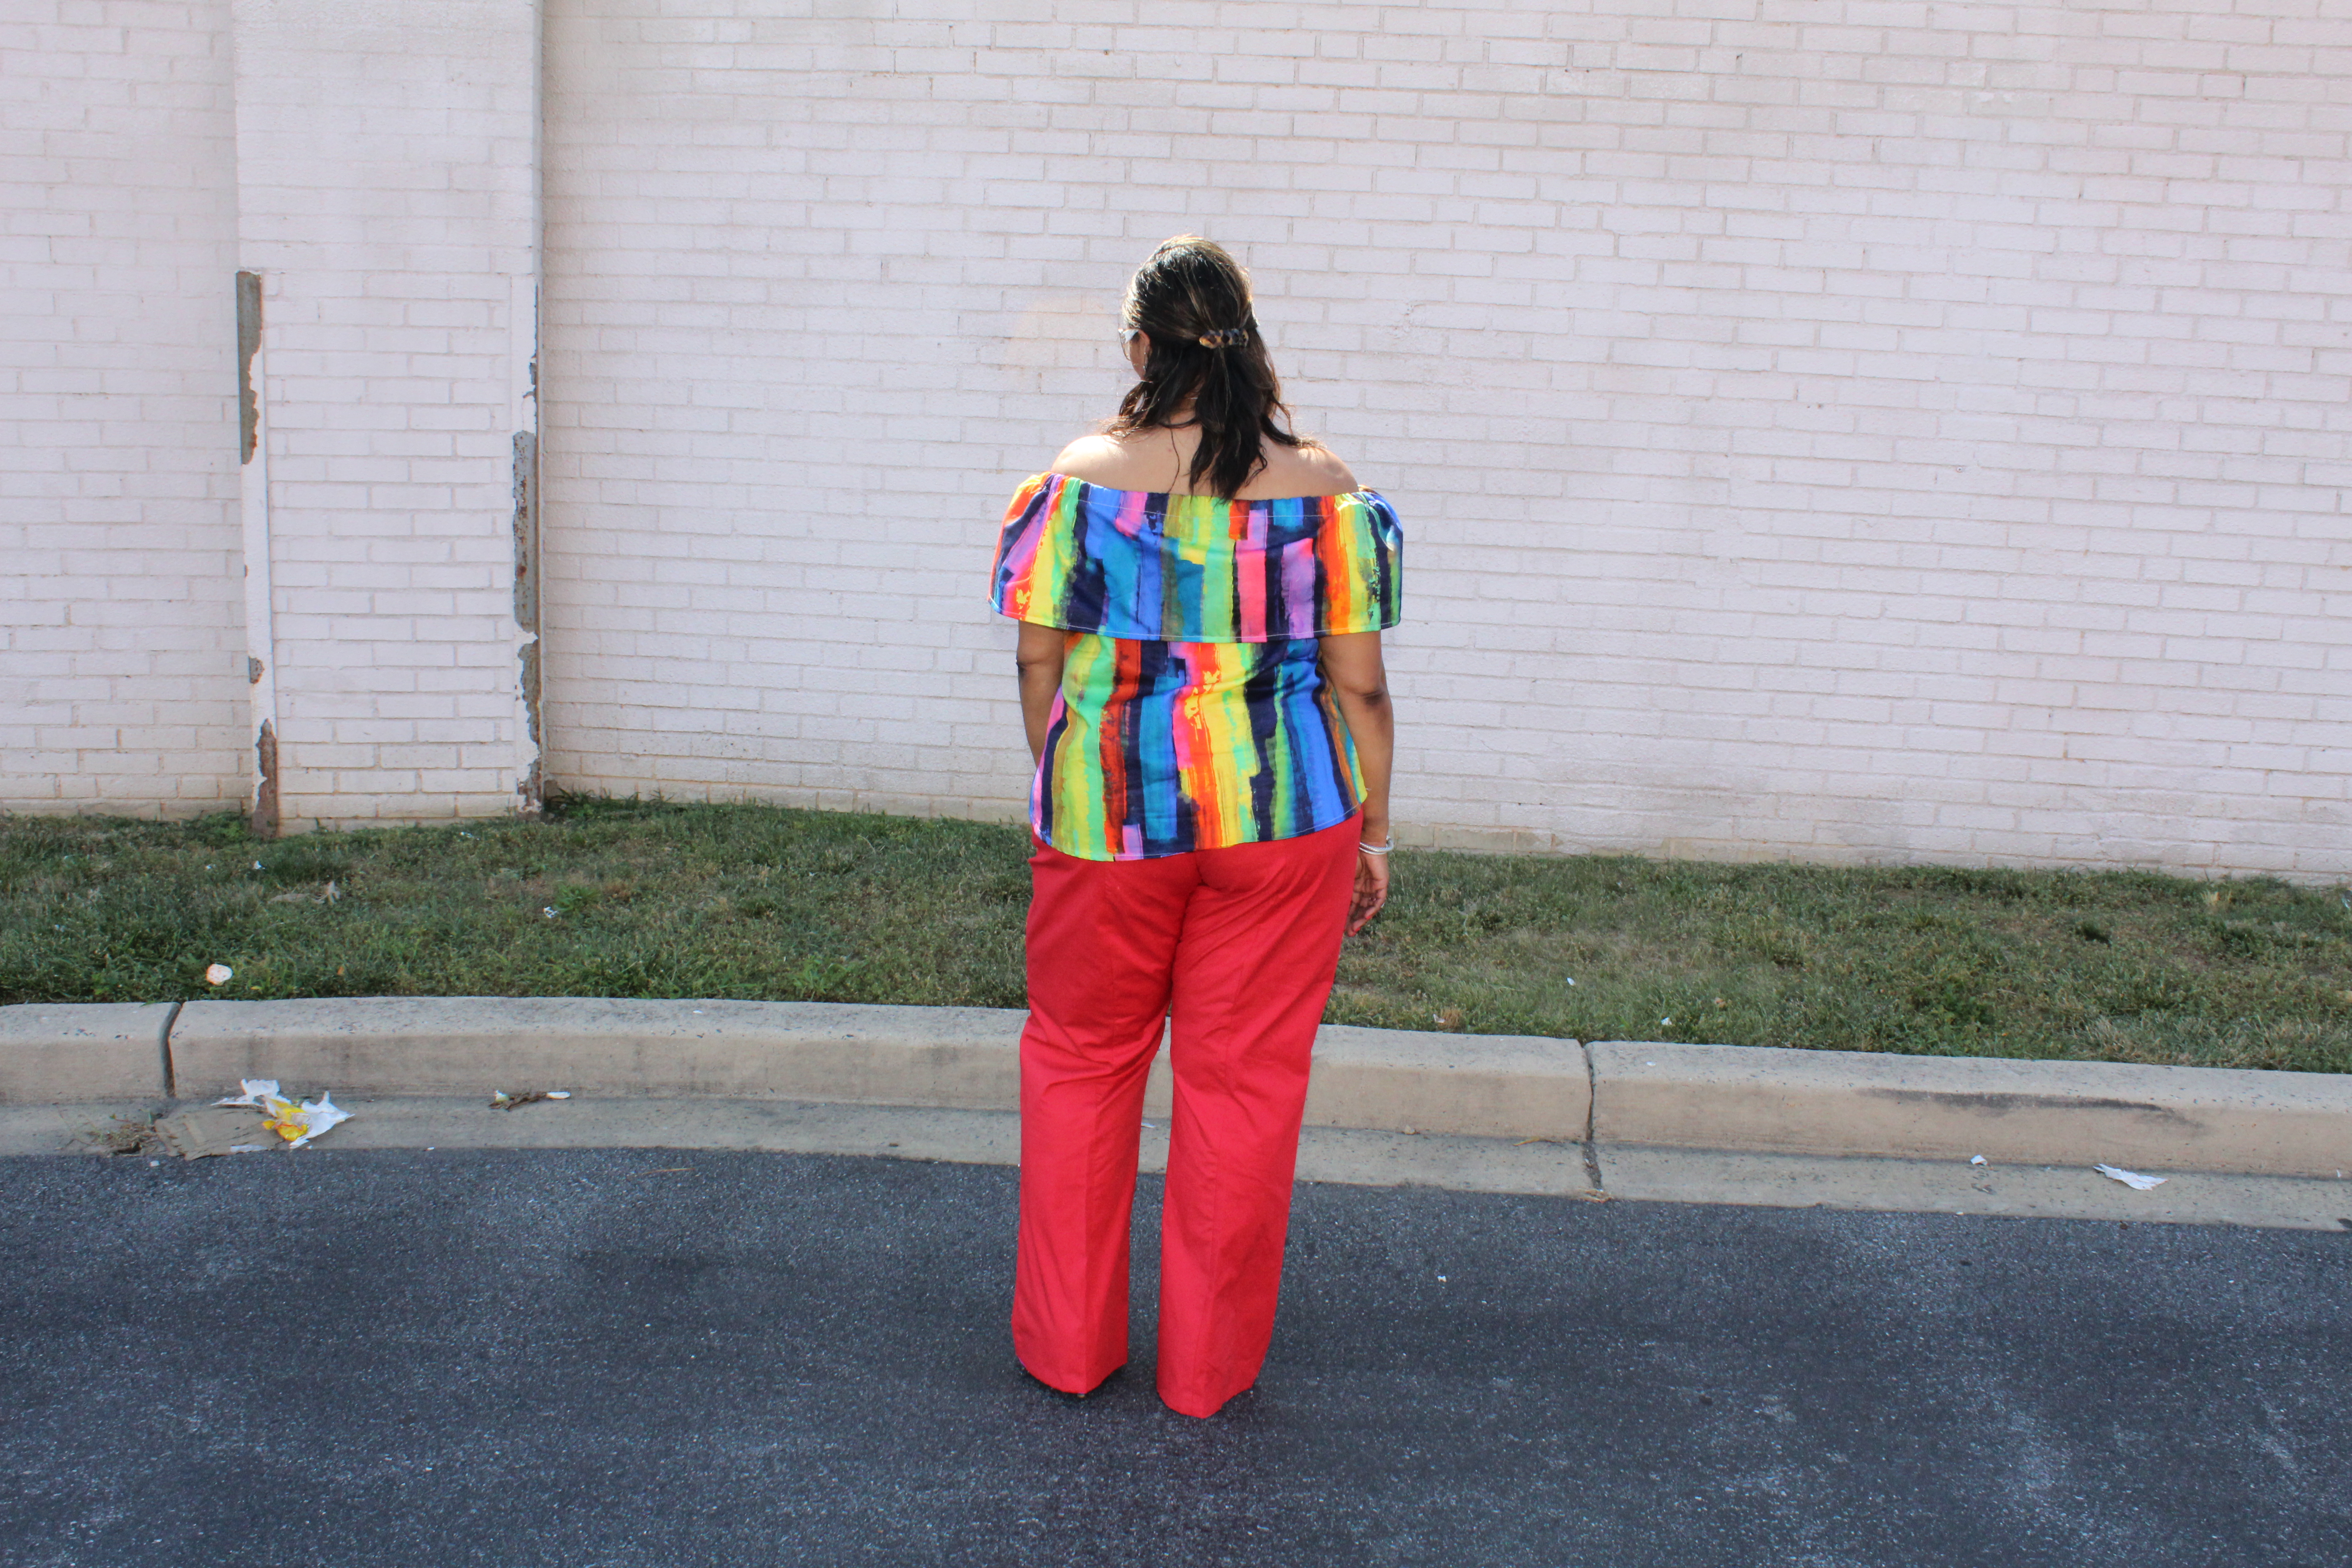
Raw Rainbow Shot Backview
Very raw shot! Forgot to crop out the trash LOL


**This is not a sponsored post however this post does contains affiliate links.  Although this post contains affiliate links, all opinions are my own.**


Sunnies: Gucci (old)
Bracelets: David Yurma
Watch and band: Michele
Shoes: Ann Taylor (old)


Verified by ExactMetrics